
 admin
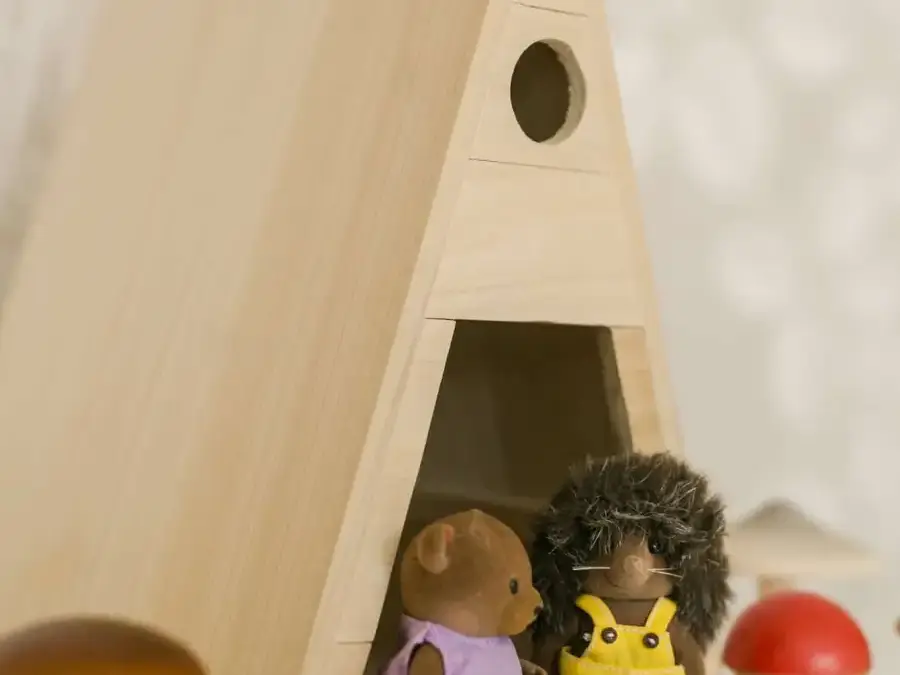
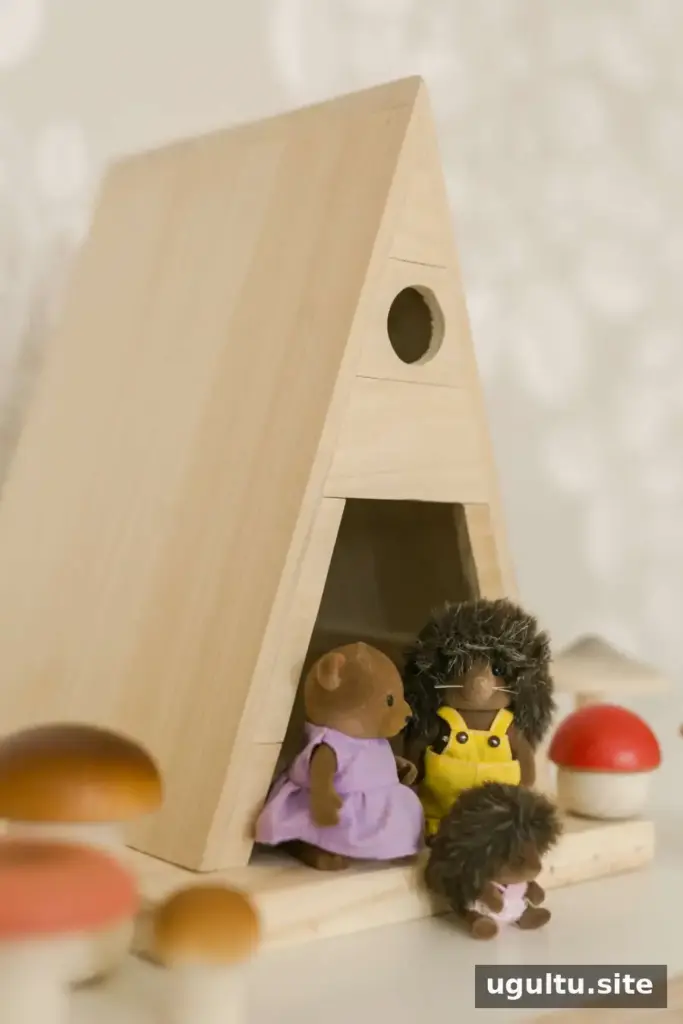
This A-frame dollhouse DIY turns simple boards and dowels into a compact wooden playhouse. The project is a smaller handmade alternative to a discontinued dollhouse design, with an open front, a window in the back, and a small platform base. Review the measurements and tools before starting, and ask an adult to handle power tools if children are involved.
A-Frame Dollhouse DIY: Materials and Tools
Gather the following materials before cutting. The boards are listed in inches and feet; check each piece against the plan before making cuts.
- Three 1/4″ x 3″ x 3′ boards
- One 1/4″ x 3″ square wooden dowel
- Two 1/4″ x 1 1/2″ x 3′ boards
- One 3/4″ x 10″ x 3′ board
- Wood glue
You will also need a miter saw, pin nailer, drill, and 1″ hole saw. Wear suitable eye protection and follow the tool manufacturers’ safety instructions. A dry fit before applying glue can help confirm that angled pieces sit flush.
Build the A-Frame Sides
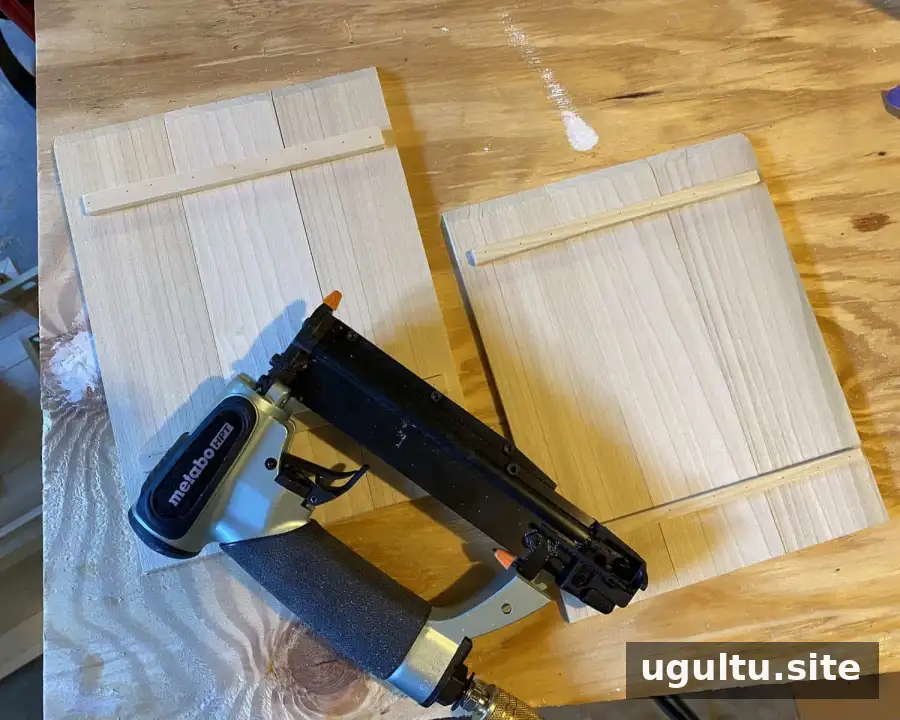
For the first side, cut three 10″ lengths from the 1/4″ x 3″ boards. Make a 50-degree cut at the top and a 30-degree cut at the bottom of each piece. Lay the boards side by side, then cut two sections of the 1/4″ square dowel to connect them across the inside. Attach the dowels with wood glue and a pin nailer.
Repeat this process for the opposite side, using three 9.5″ board lengths instead of 10″. Keeping the pieces aligned while attaching the dowels helps the sides stay even during assembly.
Close the Back and Cut a Window
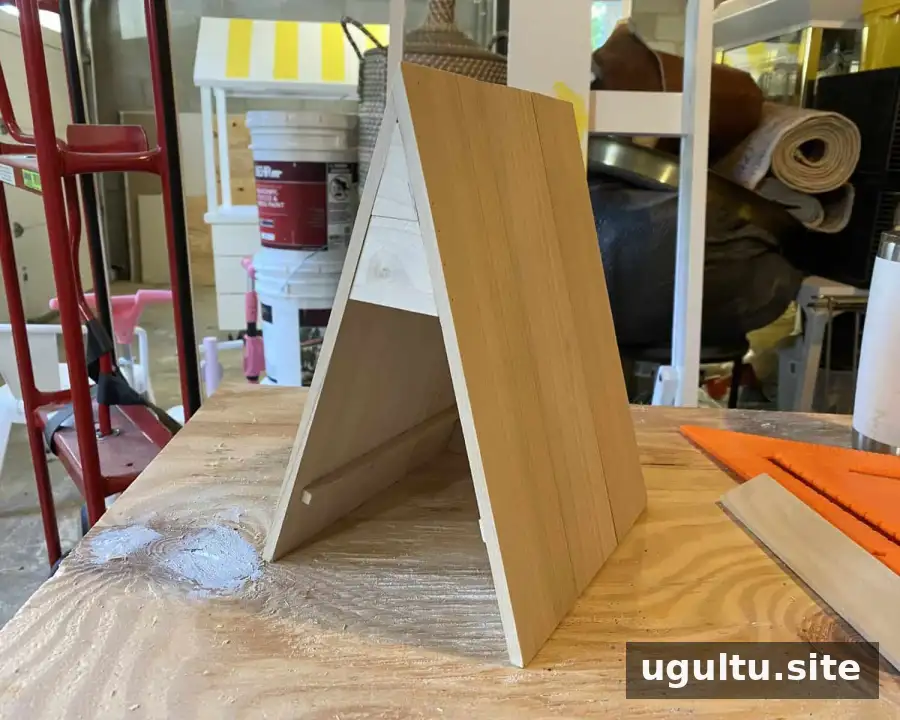
Join the two A-frame sides with wood glue and a pin nailer. To cover the back, hold each 1/4″ x 1 1/2″ board against the frame and mark the required angle with a pencil. Cut along the mark with the miter saw, then attach the piece. Continue measuring and fitting boards until the back is filled.
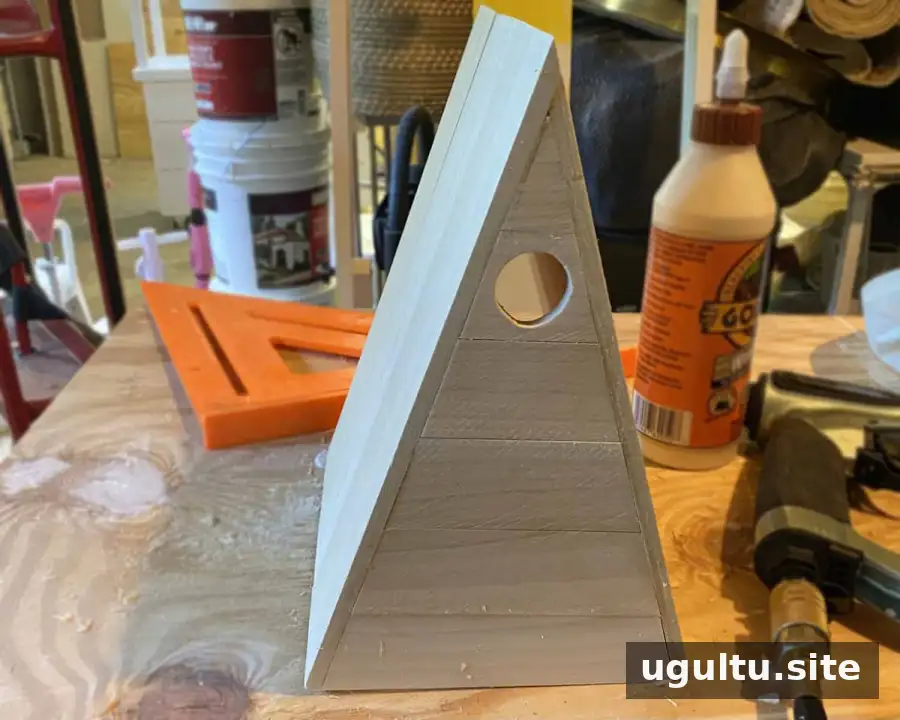
Use the 1″ hole saw to cut a window in the back panel, as shown. Position and check the intended opening before drilling so it does not interfere with the frame pieces.
Finish the Front and Add the Platform
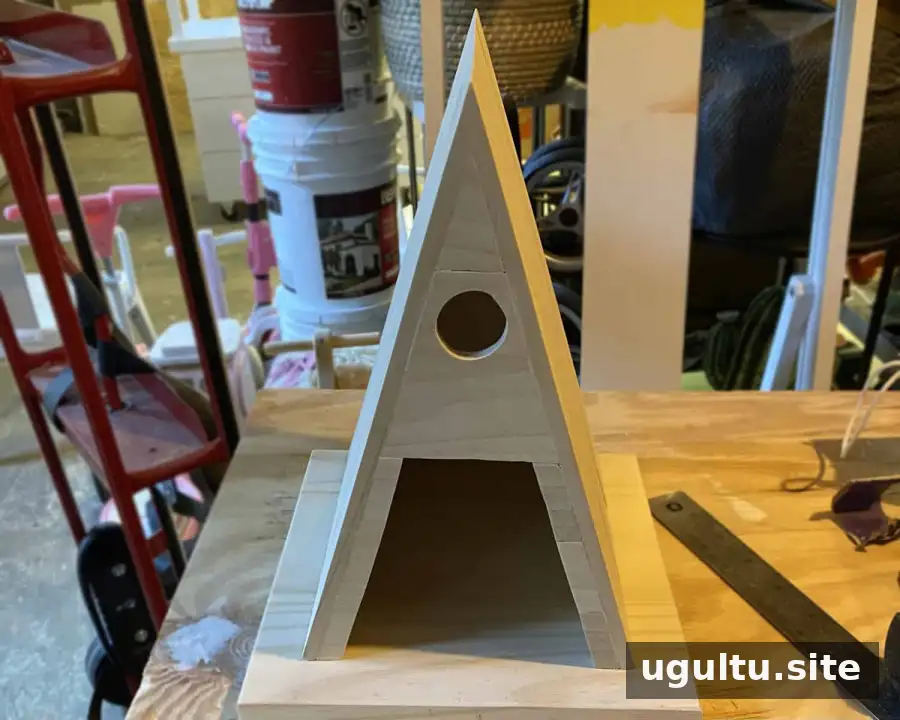
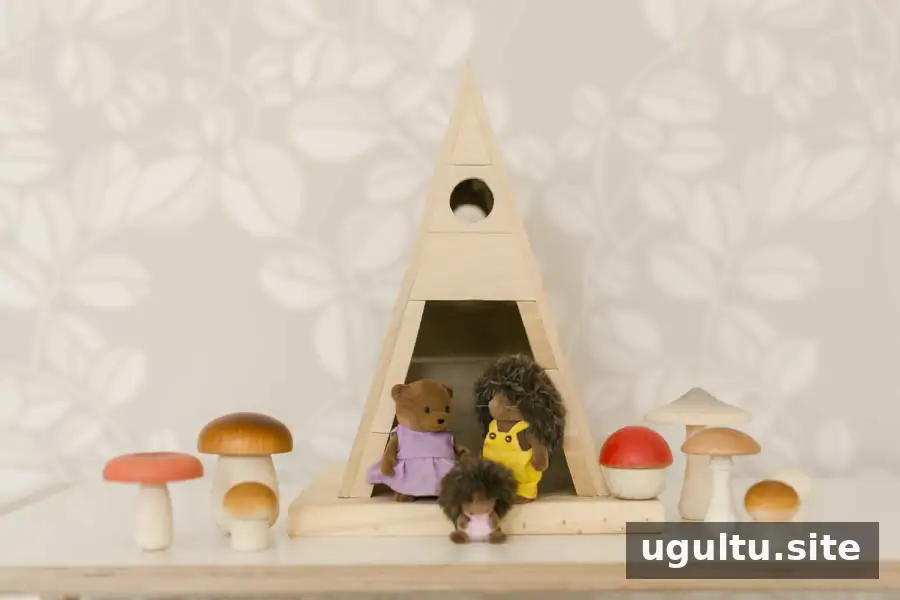
Cover the front using the same measure, mark, and cut method. For the bottom three rows, use 1/2″ pieces so that an opening remains at the front. Cut the 3/4″ x 10″ x 3′ board to 12″, then mount the A-frame on this 12″ x 10″ piece to create the platform.
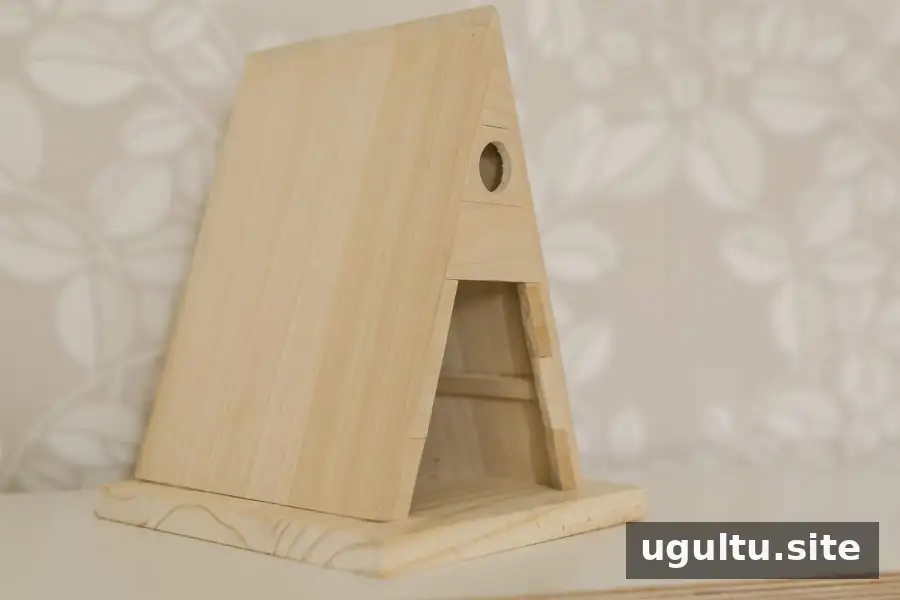
Personalize the Finished Dollhouse
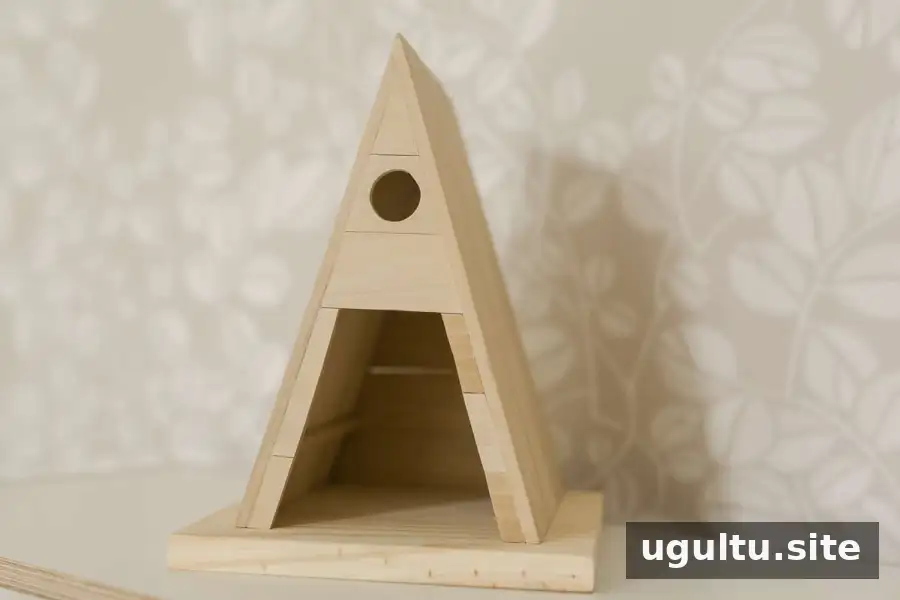
Once assembly is complete, the dollhouse can be left as natural wood or painted. If painting, choose a finish suitable for a child’s toy and follow its label directions, including drying time, before play. The open front makes it easy to arrange small furnishings, while the compact platform gives the house a defined base.
This A-frame dollhouse DIY is a straightforward woodworking project, but its angled cuts call for careful measuring and adult use of power tools. Check the fit of each piece as you go, and let the glue set according to its instructions before handing the finished playhouse over for play.
Project by Elsie.


