admin
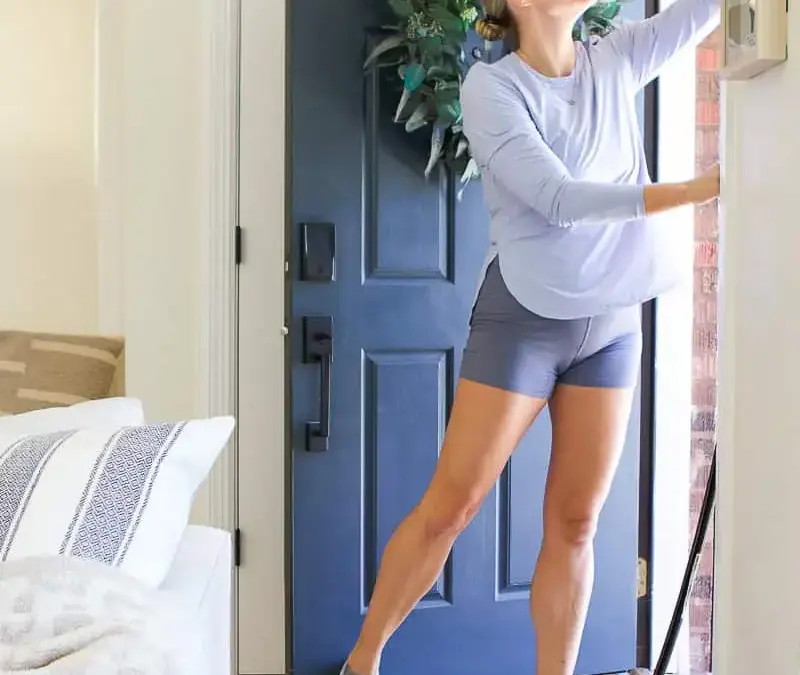
Exterior door weatherstripping is a practical way to reduce drafts and make your home more comfortable during cold weather. With a suitable door sweep and correctly fitted seals around the frame, you can close common gaps that let air, dust, and small pests enter. This guide explains how to inspect your door, choose materials, and install new weatherstripping.
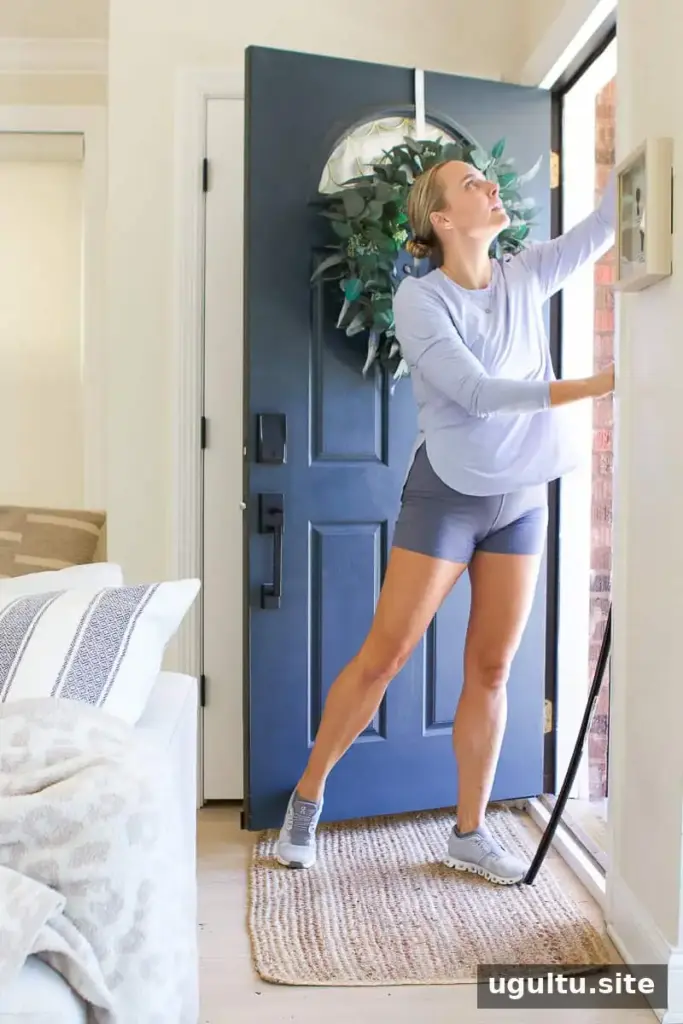
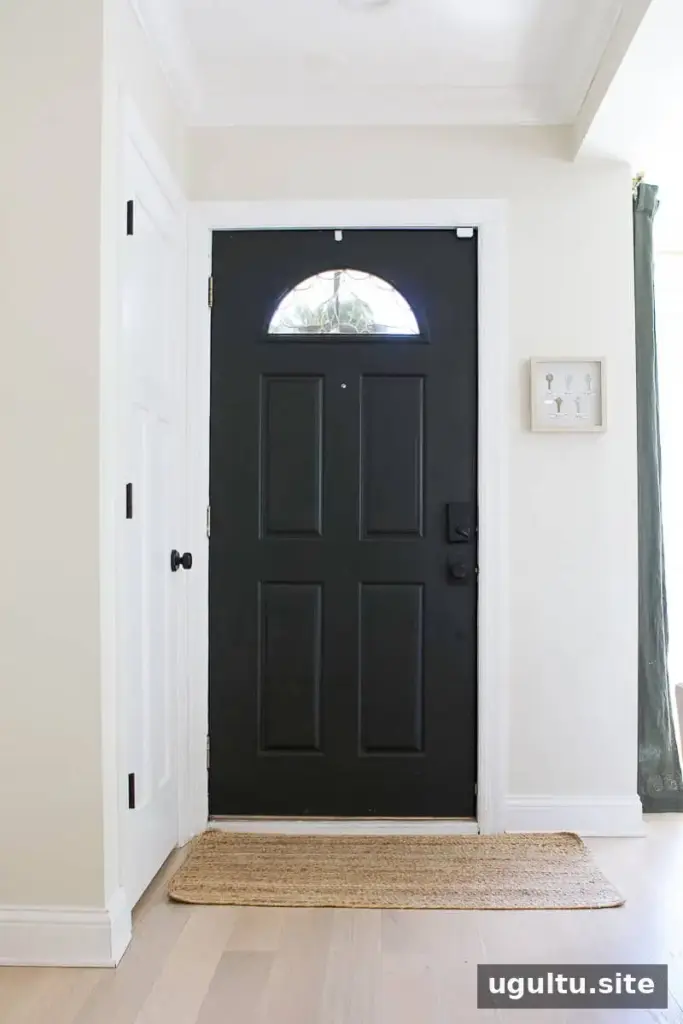
Before temperatures drop, check entry doors, side doors, and other exterior doors for worn or missing seals. The project can often be completed in about 20 minutes, though removing old hardware or trimming a sweep may take longer. A proper fit matters: seals should block air without preventing the door from closing and latching normally.
How to Tell If Your Exterior Door Needs Weatherstripping
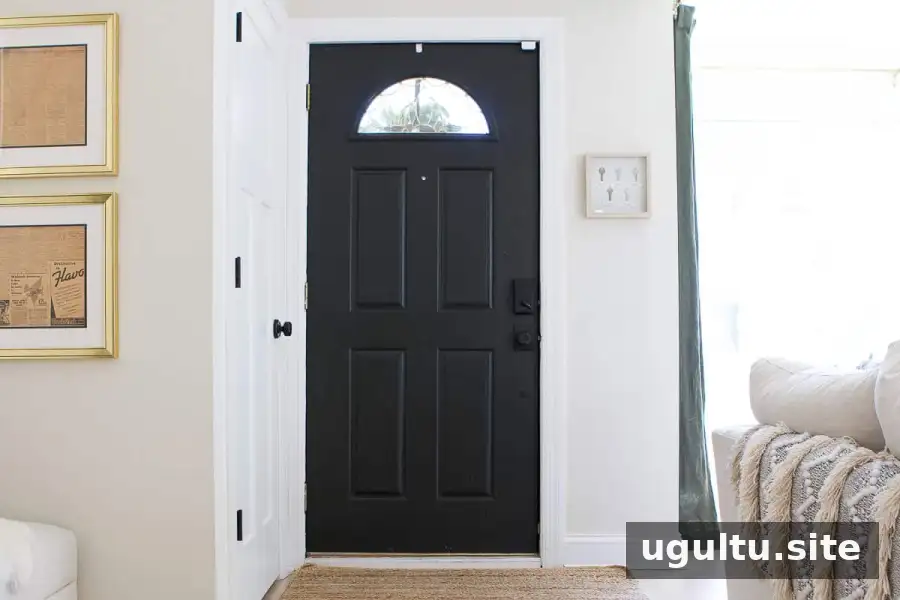
Inspect the door when it is closed. Look for visible light around the edges, cracked or flattened material, and gaps near the threshold. You can also hold a narrow strip of tissue near the frame and watch for movement that may indicate airflow. If you use a candle to check for drafts, keep the flame well away from curtains, furniture, and other combustible materials; a tissue test avoids an open flame.
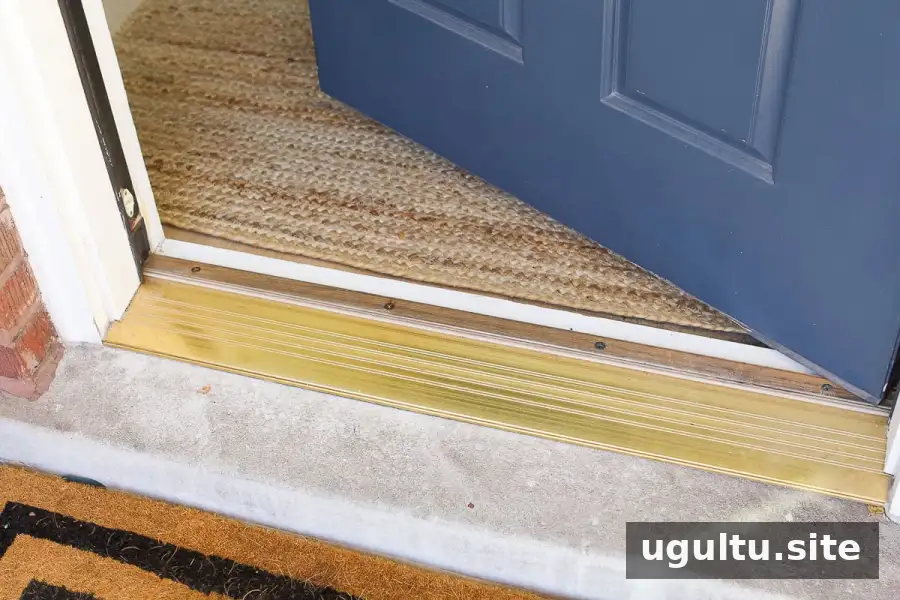
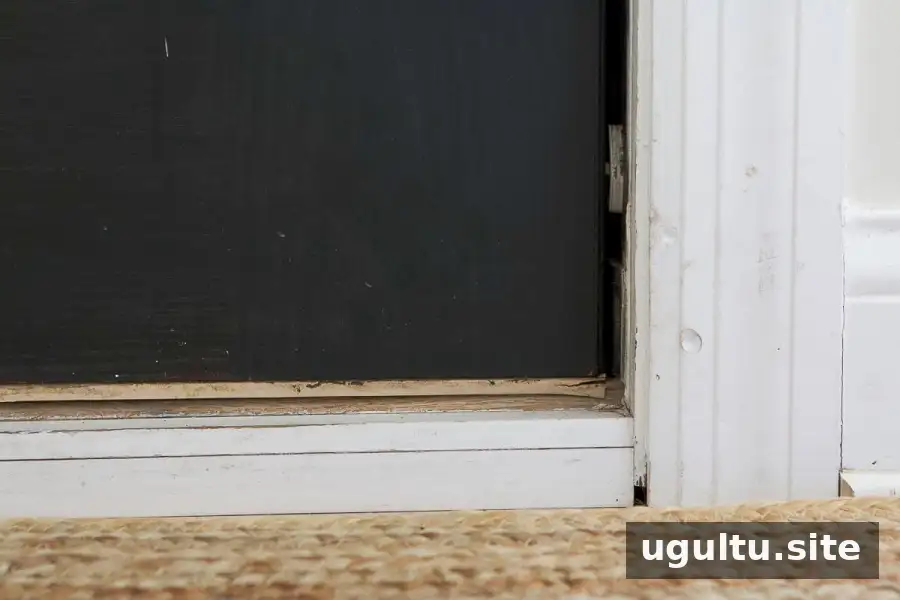
Check the full perimeter, including both sides, the top, the threshold, and the bottom corners. A draft may come from more than one location, so identify the gaps before buying replacement materials.
Types of Exterior Door Weatherstripping
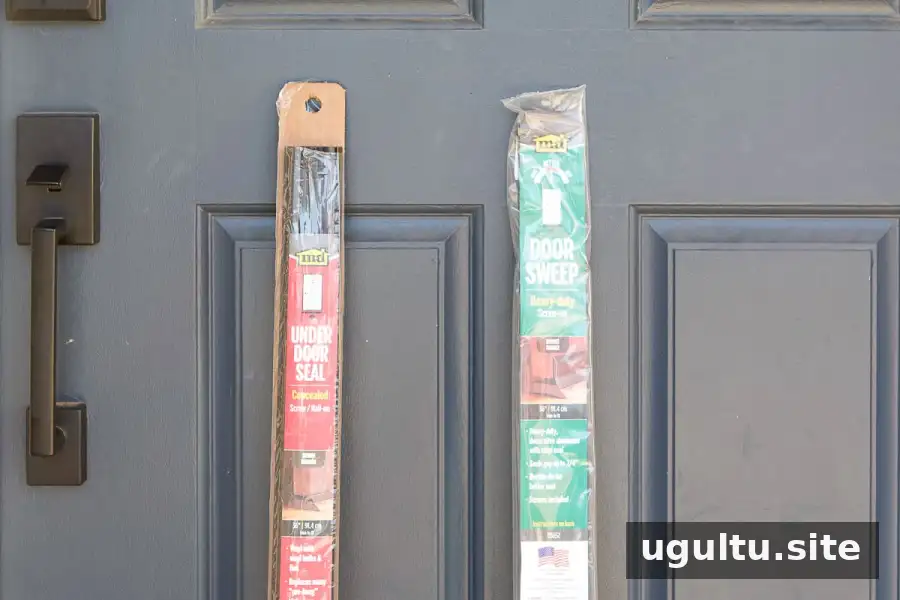
Choose a seal based on the gap size, door design, and how often the door is used. Product instructions can help confirm whether a particular material is suitable for your frame and climate.
- V strip (tension seal): A flexible plastic or metal strip that folds into a V shape and presses against the door or frame. It is commonly used along the sides and top.
- Felt: A low-cost option that is easy to fit, but it may wear faster than more durable materials, especially on a frequently used door.
- Foam tape: Self-adhesive foam that compresses to fill small gaps. Apply it to a clean, dry surface and avoid using a thickness that makes the door difficult to close.
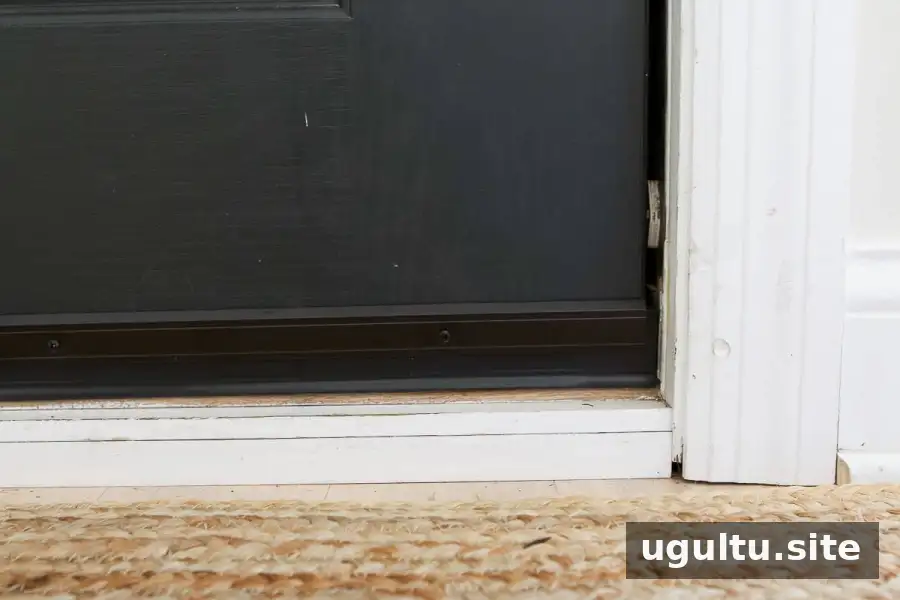
- Door sweep: A strip fitted to the bottom of the door. Its vinyl or rubber edge should meet the threshold lightly to limit drafts without dragging heavily.
- Tubular rubber or vinyl: A thicker seal often fitted into a groove in the frame. It can suit larger gaps when the door and frame are designed for that style.
Different types can be used in different locations. For example, a door may need a sweep at the bottom and replacement compression weatherstripping along the jamb.
How to Install Exterior Door Weatherstripping
Difficulty: 2 out of 5
Estimated time: About 20 minutes
Supplies: Vinyl door weatherstrip, door sweep, and door corner seals
Tools: Drill, hacksaw, measuring tape, scissors, work gloves, safety glasses, and a pry bar
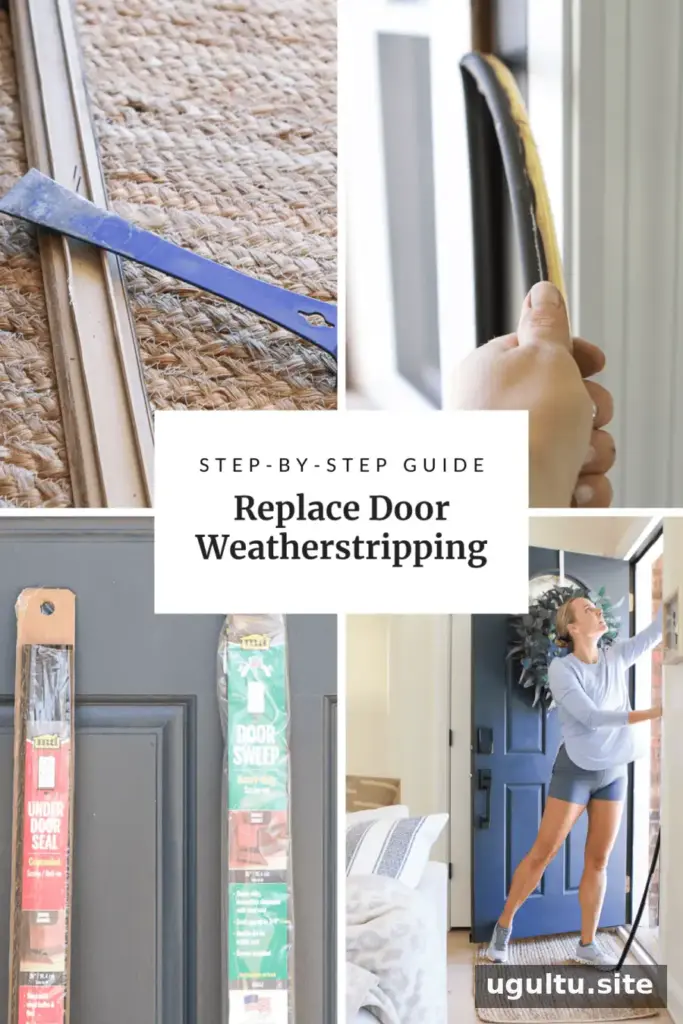
1. Remove the old door sweep
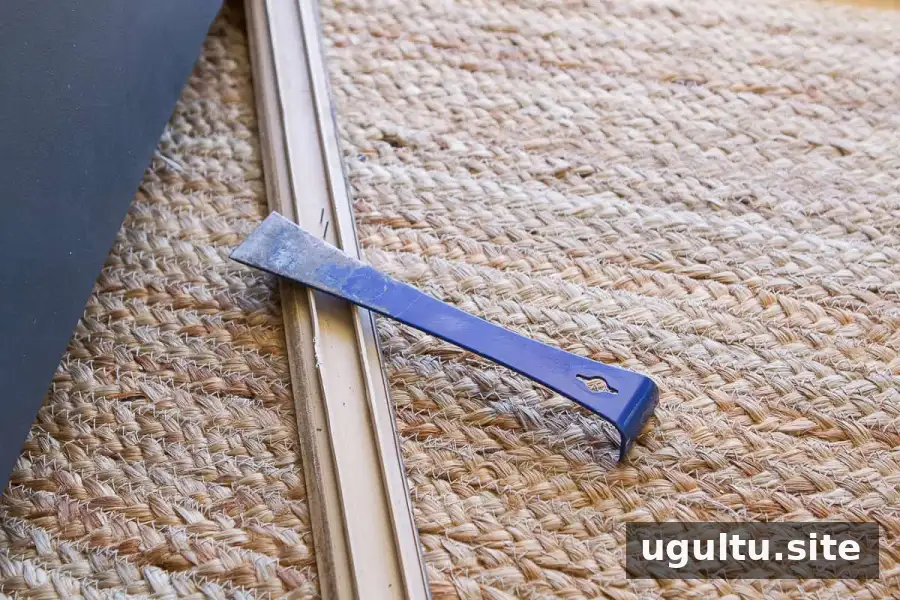
Examine how the existing sweep is attached before removing it. If it is secured with staples or fasteners, use a small pry bar carefully to lift it away from the door. Work gradually to avoid damaging the door’s bottom edge or finish.
2. Measure and trim the new sweep
Measure the width of the door’s bottom edge and mark the sweep to match. If the sweep includes an aluminum rail, trim it with a hacksaw. Wear work gloves and safety glasses, and follow the product instructions for cutting and handling the material.
3. Fit the new door sweep
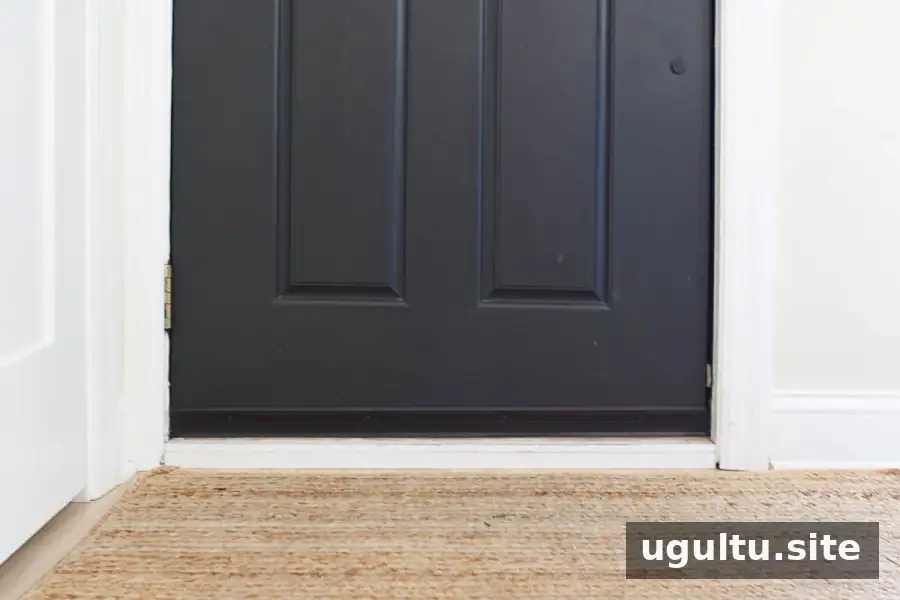
For easier installation, drill 1/8-inch pilot holes where the fasteners will go, if appropriate for the product and door. Secure the sweep, positioning its vinyl seal so it lightly touches the threshold. Open and close the door several times. Adjust the sweep if it catches, scrapes, or leaves a visible gap.
4. Replace the weatherstripping around the frame
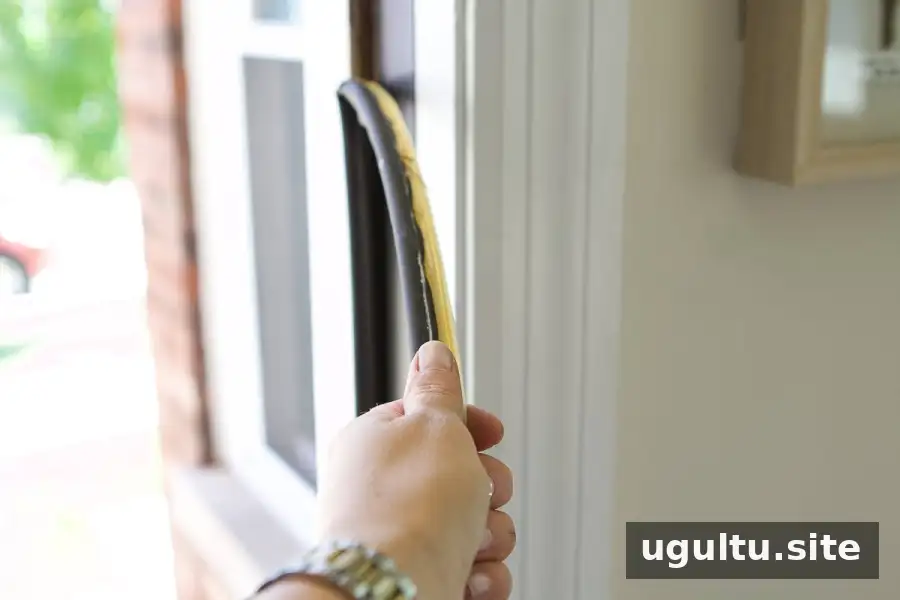
Remove the existing seal from the door jamb. Some types pull out of a narrow slot, while others may be attached with adhesive or fasteners. Clear away loose debris so the replacement can sit evenly.
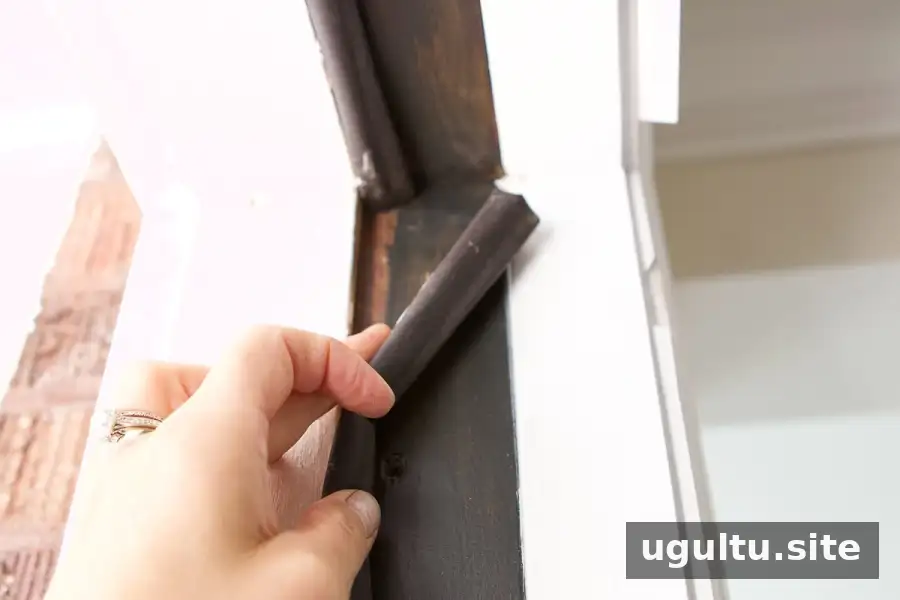
Press new slot-in weatherstripping into the jamb, following the product’s directions, and trim excess material with scissors. Close the door to check the fit. The seal should make contact around the perimeter while allowing the door to shut and latch without excessive force.
5. Seal the bottom corners
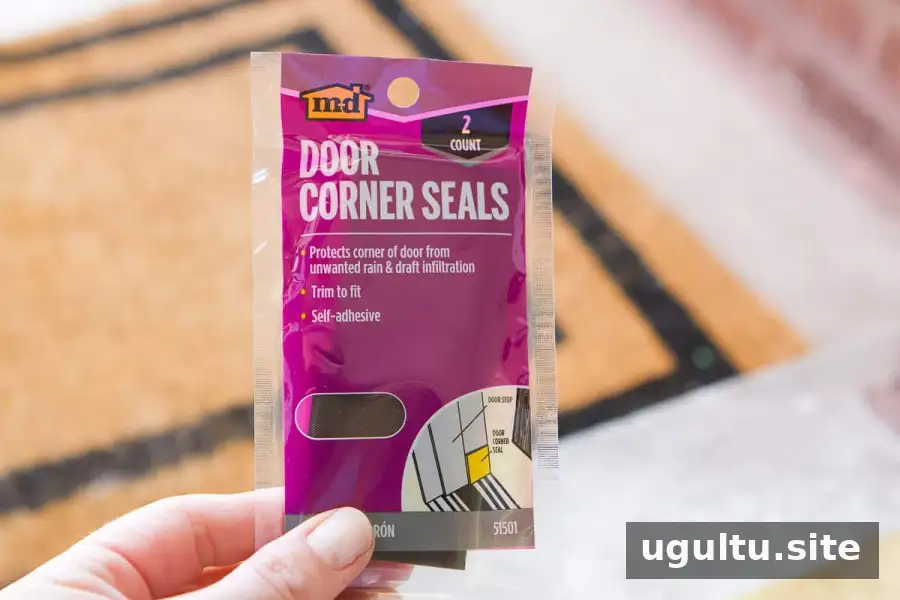
Small gaps can remain where the side seals meet the threshold. Adhesive-backed door corner seals can cover these areas and provide an additional barrier against drafts and debris.
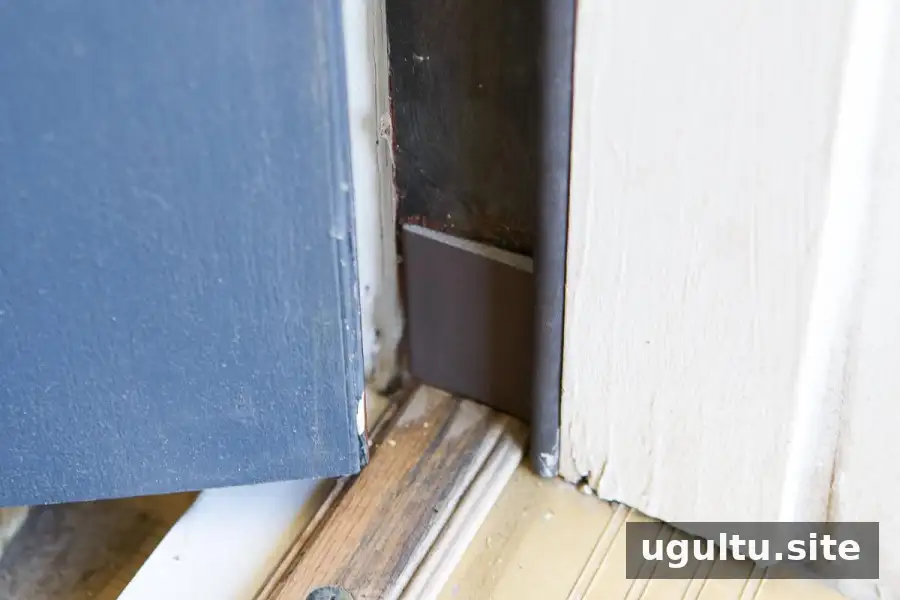
Clean and dry the surface first, then place the corner seals where the sides of the door meet the threshold. Press them firmly into place and check that they do not interfere with the door’s movement.
When to Replace Door Weatherstripping
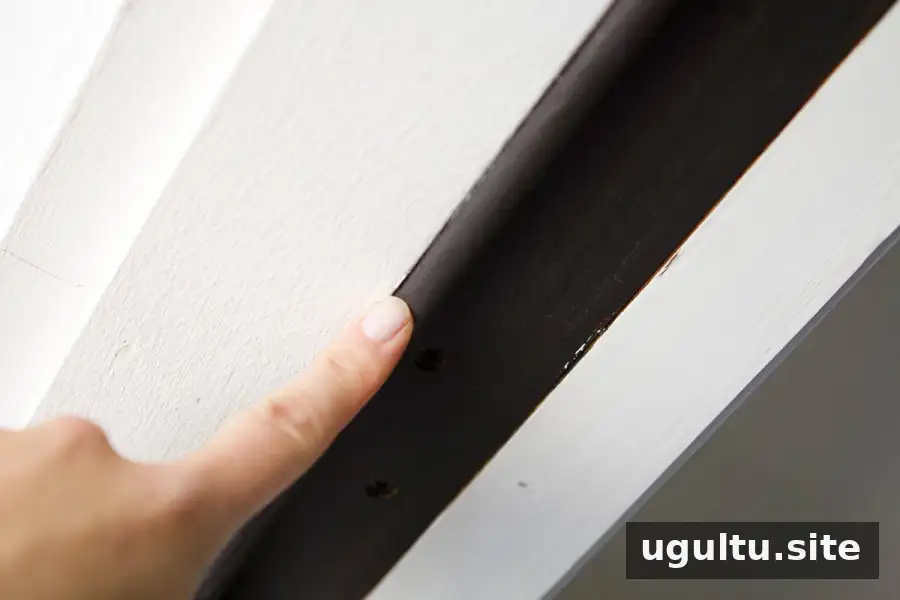
Door weatherstripping commonly needs replacement every 2 to 5 years, depending on the material, exposure to weather, and how often the door is used. Replace it sooner if you notice drafts, gaps, cracking, flattening, or peeling. Inspect the seals at the start of each season, especially before winter, so there is time to fix problems before cold weather arrives.
Keep the Cold Out With Exterior Door Weatherstripping
Careful exterior door weatherstripping can help limit cold drafts and make an entryway more comfortable. Measure before cutting, use safety equipment when removing or trimming parts, and test the door after each adjustment. A well-fitted sweep and intact frame seals close gaps while still allowing the door to operate normally. Regular inspections help you spot wear early and decide when a repair or replacement is needed.