admin
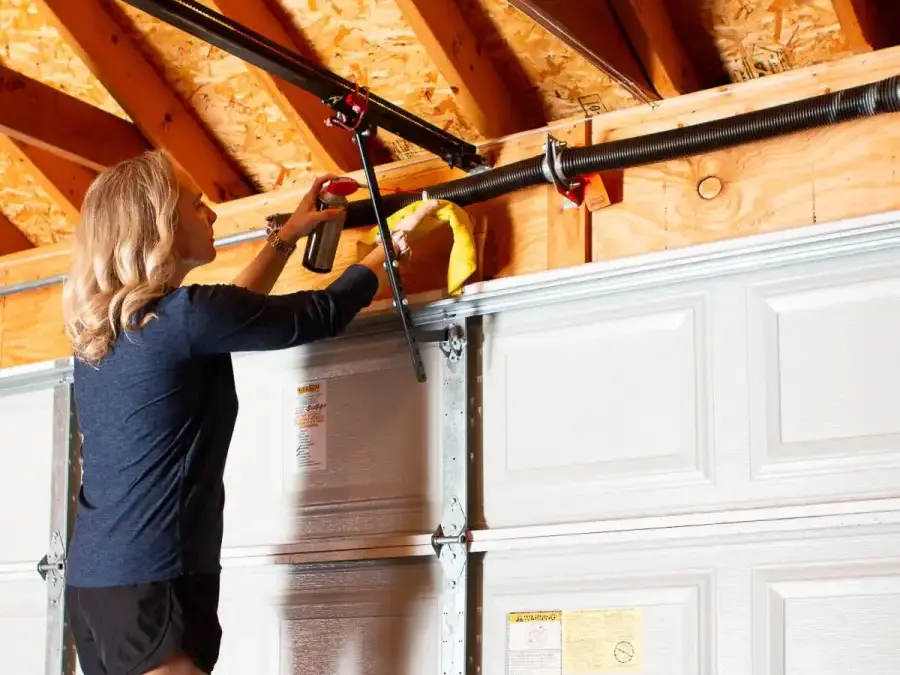
Garage door weatherstripping helps seal the gap beneath a closed door, limiting drafts and keeping out dust, moisture, and pests. If you can see light coming through at the bottom or notice that the seal is cracked or worn, replacing it can be a manageable DIY project. This guide explains how to install garage door weatherstripping, from removing the old seal to checking the fit.
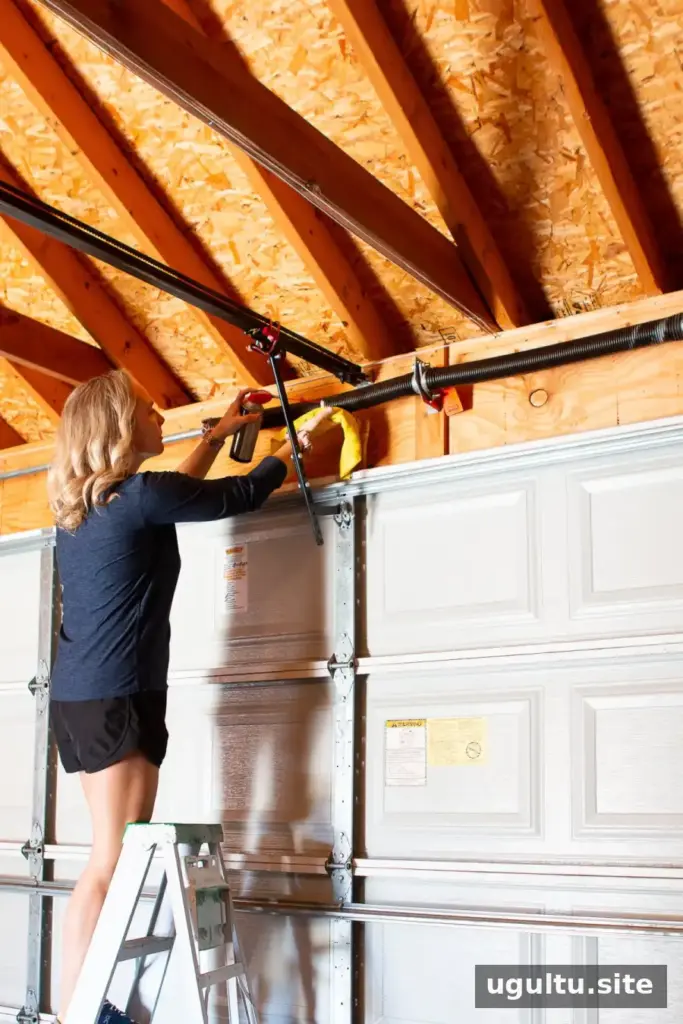
A worn bottom seal may be easy to overlook, but checking it is a useful part of routine garage door maintenance. Inspect the seal while the door is closed, and look for visible gaps, damage, or areas where it no longer meets the floor.
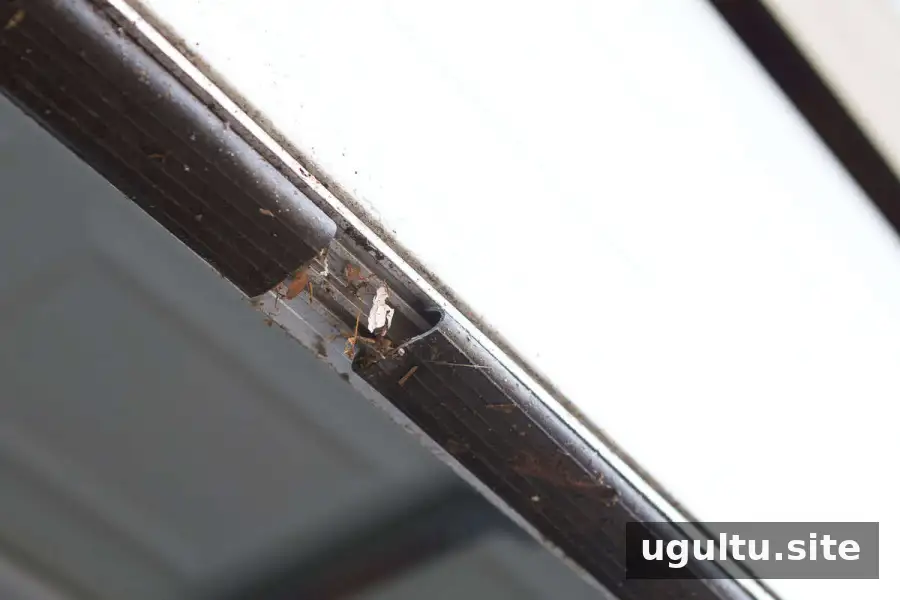
Signs Your Garage Door Seal Needs Replacing
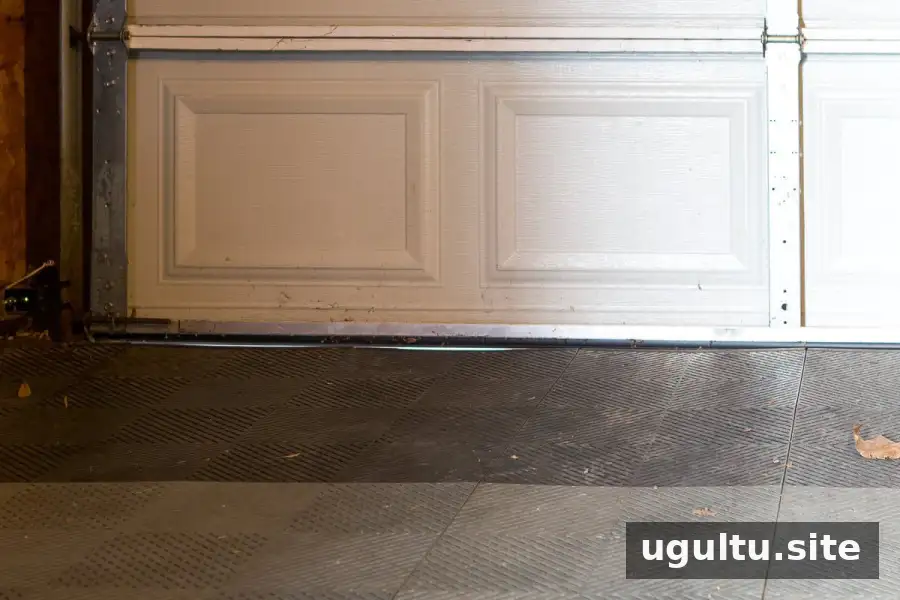
When a garage door is closed, gaps of light along the bottom can indicate that the seal is no longer making consistent contact with the floor. Cracks, brittleness, warping, or sections that have pulled away from the track are other signs to check.
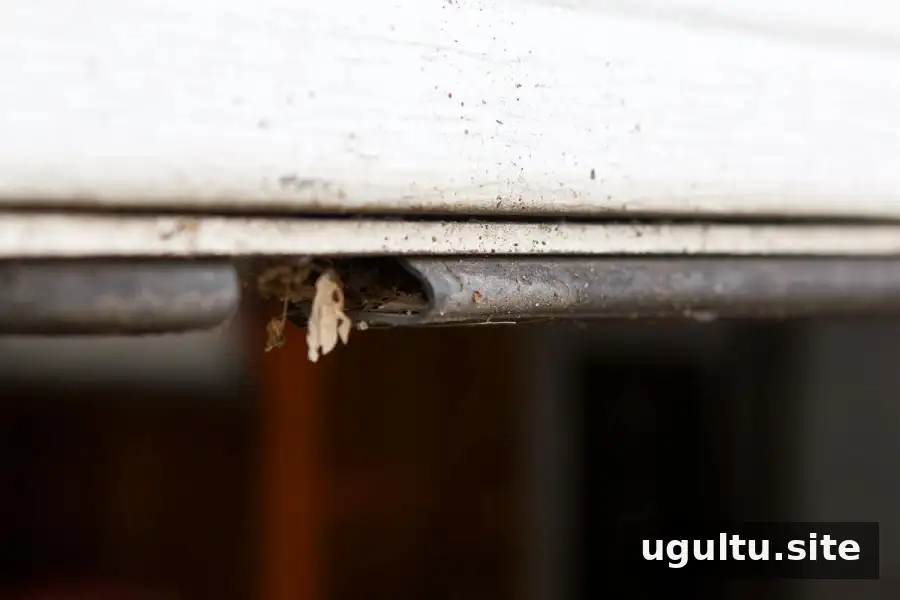
Before buying a replacement, identify how the existing seal attaches to the door. Many bottom seals slide into a metal channel, but designs and sizes can vary. Choosing a seal that fits the track is important for a smooth installation.
Why Install Garage Door Weatherstripping?
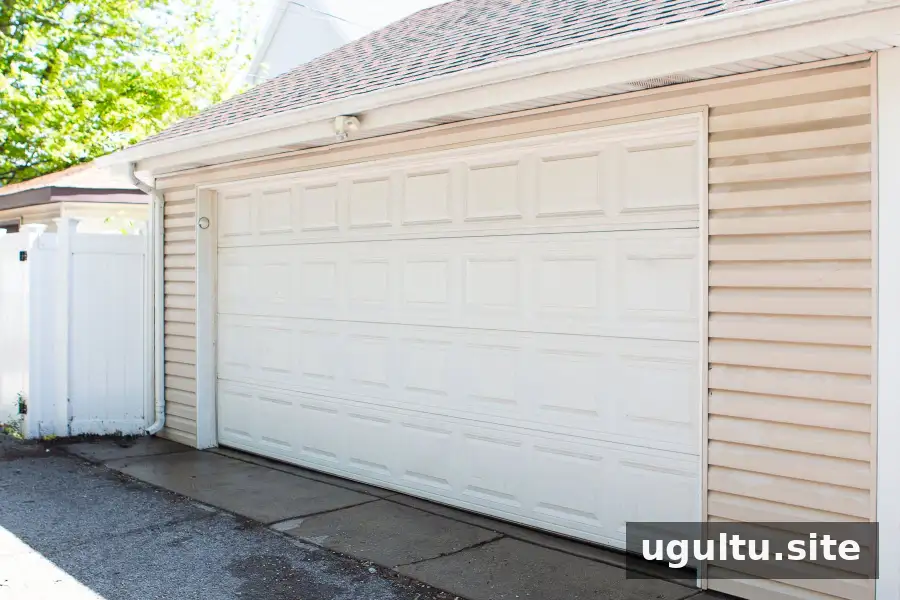
A well-fitted bottom seal helps reduce air movement through the gap under the door. This may be especially useful for a garage connected to the home, where limiting drafts can support more consistent indoor temperatures. It can also help keep windblown dust, debris, moisture, and small pests from entering the garage.
Weatherstripping does not repair other sources of drafts or moisture, so check the rest of the door and surrounding area if problems continue. For a better fit, make sure the floor is reasonably even and that the door closes properly before installing the new seal.
Supplies and Tools
Difficulty: 3 out of 5
Estimated time: 1 hour
- Replacement weatherstripping
- Work gloves
- Garage door lubricant
- Rags
- Electric scissors or a utility knife
- Tape measure
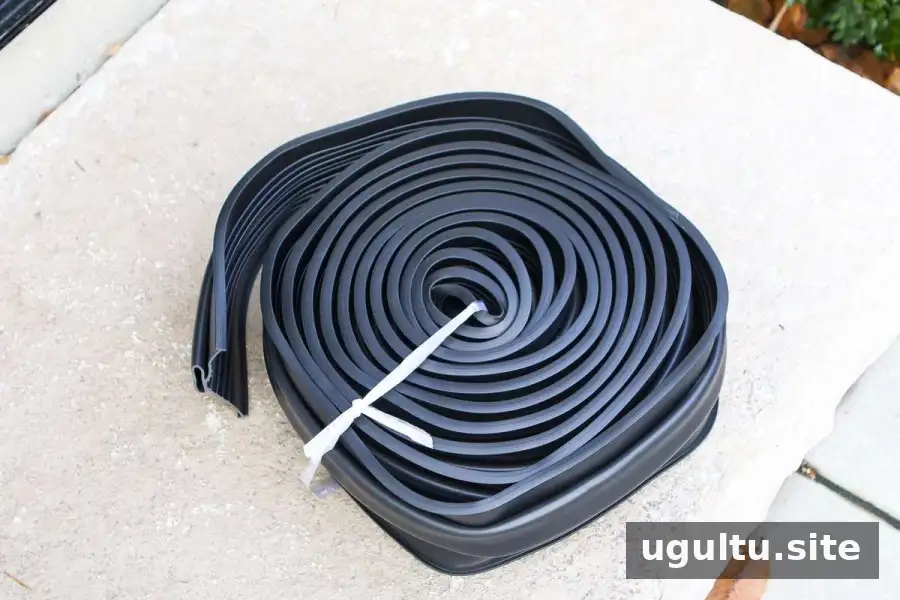
Measure the width of the garage door and check the profile of the old seal before purchasing a replacement. Weatherstripping is available in different sizes and styles. Buying a piece slightly longer than the measured width allows you to trim it to fit.
How to Install Garage Door Weatherstripping
1. Remove the Old Bottom Seal
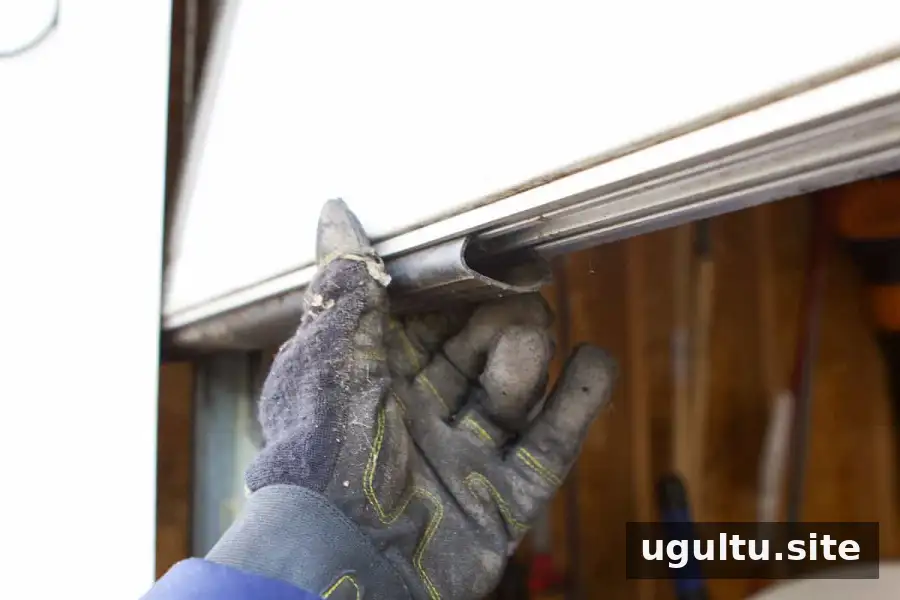
Put on work gloves and raise the garage door so the bottom edge is accessible. Make sure the door is stable and cannot close unexpectedly before working near it. If you cannot secure it safely, stop and contact a qualified garage door technician. Do not adjust springs or cables as part of this project.
Many bottom seals sit in a metal track along the lower edge of the door. Gently pull the old seal out through the end of the channel. If it resists, work patiently rather than yanking hard, which could damage the track.
2. Clean the Channel
Use a rag to clean the bottom edge of the door and the seal channel. Remove dirt and debris so they do not obstruct the replacement strip. A clean track can make it easier to slide the new seal into place.
3. Feed in the New Weatherstripping
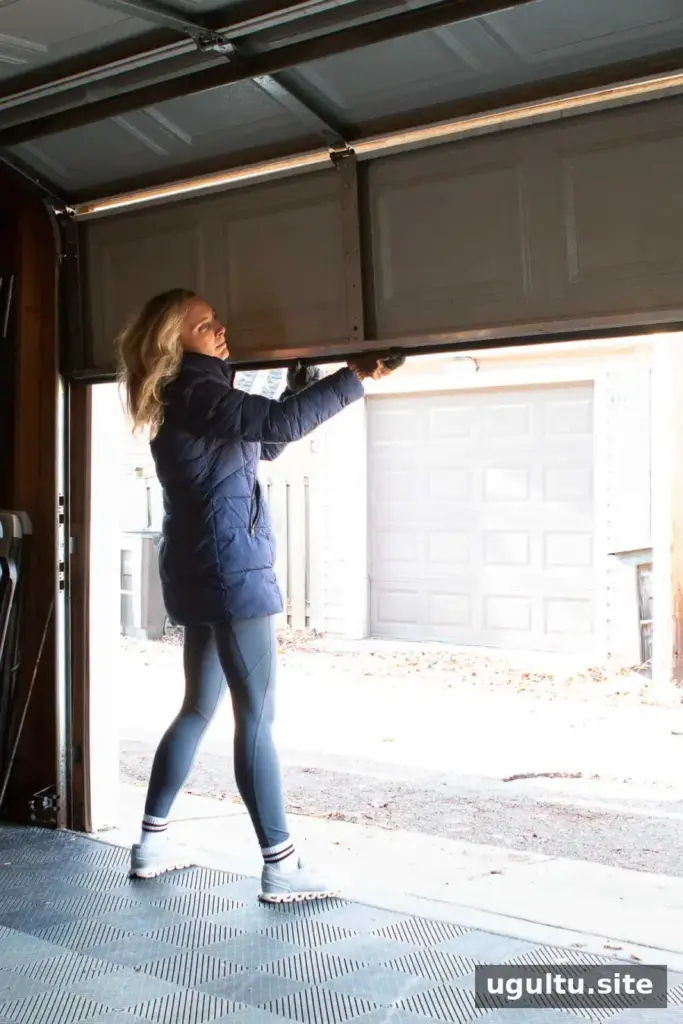
Line up the new seal with the channel and begin feeding it into the track. Some seals slide through easily; others may need to be guided and pulled along in short sections.
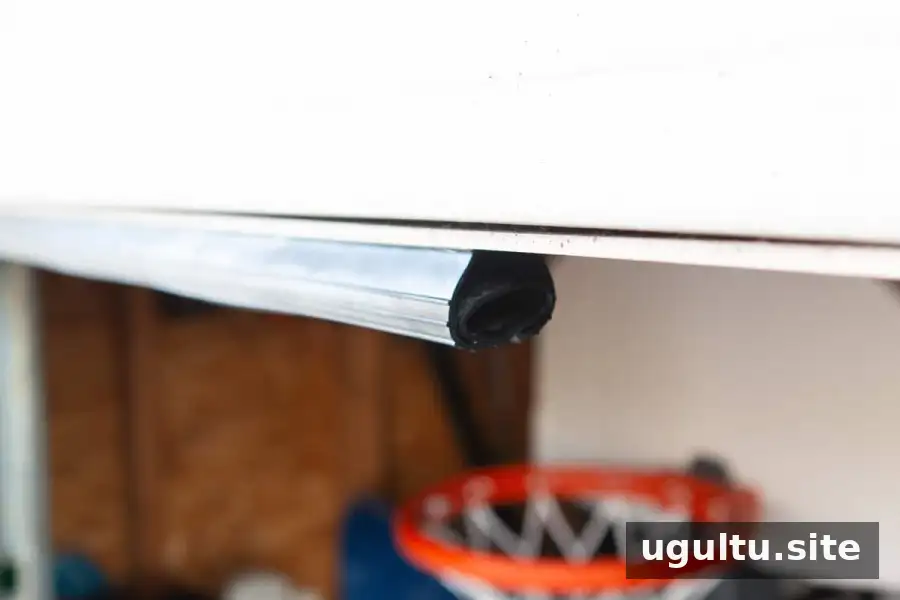
Continue a little at a time, adjusting the strip as needed so it does not bunch or twist. If it is difficult to move, apply garage door lubricant to the channel and the seal’s contact surfaces, following the product directions. Avoid forcing the material through the track.
4. Trim the Excess
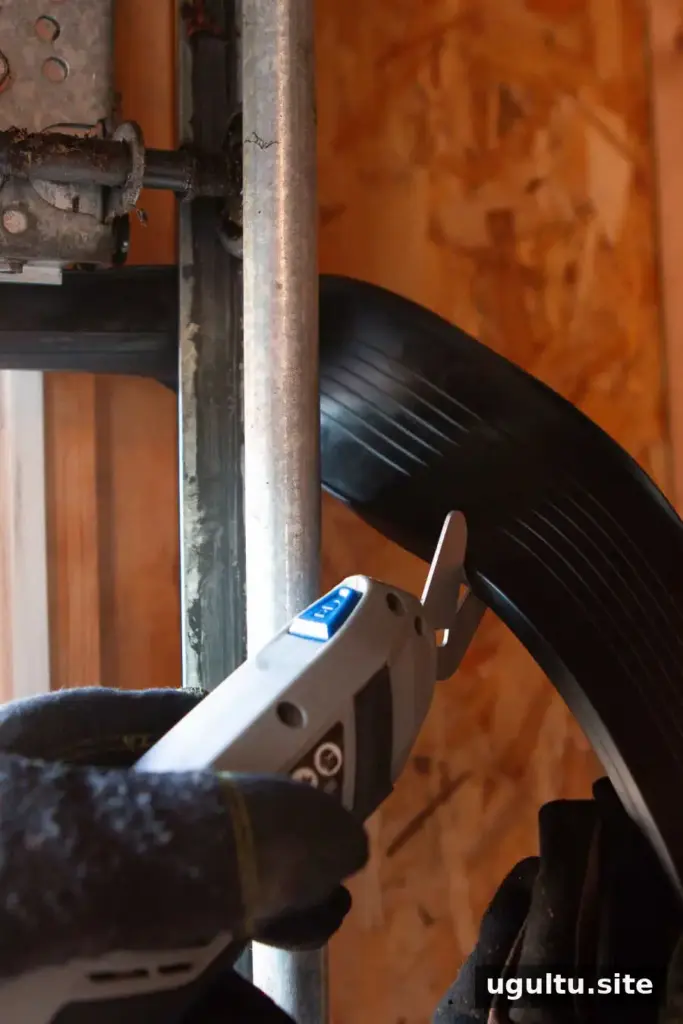
Once the seal is in place, trim the ends to fit the door. One installation left about 1/2 inch of weatherstripping on each side; check the design of your door and replacement seal before cutting. Use electric scissors or a sharp utility knife carefully, and keep your hands clear of the cutting path.
5. Check the Fit
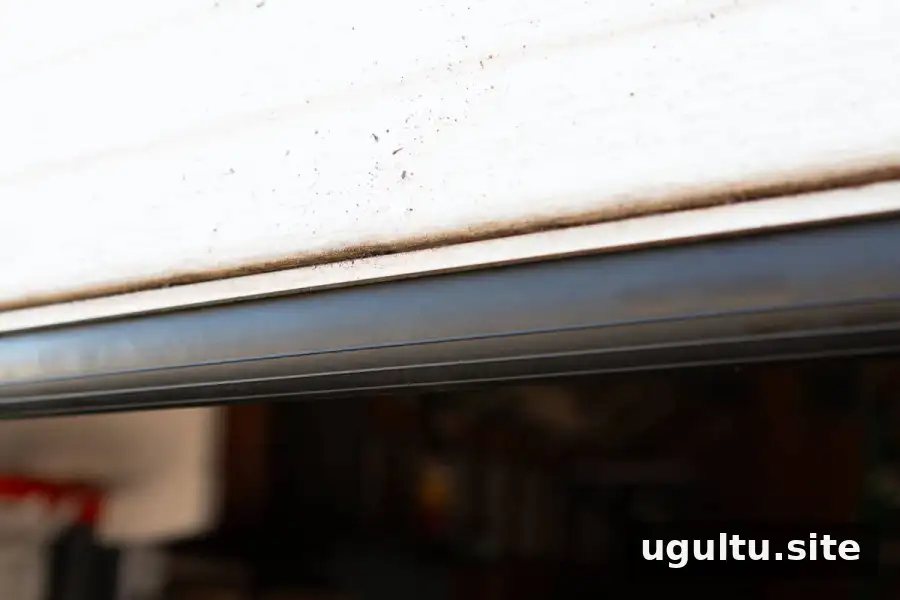
Remove tools and any loose material from the work area, then close the door and inspect the bottom edge. The seal should meet the floor evenly without visible light gaps. Open and close the door to confirm the seal does not catch, bunch, or prevent normal operation.
How Often Should You Replace Garage Door Weatherstripping?
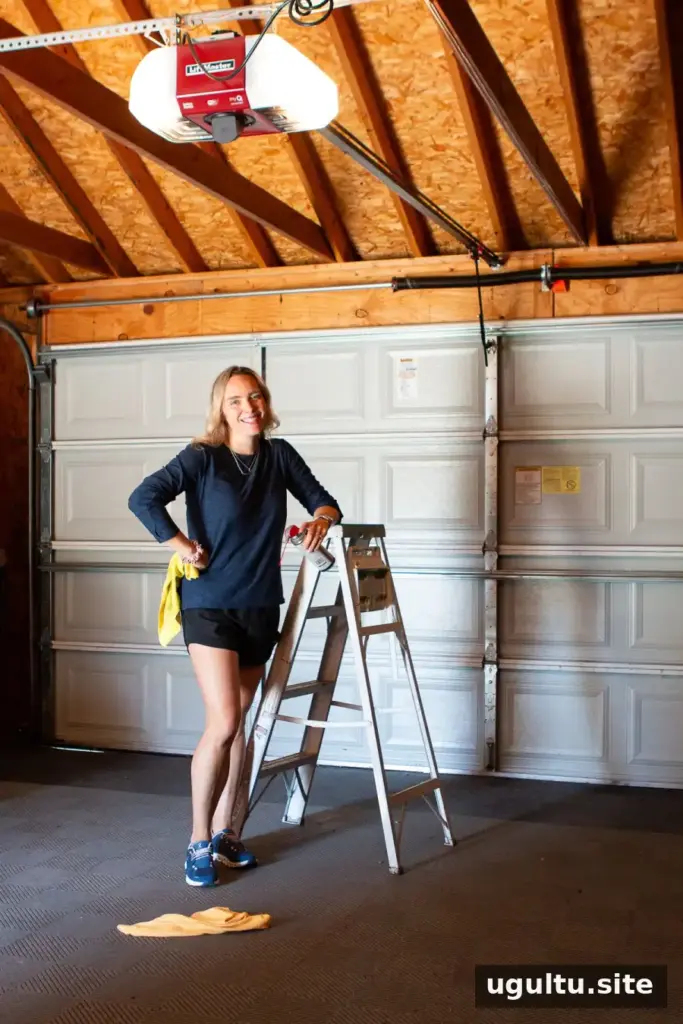
Garage door weatherstripping is often replaced every 2 to 3 years, but its lifespan depends on local conditions and how frequently the door is used. Heavy rain, snow, intense sun, and other harsh weather can cause a seal to wear sooner.
Inspect the seal at least once a year for cracks, warping, brittleness, or gaps. Checking it regularly makes it easier to spot wear before the seal stops making good contact with the floor. Replace it when damage or poor fit prevents it from sealing properly.
Final Tips for Garage Door Weatherstripping
Replacing garage door weatherstripping can be a straightforward maintenance task when the replacement matches the existing track and the door is handled safely. Measure before shopping, clean the channel, and test the seal after installation. If the door is unstable, the track is damaged, or the new seal will not fit correctly, ask a garage door professional for help.