
 admin
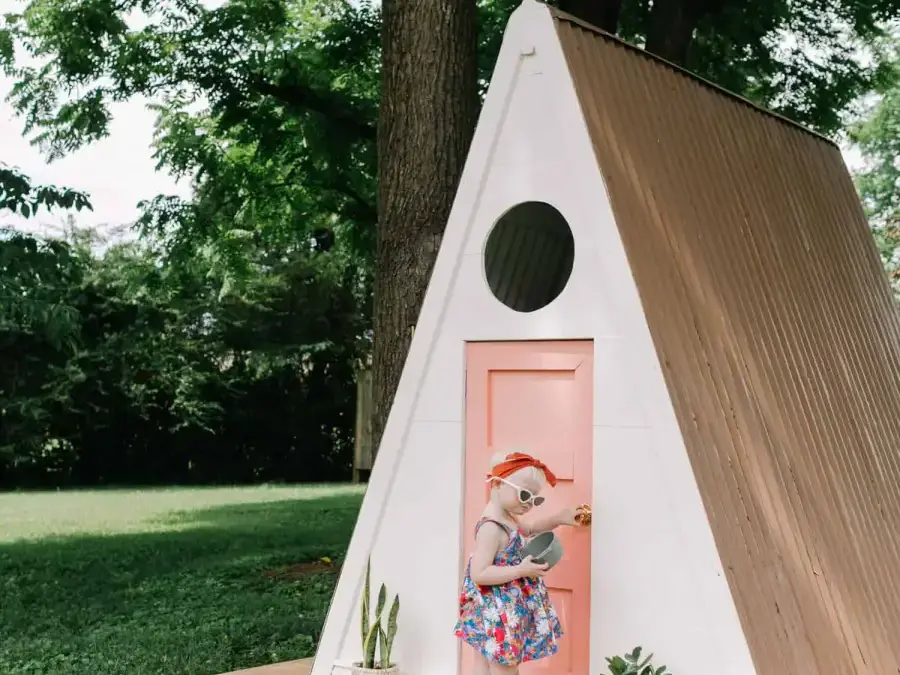
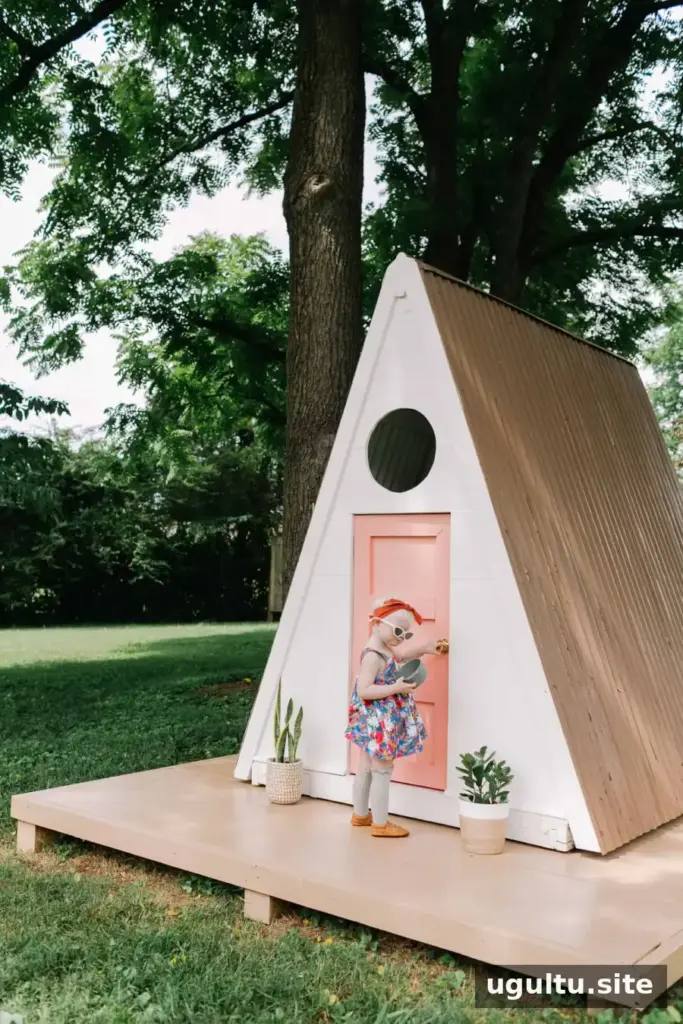
This A-frame playhouse DIY guide covers the materials, tools, original project cost and main construction steps for a raised 6′ x 8′ playhouse with a porch. The finished structure can sit beside an existing playset, but the dimensions and layout can be adjusted to suit the yard. Review the full plan and check the ground conditions before starting.
A-Frame Playhouse DIY: Materials and Tools
The original materials total was $844.77. Prices can change, so use the itemized list as a project reference and confirm current costs locally before purchasing.
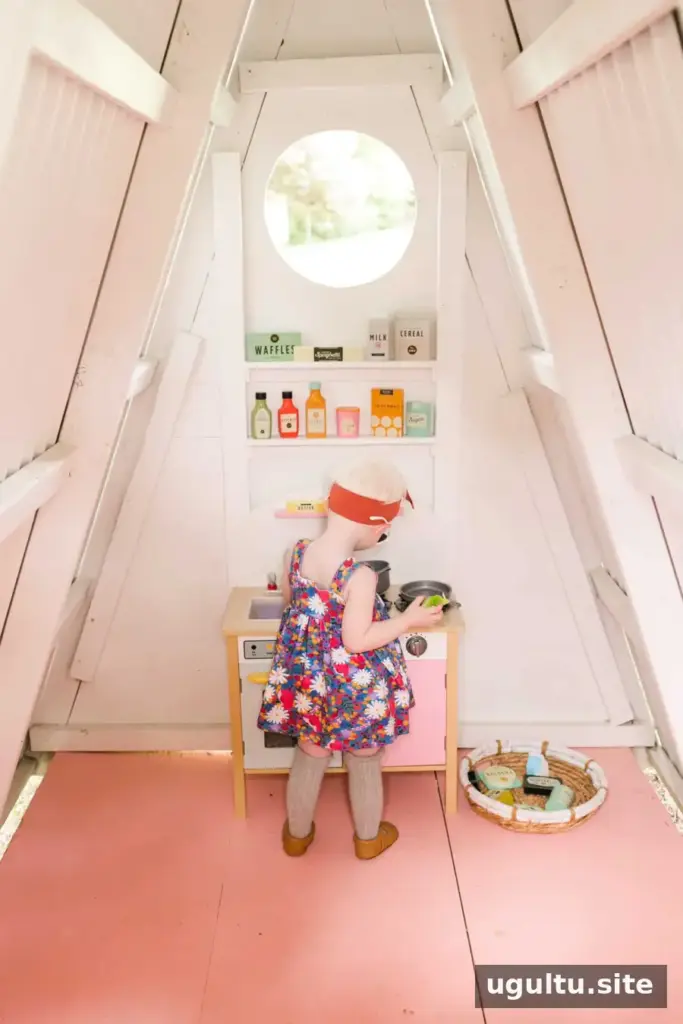
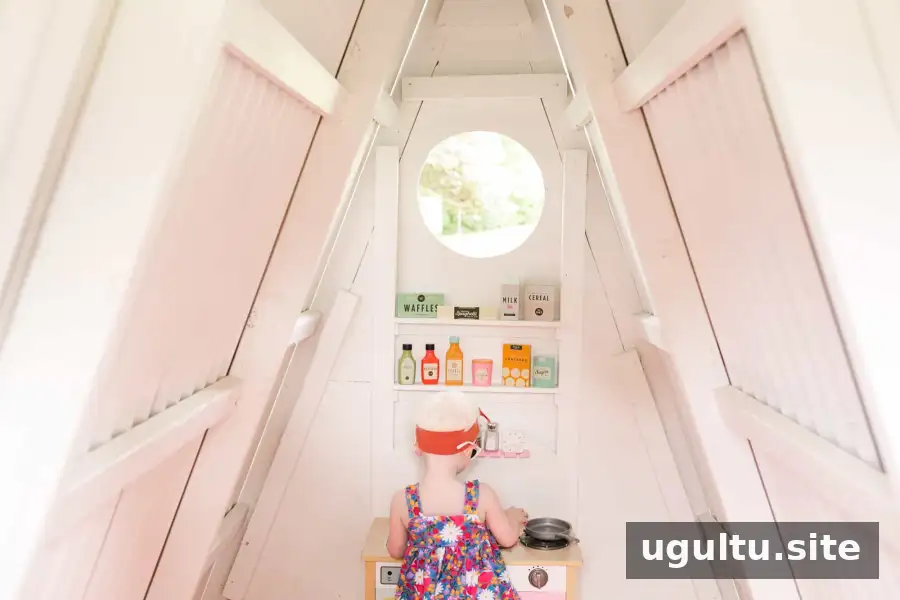
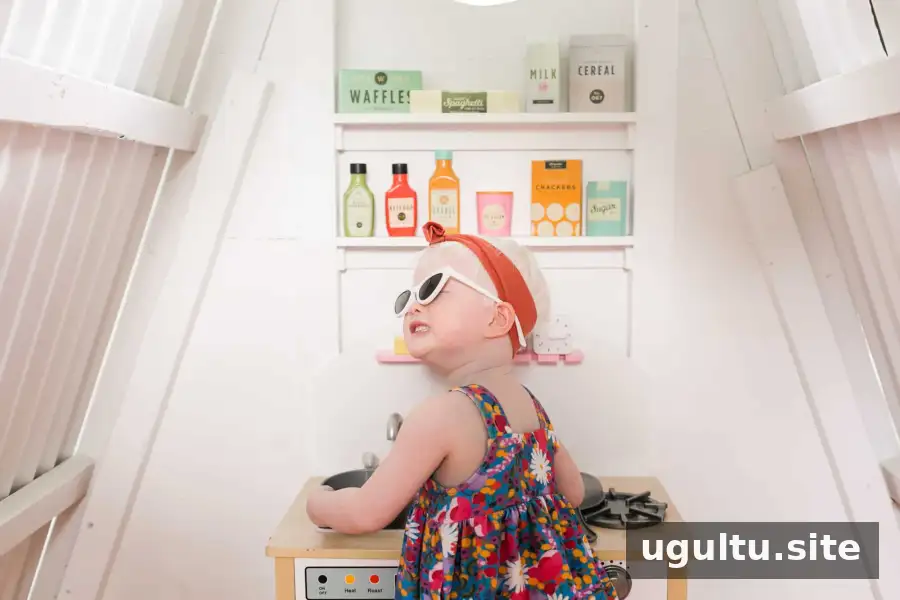
The playhouse was built by Collin from Elsie’s sketches. The following list and instructions document the original project.
Materials
- Eight 4″ x 4″ x 6′ pressure-treated posts ($52.96)
- Four 50-lb bags of fast-setting concrete ($21.84)
- Sixteen 2″ x 4″ x 8′ pressure-treated boards ($63.52)
- Eight 2″ x 4″ x 8′ boards ($29.76)
- Two 3/4″ x 4′ x 8′ pressure-treated plywood sheets ($67.58)
- Eight 2″ x 3″ x 8′ boards ($17.02)
- One 2″ x 6″ x 8′ board ($6.02)
- Fourteen 3/4″ x 12″ x 8′ boards ($206)
- One 1/2″ x 2′ x 4′ plywood sheet ($13.67)
- Two 1/2″ x 4″ x 6′ boards ($8.34)
- Four 5/8″ x 4″ galvanized steel lag bolts and washers ($26)
- Twelve 1/4″ x 8″ self-drilling screws ($15.24)
- Two boxes of 2″ wood screws ($23.45)
- Ten 2′ x 8′ galvanized steel corrugated roof panels ($102.50)
- One 10″ x 8′ galvanized steel roof top ($21.62)
- One box of self-tapping sheet-metal screws ($5.78)
- Two door hinges ($4.05)
- Two door handles ($10.15)
- One gallon of exterior paint and primer ($39.89)
- One gallon of oil-based exterior paint ($39.89)
- One gallon of Cabot Clear Wood Protector ($31.99)
- Waterproof caulk ($3.74)
- Yard flags (optional)
Tools
- Post-hole diggers
- Drill
- Compound miter saw
- 4′ level
- Ratchet with 1/2″ socket for the 5/8″ lag bolts
- 5/8′ drill bit
- Tape measure
- 6′ ladder
- Pneumatic nail gun
- Jigsaw
- Paintbrush
Build the Raised Playhouse Base
Choose the base dimensions first; the original platform measures 6′ x 8′. Mark its four corners with yard flags and dig a hole about 1 1/2′ deep at each corner. Cut four 4″ x 4″ x 6′ pressure-treated posts to the required heights and position them in the holes. Because the ground may not be even, the tops of all four posts need to be level with one another.
Set one post at a time. Add fast-setting concrete around its base, add water and mix with a stick. Check the post with a level and allow the concrete to become semi-set, about 20 minutes, before moving on. Use the first set post as a reference when aligning the next ones.
Cut pressure-treated 2″ x 4″ boards for the four outside sides of the frame and fasten them with wood screws. Pre-drill holes with the 5/8′ bit, then attach the frame to all four posts using the lag bolts and ratchet. Add more 2″ x 4″ boards inside the frame as cross supports for the floor. Lay the 3/4″ x 4′ x 8′ pressure-treated plywood over the supports and screw it down along the edges.
Frame the A-Frame Roof and Walls
Cut the 2″ x 4″ x 8′ boards so their lower ends meet the ground and their upper ends fit against the center support beam. The precise angle depends on the playhouse’s dimensions, so test and adjust the cuts before fastening the boards. Secure them to the base and the 2″ x 6″ x 8′ center beam with 1/4″ x 8″ self-drilling screws.
Cut 2″ x 3″ x 8′ boards into 32 support pieces to brace the roof framing and provide fixing points for the metal panels. Use additional 2″ x 3″ boards to frame the doorway; the original door opening is 2′ x 4′, though its size can be customized.
For the front and back walls, cut the 3/4″ x 12″ x 8′ boards to fit the sloped outline. One practical approach is to hold each board in place, mark the angle, and match the saw blade to that mark. Start at the bottom and work upward, fastening each board to the frame with a pneumatic nail gun.
Make the Door, Windows and Metal Roof
The original door used a 2′ x 4′ plywood panel with trim cut from 1/2″ x 4″ x 6′ boards. Assemble the pieces with glue or nails, then attach the door using the two hinges and handles.
Fasten the 2′ x 8′ galvanized corrugated roof panels with self-tapping metal screws. Place them one at a time and overlap each panel by about 2″. Fit the galvanized roof-top panel over the ridge and screw down both sides. For the open gaps at the roof ends, trace each gap onto scrap wood, cut the pieces with a jigsaw and fit them into place.
To mark a round window, cut a cardboard template to the chosen size and trace it onto the playhouse. Drill a pilot hole large enough for the jigsaw blade, then cut carefully along the outline. Repeat on the opposite side if you want a matching window.
Roof finish note: The original painted roof had not held up well after almost a year outdoors. The project’s recommendation is to leave the metal unpainted or choose metal already painted for outdoor use.
Add the Porch and Protect the Wood
Decide on the porch’s size and layout, then dig holes at its corners and set the posts in concrete using the same process as for the playhouse base. Frame the porch perimeter with pressure-treated 2″ x 4″ x 8′ boards, add cross braces to support the floor, and connect some braces to the playhouse if appropriate for the layout. Cut the 3/4″ x 12″ boards to fit the frame and screw them down.
If painting the wood, apply waterproof caulk to cracks first. For a natural finish, brush on Cabot Clear Wood Protector. Treat the porch wood as well. Follow the product labels and allow coatings to dry as directed before use.
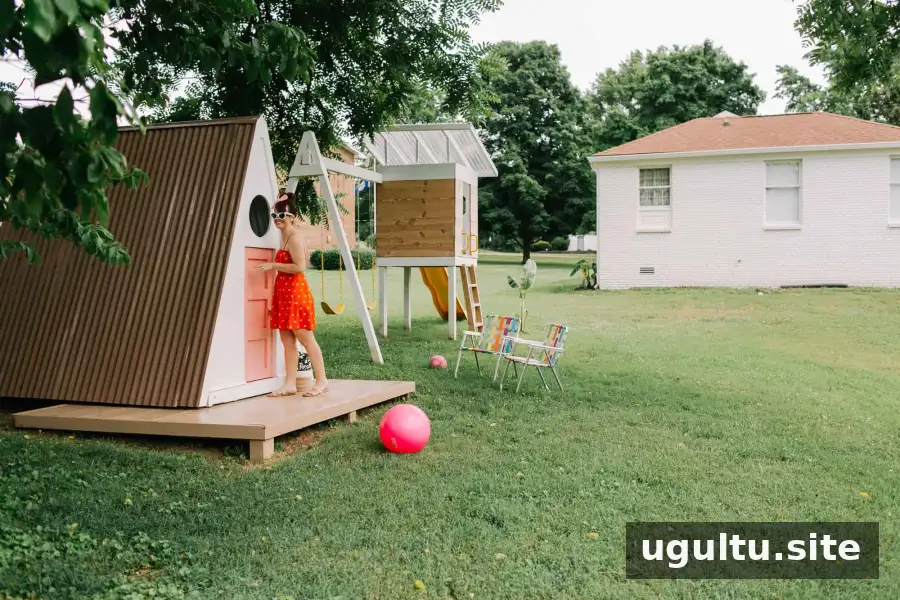
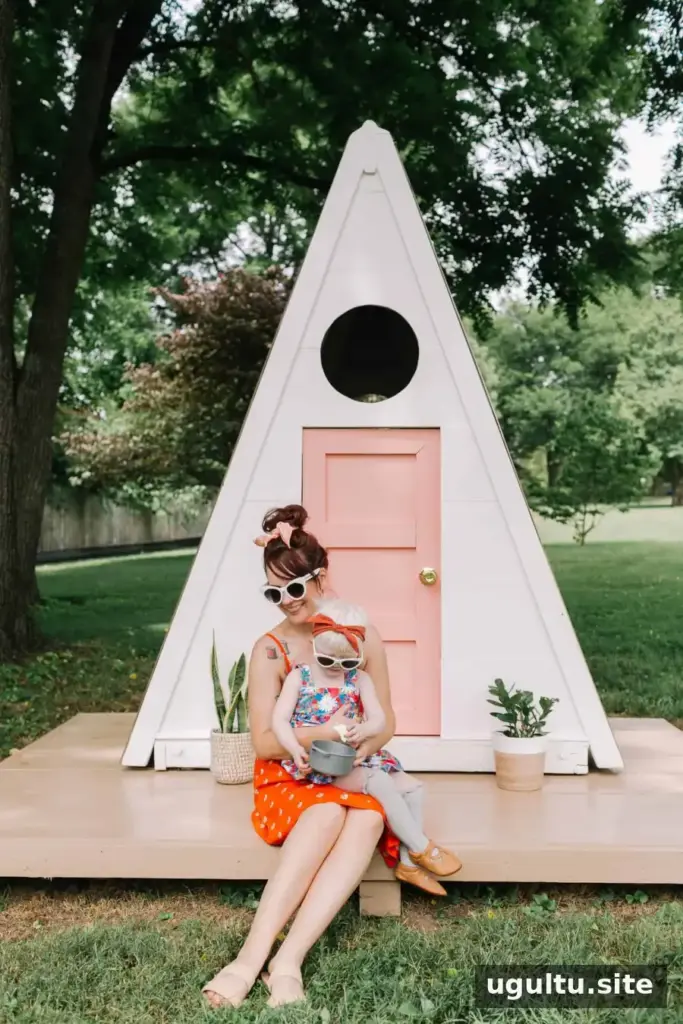
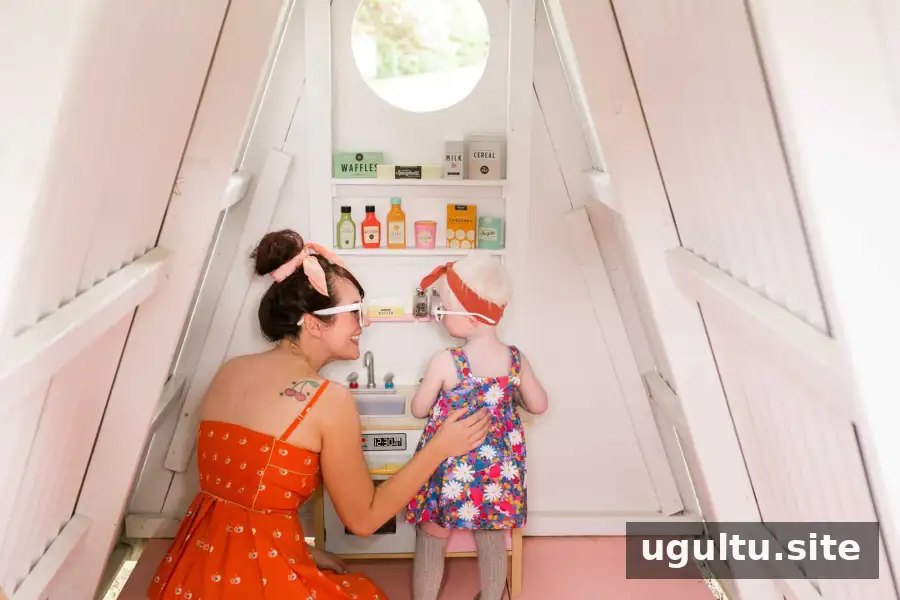
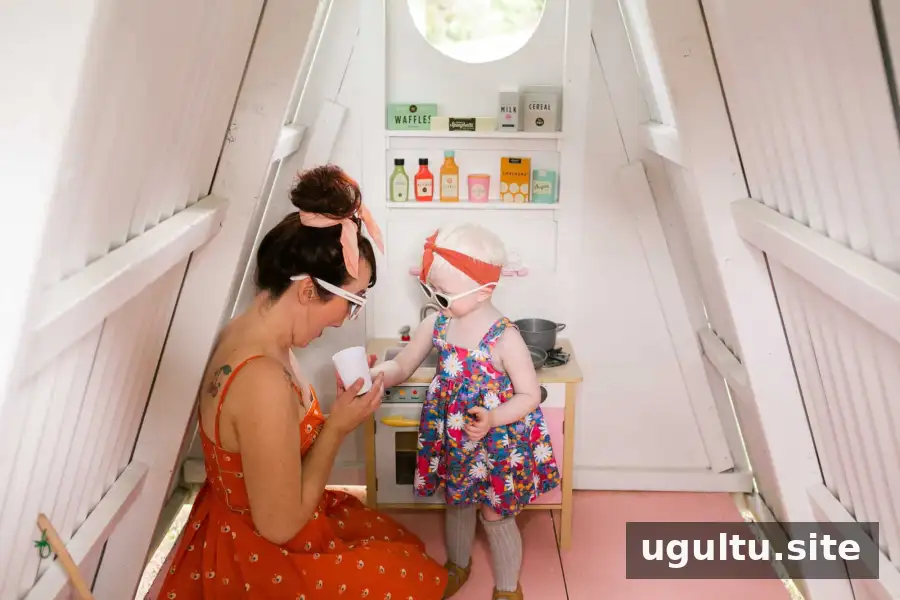
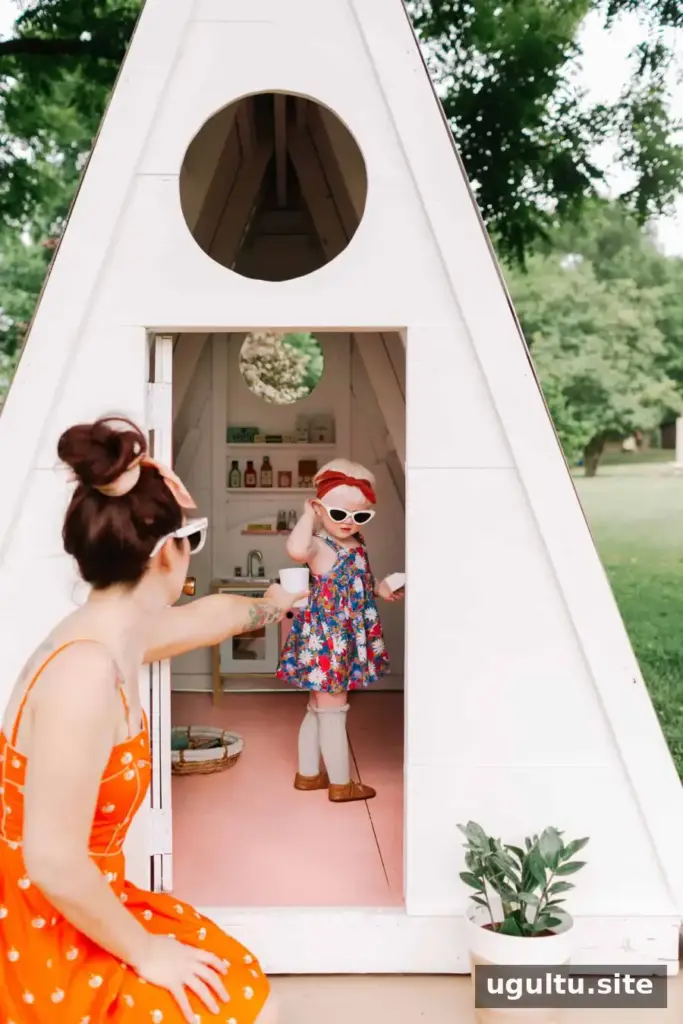
The completed playhouse and porch create a backyard space for imaginative play. Before children use the structure, an adult should check that the posts, fasteners, door, roof panels and floor are secure and that there are no exposed sharp edges.
Final Notes on This A-Frame Playhouse DIY
This A-frame playhouse DIY is based on a 6′ x 8′ platform and an original materials total of $844.77. The roof angles, doorway and porch can be adapted to the chosen dimensions, but careful measuring and level supports are essential throughout construction. Project built by Collin from Elsie’s sketches; project notes by Elsie.


