
 admin
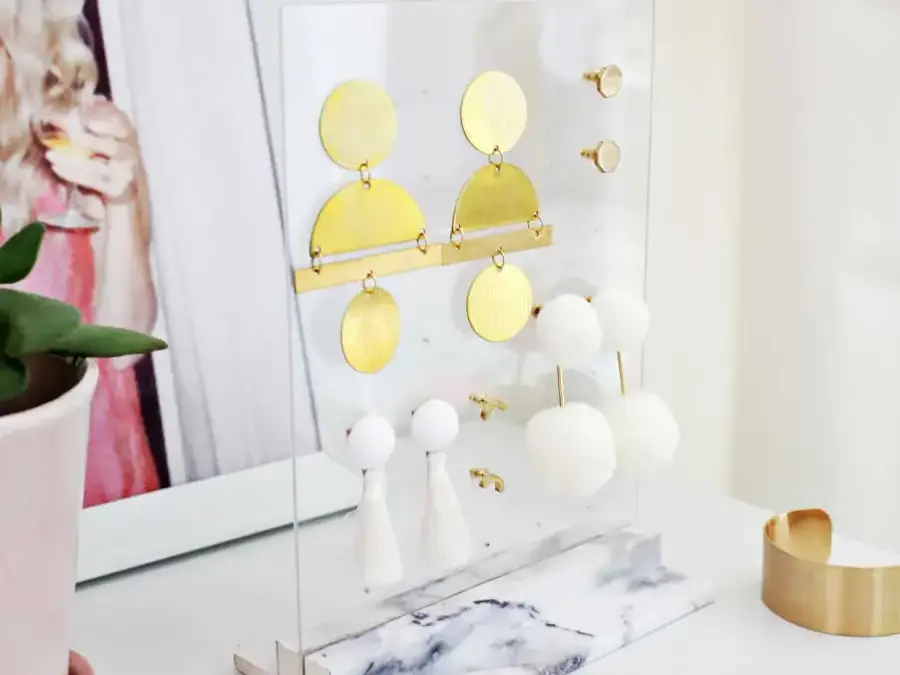
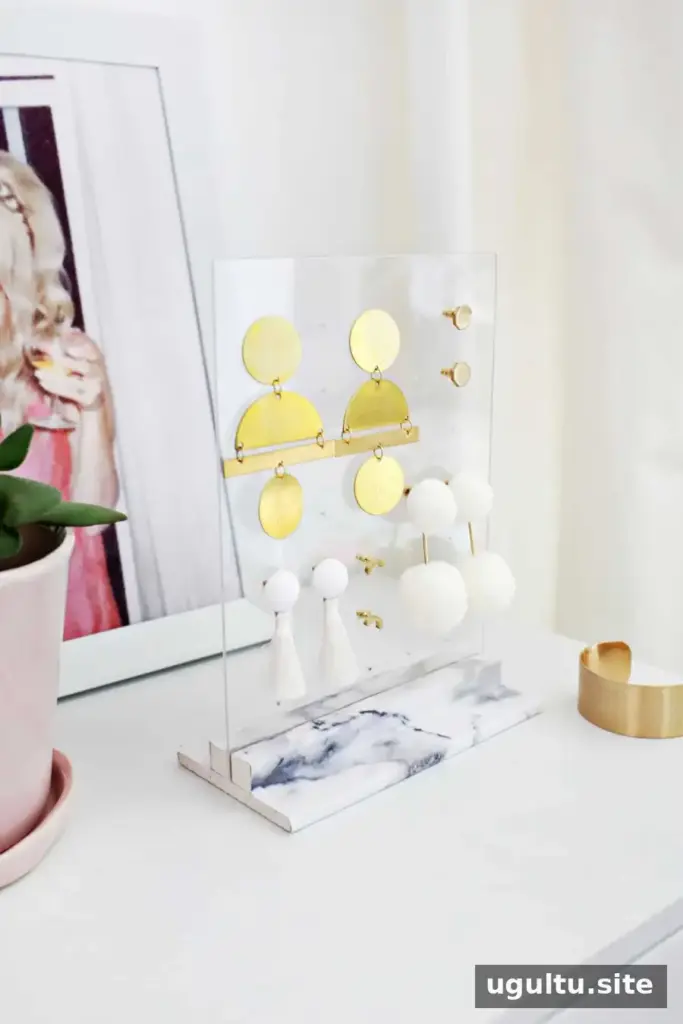
Keep stud earrings easy to find with this Acrylic Earring Holder DIY. The clear panel displays earrings neatly, while a small decorative base gives the stand a finished look for a dresser or vanity. It is especially useful for earrings with straight posts and backs, which may not fit on holders designed for hook-style earrings.
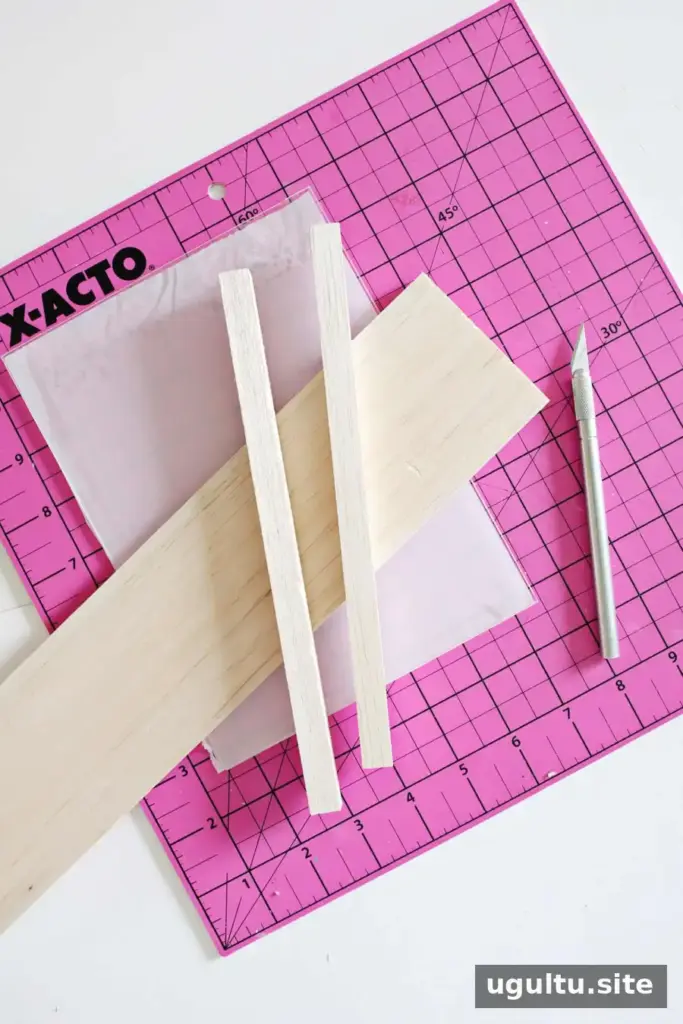
Supplies:
- Balsa wood board, about 3 inches wide
- Balsa wood square sticks, about 1/2 inch wide
- X-Acto knife, box cutter, and metal ruler
- Cutting mat
- Acrylic sheet, about 1/8 inch thick
- Marble paper and Mod Podge, or marble contact paper
- Drill and small drill bit
- White paint and a hot glue gun
Before cutting, lay out your materials and check that the acrylic sheet is large enough to make a 6-by-8-inch panel. A cutting mat and metal ruler help keep the measurements and cuts controlled. Take care when handling sharp tools and the cut edges of acrylic.
Acrylic Earring Holder DIY: Cut the Panel
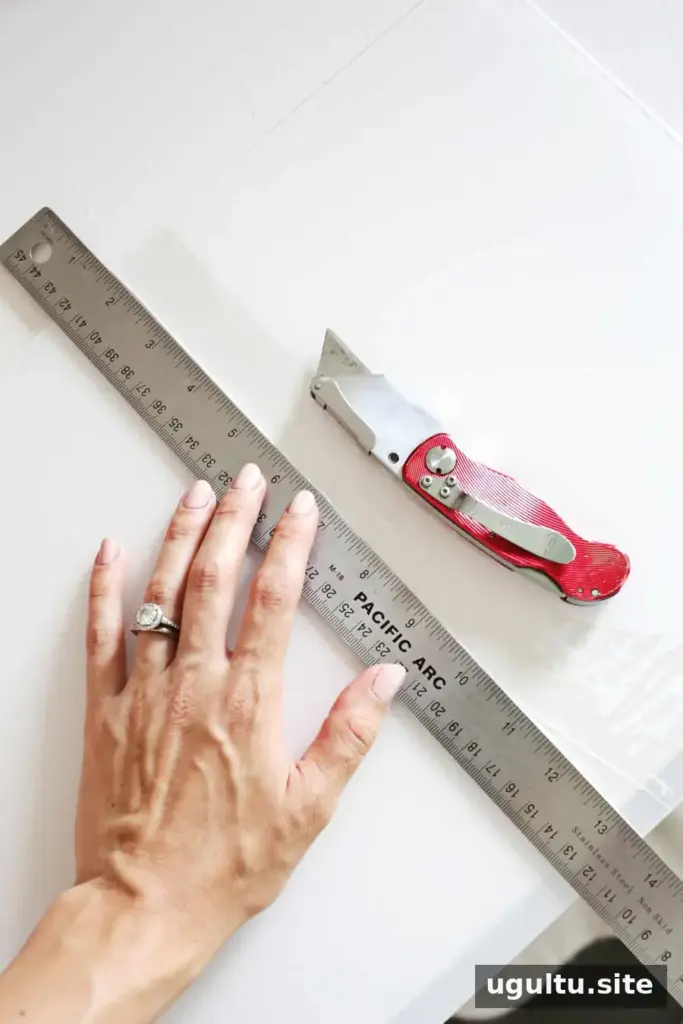
The display panel should measure 6 by 8 inches. If you cannot find acrylic in that exact size, you can cut a larger sheet down. Measure 8 inches from one end and use a box cutter and metal ruler to score a deep, straight line. Pass over the line several times to make a clear score.
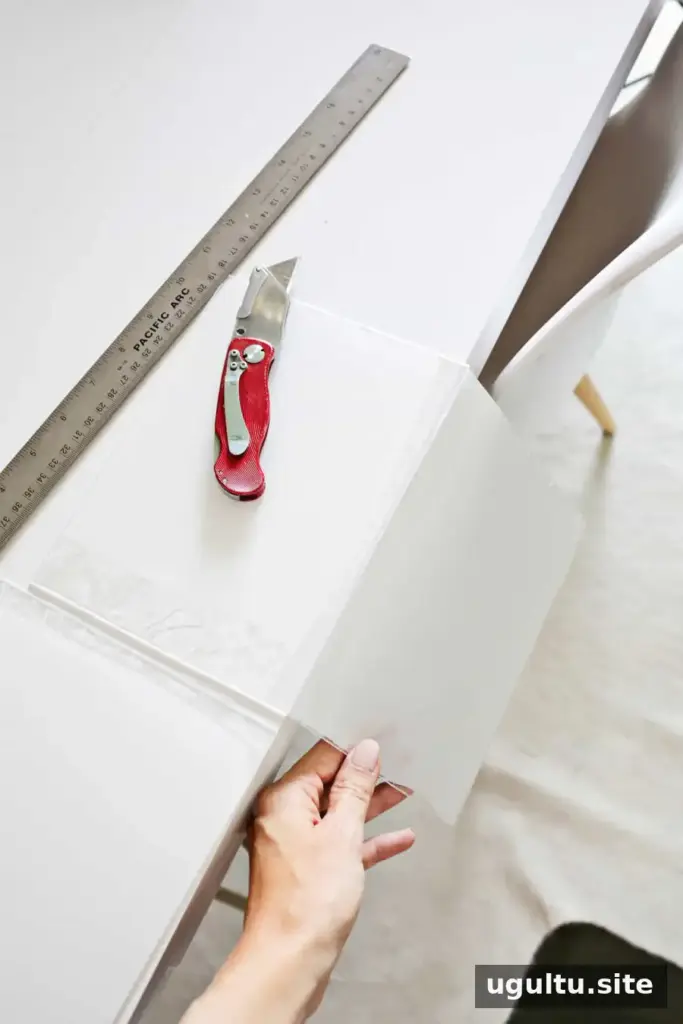
Align the scored line with the edge of a sturdy table or step, then carefully snap the acrylic along the score. This can make a loud noise, so consider using earplugs or headphones. Score the cut piece again to create a 6-by-8-inch rectangle, then repeat the snapping process.
Prepare the Wooden Base
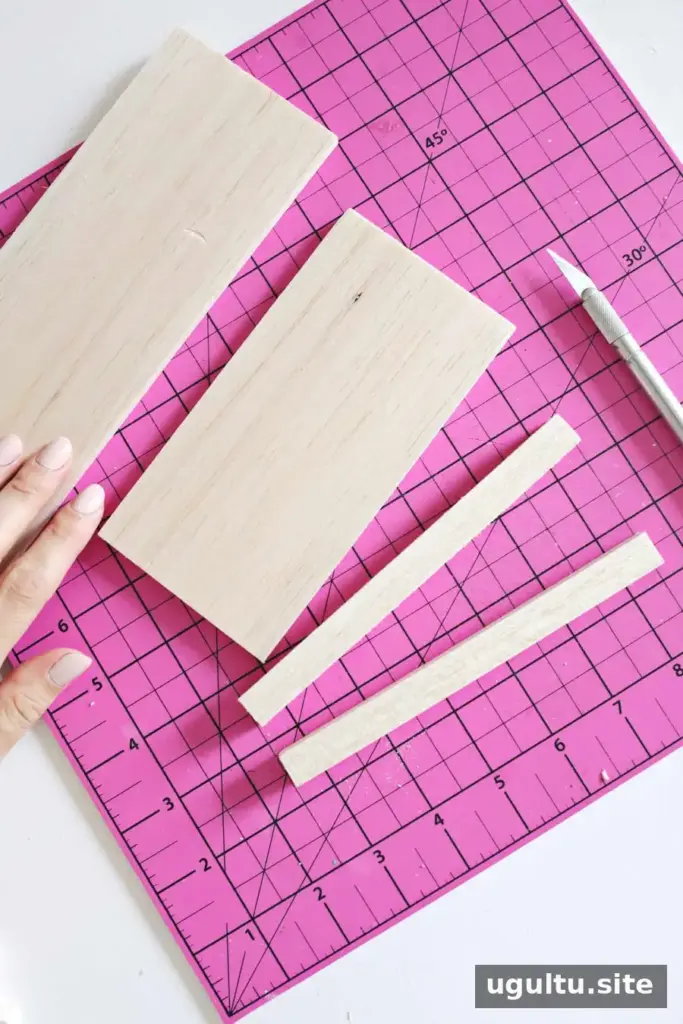
Use the X-Acto knife to cut the balsa board into a 3-by-6-inch rectangle. Cut the square sticks into two 6-inch lengths. The sticks may take more effort to cut than the board; work carefully and keep your hands clear of the blade.
Mark and Drill the Earring Holes
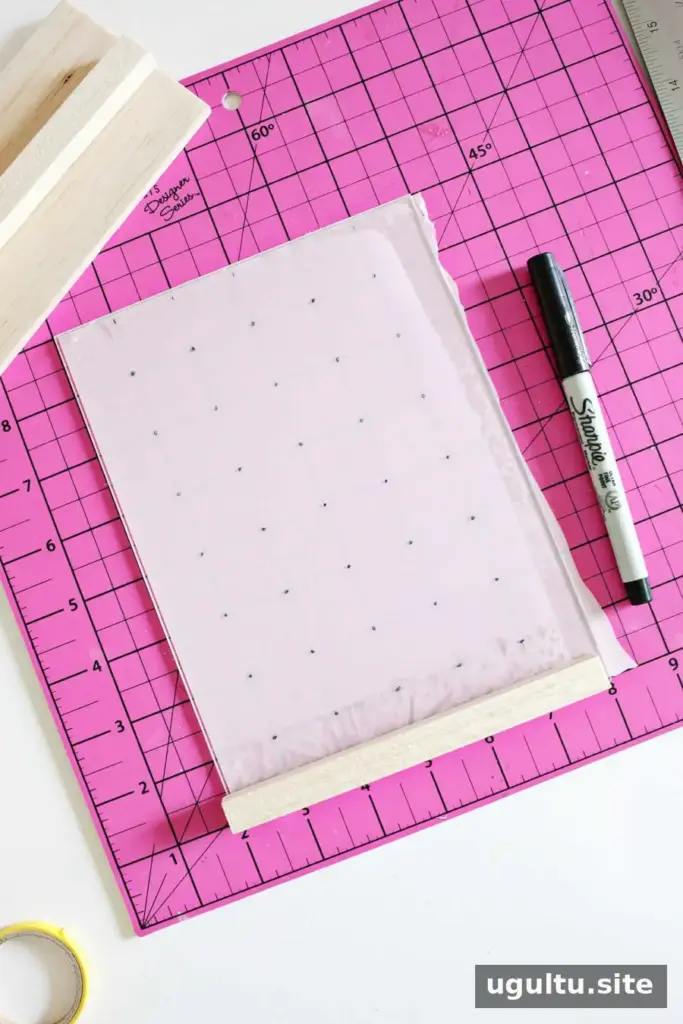
Place the acrylic rectangle on a cutting mat so you can see the surface beneath it. Mark dots at 1-inch intervals vertically and horizontally to create an evenly spaced grid. Keeping the marks aligned helps the finished panel look tidy.
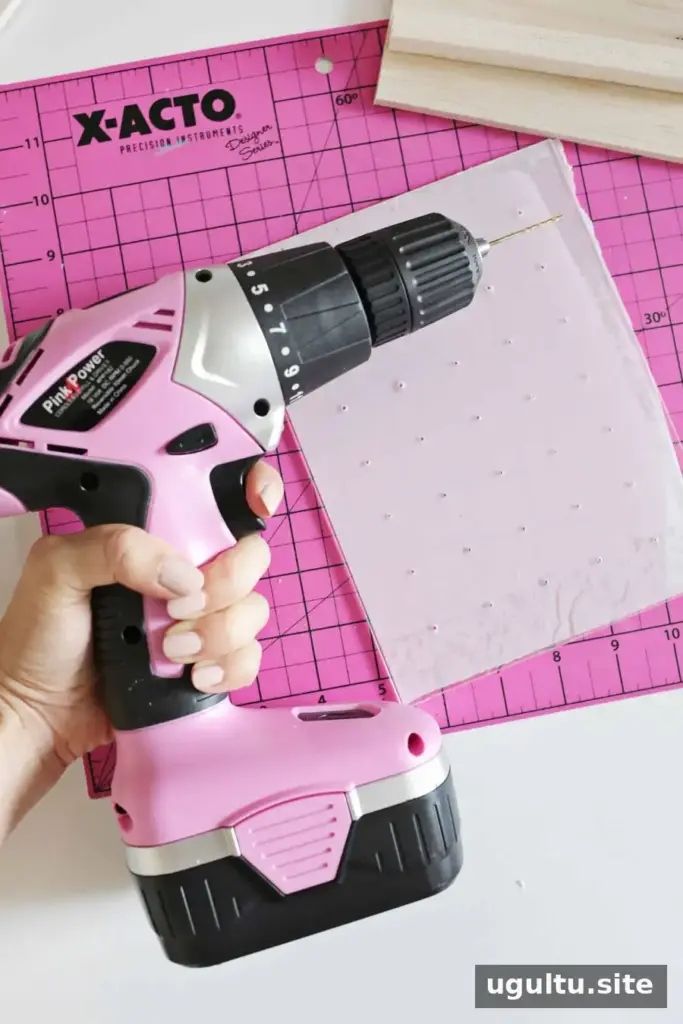
Put a scrap piece of wood underneath the acrylic for support, then drill a hole at each marked dot using a very small drill bit. The openings only need to be large enough for an earring post to pass through. Work carefully and avoid forcing the bit. Once drilling is complete, remove the protective plastic sheets from the acrylic.
Assemble and Decorate the Holder
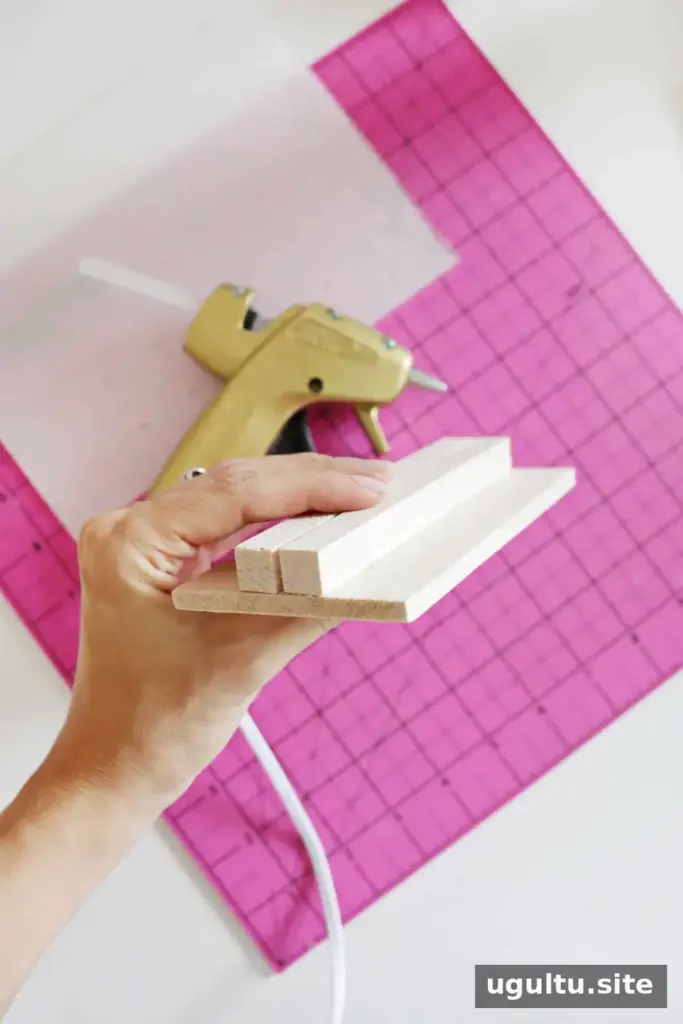
Use hot glue to attach the two balsa square sticks to the middle of the wooden board. Leave a gap between them that is just wide enough for the acrylic panel to slide into place. Check the fit before the glue sets so the panel can sit securely in the slot.
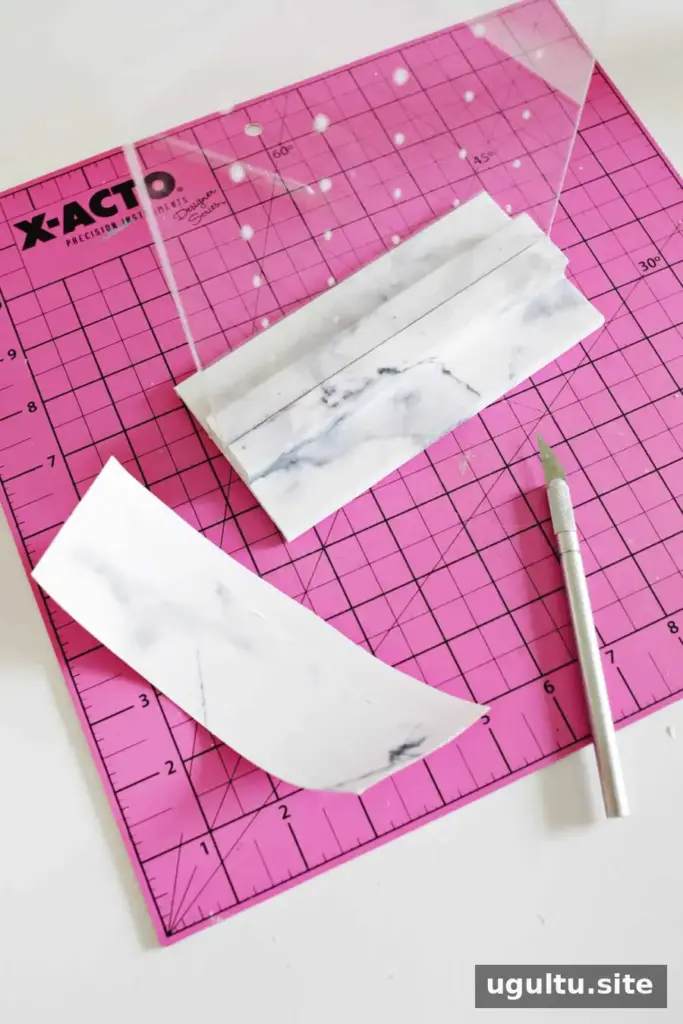
Paint or stain the sides of the wooden base. Cover its top with marble paper and Mod Podge, or use marble contact paper. You can cut the covering to size before attaching it, or apply a slightly larger piece and trim the excess carefully with an X-Acto knife.
Slide the acrylic panel into the gap between the wooden sticks. The holder is then ready to display earrings. If you are decorating the base, make sure the paper or contact covering does not obstruct the slot.
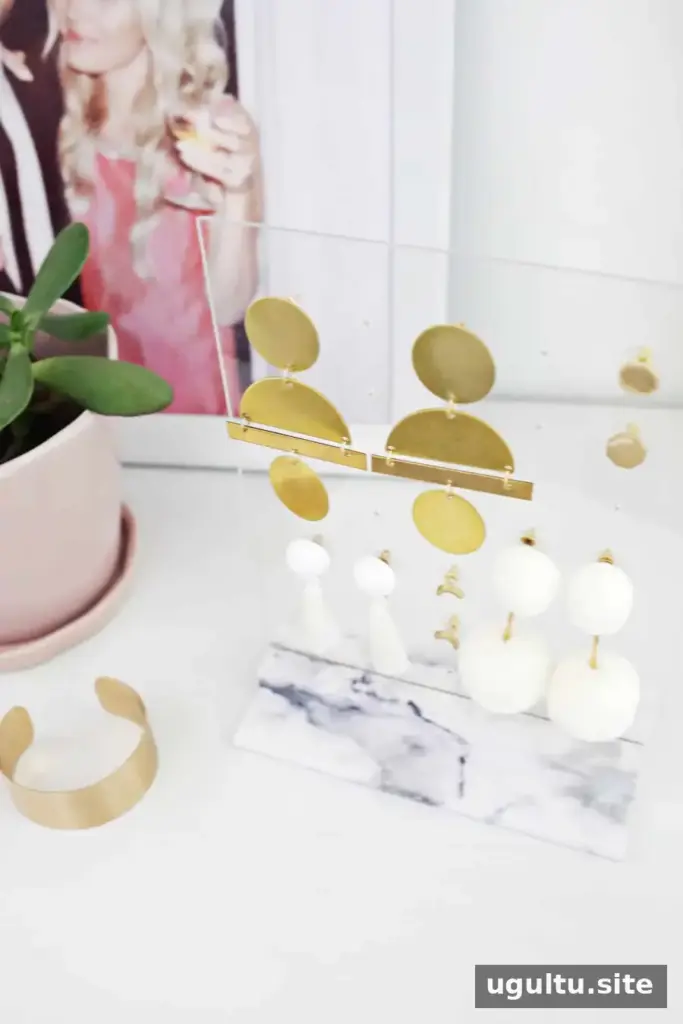
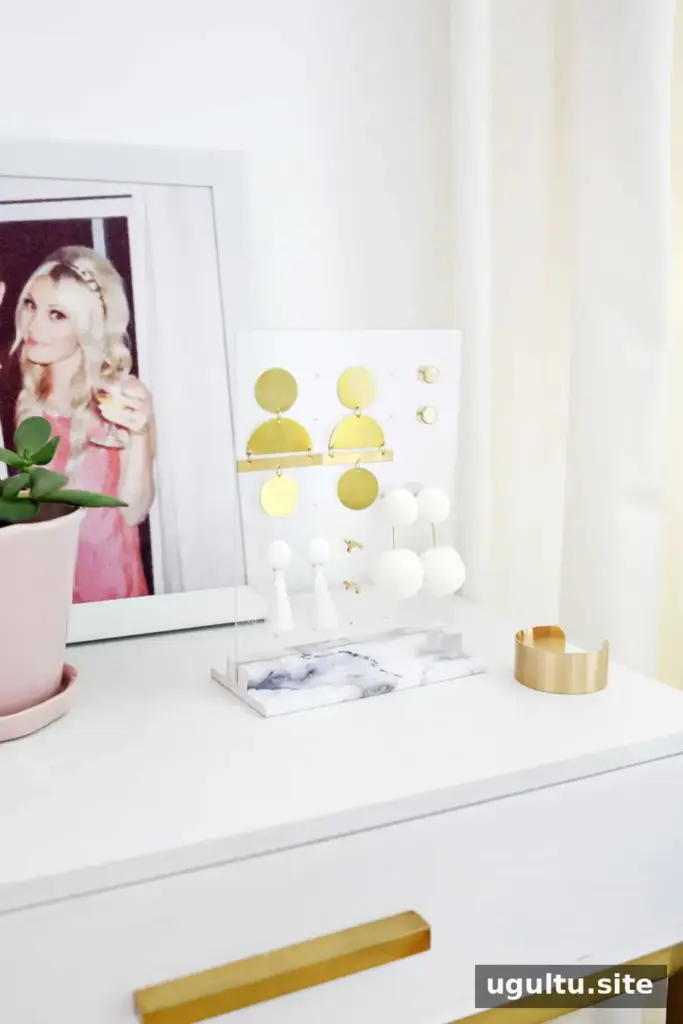
The clear panel lets the earrings remain visible, while the base can be customized to suit the room. Marble is one option, but you can also choose a different paper pattern or finish the wood in a solid paint or stain color.
The dimensions can be adjusted to make a larger display with more room for earrings. Keep in mind that a larger panel may need a suitably sized base and enough support to hold it upright. This Acrylic Earring Holder DIY offers a simple way to organize post-style earrings and keep them accessible.
— Laura


