
 admin
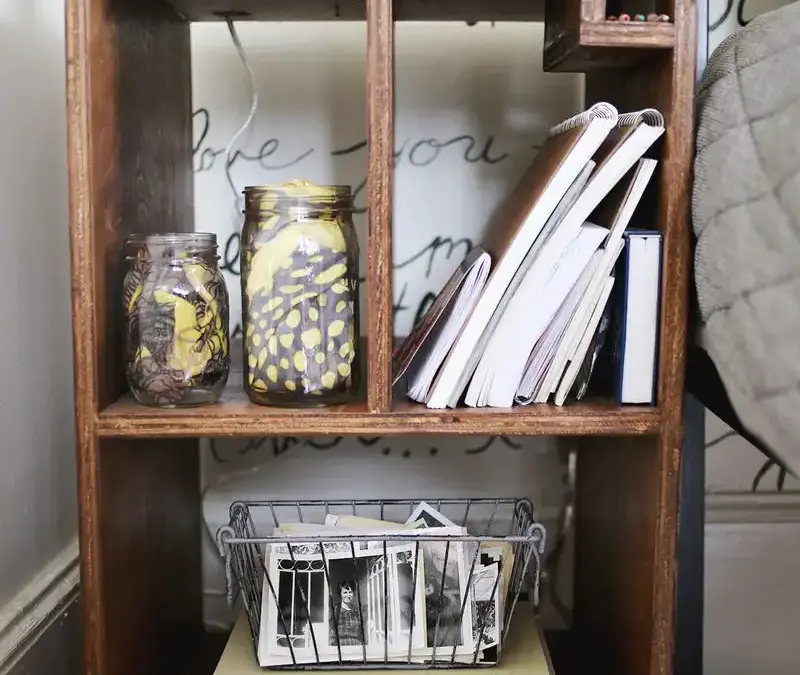
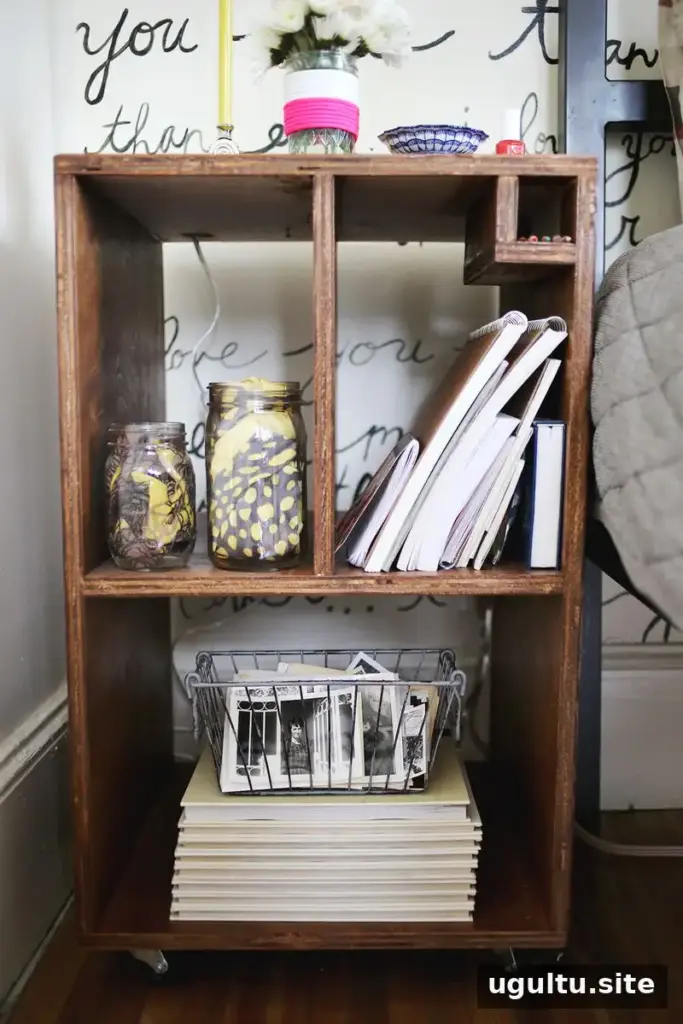
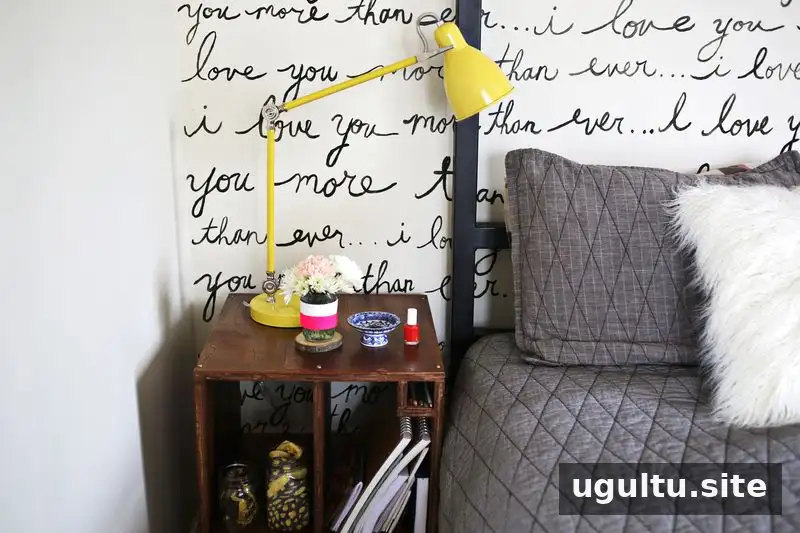
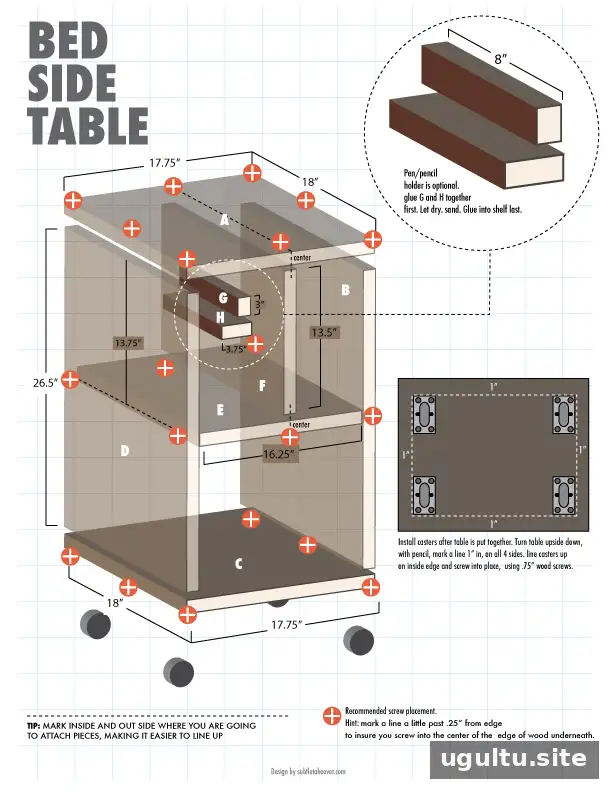
A DIY bedside table can be tailored to the way you use your bedroom, with useful storage and a style that suits the room. This plywood project creates bedside tables with small built-in compartments for everyday items such as a laptop, books, lotion, or nail polish. The instructions below follow the original cut list and assembly sequence; refer to the accompanying project images for the labeled parts and their placement.
Why build a DIY bedside table?
Bedside furniture often needs to do more than hold a lamp. A practical design can keep reading materials, work items, and personal care products within reach without leaving them scattered across the bed. The compartments in this project include pencil holders, which can also help organize small items.
Before cutting, consider what you plan to store and where the table will sit. Check that the finished piece will fit beside your bed and allow room for any casters shown in the assembly images.
Tools and supplies
- 3/4-inch hardwood plywood sheet, 4 by 8 feet
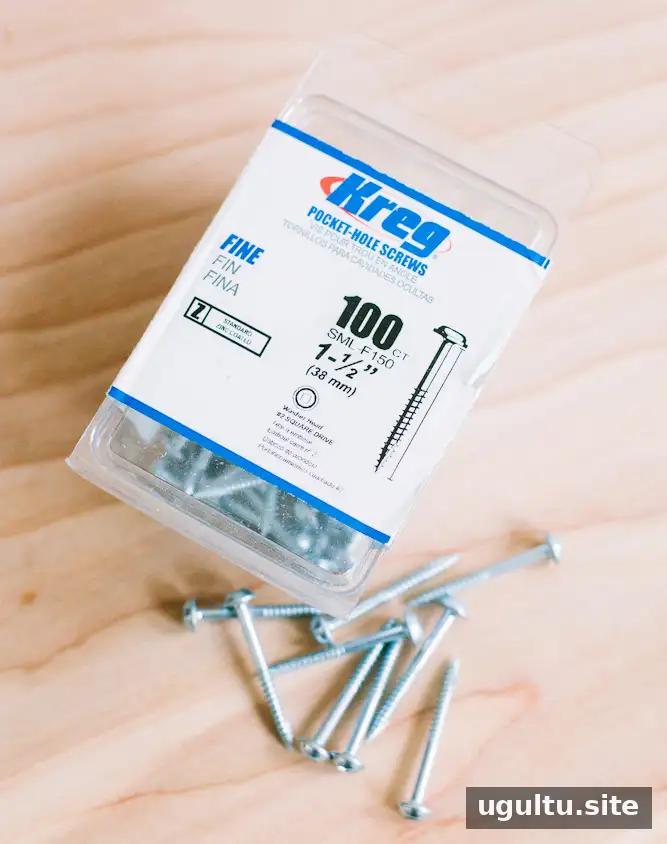
- 1.5-inch fine-thread Kreg screws; these do not require pre-drilling
- 0.75-inch wood screws
- Wood glue
- Drill
- Sandpaper in 50- and 220-grit
- Straight edge, tape measure, and pencil
- Skill saw
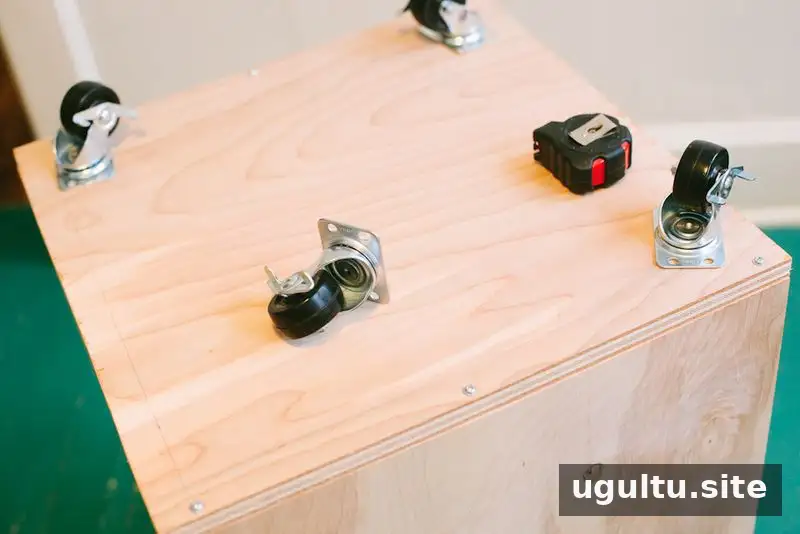
- Casters, as shown in the project images
Optional finishing supplies: stain and polyurethane. Wear appropriate eye and hearing protection when cutting or drilling, and work on a stable surface.
DIY bedside table cut list
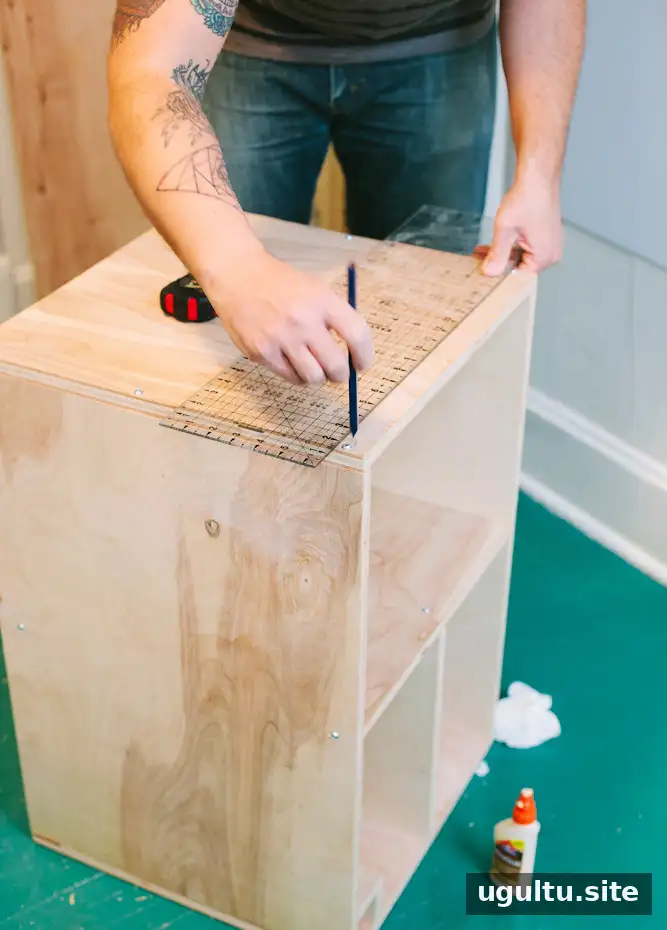
Measure carefully and mark each piece before cutting. Sand the edges of the individual panels as directed so they are ready for assembly.
- Cut two strips measuring 18 inches by 8 feet from the plywood sheet.
- From the remaining plywood, cut one piece measuring 3 inches by 8 inches and one measuring 3.75 inches by 8 inches. Sand and glue these pieces together as shown.
- Cut two pieces measuring 26.5 by 18 inches. Sand all edges.
- Cut two pieces measuring 17.75 by 18 inches. Sand all edges.
- Cut one piece measuring 16.25 by 18 inches. Sand all edges.
- Cut one piece measuring 13.5 by 18 inches. Sand all edges.
Keep the cut pieces organized and use the project images to identify the parts labeled A through H. This helps avoid confusion when assembling panels of similar sizes.
Assembly and finishing steps
- Apply wood glue and join pieces A, B, C, and D with the screws, following the arrangement shown in the images.
- Glue pieces E and F together. Let the glue dry, then install this assembly inside the ABCD structure.
- Glue pieces G and H into place if using them; these pieces are optional.
- Allow the table to dry, turn it over, and install the casters as pictured.
- Sand all edges and surfaces. Start with 50-grit sandpaper to smooth rough areas, then use 220-grit for a finer finish.
- If desired, apply stain and seal the surface with polyurethane according to the product directions. Let the finish dry fully before placing items on the table.
Use glue and screws as specified, and avoid moving the table until the adhesive has cured. When applying stain or polyurethane, follow the label instructions and work in a well-ventilated area.
Project result
Elsie and Jeremy were pleased with how the bedside tables turned out, especially the useful small compartments and pencil holders. Josh created the tables and shared the building process. The design offers a practical way to keep frequently used belongings close at hand while making use of the space beside the bed.
For more woodworking inspiration, related projects include a wood pallet kitchen table, a light-up headboard, DIY triangle shelves, and honeycomb shelves.
Conclusion
This DIY bedside table project combines a straightforward plywood cut list with storage features that can make a bedroom more organized. Measure each panel carefully, follow the image guide when fitting the labeled pieces, and allow time for glue and finish to dry before use.


