admin
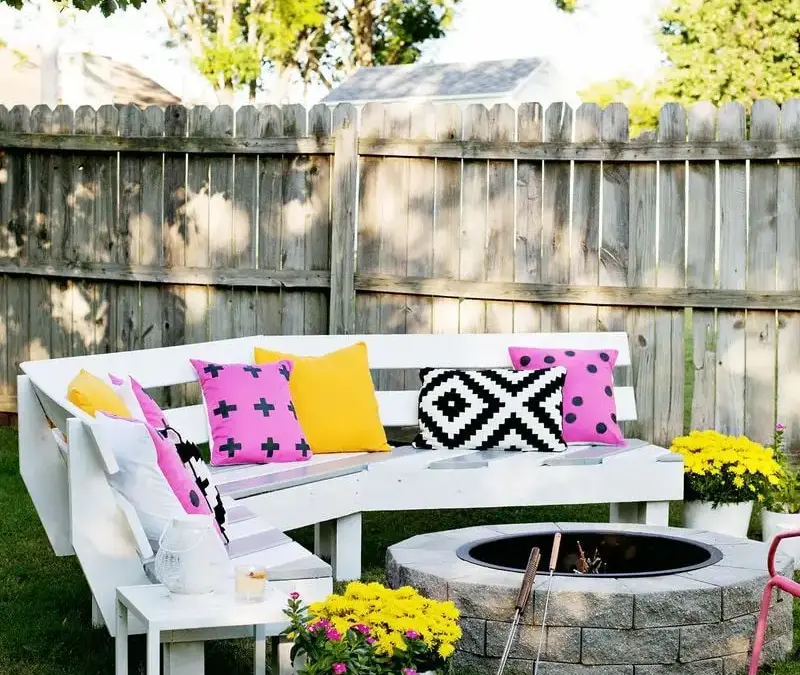
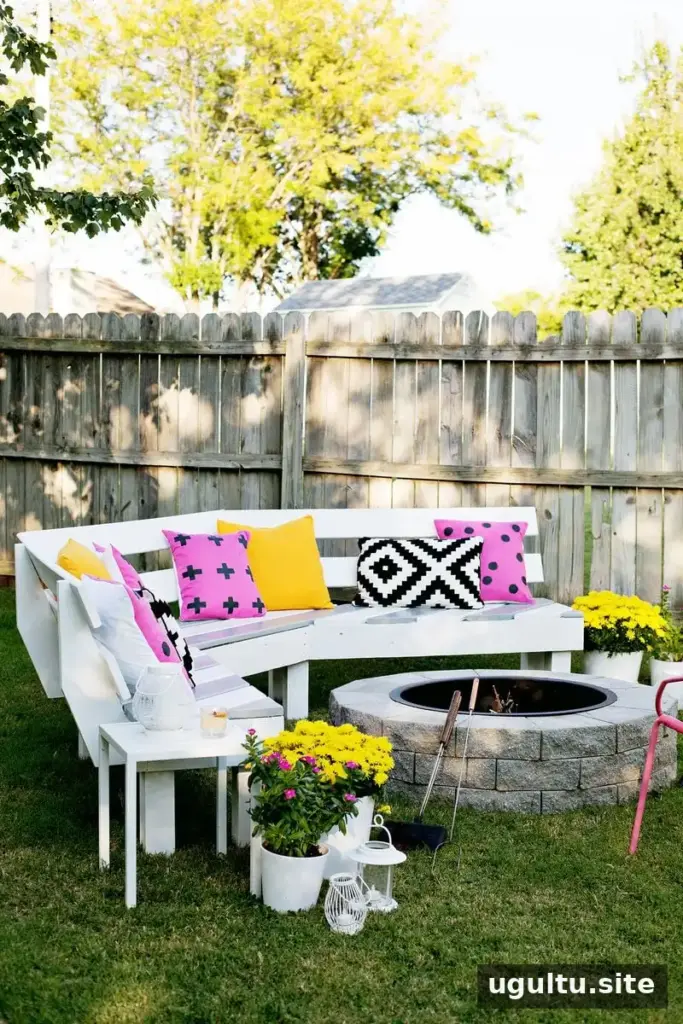
A curved fire pit bench creates comfortable seating around an outdoor gathering spot while making good use of the space. This DIY curved fire pit bench project took about two days to build, including a trip for supplies, and the materials cost approximately $125. Similar ready-made benches have been priced around $2,000, though costs vary by location, lumber prices, and design.
The plans are a flexible starting point rather than a fixed cut list. Adjust the overall curve and size to suit your yard, and check local requirements and the fire pit manufacturer’s guidance for safe distances between the fire and combustible materials.
Plan a Curved Fire Pit Bench
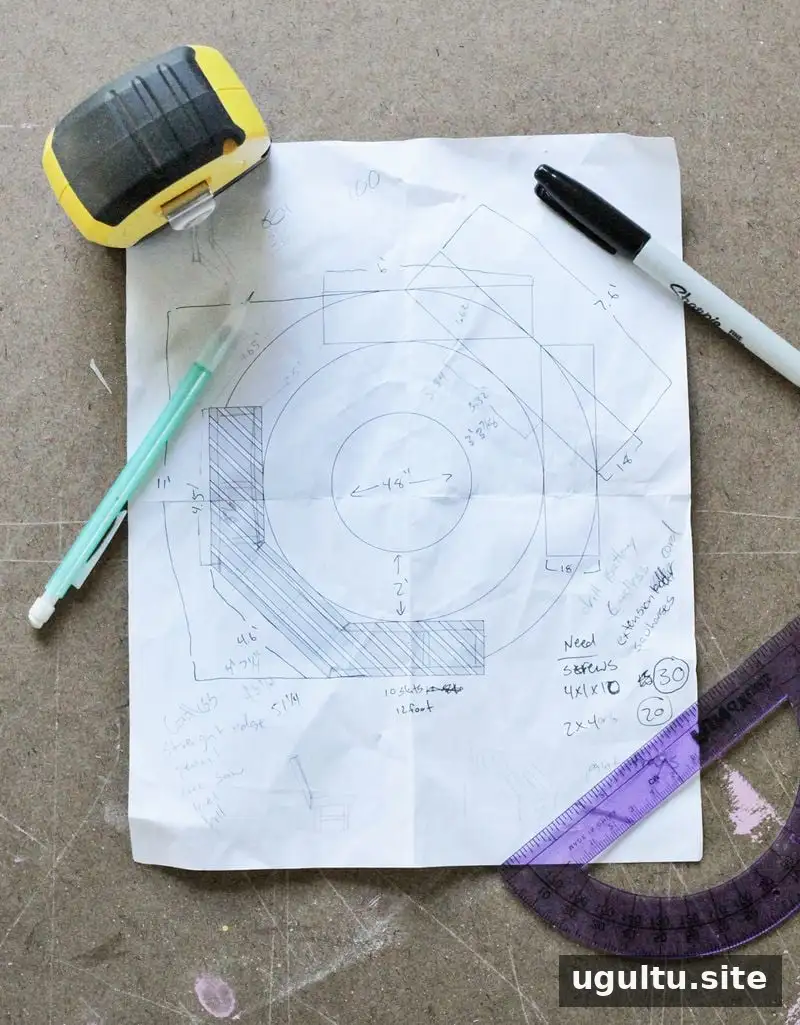
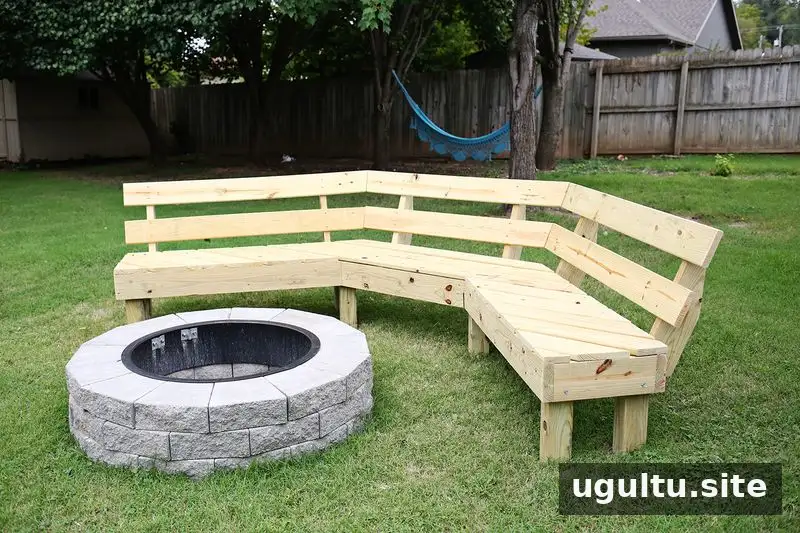
The bench is designed as half of a hexagon. Its seating dimensions use a standard reference of 18 inches deep, 18 inches high, and an 18-inch back support. These measurements can help you plan the layout, but confirm the fit in your own space before cutting lumber. Mark the bench footprint on the ground so you can assess the curve and walking clearance.
Materials and Tools
Use pressure-treated lumber for outdoor durability. The project uses 1-by-6 boards for the seat, 4-by-4s for the legs, and 2-by-6s for the frame. Select straight boards when possible, since warped lumber can make the seat slats harder to align.
- Pressure-treated 1-by-6s, 4-by-4s, and 2-by-6s
- 2.5-inch exterior screws
- Five 6-inch exterior lag bolts for the backrest braces
- Exterior paint or stain
- Circular saw or miter saw
- Straight edge or speed square, drill, sander, and pencil
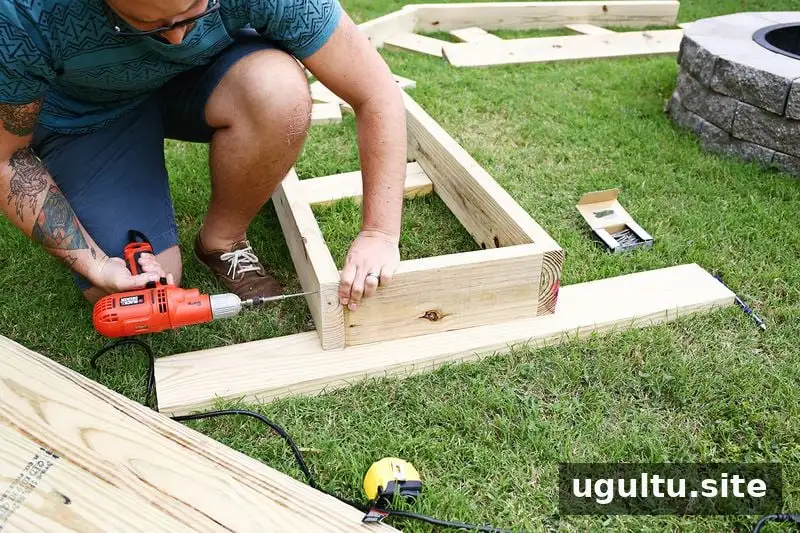
How to Build the Curved Fire Pit Bench
1. Assemble the seat frame
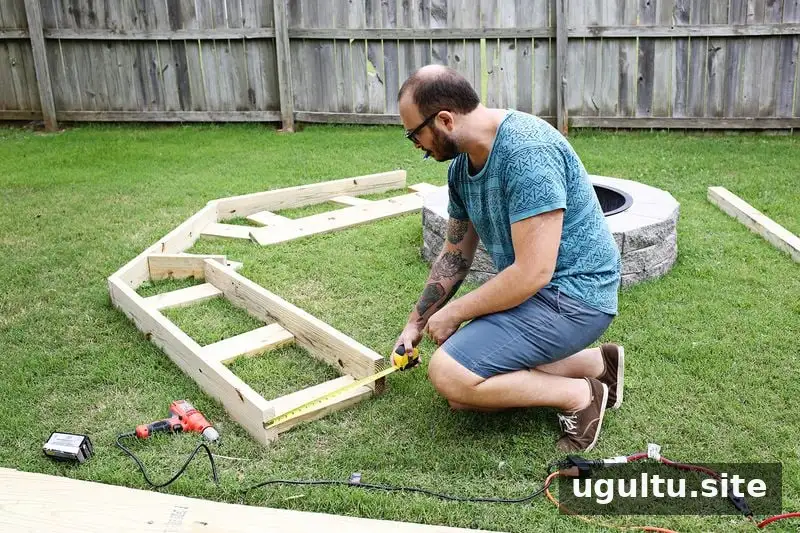
Cut the frame pieces first, beginning with the longest rear section and building outward from it. The exact lengths depend on the planned size and curve. Lay the pieces out before fastening them, and check that the frame sits level.
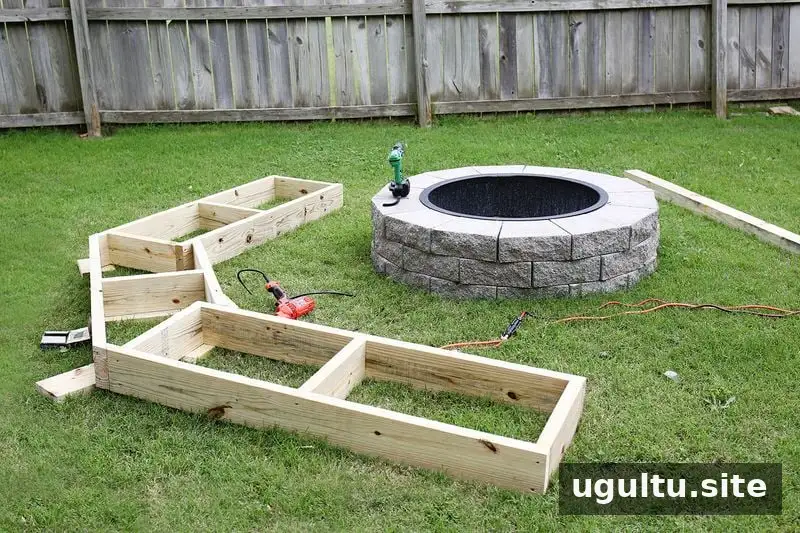
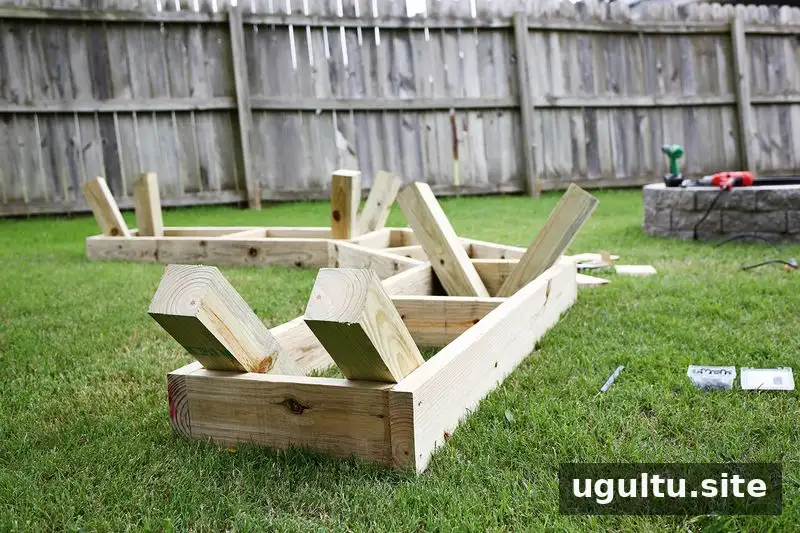
2. Attach the legs
Turn the assembled seating frame upside down, position the legs, and fasten them securely. The project used two heavy-duty screws at each leg. If you are working on grass or uneven ground, place a stable board beneath the section being assembled to help keep the frame aligned.
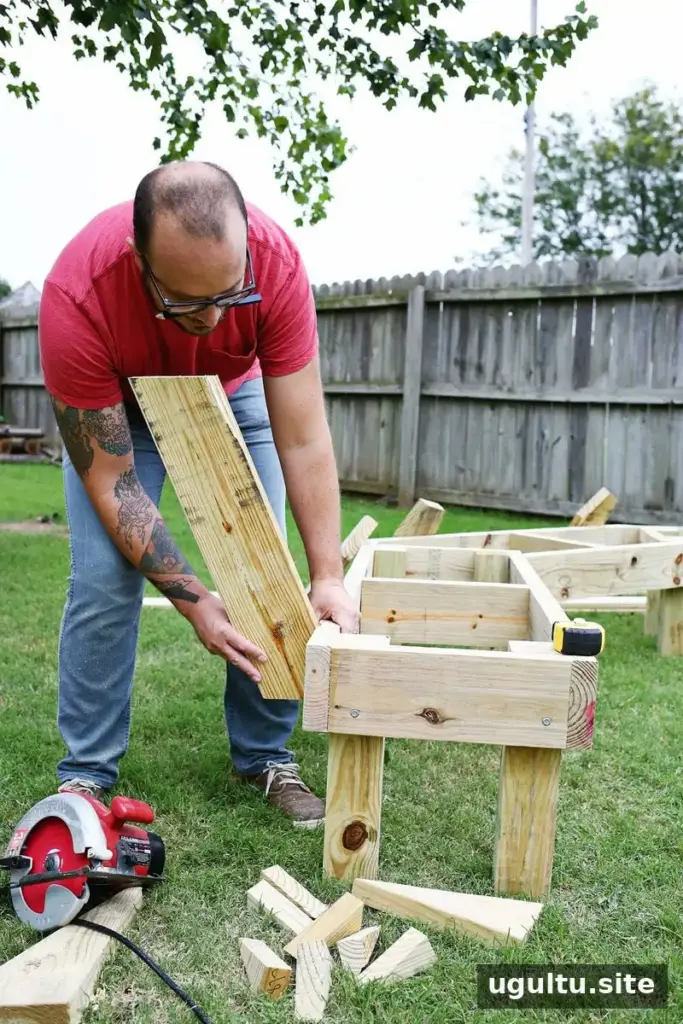
3. Fit the seat slats before the backrest
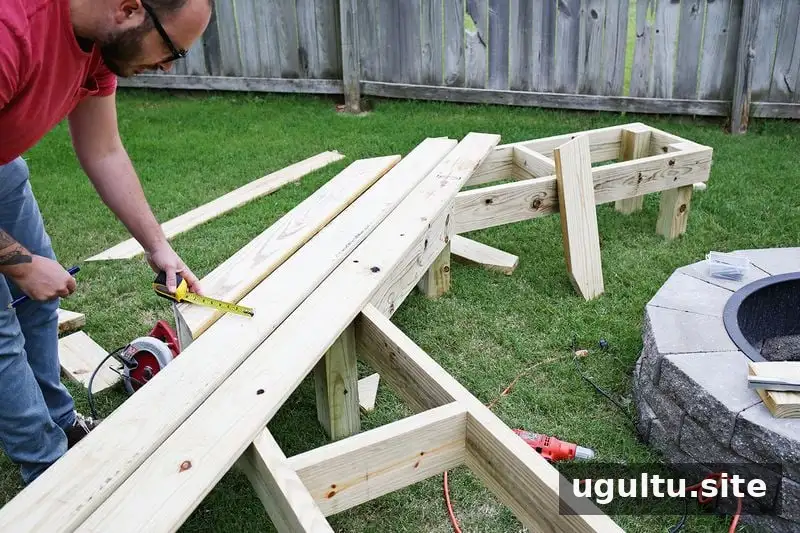
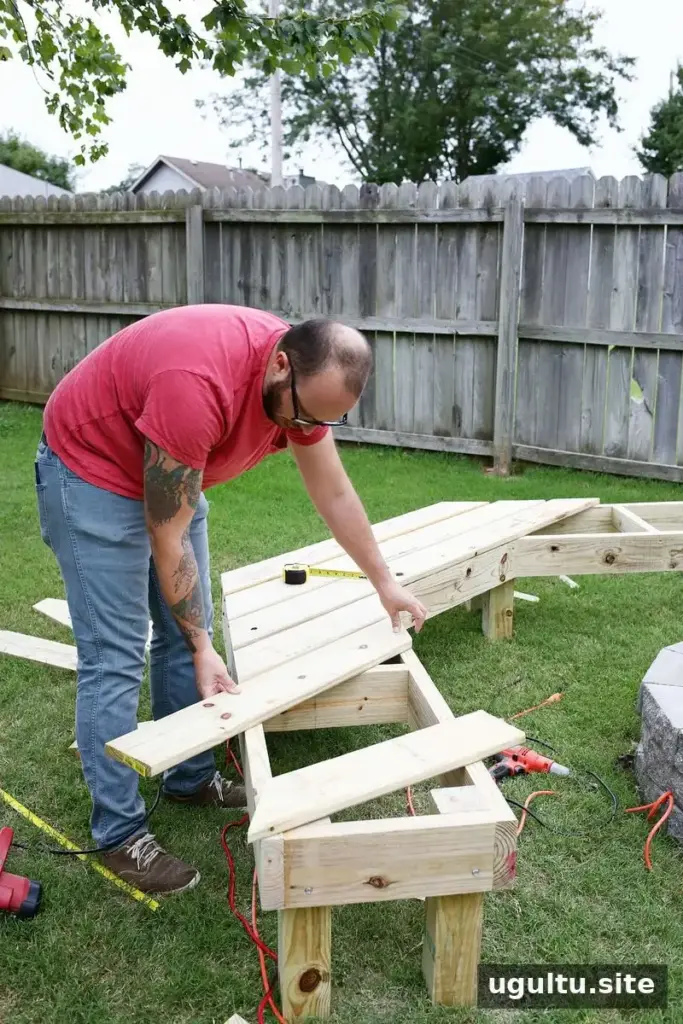
For a smoother build, lay out and cut the seat slats before installing the backrest. Start with the longest slat, positioned flush with the middle front section. Use it as a reference, then space the remaining pieces evenly. Mark, cut, and test-fit each slat as you work. The slats do not need to be individually cut to exact final lengths at first: rough-cut them, arrange them in place, and trim them flush together with a circular saw.
4. Add the back supports
Cut the back braces so the backrest leans approximately 20 degrees. Test the angle against the assembled frame before securing all the braces; a small test fit can prevent unnecessary recutting. Once the seat slats are in place, attach the braces with the 6-inch exterior lag bolts.
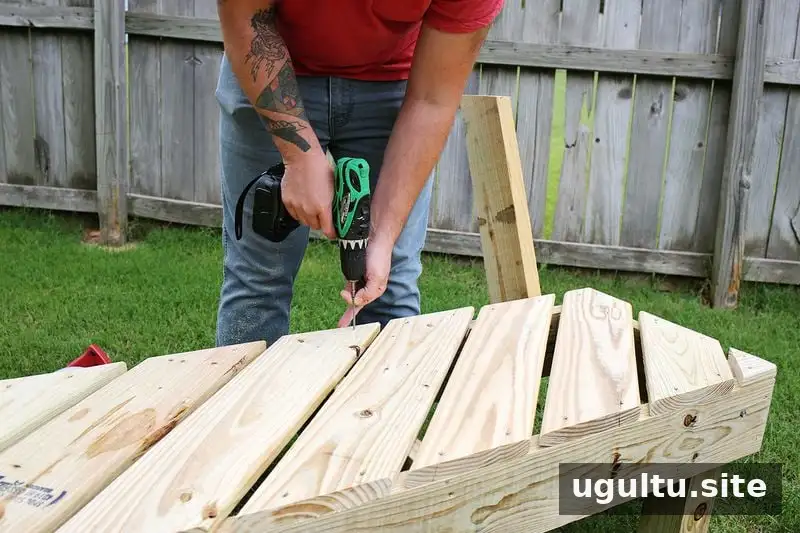
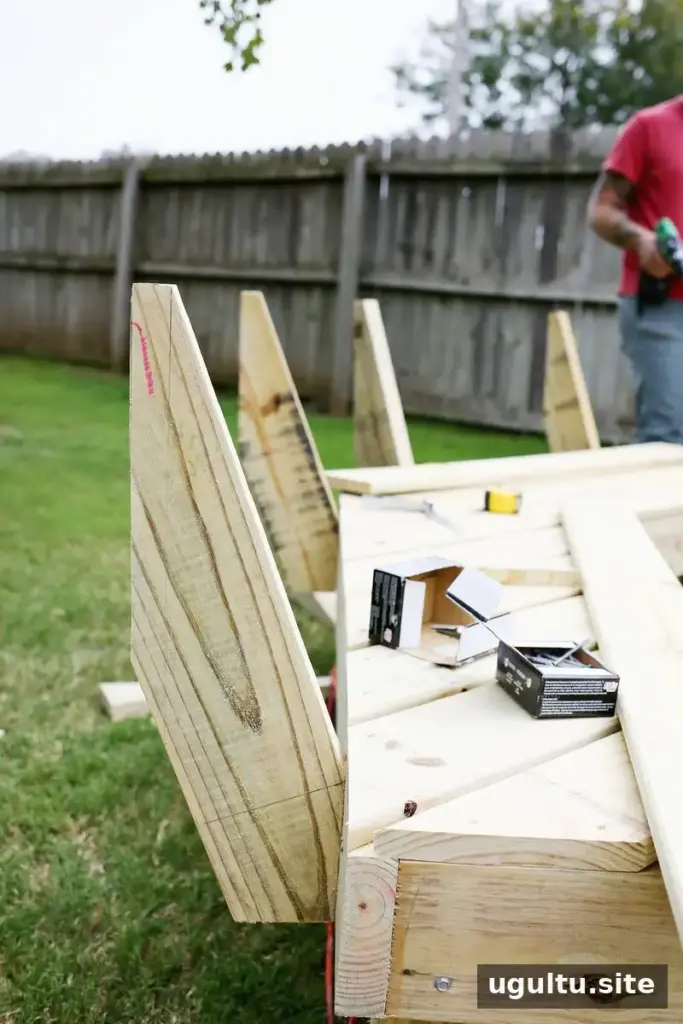
If you prefer a clean, streamlined top edge, trim the back of each support, leaving about an inch at the top. For a ledge to rest an arm or a drink, instead measure and cut 2-by-6 boards to fit across the top. Keep drinks and other items away from the fire itself.
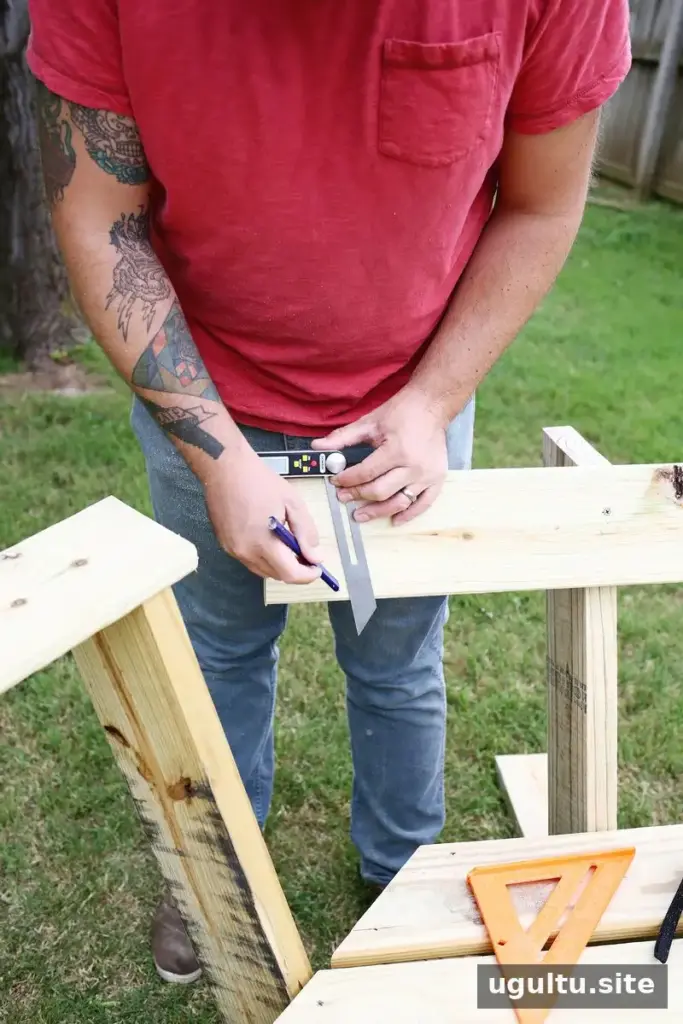
5. Match the curved sections
Because the bench forms half of a hexagon, the miter cuts used to create its curve are 30 degrees. For the backrest pieces, the project matched adjoining ends by holding the top pieces in position, marking where they met, and cutting the ends to a 20-degree angle to match the back braces. Check each joint in place before fastening it.
After the top row was attached, a second row of backrest boards was positioned in the middle. You can choose the spacing that looks balanced with your seat slats. Having another person hold and mark pieces can make fitting curved sections easier and safer.
Finish and Maintain the Bench
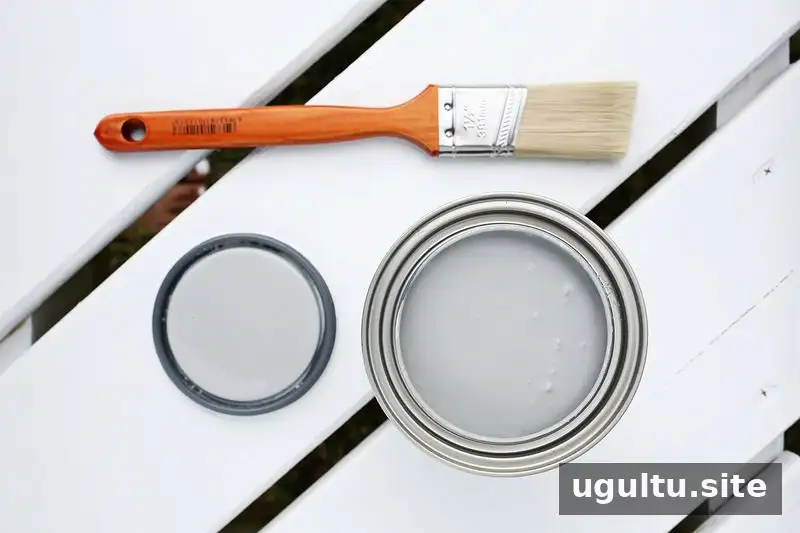
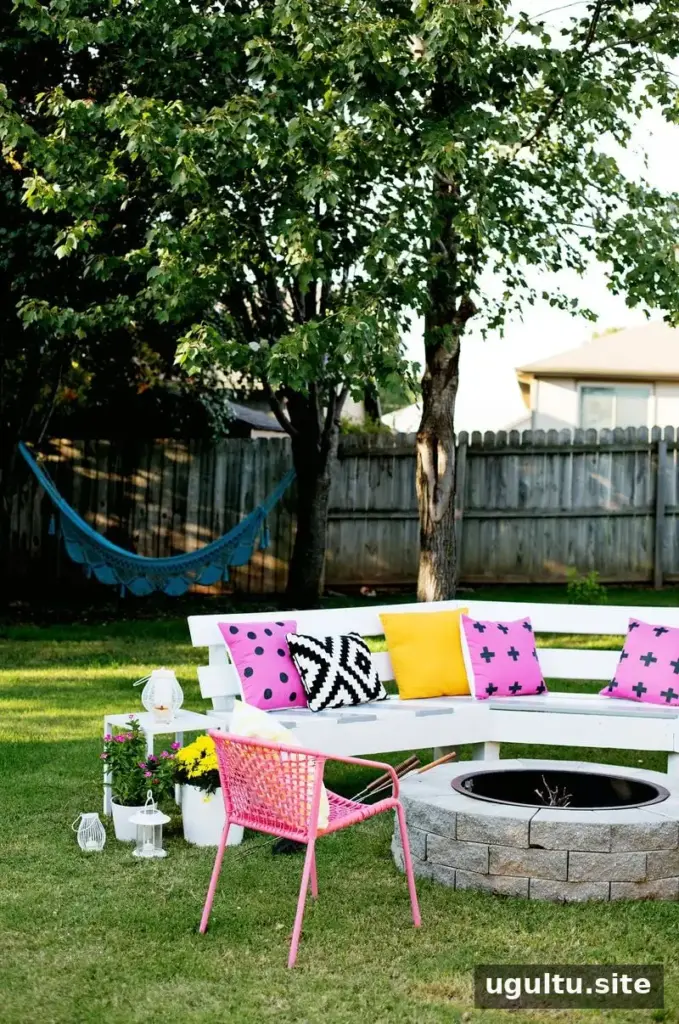
Laura and Todd painted the completed bench a few days after construction and added outdoor chairs and pillows. Allow the lumber to dry as recommended for the chosen finish, and follow the paint or stain label for application and recoat times. Periodically inspect the boards, screws, and lag bolts, especially after seasonal weather changes.
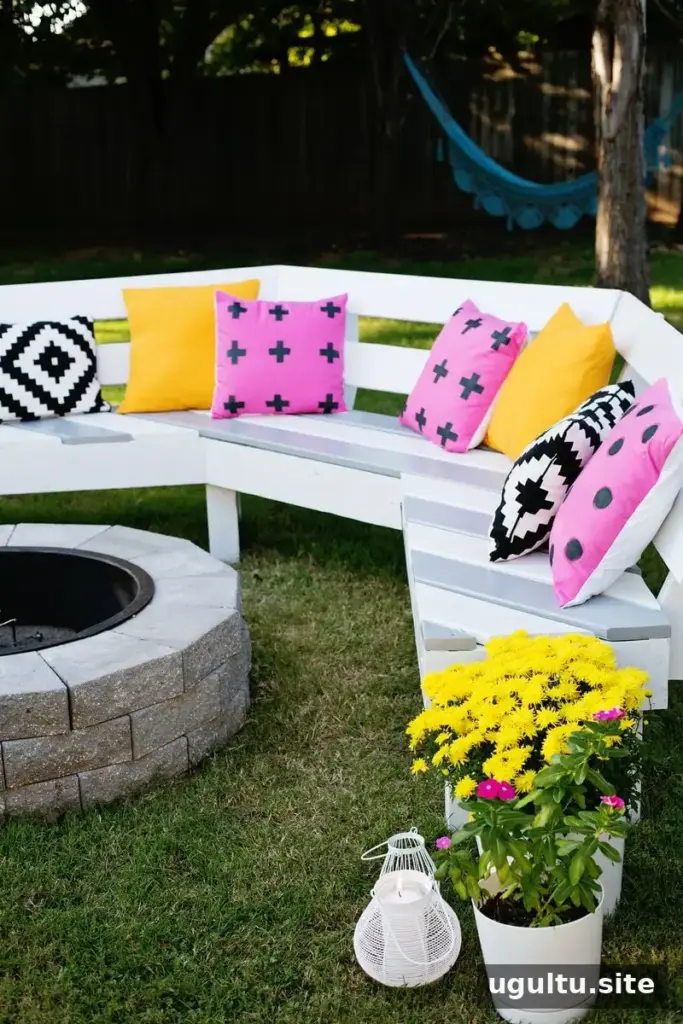
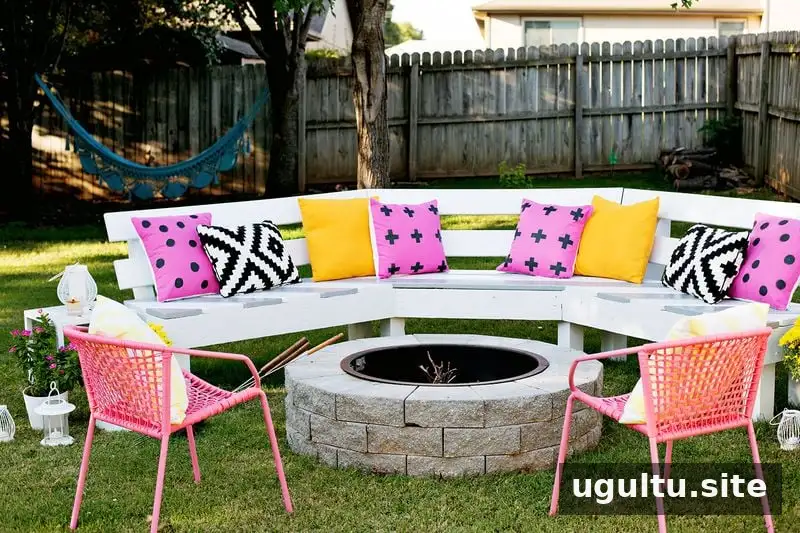
Josh’s project update notes that exact measurements are not available, so measure your site and make a full-size layout before cutting. The key sequence is to establish the frame, fit the seat slats, and then install the angled backrest. With those steps and the 30-degree curve cuts in mind, a curved fire pit bench can be adapted to many outdoor spaces.