
 admin
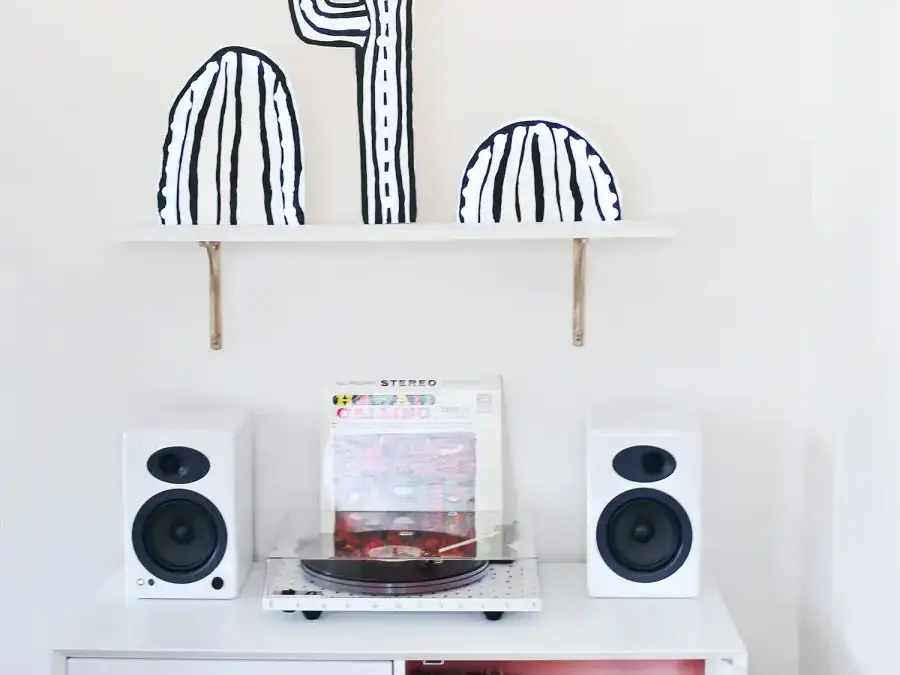
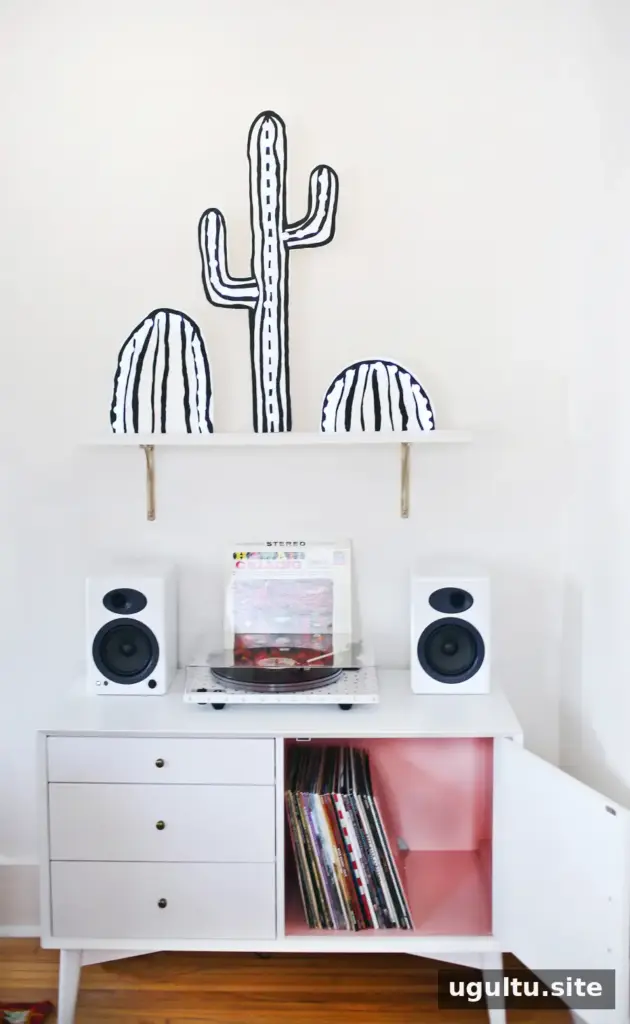
A cactus marquee sign adds a playful, custom accent to a living room or other space. This DIY project uses a plywood cutout, battery-operated globe string lights, and paint to create a decorative sign with lights that can stay on or blink in different patterns. The shape can also be adapted to suit another design, provided the cutout has enough room for the lights and wiring.
Supplies for a cactus marquee sign
Gather the materials and tools before you begin. The project steps are shared by Collin, with the cactus design and painted details by Elsie.
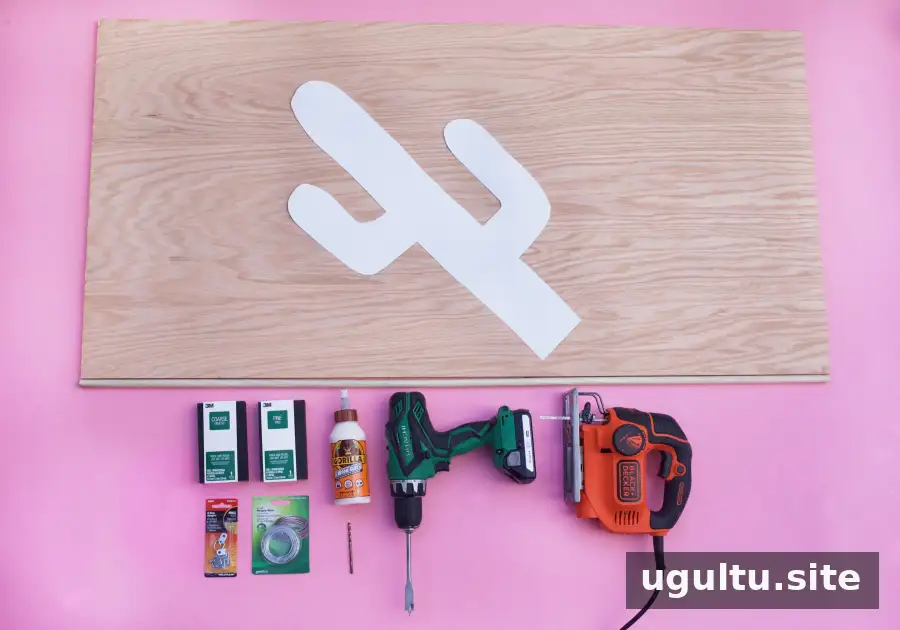
- 4′ x 2′ x 1/2′ plywood
- Jigsaw
- Drill with various drill bits
- Battery-operated globe string lights
- Paint
- Picture hangers and wire for mounting
- Dowel rods (optional)
- Wood glue
- Medium and fine sandpaper
- Mini wire nuts
- Double-sided tape
Choose lights with bulbs that can be removed from their plastic tops, as described in the steps below. Before cutting the plywood, check that the planned cactus shape will fit the board and allow space for the light holes.
How to make the cactus marquee sign
1. Draw and cut the shape
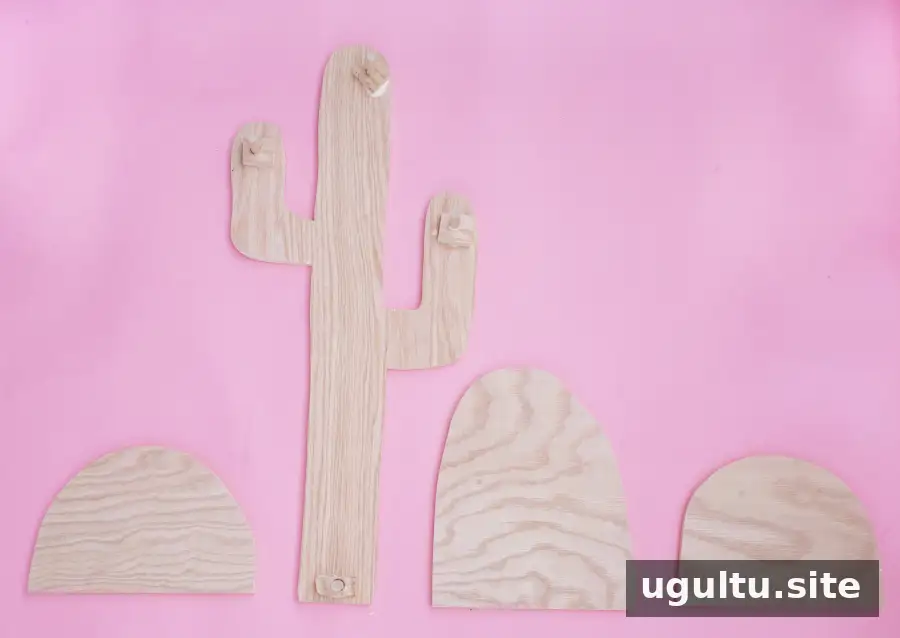
Sketch the cactus design onto the plywood with a pencil. If drawing freehand is difficult, make a paper template first and trace its outline onto the wood. Cut out the design with a jigsaw, then smooth the edges using medium and fine sandpaper. Work carefully around curves so the cutout is comfortable to handle and ready for paint.
If the sign will hang on a wall, short dowel pieces can be glued to the back to create extra clearance for the battery pack. Cut the rods into small 2″ pieces and attach them with wood glue. Allow the glue to set before continuing.
2. Drill holes for the lights
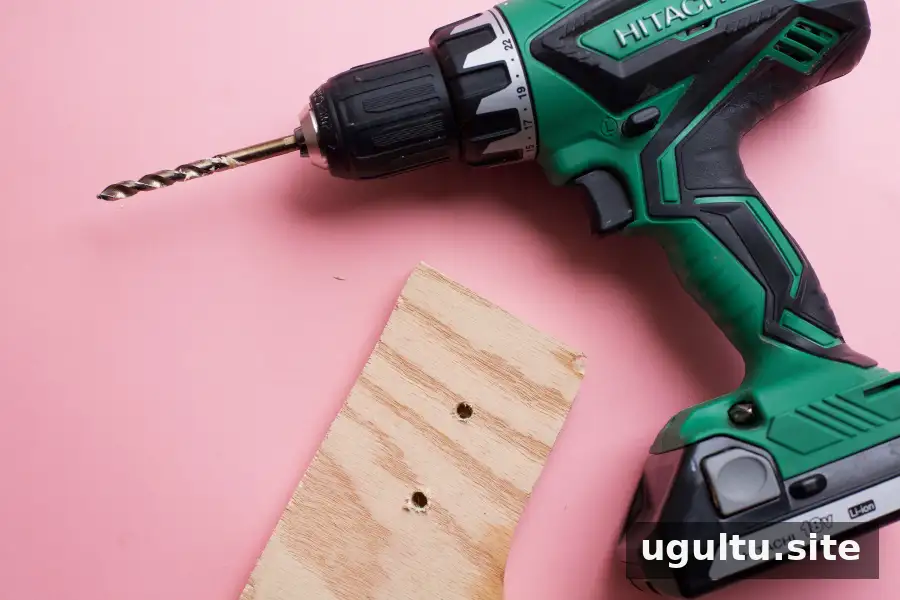
Mark positions for the bulbs and drill holes about every 1″ or 2″ along the design. Check the spacing against the string lights before drilling all the holes; the bulb layout should follow the cactus shape without leaving awkward gaps.
3. Paint and prepare the back
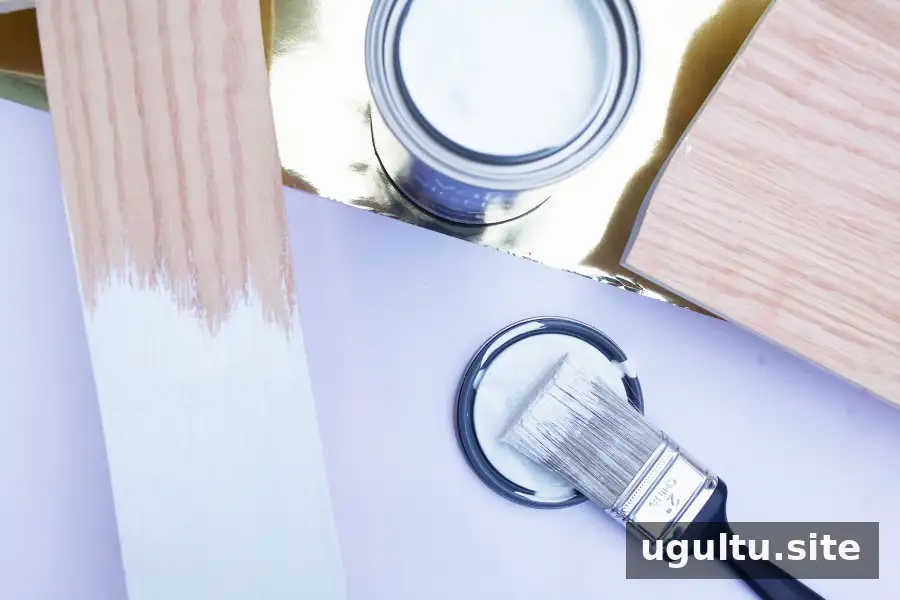
Attach the picture hangers and wire to the back of the sign, then paint the plywood. Two coats may be needed for even coverage. Let the paint dry fully before fitting the lights, and make sure the hanging hardware is secure for the finished sign’s weight.
4. Fit and arrange the lights
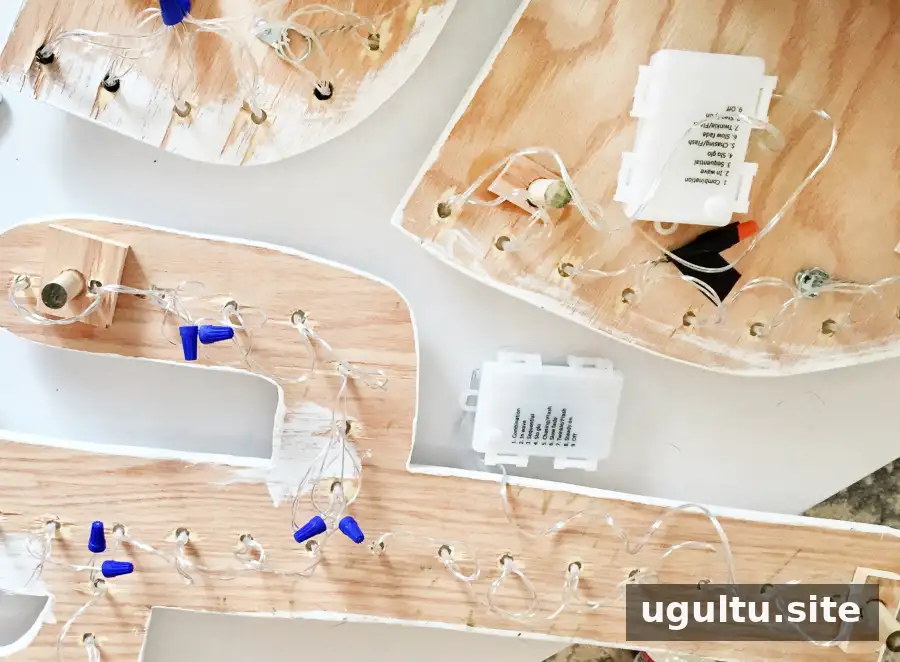
Gently remove the plastic tops from the bulbs. From the back of the sign, insert each light through a drilled hole, then reattach its top on the front. Position the battery pack on the back with double-sided tape, keeping it accessible so the lights can be switched on and the batteries replaced.
The original project modifies the wiring of its battery-powered, low-voltage LED lights with mini wire nuts to route bulbs around the cactus shape. Only do this if the light manufacturer permits it and you can correctly identify and reconnect the wires. Disconnect the battery pack before handling any wiring, keep matching positive and negative connections together, and do not apply this method to other types of lights. If you are unsure, leave the string intact or consult a qualified electrician.
5. Add the finishing details
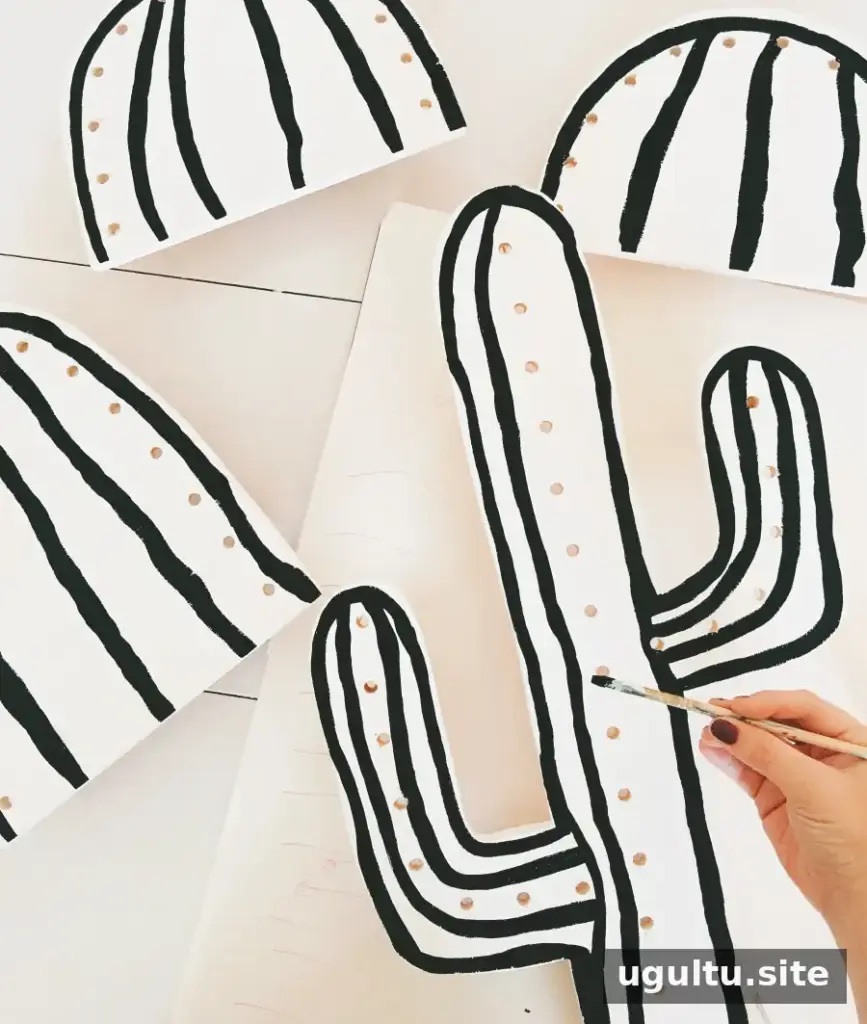
Add decorative details with paint, as Elsie did, and allow them to dry before hanging the sign. Check that the bulbs are seated, the battery pack is secure, and the lights work as intended.
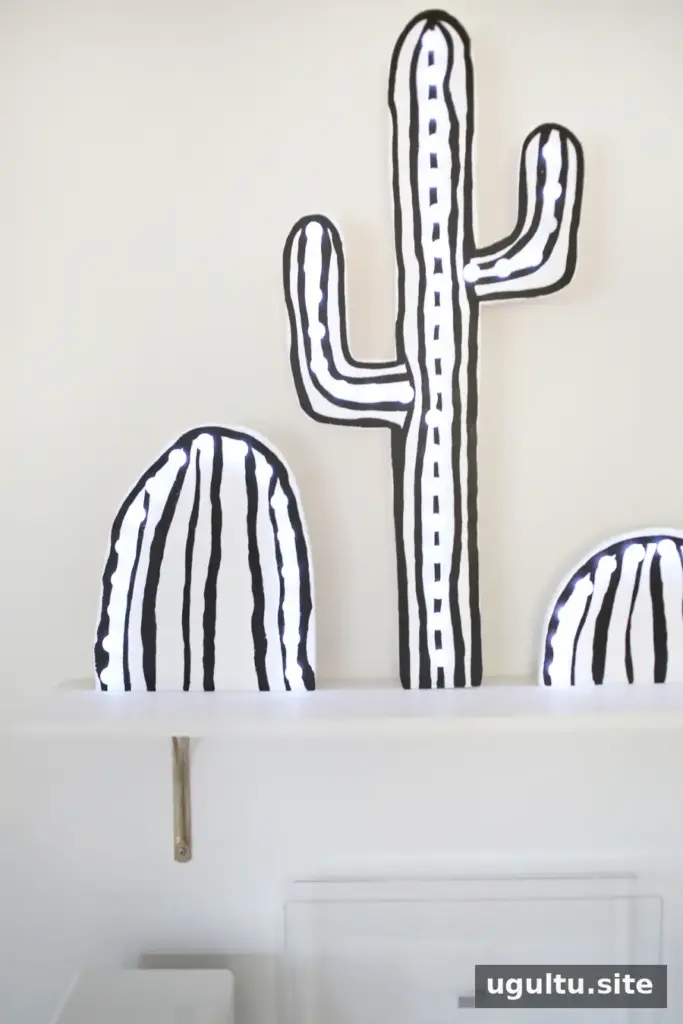

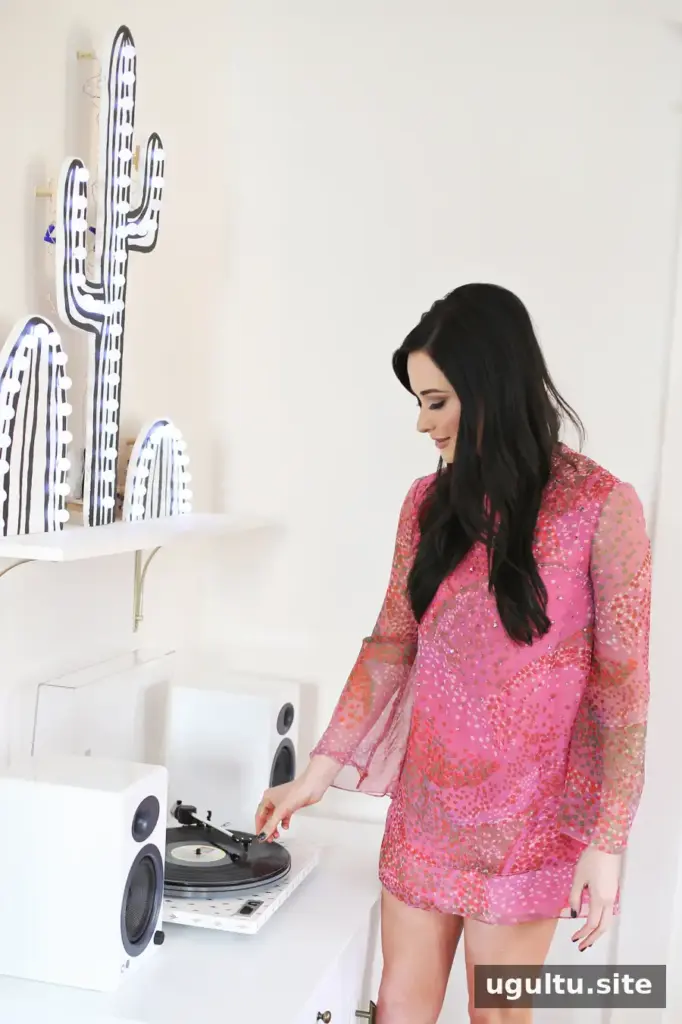
This cactus marquee sign can be customized with a different outline or paint details while keeping the same basic construction. For a clean result, plan the bulb spacing and battery-pack position before assembly, and always follow the light set’s instructions when handling its wiring.


