
 admin
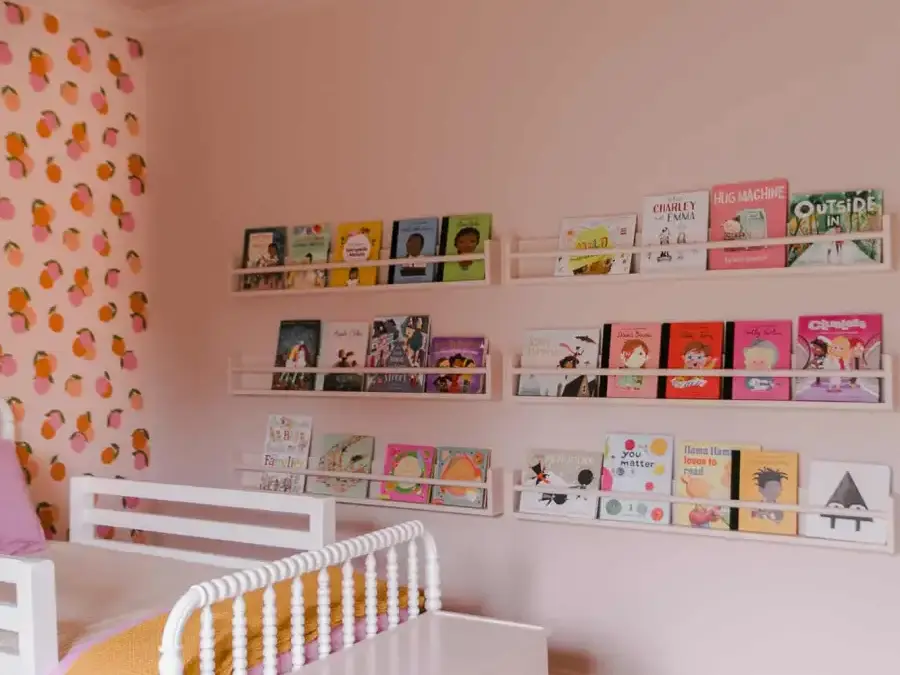
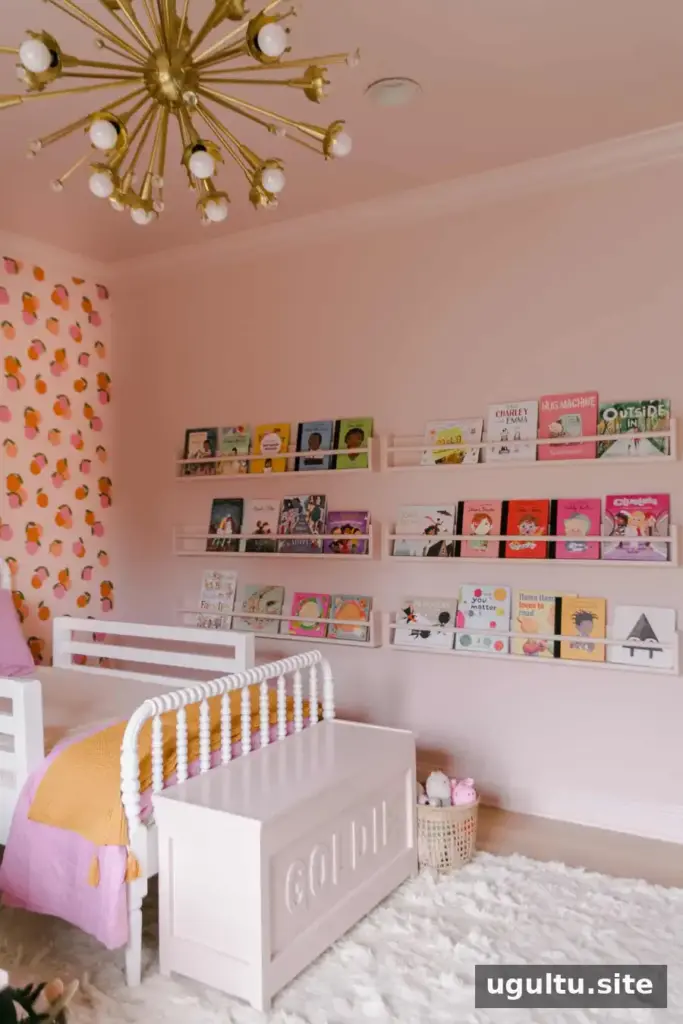
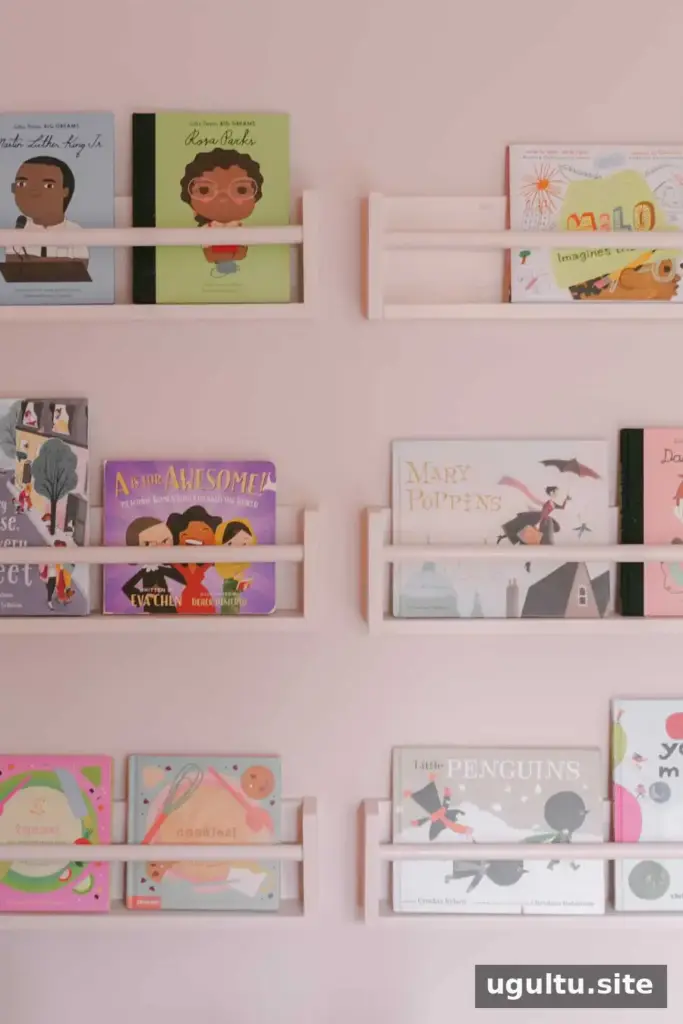
A children’s bookshelves DIY project can turn an empty wall into an easy-to-reach place for favorite stories. These simple ledge-style shelves display books with their covers facing outward, making it easier for children to choose what they want to read. Rotating the selection throughout the year can also keep familiar books interesting and create space for seasonal favorites.
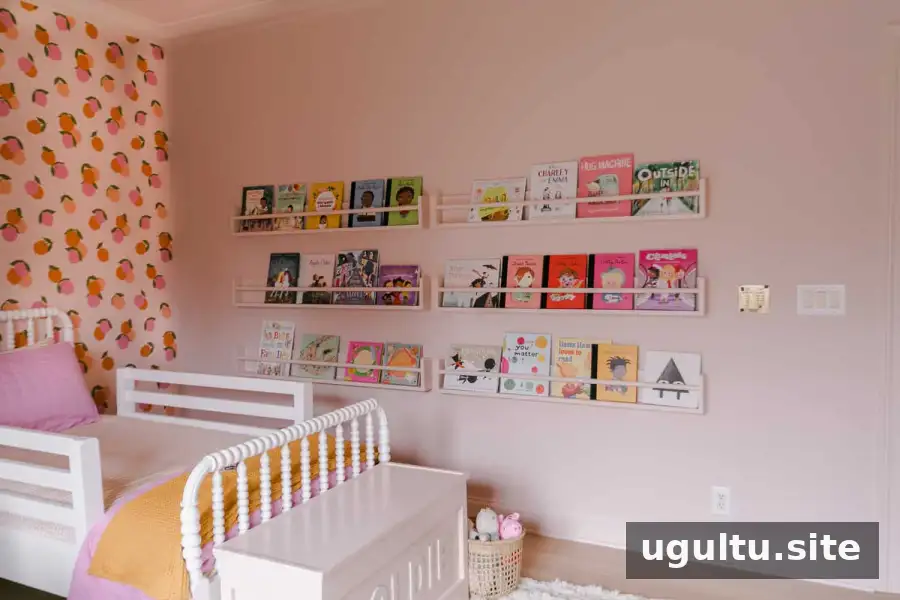
For a shared bedroom, a full wall of shelves can provide plenty of display space while keeping the lower shelves accessible to children. Painting the shelves to match the wall creates a more built-in appearance, and trim paint can offer a durable finish. A dowel across the front helps keep books in place and allows books to be arranged in two layers when extra display space is useful.
Children’s Bookshelves DIY: Materials and tools
Gather the supplies and tools before cutting the boards. Check that your saw and drill are suitable for the materials, and wear appropriate eye and hearing protection while working.
Supplies:
- One 3/4″ x 5″ x 8′ primed board
- One 3/4″ x 3″ x 8′ primed board
- One 7/8″ x 4′ wooden dowel rod
- Wood glue
- Paint
- Caulk
Tools:
- Miter saw or circular saw
- Nail gun, or a drill and wood screws
- 7/8″ hole saw
- Flathead screwdriver
- Drill
How to build the bookshelf
1. Cut the shelf pieces
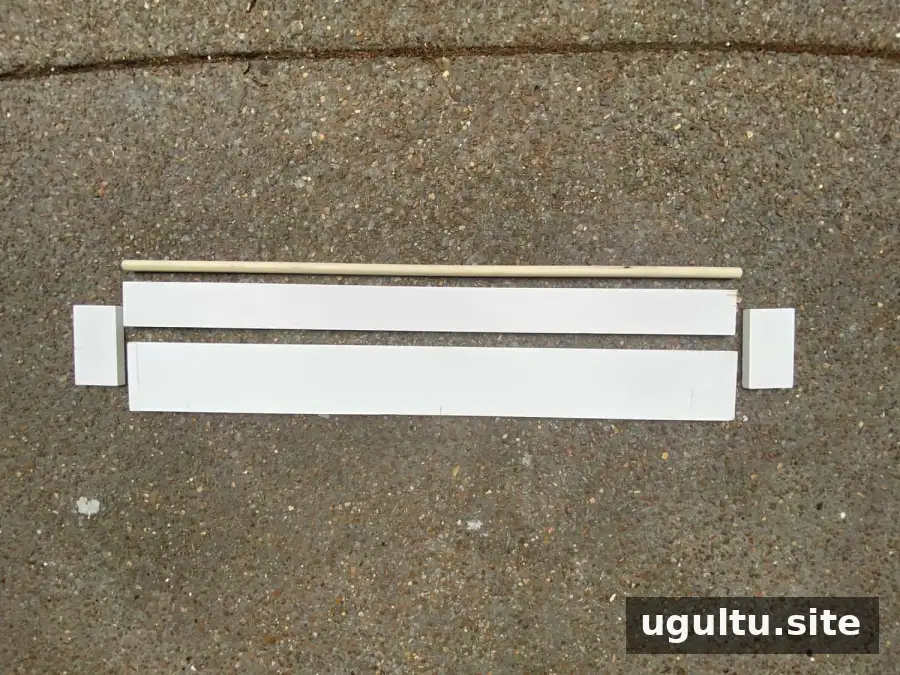
Cut both the 3/4″ x 5″ x 8′ board and the 3/4″ x 3″ x 8′ board to 47.5″. The wider board forms the back, while the narrower board becomes the bottom. From the remaining 3″-wide board, cut two 5″ pieces for the sides. Measure carefully and make sure the cuts are square so the pieces fit together neatly.
2. Join the back and bottom
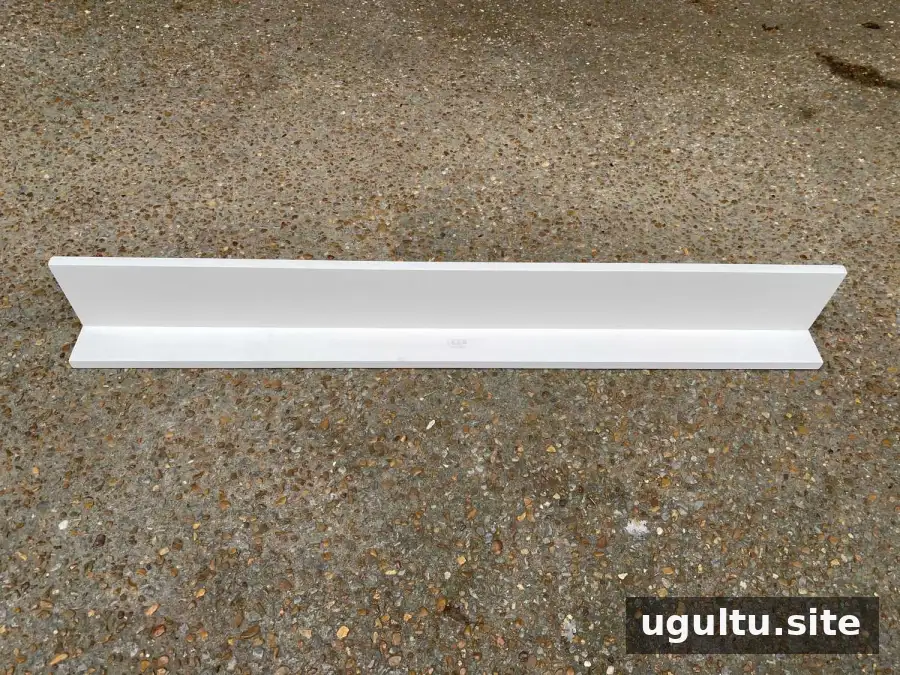
Apply wood glue where the 5″-wide back meets the top edge of the 3″-wide bottom board. Fasten the pieces with a nail gun, or use a drill and screws. Keep the back and bottom aligned as you secure them to help the finished shelf sit straight against the wall.
3. Make the dowel openings
On each 5″ x 3″ side piece, measure 4.5″ up from the bottom and 1/4″ in from one side. Use the 7/8″ hole saw to drill about 1/4″ into the wood at the marked position. Keep the hole placement consistent on both side pieces so the dowel will sit level.
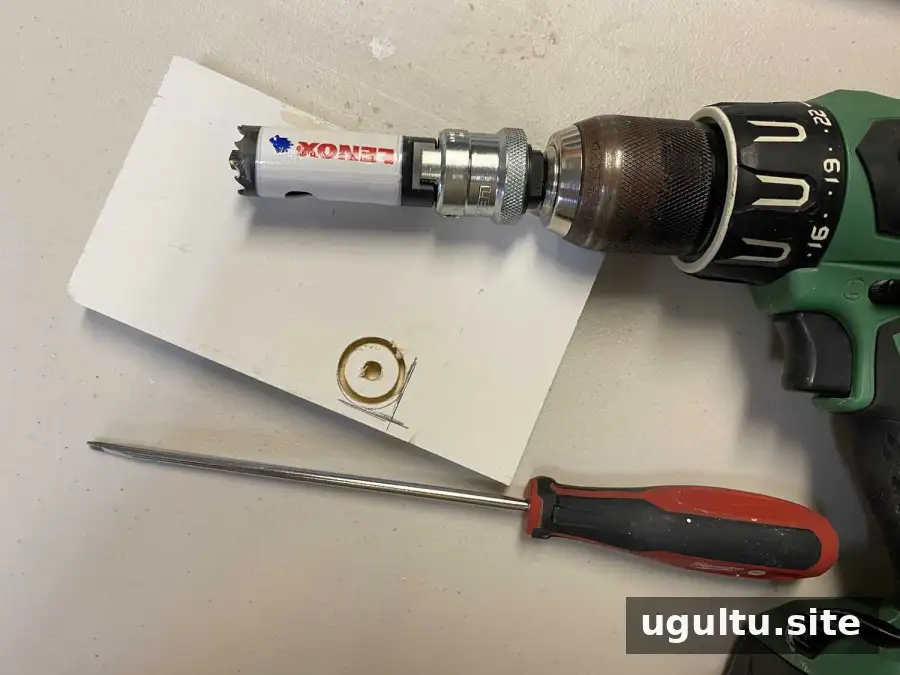
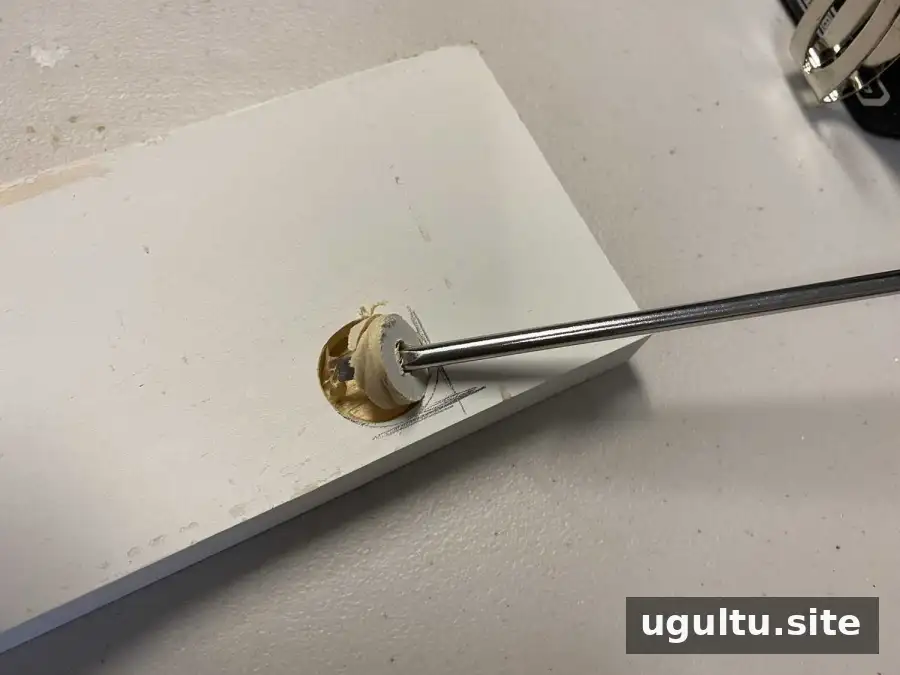
Use a flathead screwdriver to remove the center of each opening, then repeat the process on the second side piece. Work carefully so the wood around the opening remains intact.
4. Assemble, finish, and mount
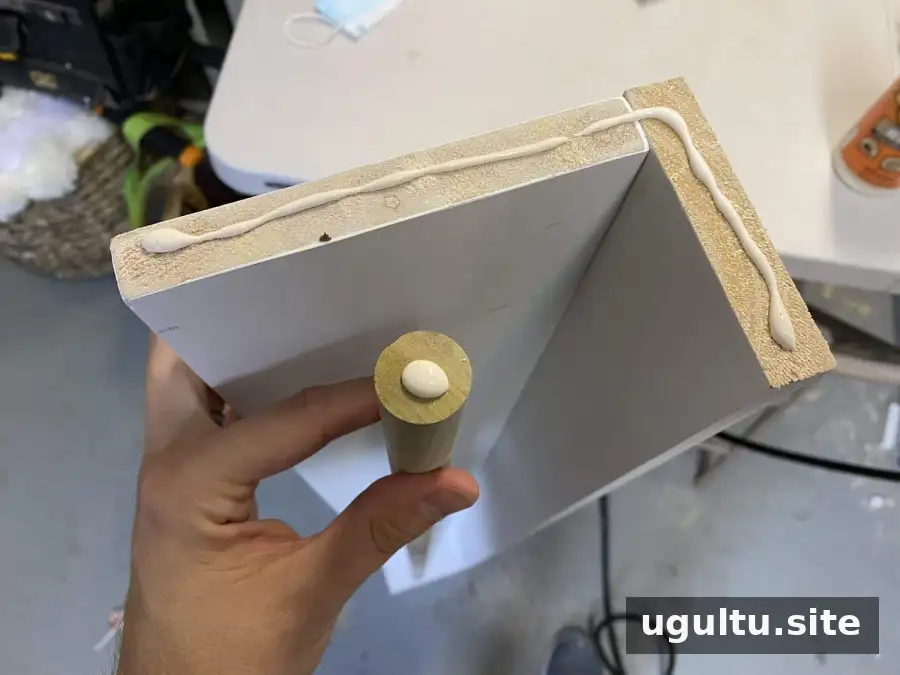
Attach one side piece to the shelf with wood glue and a nail gun, or with glue and screws. Add wood glue inside that side’s opening and place the dowel in it. Apply glue to the other end of the shelf and dowel, then position the remaining side piece so the dowel fits into its opening. Fasten the second side securely.
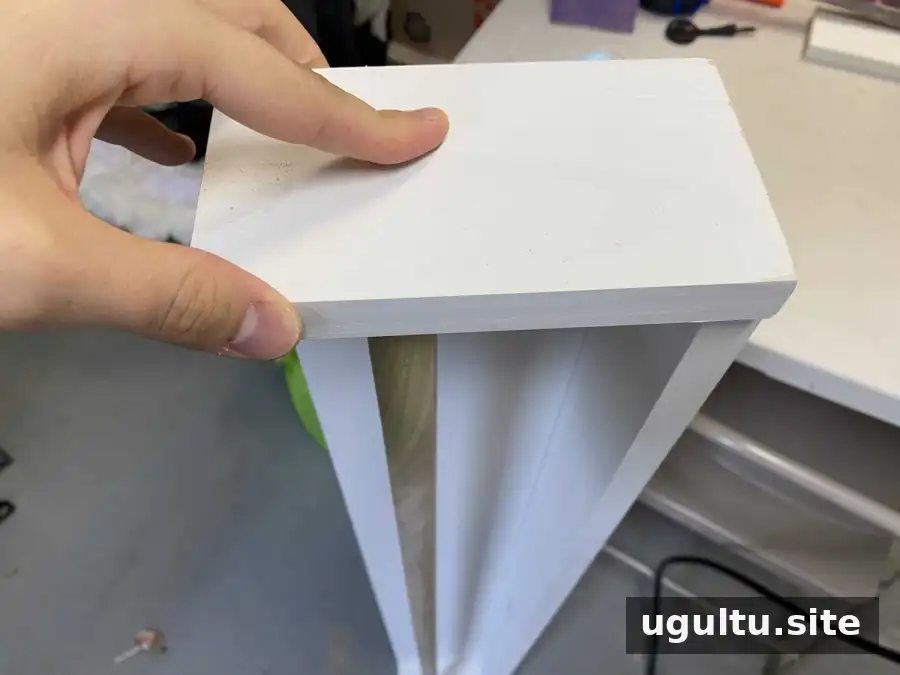
Fill visible cracks or gaps with caulk, then paint the shelf. Before mounting it, locate the wall studs and attach the shelf to them with 2″ wood screws. Fill the screw holes with caulk or wood filler and paint over them for a clean finish. Use a level when positioning the shelf, and make sure it is firmly secured before adding books. Keep the shelf out of reach as a climbing aid; it is intended for books, not for supporting a person.
Displaying and rotating children’s books
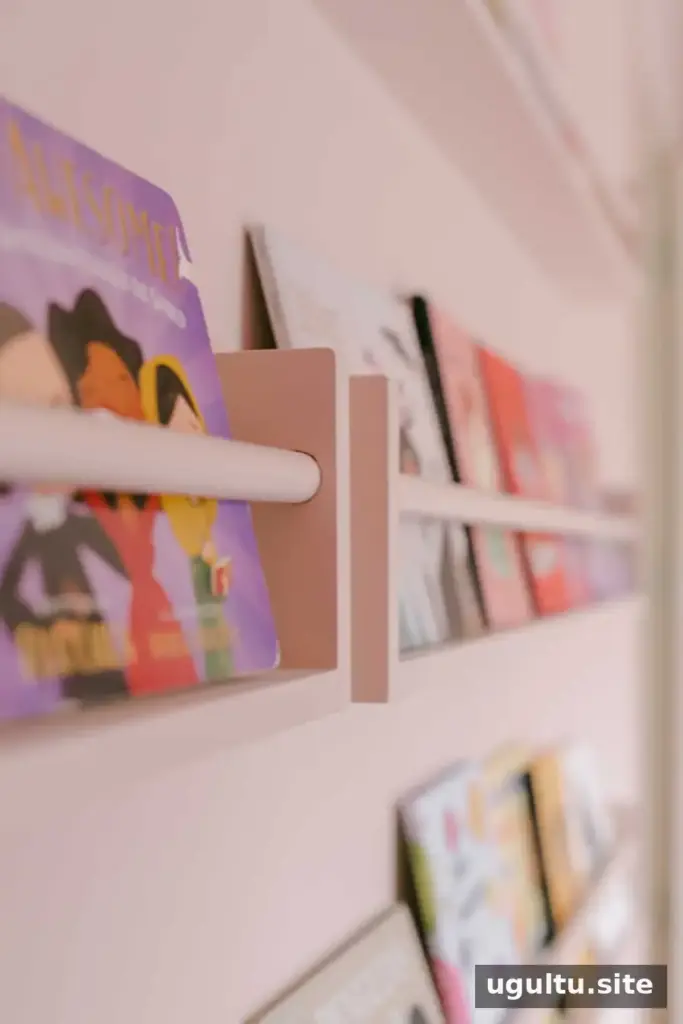
Once the paint has dried, arrange a small selection of books with their covers facing forward. Rotate the display occasionally, or bring out holiday, fall, Halloween, and Lunar New Year books during the relevant seasons. Keeping the lower shelves accessible lets children choose books independently, while changing the selection gives more titles a chance to be noticed and read.
This children’s bookshelves DIY design combines a straightforward build with a flexible display. Measure carefully, anchor the shelves securely, and choose a paint finish suited to regular use.
Elsie + Collin


