
 admin
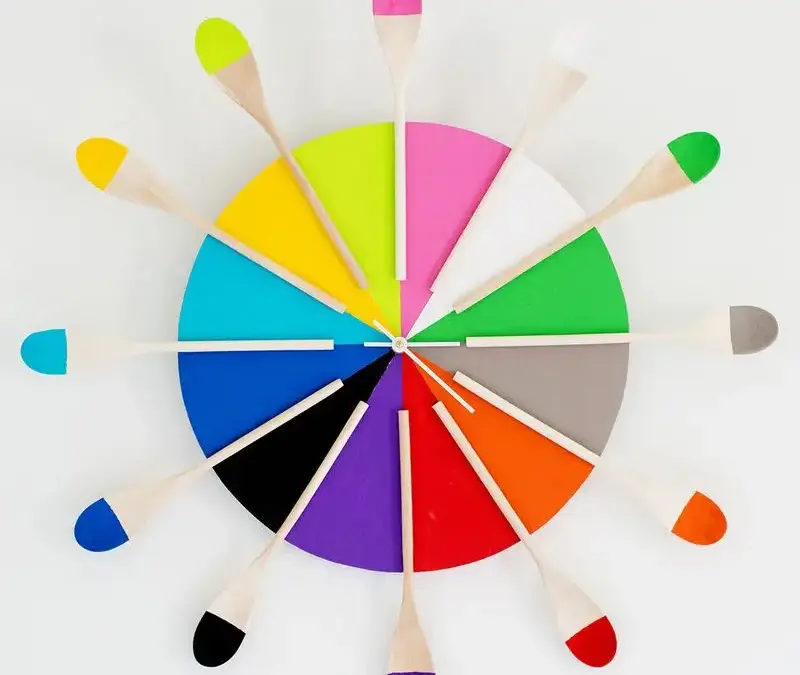
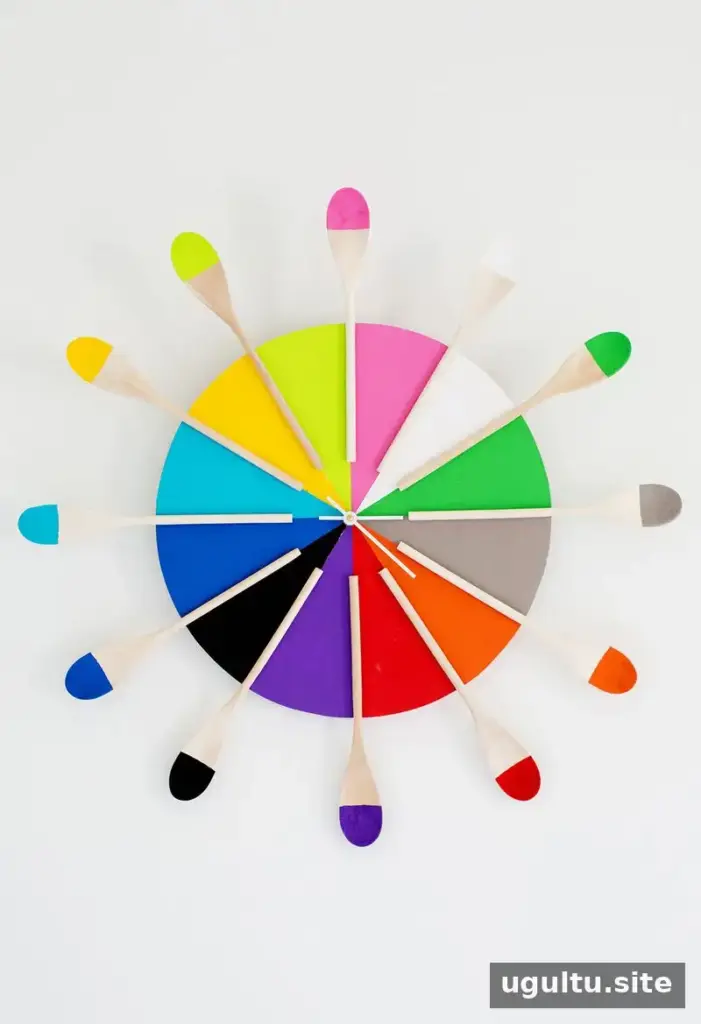
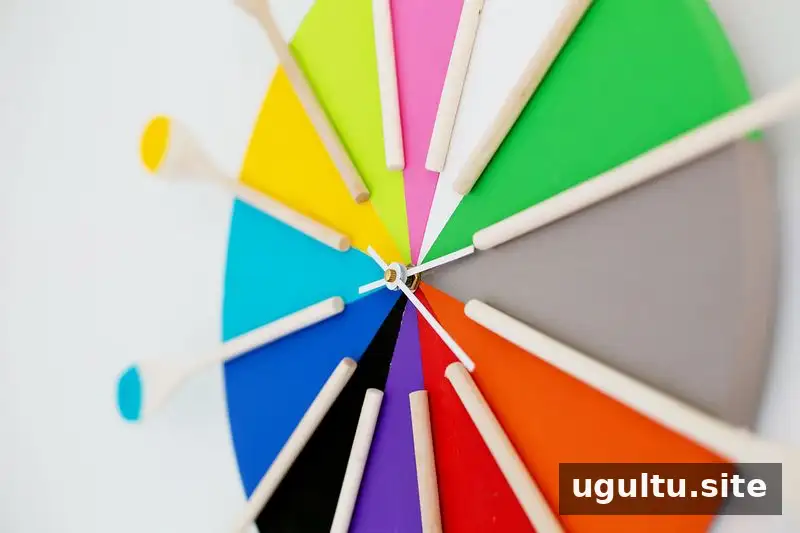
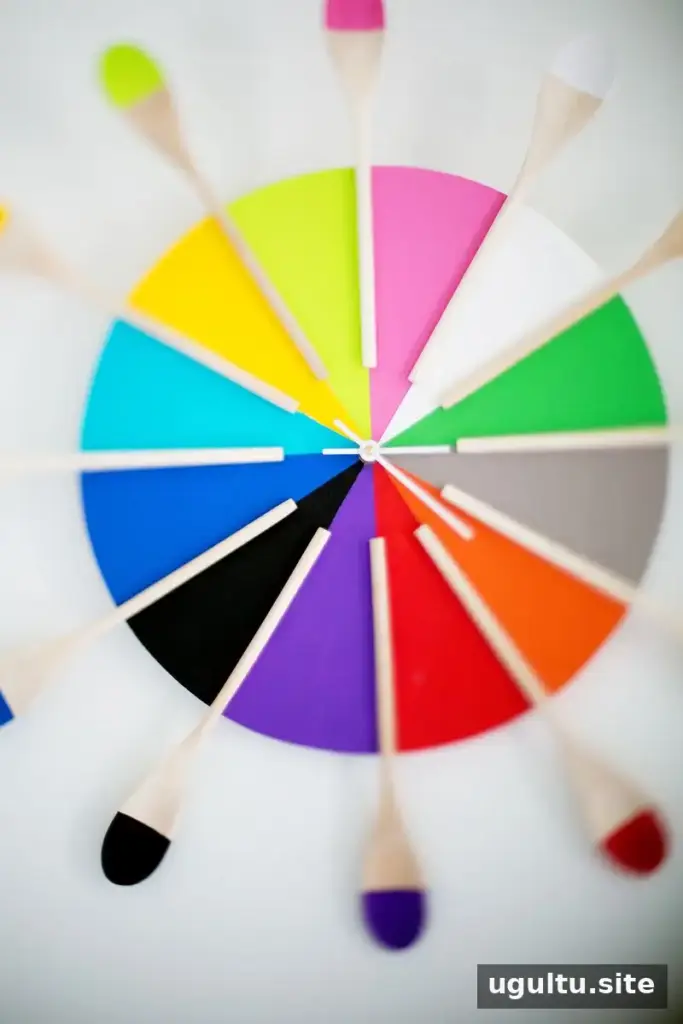
A colorful kitchen clock DIY project can turn a simple wooden base and a set of wooden spoons into a bright, functional piece of wall decor. This design uses twelve painted sections to mark the hours, with a spoon attached at each divider. The colors are arranged in a playful, mixed order rather than a traditional color-wheel sequence, so you can choose a layout that feels balanced in your space.
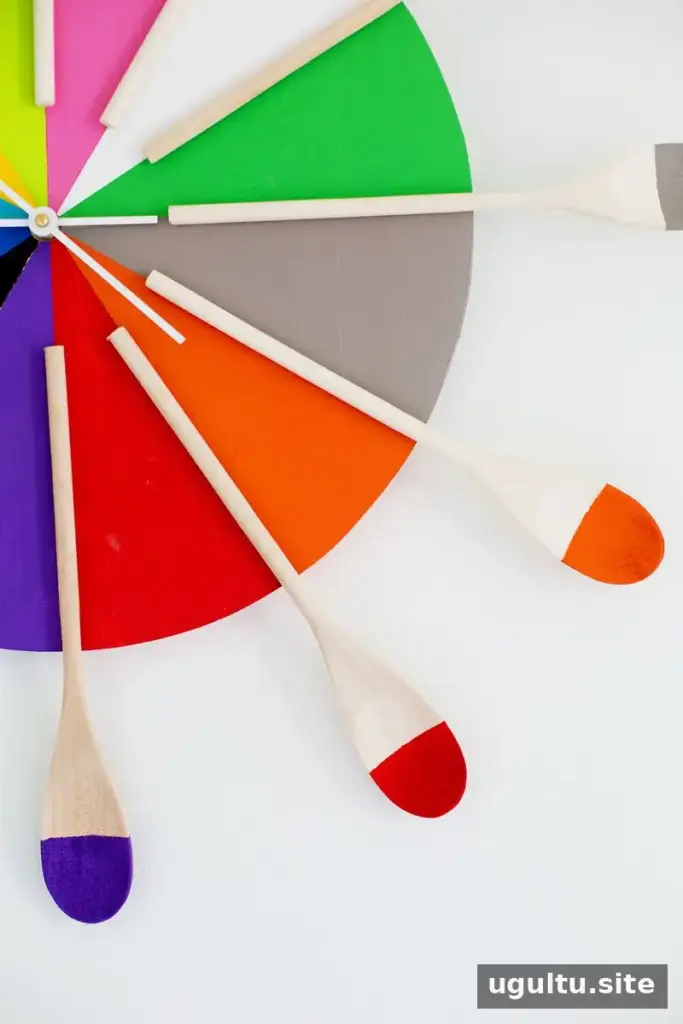
How to Make a Colorful Kitchen Clock
The project can be adapted to your home: although the finished clock works well in a kitchen, it can also add color to a home office or craft area. A round wooden base provides a straightforward surface for marking the hours and fitting the clock mechanism.
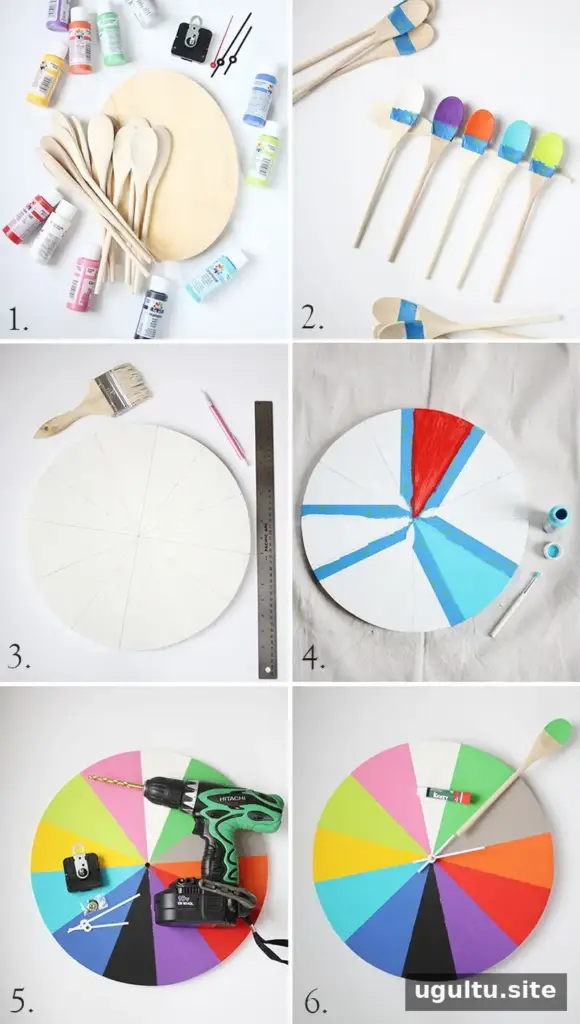
Materials and tools
- Clock kit
- Round wooden piece
- 12 wooden spoons
- Primer, optional if the wood is dark
- Craft paint in 12 colors
- Painter’s tape and paintbrushes
- Strong craft adhesive
- Power drill and a 5/16-inch drill bit, or a bit sized to fit the clock kit
- Ruler
Approximate cost: $28, not including tools. The clock kit and paint requirements may vary, so check what is included before shopping.
Step-by-step instructions
- Choose the base. A round wooden piece is used for this version. An oval piece was considered initially, but drilling near its edges risked splitting the wood, so the design was changed to a circle. Avoid placing holes too close to an edge, and secure the wood before drilling.
- Paint the spoons. Apply painter’s tape where you want a crisp dividing line, then paint the handles or other chosen sections. Let the paint dry fully before removing the tape or handling the spoons.
- Prepare the clock face. If needed, apply primer to the wooden base and let it dry. Use a ruler to mark twelve evenly spaced hour areas around the face.
- Add the color. Paint each of the twelve sections in a different color. Painter’s tape can help keep the edges neat. Allow the paint to dry before assembling the clock.
- Fit the clock mechanism. Drill a center hole using a bit that matches the instructions for your clock kit. Install the mechanism according to its included directions, since fitting details can differ between kits.
- Attach the spoons. Glue one spoon at each hour divider. Before the adhesive sets, check that the clock hands can rotate freely without touching the spoon handles.
Finishing and hanging the clock
Many clock kits include a hole or fitting for wall hanging, and most require one or more batteries. Check the kit instructions for battery type and installation, then test the hands before mounting the clock. If they catch on a spoon, reposition the spoon or check that the mechanism and hands are fitted correctly.
Make the design your own
The finished clock can be displayed in a kitchen, office, or creative workspace. Arrange the colors before painting to see how they look together, and keep the hour markers visually distinct so the time remains easy to read. This colorful kitchen clock DIY combines practical timekeeping with a cheerful handmade accent. Created by Emma.


