
 admin
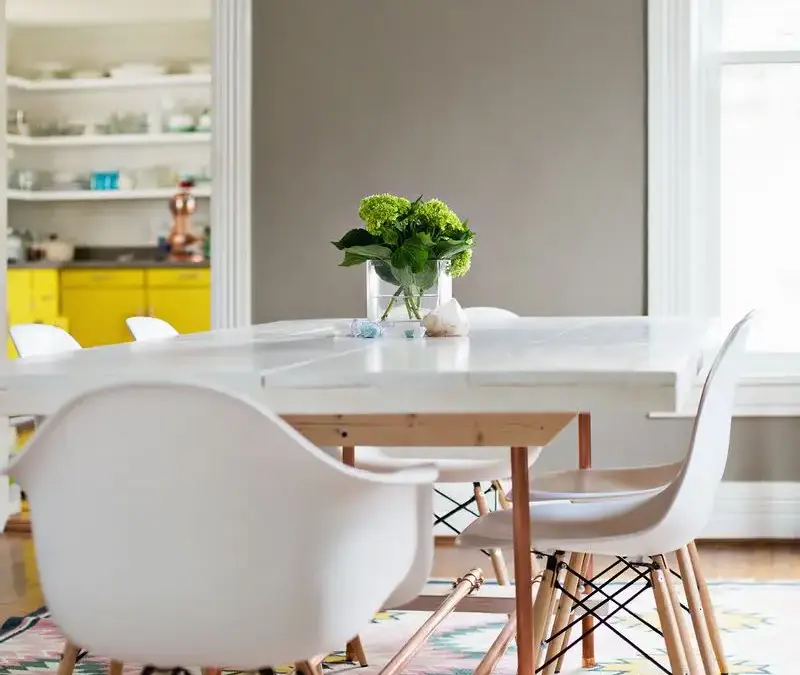
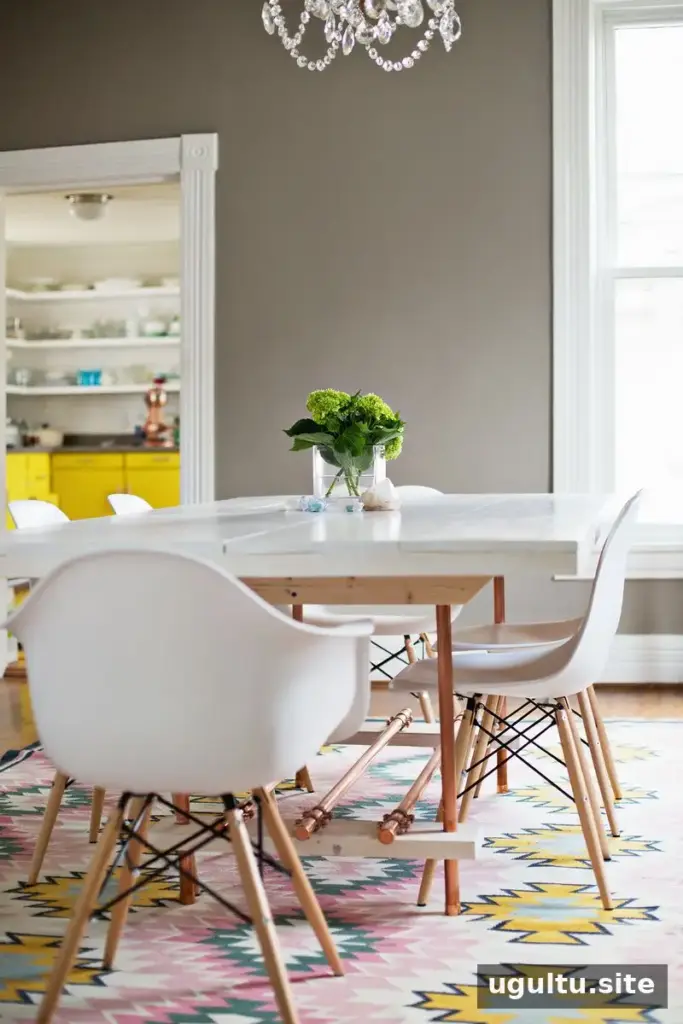
A DIY dining room table can bring a custom look to your space while combining the warmth of wood with the clean lines of metal. This design uses copper pipes for the legs, creating an industrial-inspired table with a decorative finish. The example table is seven feet long; changing its length means adjusting the frame measurements as well.
DIY dining room table materials and tools
Gather the following supplies before starting. Check each board for bends or twists, since warped lumber can make assembly and leveling more difficult.
- 2″ x 6″ x 8′ boards (4)
- 1″ x 11″ x 8′ boards (4)
- 3/8″ dowel rod (1)
- 1″ copper pipe, 10 ft
- 1″ copper pipe, 5 ft (3)
- 1″ copper slip caps (10)
- 1″ copper split ring hangers (20)
- 3″ screws
- #12 1.5″ wood screws
- 2.5″ pocket-hole screws
- Wood stain and polyurethane
Tools: miter saw, drill, speed square, 5/8″ spade bit, 1″ spade bit, 3/8″ drill bit, pocket-hole jig, foam brush, rags, sander or sandpaper in 80- and 220-grit, and a copper tube cutter.
Set up a flat work area with enough room to assemble the table upside down. A level surface helps keep the frame square and reduces the chance of a wobbly finished table.
Cut and prepare the tabletop and frame
Cut the tabletop boards
For the seven-foot design, cut the tabletop pieces to the desired length. The boards can also be left at their original eight-foot length, but the frame and other measurements must then be changed to match. Sand the cut pieces with 220-grit sandpaper.
Cut the frame pieces
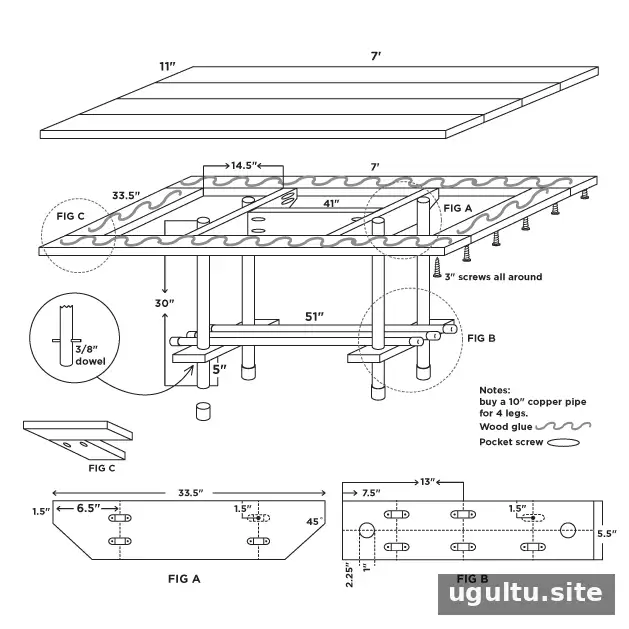
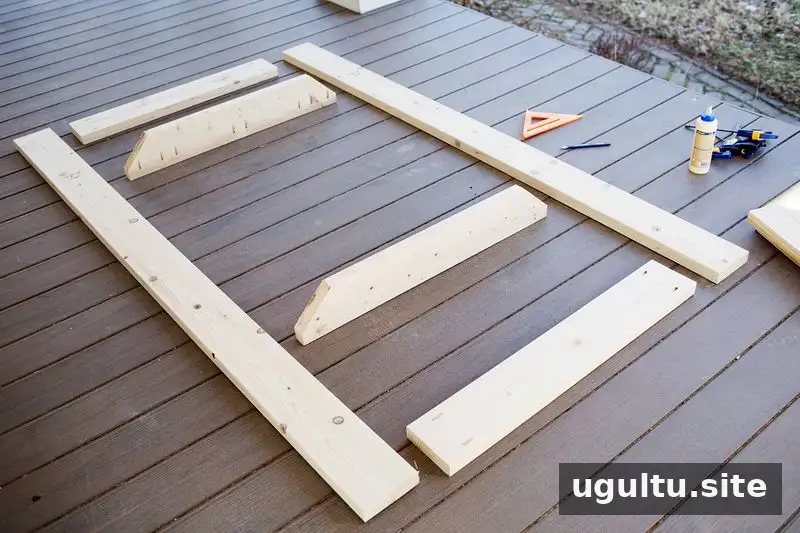
Cut the frame components to suit the selected tabletop size. The exact frame cut dimensions are not included here, so determine and verify them before cutting. This is a key stage: measure carefully, mark each piece, and check the layout before making cuts. Sand the pieces smooth and arrange them in their intended positions.
Assemble the table frame
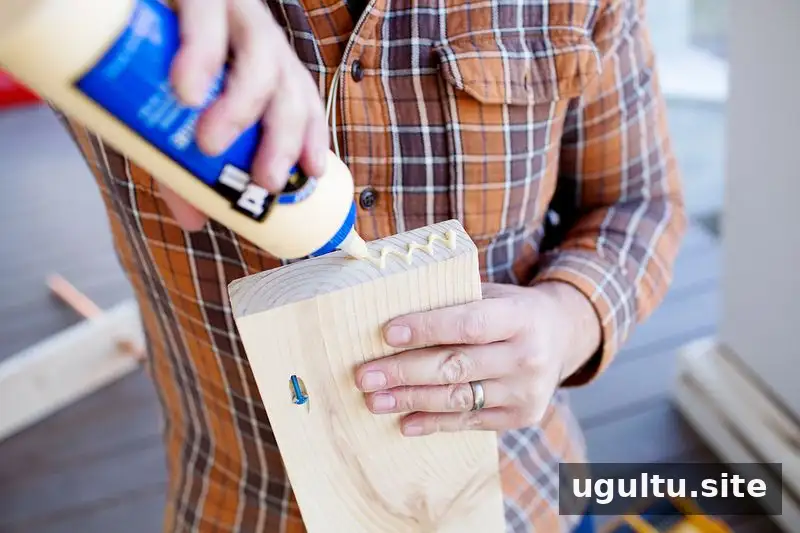
A pocket-hole jig can be used to prepare concealed screw holes before assembly. If you do not have one, the frame can be fastened through its outer face, though the screws will be more visible. Pre-drilling helps reduce splitting and makes it easier to position the joints.
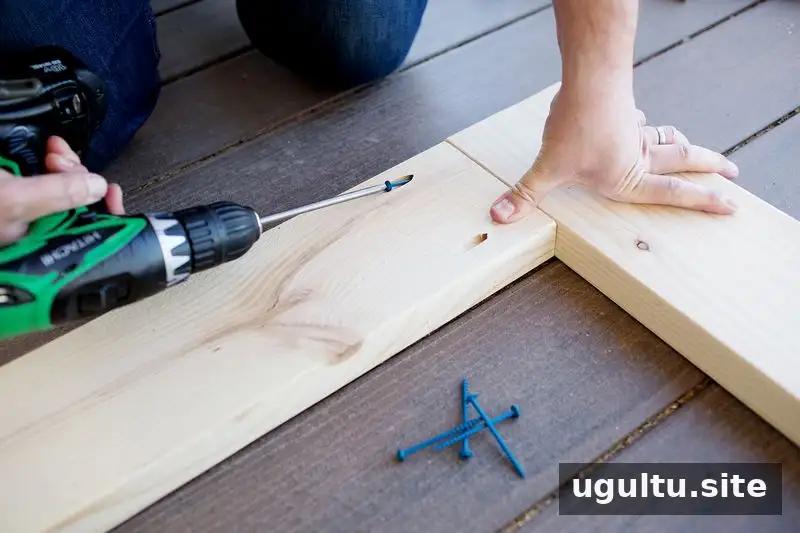
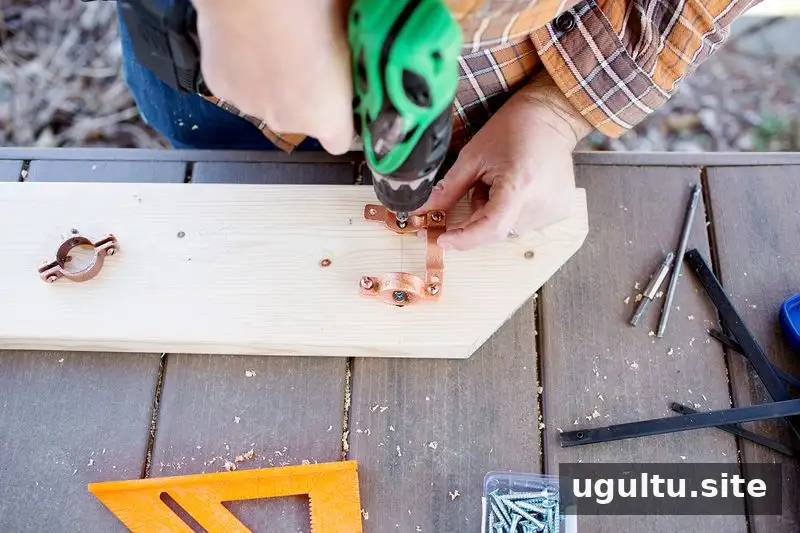
The cross member shown as Figure A provides support and serves as an attachment point for the legs. Measure and mark its position first. Use the 3/8″ bit to drill about 1/4 inch deep for each copper ring hanger. Remove one side of each hanger and fasten it with #12 1.5″ screws, then replace the screws so they are not misplaced. Cut and assemble the second frame section, shown as Figure B.

Join the frame and tabletop: Glue and screw the frame pieces together, checking each corner with a speed square so the assembly stays square. Set the frame aside nearby.
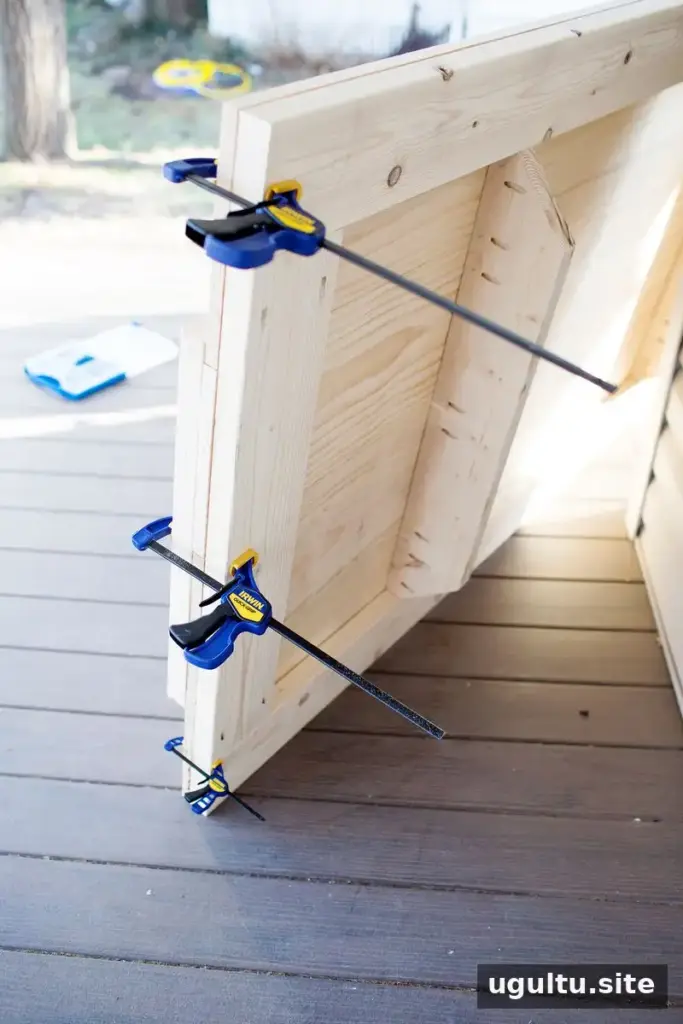
Lay the tabletop boards with the faces intended to be underneath facing up, and mark those surfaces if helpful. Apply glue to the frame and position it on the boards. Fasten it from underneath through the prepared pocket holes, or use suitable screws from the frame side. Keep the boards aligned and flush at the ends. Clamps can hold the pieces in position while the glue sets.
Sand, finish, and fit the copper legs
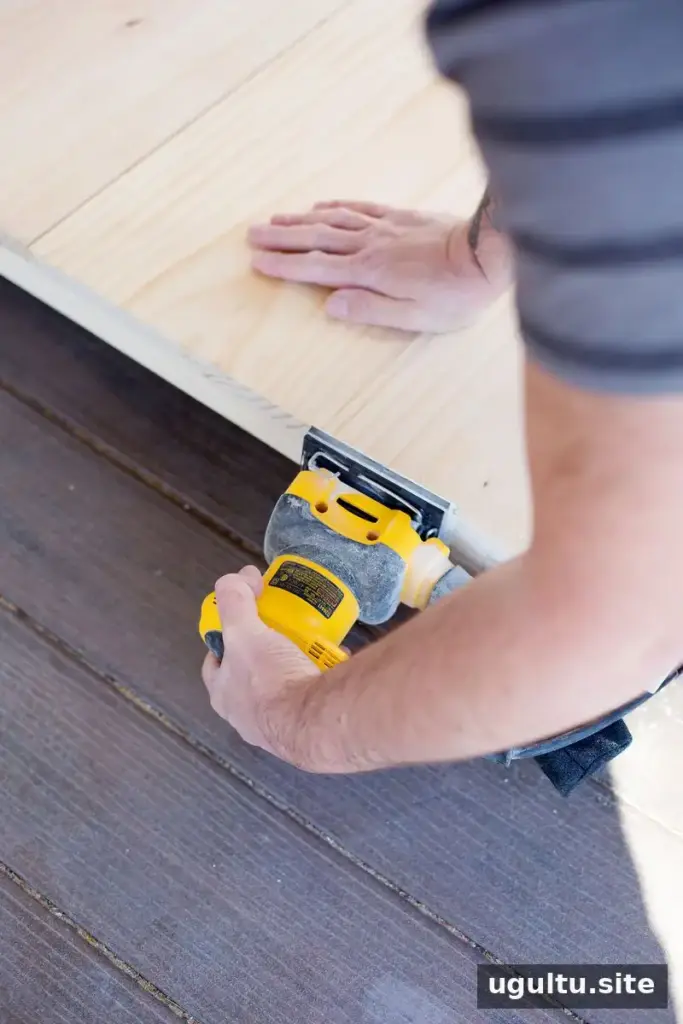
Sand the tabletop and edges, beginning with 80-grit paper and moving to 220 grit for a smoother finish. Remove sanding dust before applying stain or a protective coat.
Cut the copper: While the tabletop finish is drying, use a copper tube cutter to cut the pipe for the legs and cross supports. Measure each section carefully and check the fit before final installation.
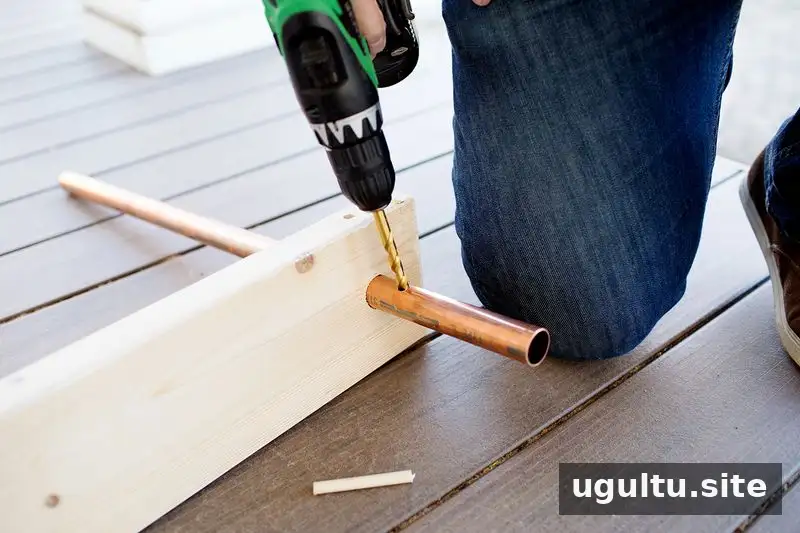
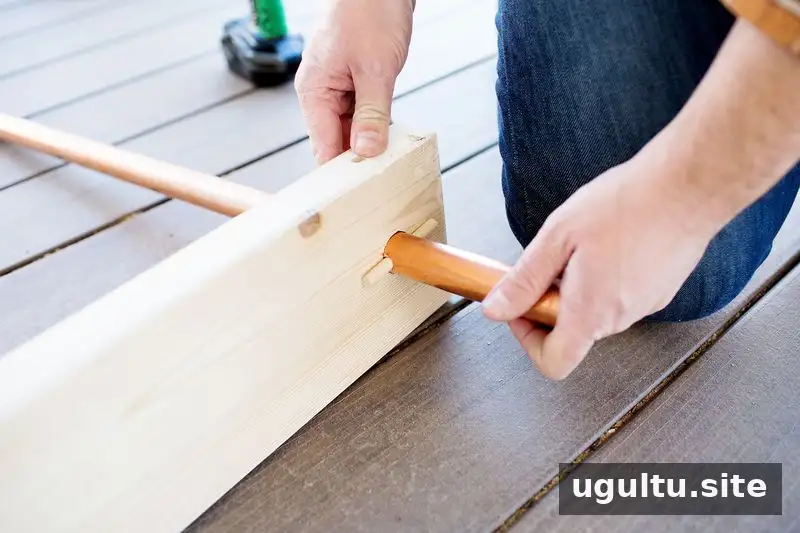
Install the legs and cross pieces: Keep the brackets slightly loose while positioning the pipes so the parts can be adjusted. Tighten the screws gradually, alternating between sides, then check that every bracket is secure.
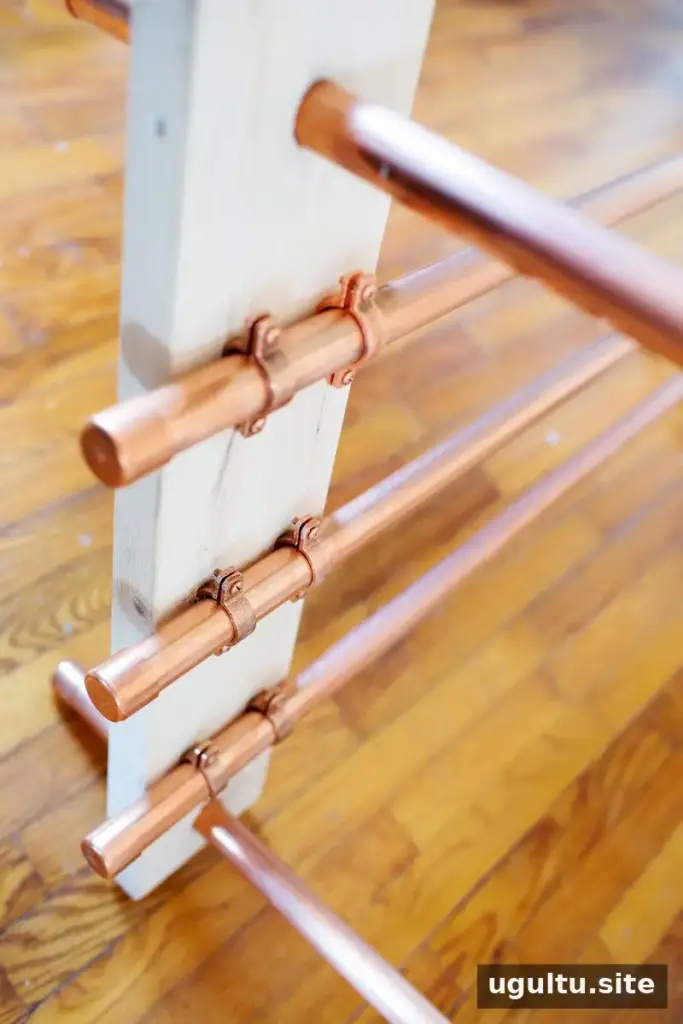
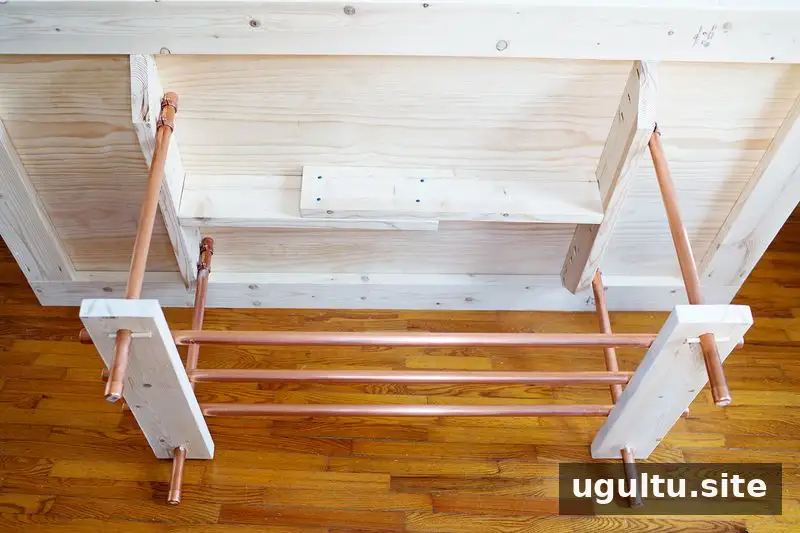
Fit the copper end caps, then ask another person to help turn the table upright. Avoid flipping it alone or putting excessive force on the legs during the lift.
After turning the table over, inspect the surface and touch up any rough areas with sandpaper. Apply stain as desired; the example uses a whitewash finish. Protect the wood with polyurethane. The example received three coats of clear gloss polyurethane; follow the product’s drying instructions between coats.
Allow the finish to cure before placing the table into regular use. A careful final check of the joints, brackets, and table stability can help catch loose parts before the table is loaded.
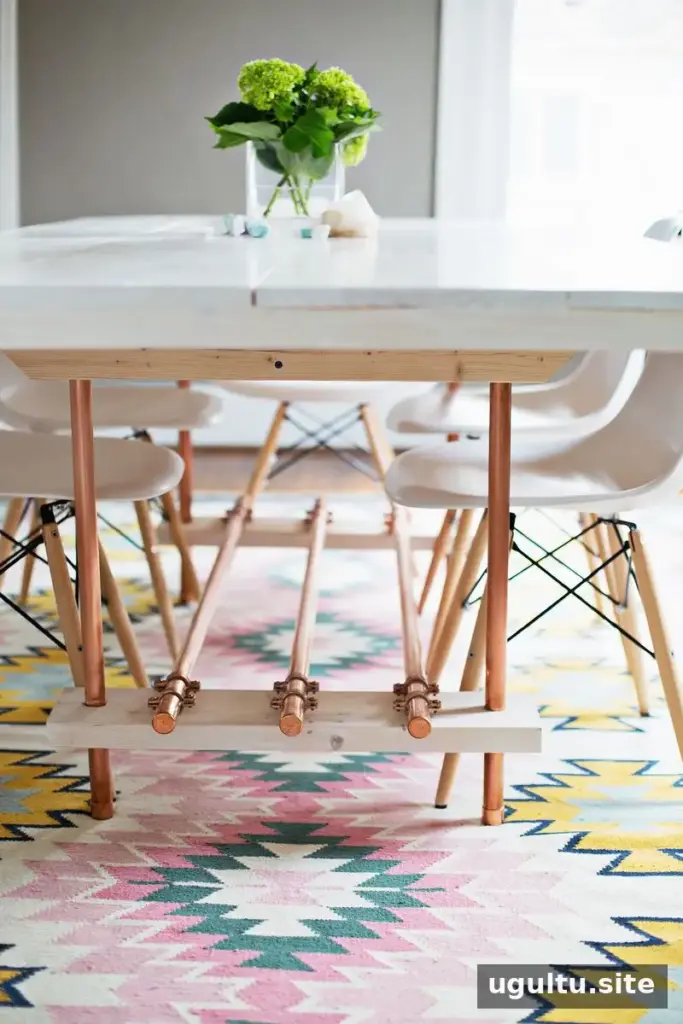
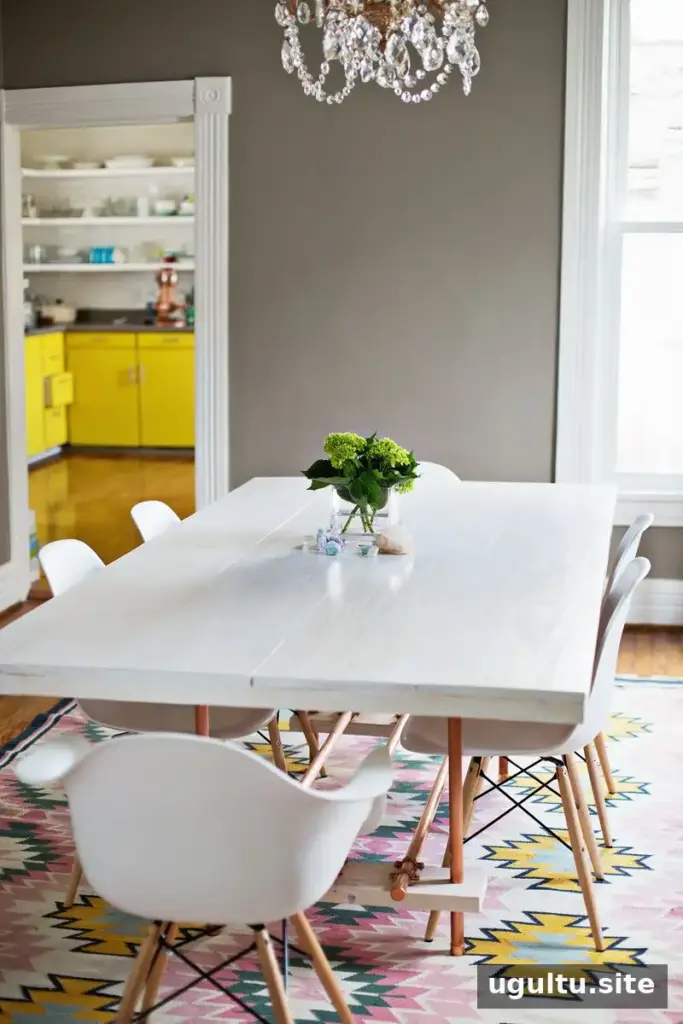
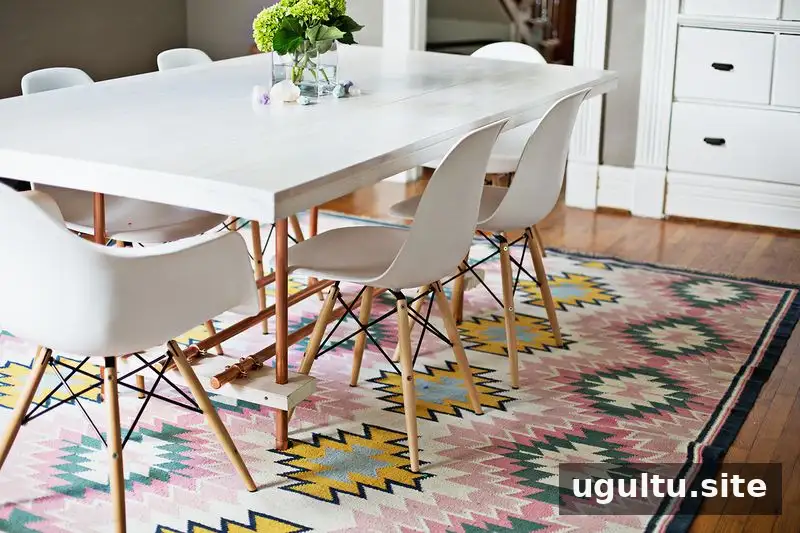
Happy building! —Josh


