admin
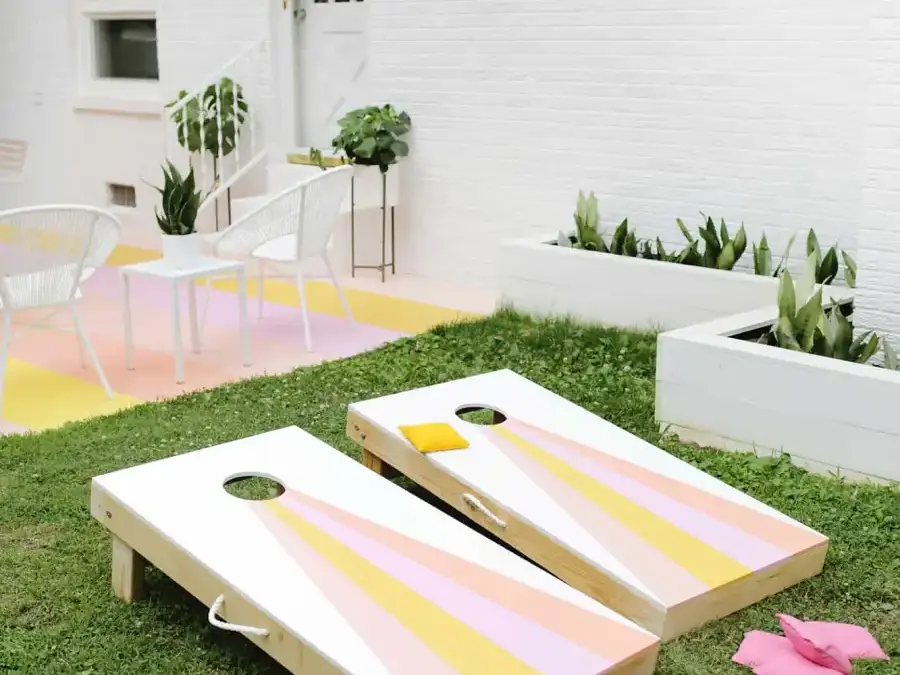
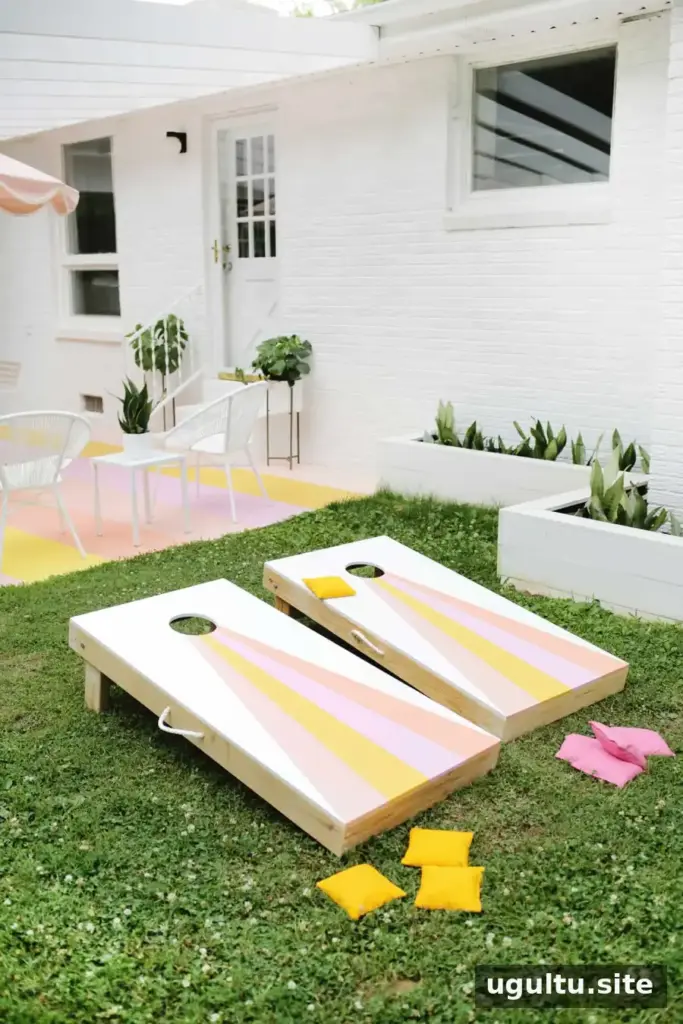
A DIY cornhole game is a practical backyard project for warm-weather gatherings, family activities, and casual outdoor play. The game uses bean bags tossed toward a hole in a raised board. With plywood, 2×4 lumber, basic tools, and a little paint, you can make a pair of boards with folding legs for easier storage.
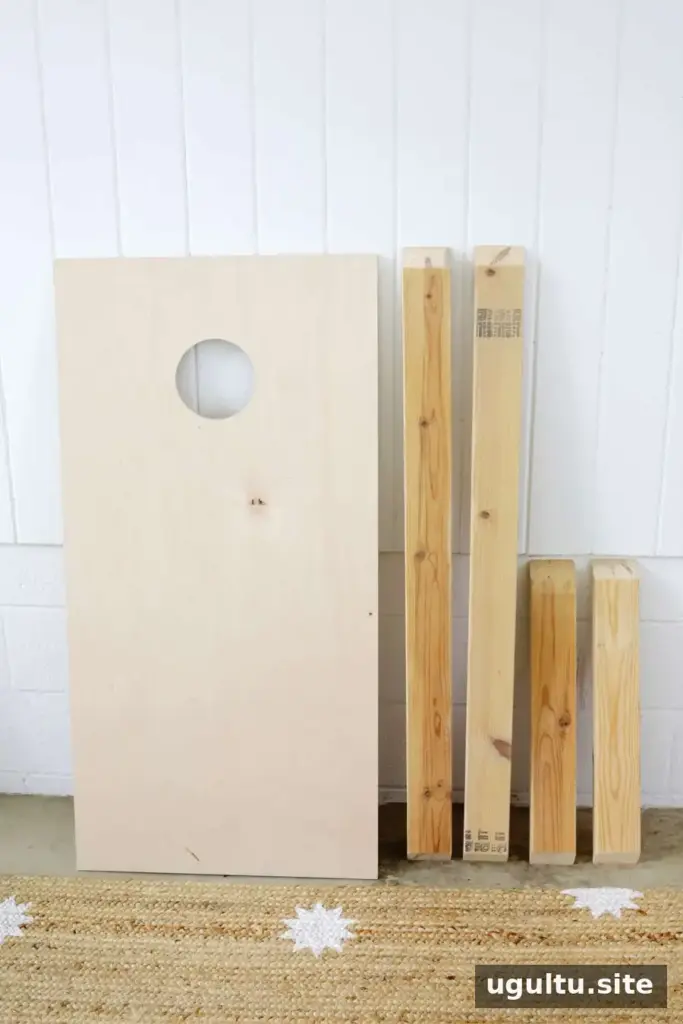
DIY Cornhole Game Materials and Tools
Gather the following supplies before you begin. Check that your saw and drill are suitable for the cuts and holes required, and work on a stable surface.
- Two 1/2-inch plywood boards, each 2 feet × 4 feet; pre-cut boards with holes are another option.
- Three 8-foot-long 2×4 boards.
- A jigsaw or 6-inch hole-saw bit, if the plywood does not already have a hole.
- A chop saw or circular saw.
- Four 3/8-inch × 4-inch carriage bolts, four 3/8-inch washers, and four 3/8-inch wing nuts.
- Light sandpaper, wood glue, and clamps.
- A nail gun or 2-inch wood screws, plus a power drill.
- Paint for the design; rope for handles is optional.
Cut the Boards and Make the Targets
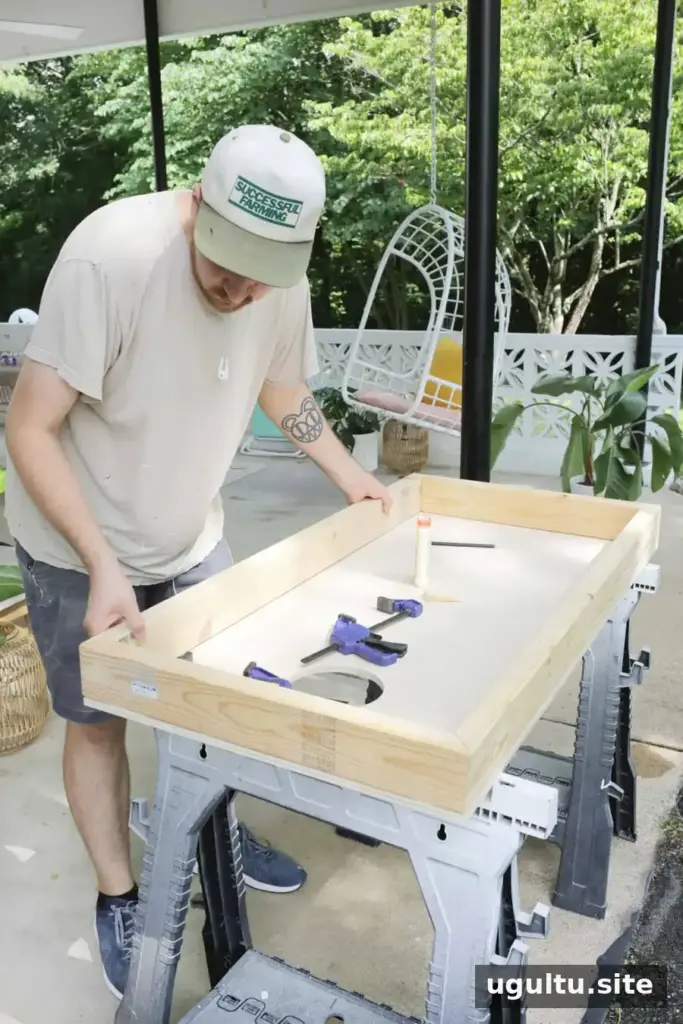
If needed, cut the plywood into two 2-foot × 4-foot panels. On each panel, mark the hole center 9 inches down from the top edge and 12 inches in from each side. Draw a 6-inch circle around the mark and cut it with a jigsaw or a suitable hole-saw bit. Sand the cut edge lightly to remove splinters.
Build the Frames
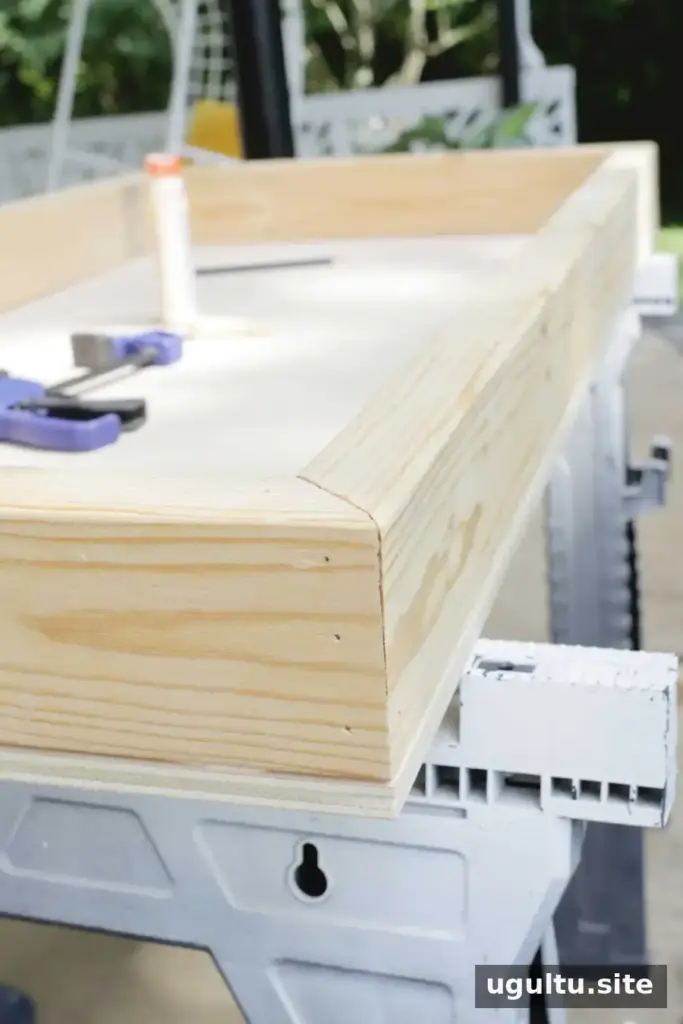
Cut the 2×4 lumber for the sides. The supplied measurements list four pieces cut to 4 inches for the long sides and four pieces cut to 2 feet, with inward-facing 45-degree cuts at the ends. However, the 4-inch measurement appears inconsistent with the description of long sides. The alternative instructions specify four 4-foot side pieces and four 21-inch pieces to fit between them when making square-ended joints. Verify the frame measurements before cutting.
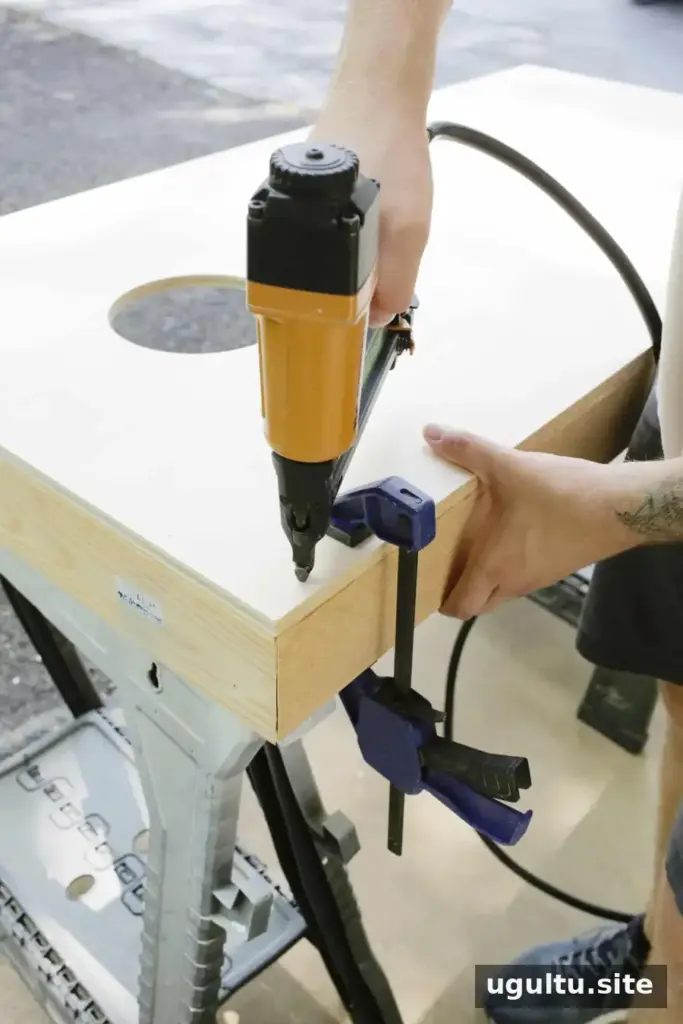
Turn a plywood panel upside down and position its frame pieces flush with the edges. Apply wood glue, clamp the pieces, then turn the panel over and secure the plywood to the frame with nails or 2-inch screws. Fasten the frame corners as well for added stability. Repeat for the second board.
Make Folding Legs
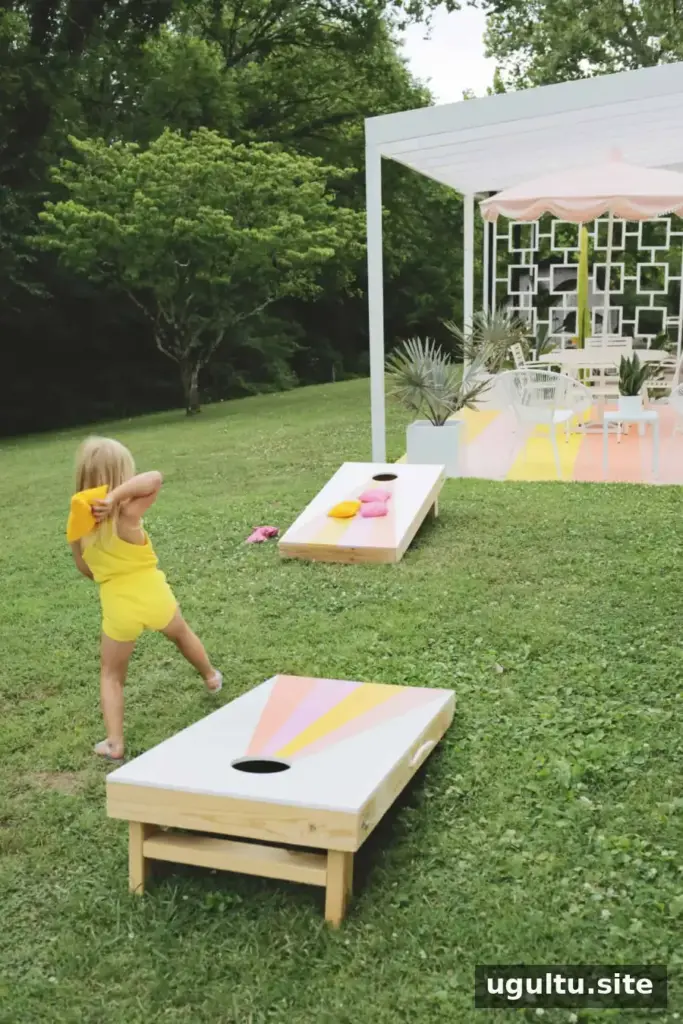
Cut four 2×4 pieces to 11 1/2 inches. Round one end of each piece with a jigsaw; tracing a bowl or cup can help create a smooth curve. Cut the opposite end at a 10-degree angle. Mark the center of the rounded end and drill a 3/8-inch hole there.
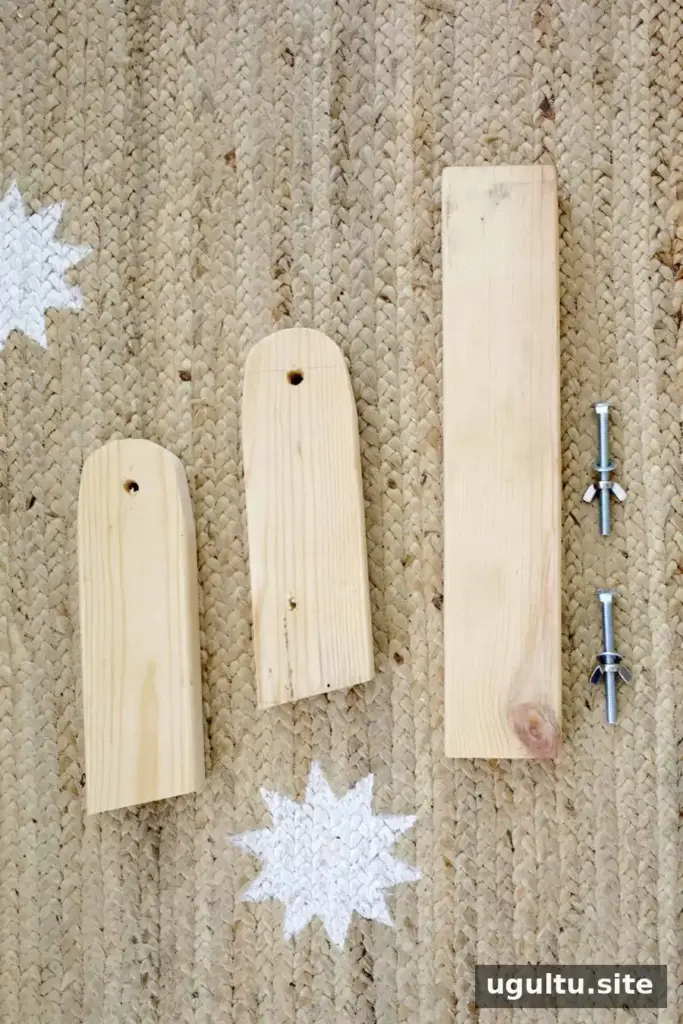
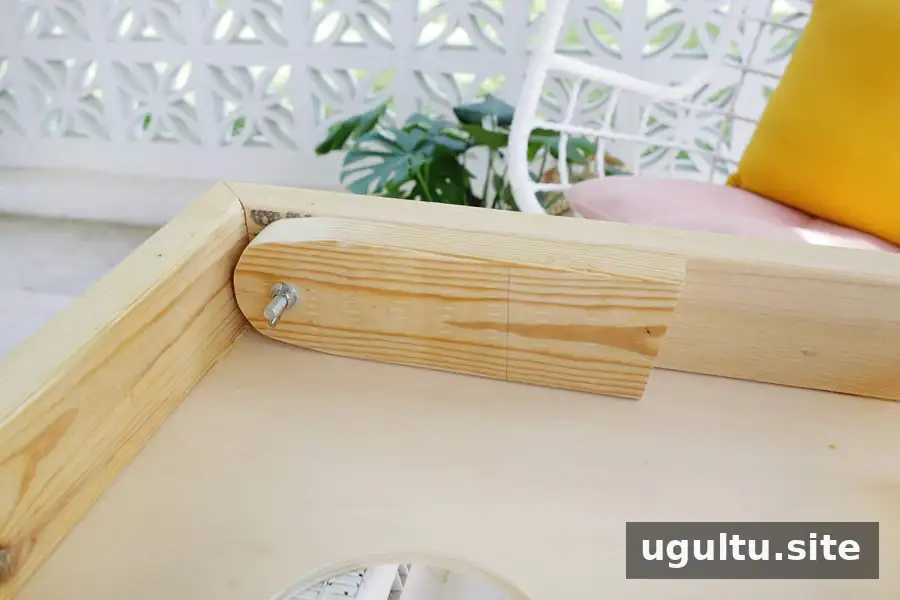
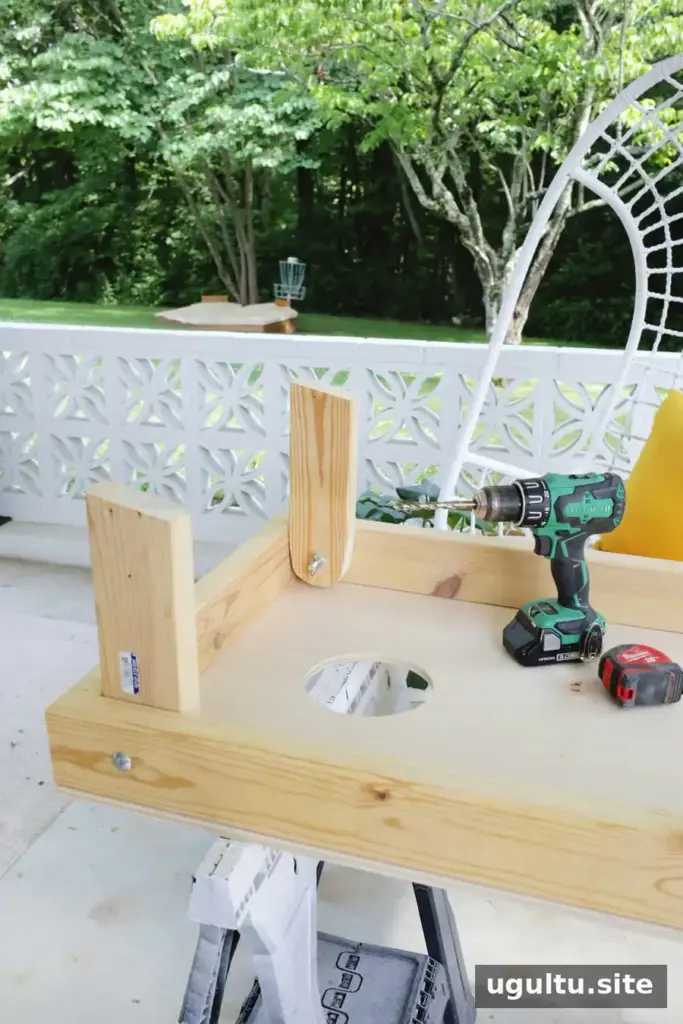
Hold a leg inside the upper end of the frame, leaving enough clearance for it to pivot. Clamp it in the folded position, then drill through the leg’s existing hole and through the frame side. Insert a carriage bolt from the outside, and fit a washer and wing nut on the other side. Repeat for all four legs. Check that each leg swings freely before tightening the hardware.
Add the Leg Crossbars
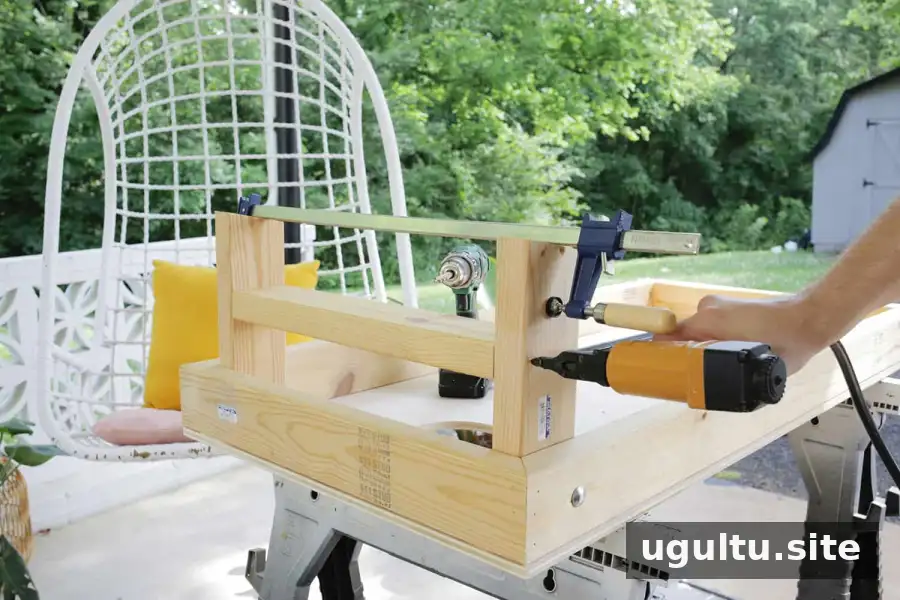
Mark the halfway point on the legs and measure the gap between them; the example measurement was a little under 18 inches. Cut two 2×4 crossbars to fit that measured distance. Center one across each pair of legs, then glue and secure it from the outside with nails or screws. The crossbars help stabilize the legs and allow each pair to fold together.
Sand, Paint, and Protect the Boards
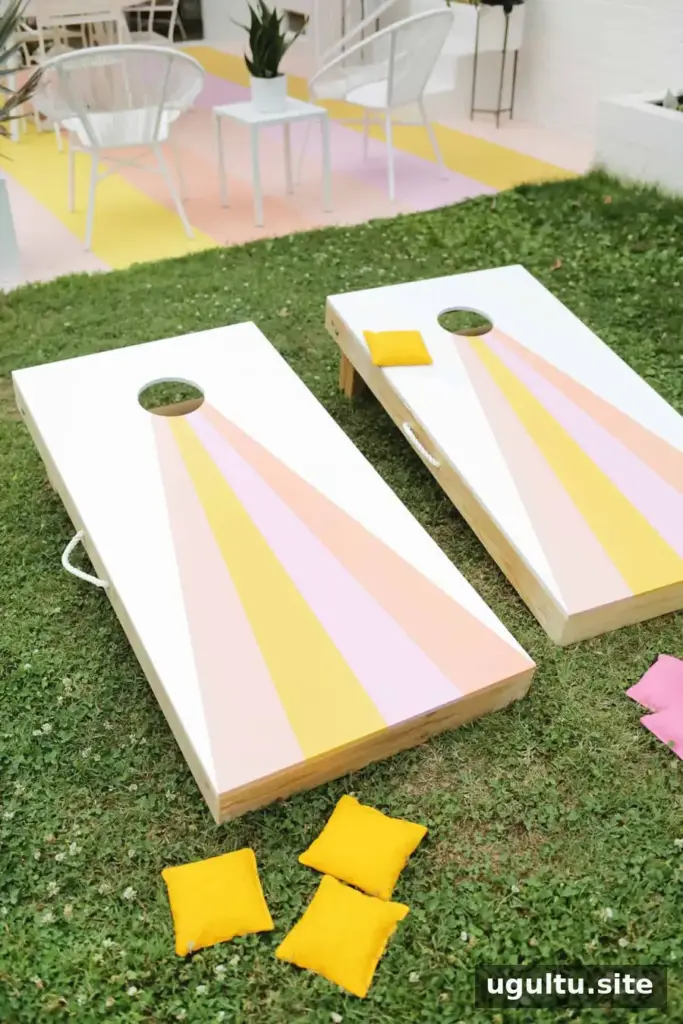
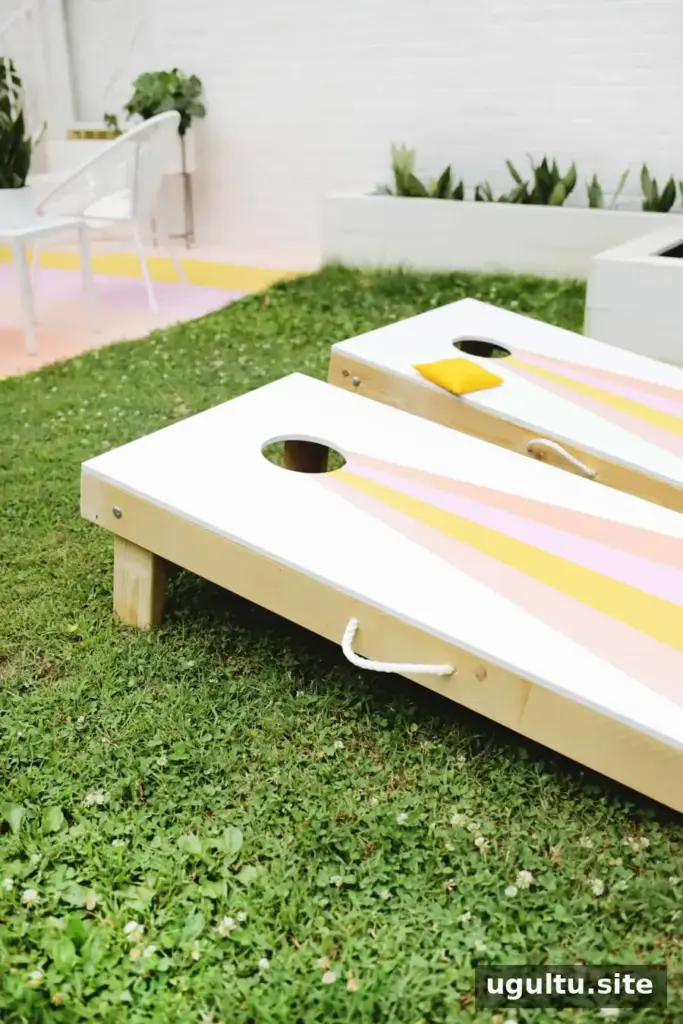
Once the boards are assembled, lightly sand any rough areas and wipe away dust before painting. For a striped design, paint the base color first and let it dry. Use painter’s tape to mark the stripes, then apply the other colors one section at a time.
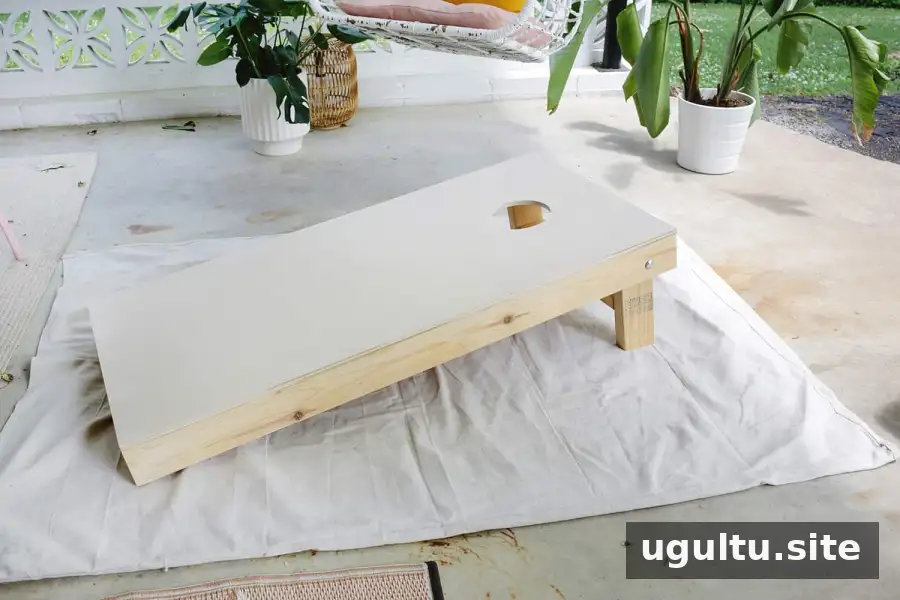
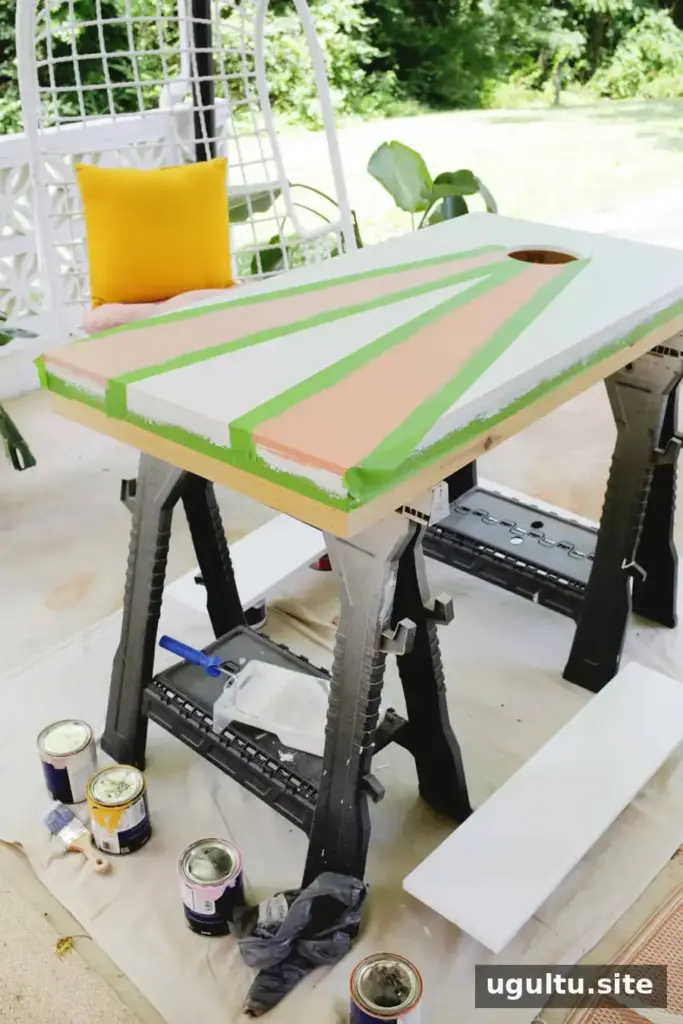
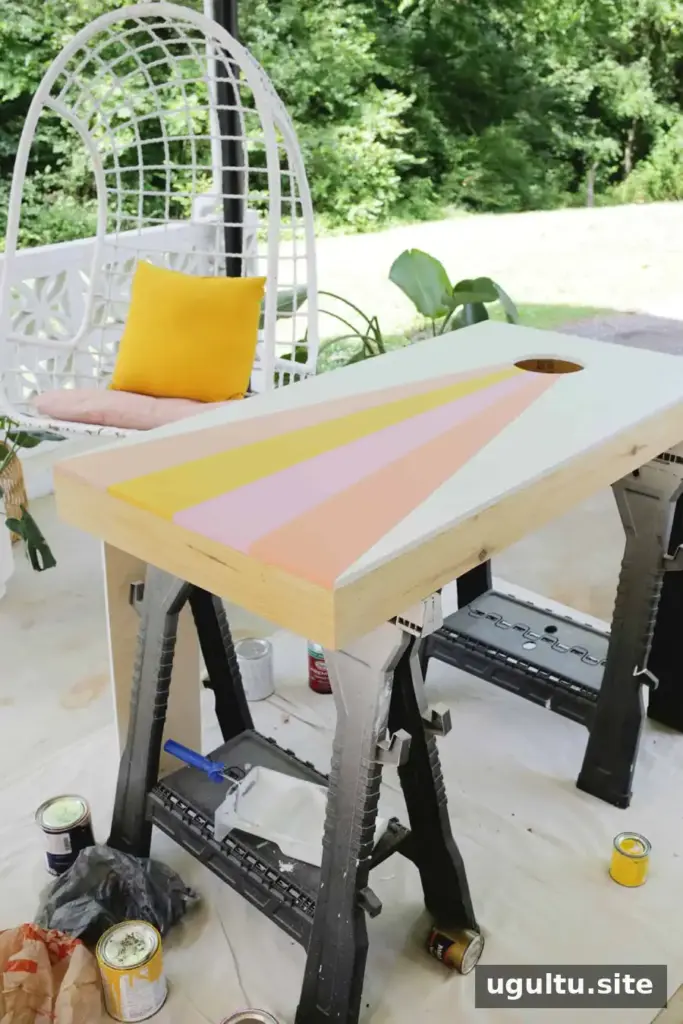
If the set will be exposed to damp conditions or stored in a humid area, consider sealing, staining, or painting all sides of the boards. For boards kept in a dry, protected location, painting the top may be sufficient. Follow the coating product’s drying instructions before playing or stacking the boards.
Add Handles and Choose Bean Bags
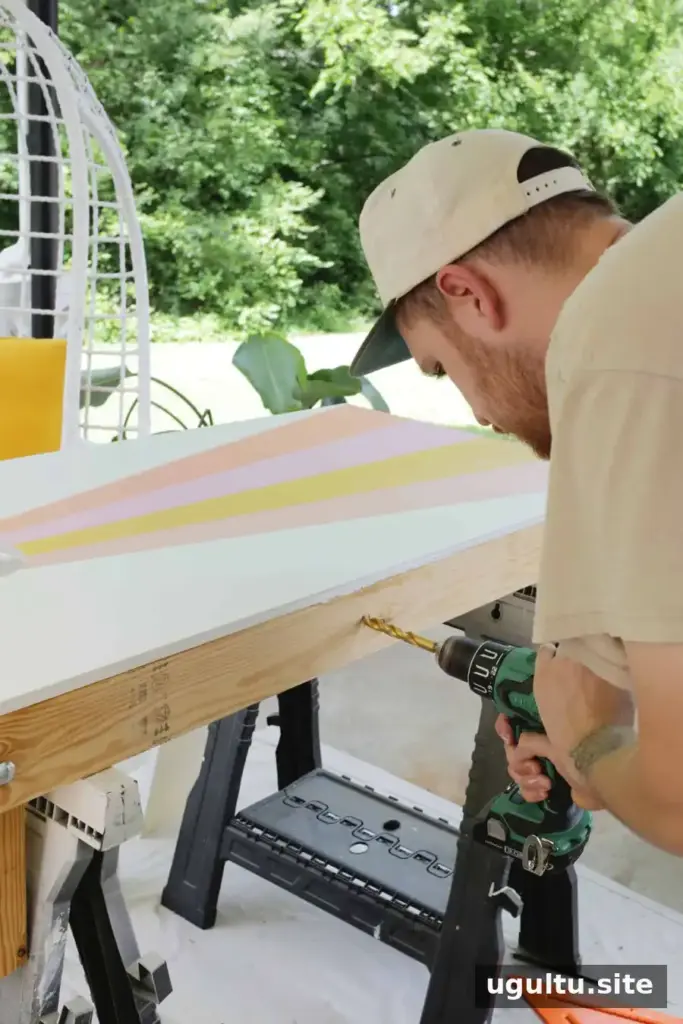
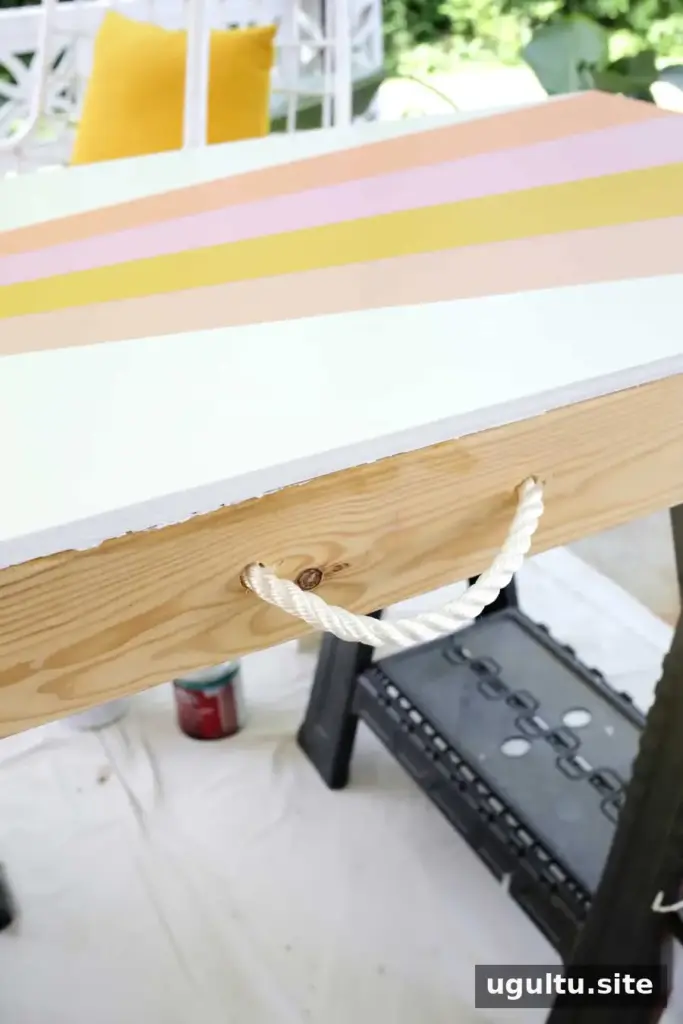
The finished boards can be heavy to carry. For optional rope handles, drill two holes in the sides and feed rope through them, tying secure knots inside the frame. Keep the knots and rope clear of the folding legs and check the handles before lifting.
Traditional cornhole bags may be filled with corn, but natural filling can develop mold if it becomes damp. Synthetic-filled bags are another option for longer-lasting outdoor use. Store bags and boards in a dry place between games.
Getting Ready to Play
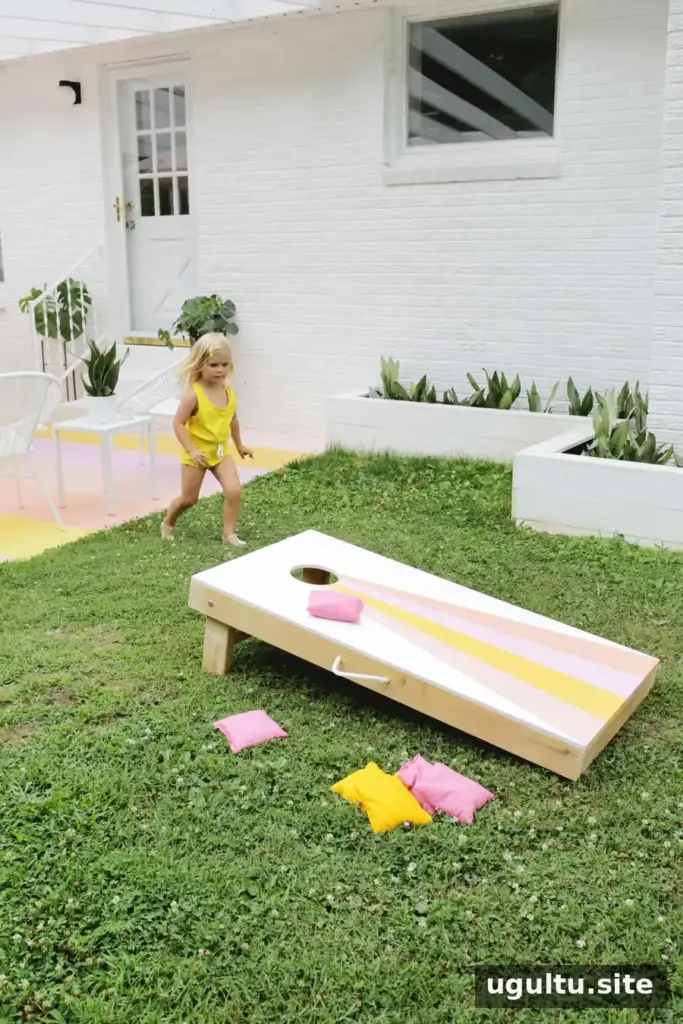
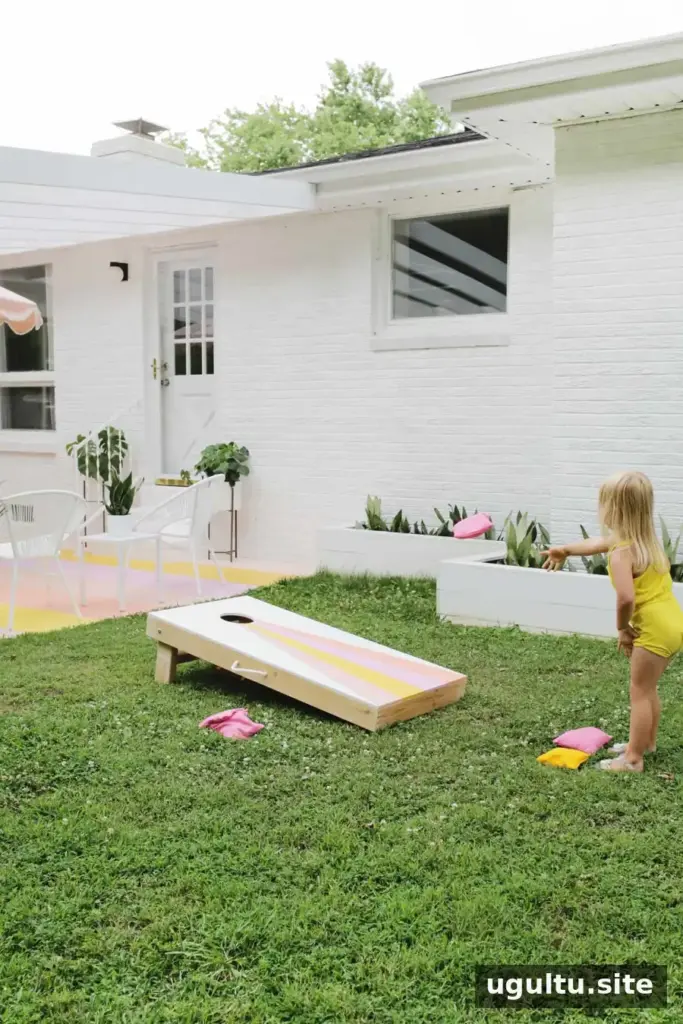
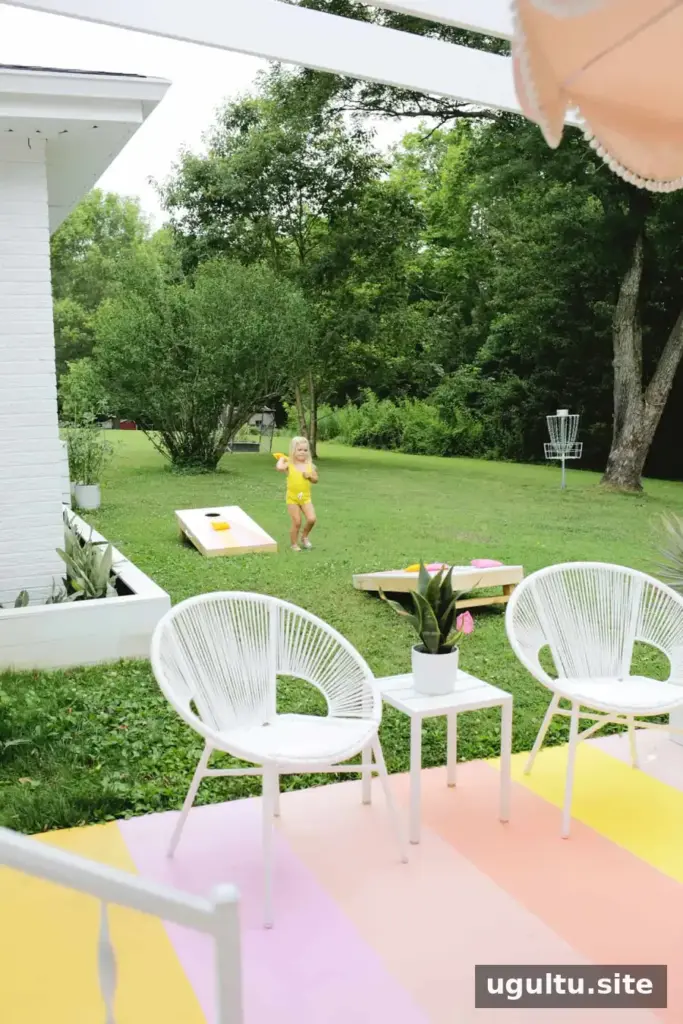
Set the boards on a level surface and make sure the legs are fully extended and stable before tossing. Players of different ages can adjust the distance between boards to suit their abilities. With the boards painted and assembled, this DIY cornhole game is ready for a backyard match.
— Laura