
 admin
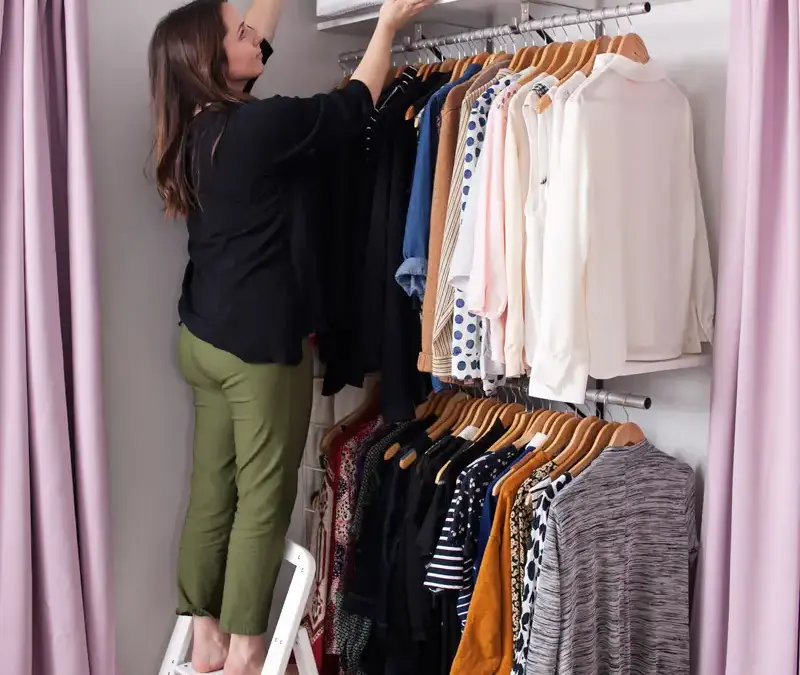
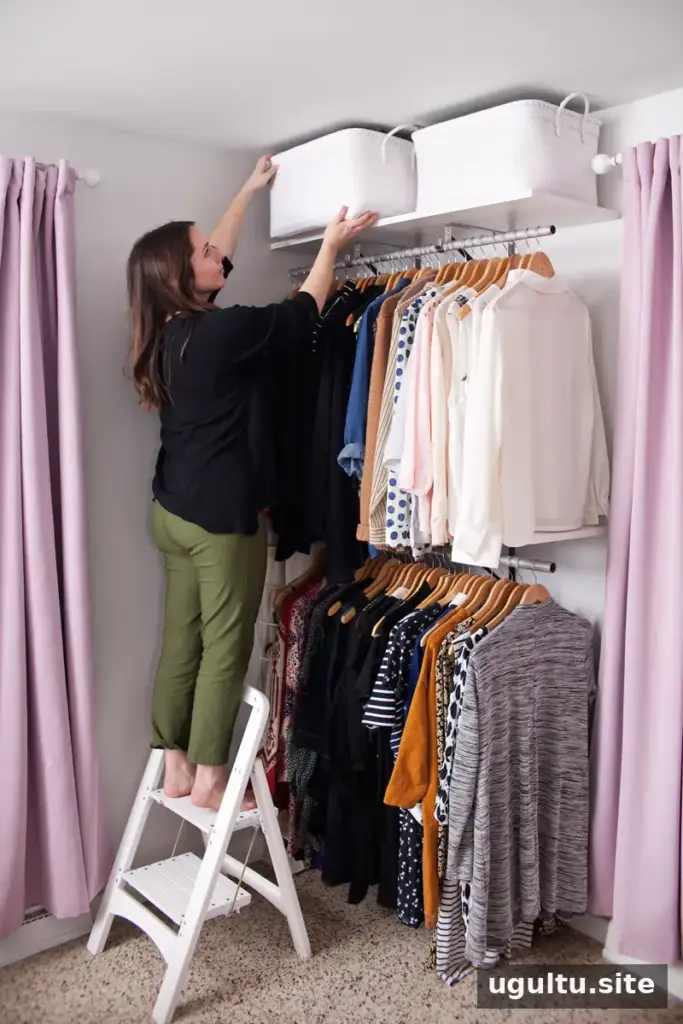
An open closet system can add useful clothing and storage space when a bedroom closet is too small. In a compact room, careful planning helps the setup feel organized rather than making the space look like a cluttered wardrobe. This project uses wall-mounted brackets, shelves, rods, and baskets to make better use of available wall space.
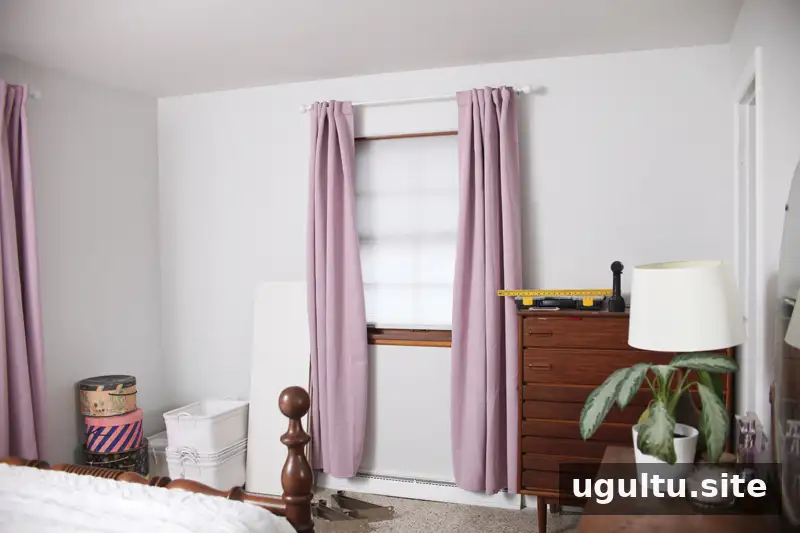
After living with a crowded arrangement for several years, the closet was moved to the opposite side of the bedroom. The revised layout made room for a dresser and incorporated the window wall. A calmer wall color also helped make the bedroom feel more restful.
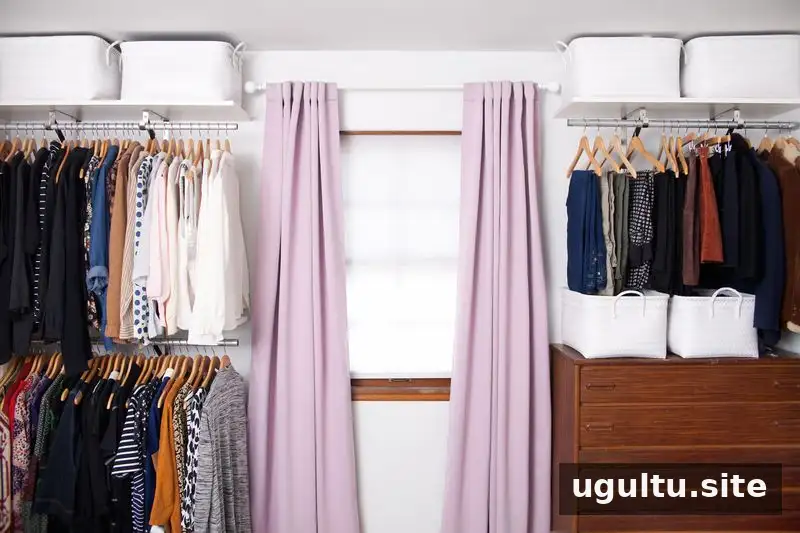
Use the steps below to plan, install, and organize a similar closet system for your own room.
How to Plan an Open Closet System
Step 1: Choose the location
Consider the whole room before choosing a wall. A location that provides plenty of hanging space may not work well with the bed, windows, doors, or existing furniture. In this example, moving the system to the opposite wall allowed the layout to include a dresser and space around the window.
Before drilling, sketch the planned sections and check that doors and drawers can open freely. Measuring the available wall space first can help prevent a layout that feels cramped.
Step 2: Set the top shelf height
Decide what the top shelf will hold and how the clothes will hang before marking bracket positions. If you plan to store items above the clothes, leave enough clearance to place and remove them comfortably, including a little space between the shelf and ceiling.
For long dresses, check that the hems will not drag on the floor. A shorter lower hanging section can leave room for maxi dresses on the upper rod to hang beside the lower-row clothes.
If there are no specific items planned for the top shelf, use a hanger to check what height is comfortable to reach. Mark the bracket positions at a practical height rather than placing the shelf out of everyday reach.
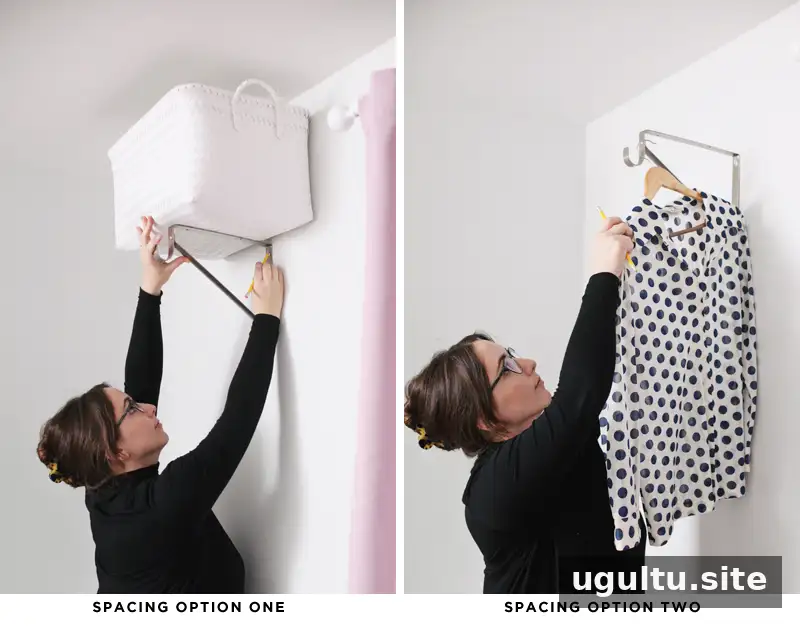
Step 3: Find wall studs and mark level positions
Locate the wall studs with a stud finder before drilling. Studs are often spaced about 16 inches apart, though spacing can vary, so confirm their locations rather than relying on an estimate. Fasten the brackets into studs to help create a stable installation.
Use a level to make sure the bracket marks line up horizontally. Taking time to check the layout now can help shelves sit evenly and reduce the chance of an unstable closet system.
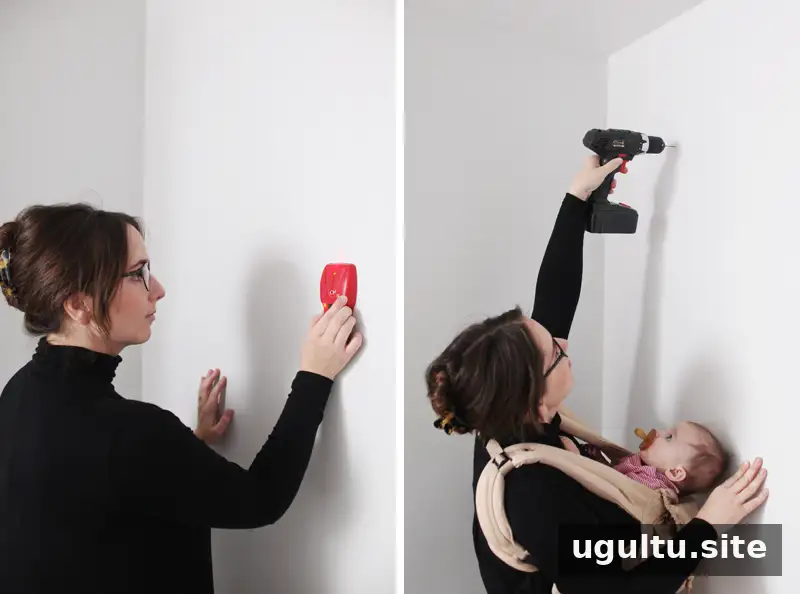
Step 4: Drill pilot holes
Drill pilot holes at the marks using a bit slightly smaller than the screws. Pilot holes help guide the screws into place. Keep the work area clear while drilling, especially if other people or children are nearby.
Step 5: Install the brackets
Screw the brackets into the wall studs, but check that they are level with one another before fully tightening the fasteners. One way to check is to place a shelf across the brackets and set a level on top.
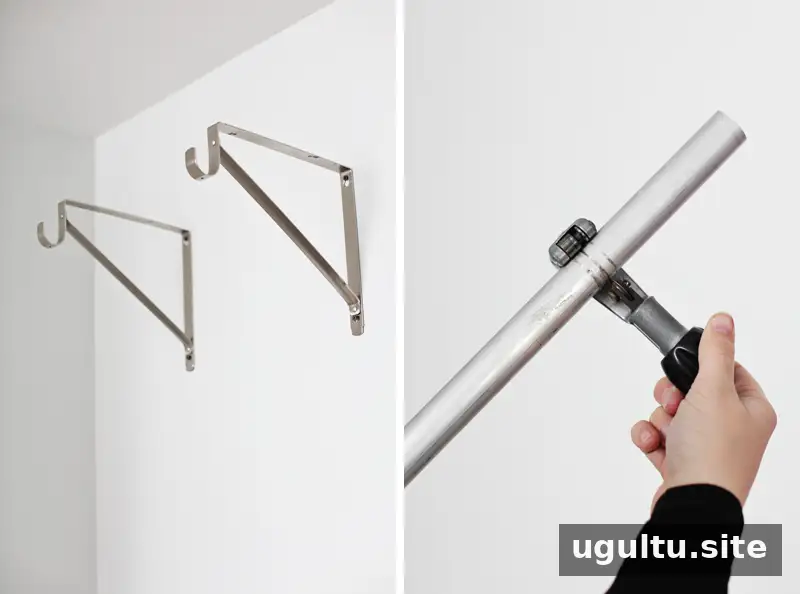
Step 6: Cut the rods and shelves to fit
Use a pipe cutter to trim the rods to the required length. In this project, aluminum conduit was used because it cost less than the chrome rods available at the store. To cut a rod, rotate the pipe cutter around it and tighten the cutter gradually as the blade moves deeper into the material.
Cut the shelf boards to match the planned sections, or note the measurements and ask the hardware store to cut the shelving material. Standard laminate-coated particle board was used here as an inexpensive option for closet shelves. Confirm measurements before cutting to avoid wasting material.
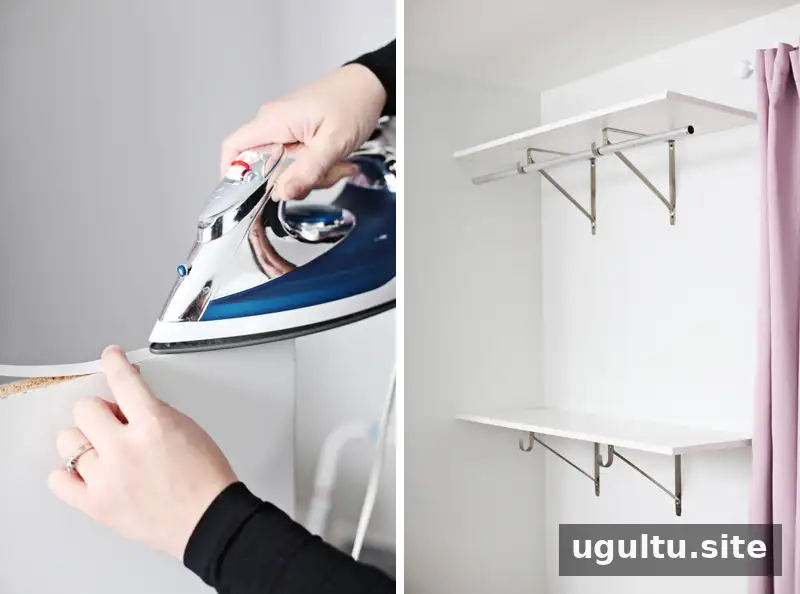
Step 7: Finish the shelf edges
Iron-on banding can cover exposed cut edges. The banding used for this project matched the width of the laminate shelves, so no trimming was needed. Follow the product instructions when applying edge banding, and let the finished edges cool before handling them.
Repeat the installation steps for each section. The example uses one section on either side of the window, making use of the available wall while keeping the layout connected.
Organizing and Maintaining the Closet
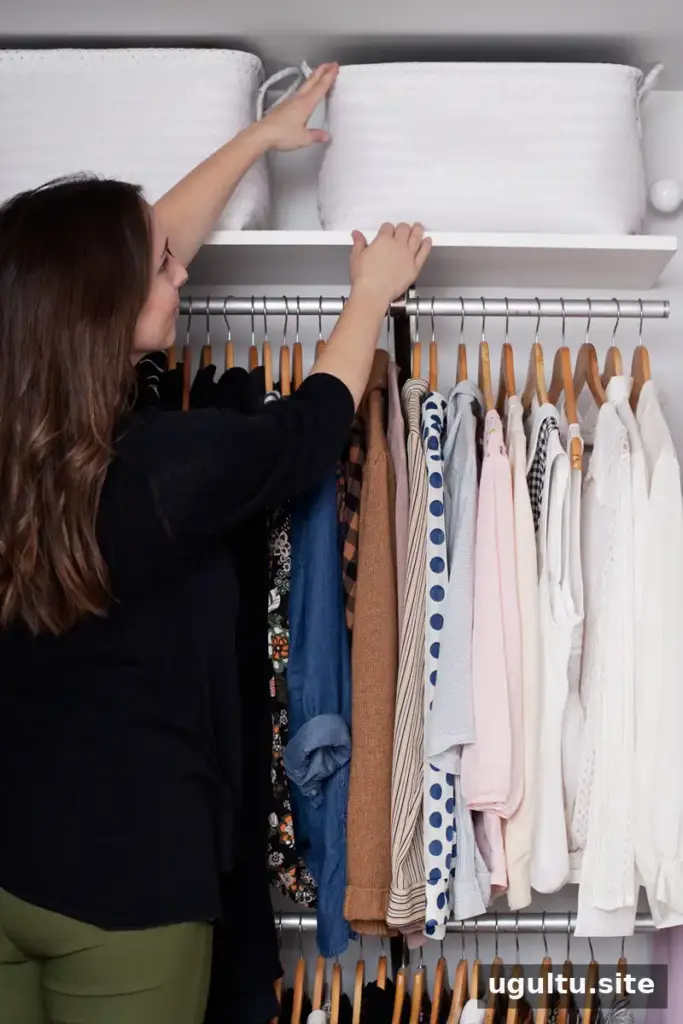
Once the rods and shelves are in place, group clothing and storage items by how often they are used. White baskets hold items that are not hung, including purses and scarves, as well as less frequently used belongings on the upper shelf. Gym clothes and knits are stored lower down for easier access.
Using baskets in the same style creates a more consistent appearance. Choose containers that fit the shelf dimensions and leave enough room to remove them without disturbing nearby items.
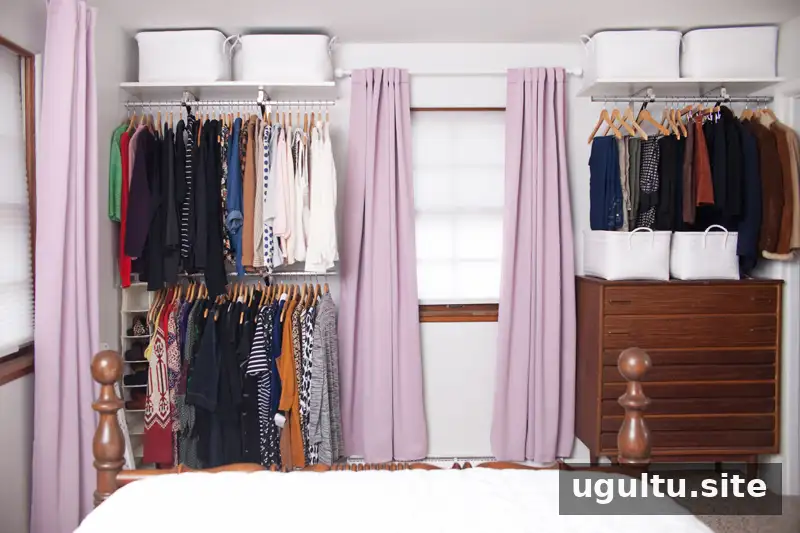
In a small bedroom, using the window wall can make otherwise limited space more functional. Keep the arrangement balanced with the bed and nearby closets, and avoid filling every section so tightly that clothes are difficult to reach.
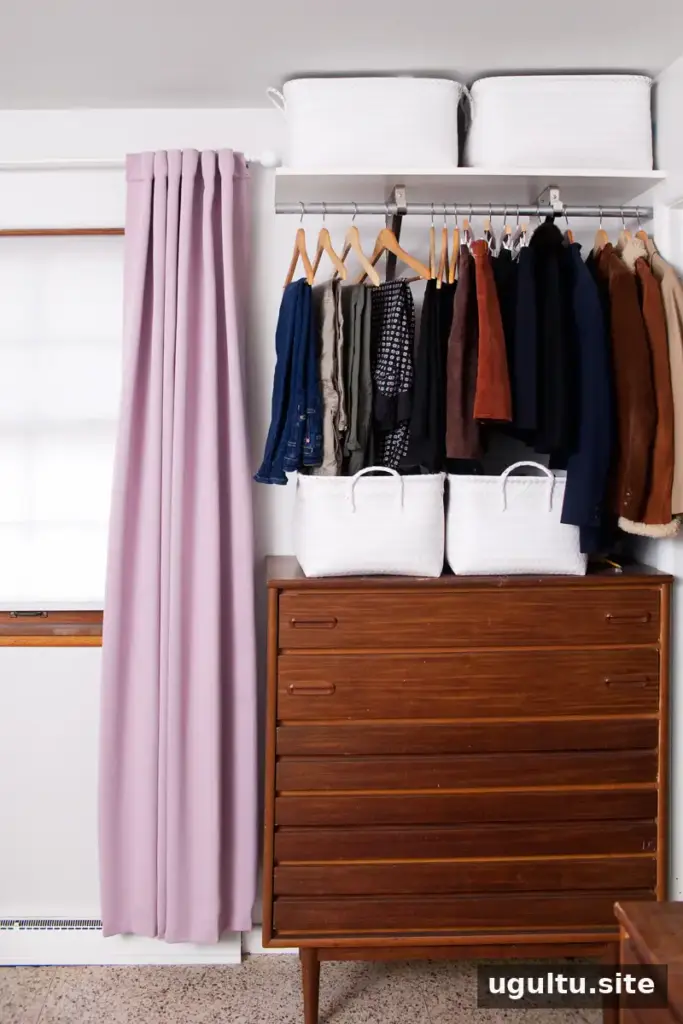
Keep the Open Closet System Clutter-Free
An open closet system also makes it easier to review what is actually being worn. Items that remain unused and gather dust may be worth reassessing, while regularly worn favorites should stay within easy reach. Periodically sorting clothes and limiting new additions can help preserve the space gained through the project.
With a measured layout, brackets fastened securely into wall studs, and storage arranged by frequency of use, an open closet system can be a practical option for a small bedroom. —Mandi


