
 admin
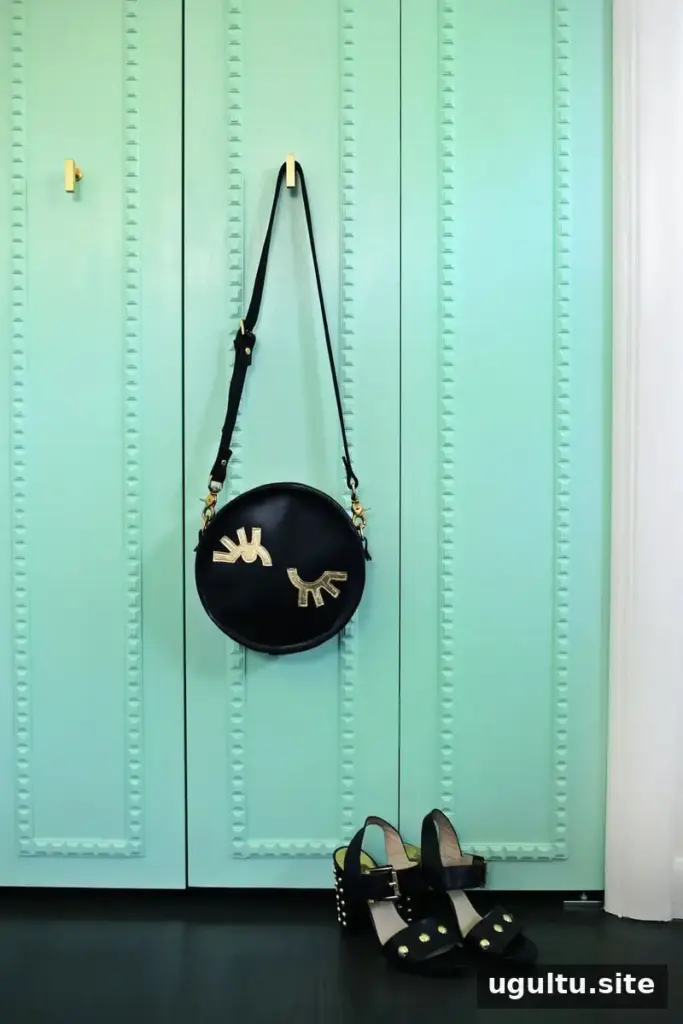
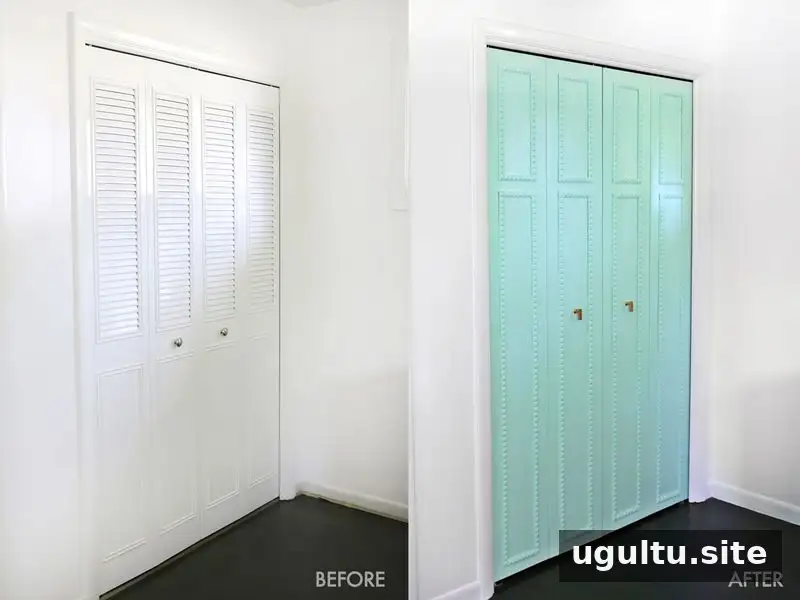
Plain closet doors can make a bedroom feel unfinished, but adding decorative molding is a straightforward way to give them more character. This DIY closet door trim project creates a tailored, paneled look with wood trim, paint, and a few basic tools. Before starting, check what your existing doors are made of: trim is easiest to attach to a flat, solid surface, so metal doors may need to be replaced with flat-front wooden doors of the same size.
Prepare the doors and plan the trim design
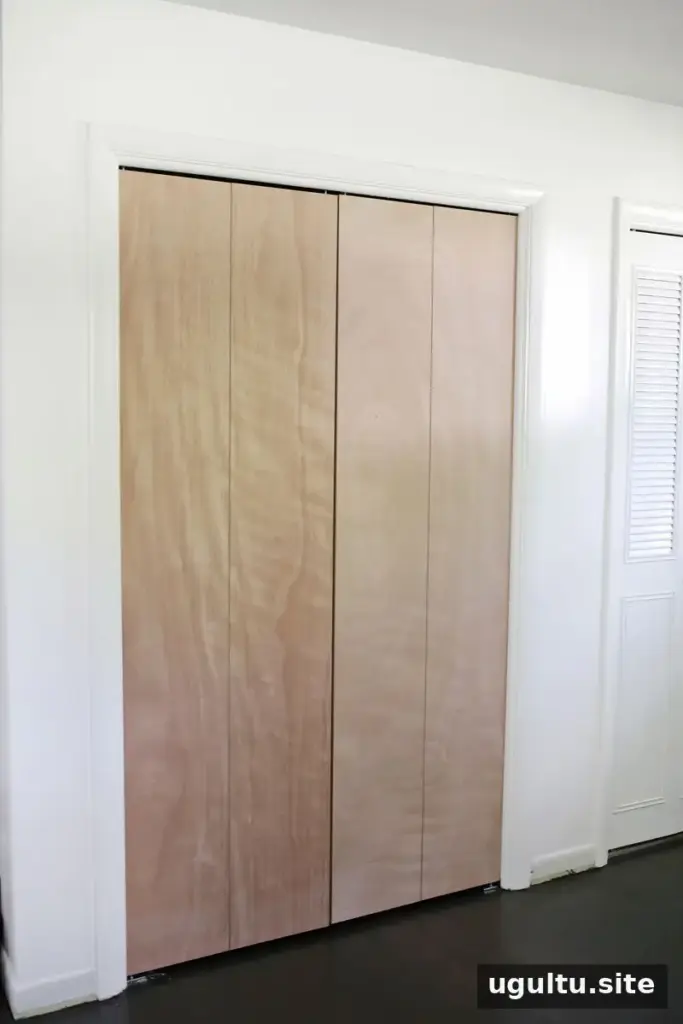
If your closet doors are metal, replace them with flat-front wooden doors that fit the existing opening and hardware. Door installation varies by product, so follow the manufacturer’s instructions and confirm that the new doors swing or slide correctly before decorating them.
Use masking tape cut to roughly the width of the trim to map out the design directly on the door. This makes it easier to compare spacing, center the pattern, and adjust the layout before making any permanent changes. A simple arrangement is a practical choice for a first project, especially when the trim already has a decorative pattern.
Cut and attach the DIY closet door trim
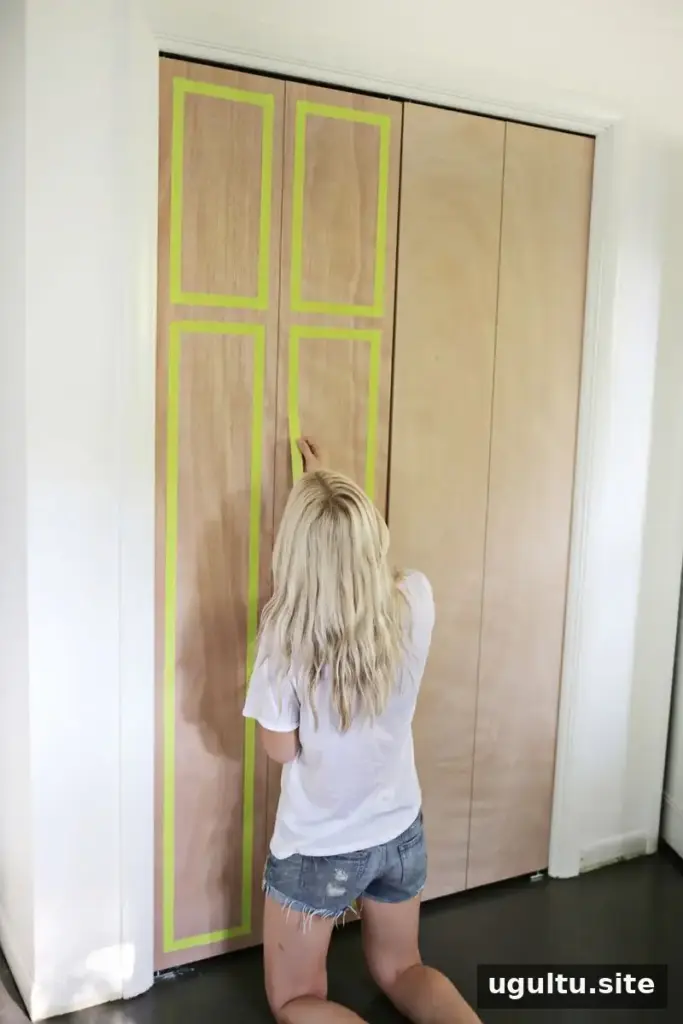
Measure each section carefully, then cut the trim to length with a miter power saw. For a patterned trim with square details, straight-cut ends may keep the pattern aligned more cleanly than angled joints. Plain trim can also be cut by hand with a saw and miter box. The project described used about two 8-foot trim strips per door panel; the amount you need will depend on your layout and door dimensions.
Temporarily secure the cut pieces with masking tape, then check the spacing and alignment. Before gluing or nailing anything, open the doors fully. Make sure the trim will not hit a wall, another door, or the hardware. This clearance check can prevent having to remove and reinstall finished trim.
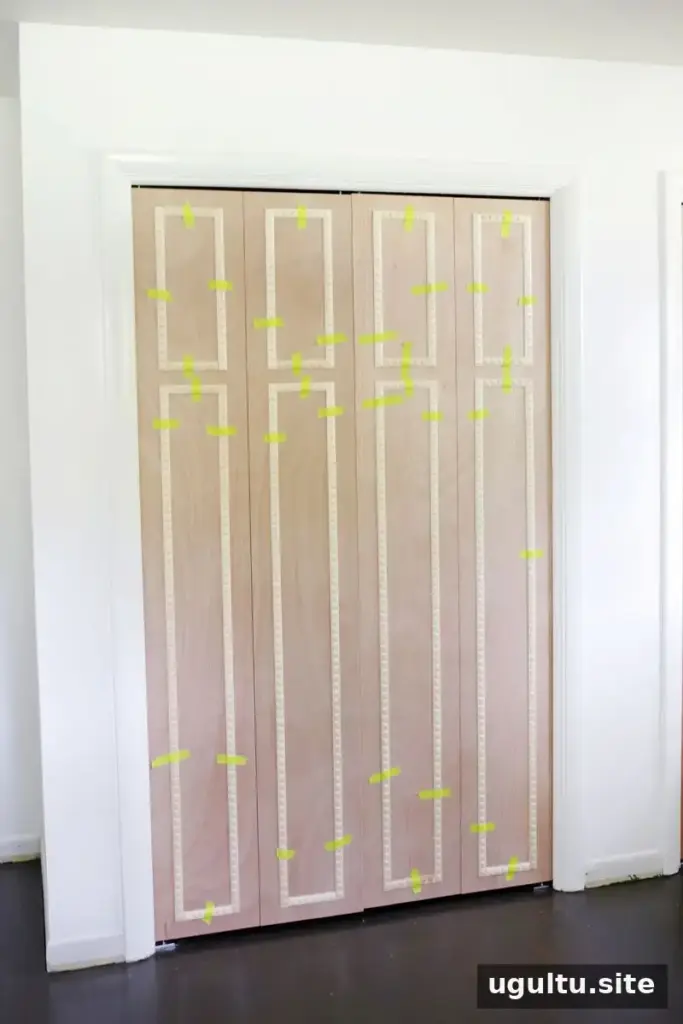
When the layout is set, remove one taped piece at a time, apply wood glue to its back, and secure it with small nails. Work carefully so the pieces remain aligned as you go. Allow the glue to dry according to its product directions before filling or sanding.
Fill gaps and paint
Fill visible joints between trim pieces with wood filler, then lightly sand the repaired areas smooth. Filling small gaps helps the separate pieces look more like one continuous design. If needed, fill the seam where the trim meets the door as well, taking care not to interfere with moving parts or hardware.
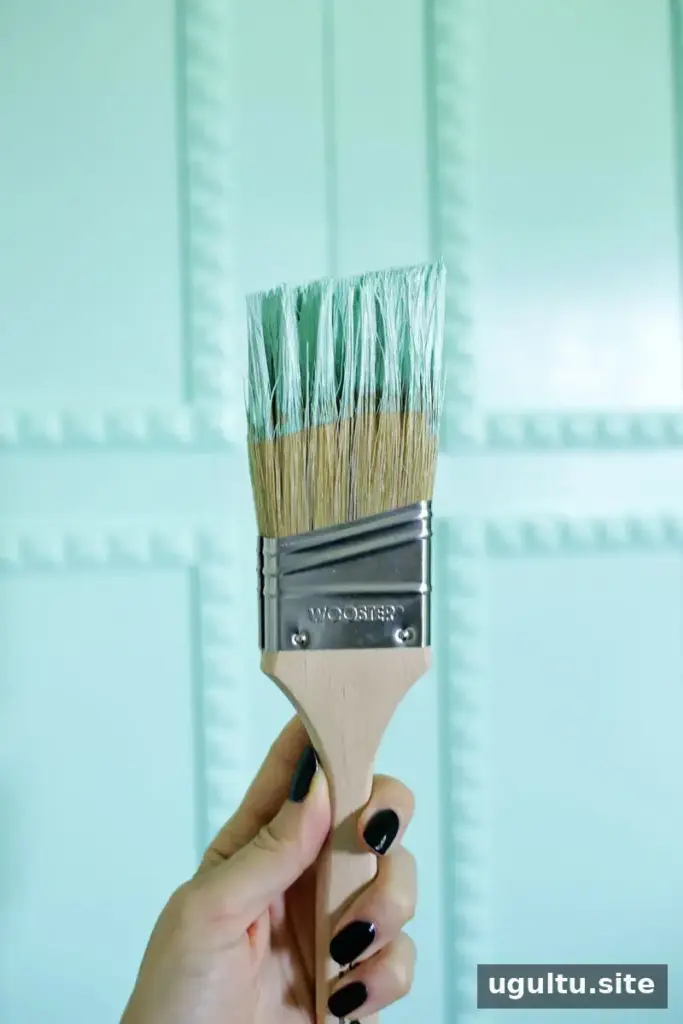
Remove the doors if necessary and apply semi-gloss paint once the surface is clean and prepared. The original project used the color Beach Blanket. Protect hardware with painter’s tape while painting, and make sure the finish is fully dry before closing the doors to help prevent sticking.
Reinstall the doors and check their movement
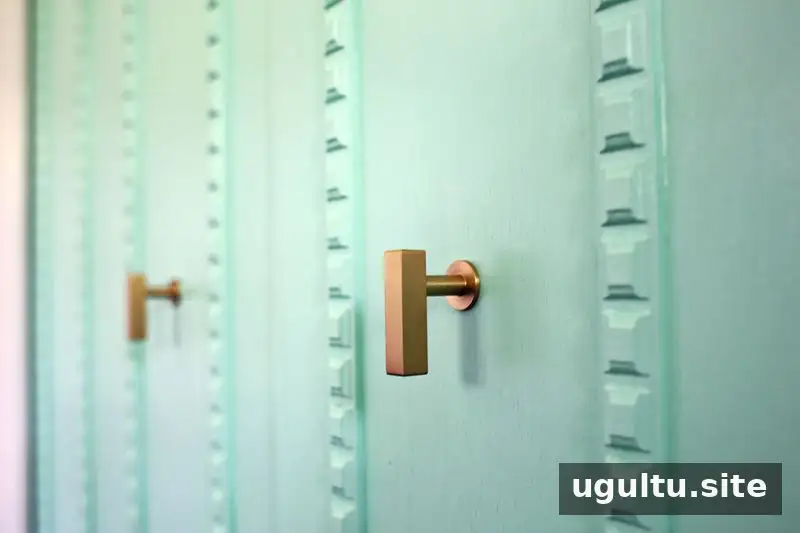
If the doors do not have pulls, drill the appropriate hole and install a handle. Rehang the doors, then open and close them several times to confirm that the trim clears the surrounding surfaces and the hardware works as intended.
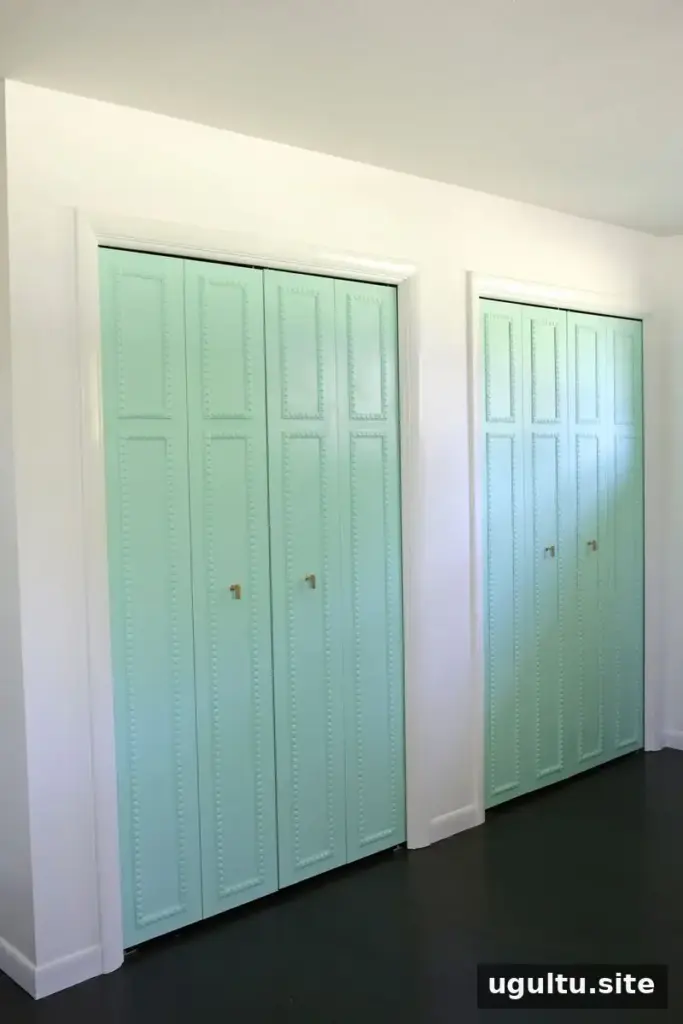
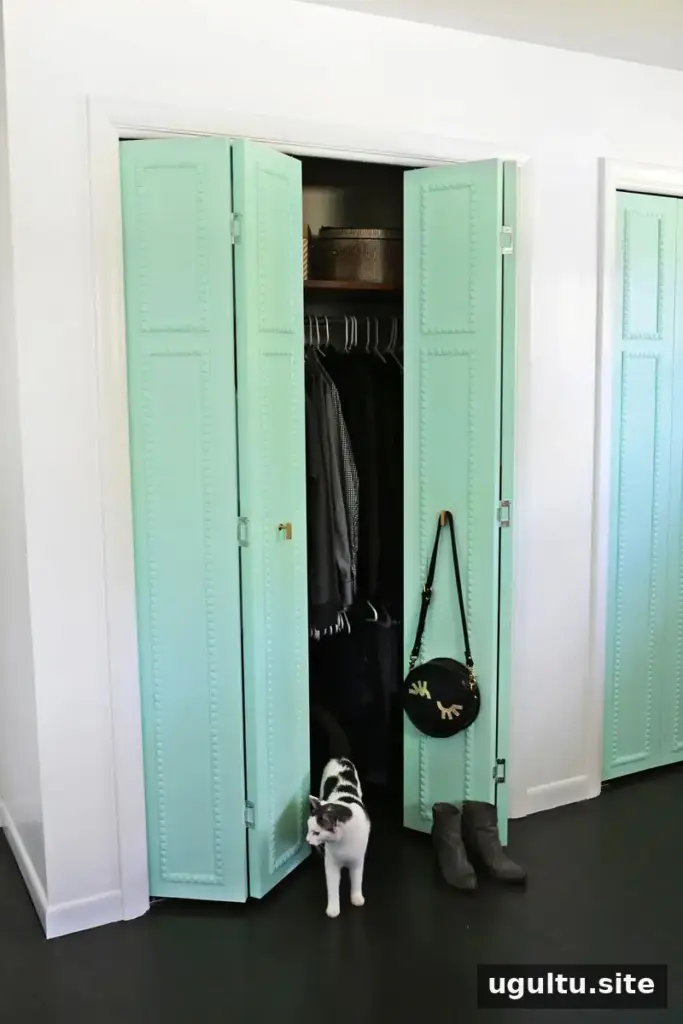
Decorative trim can make basic closet doors feel more considered and bring a classic paneled detail into a bedroom. The finished look comes from careful measuring, a balanced layout, smooth filled joints, and a paint color that suits the room. Although attaching trim takes patience, planning the design and checking door clearance before gluing are two simple steps that can help the DIY closet door trim project go more smoothly.
—Laura


