
 admin
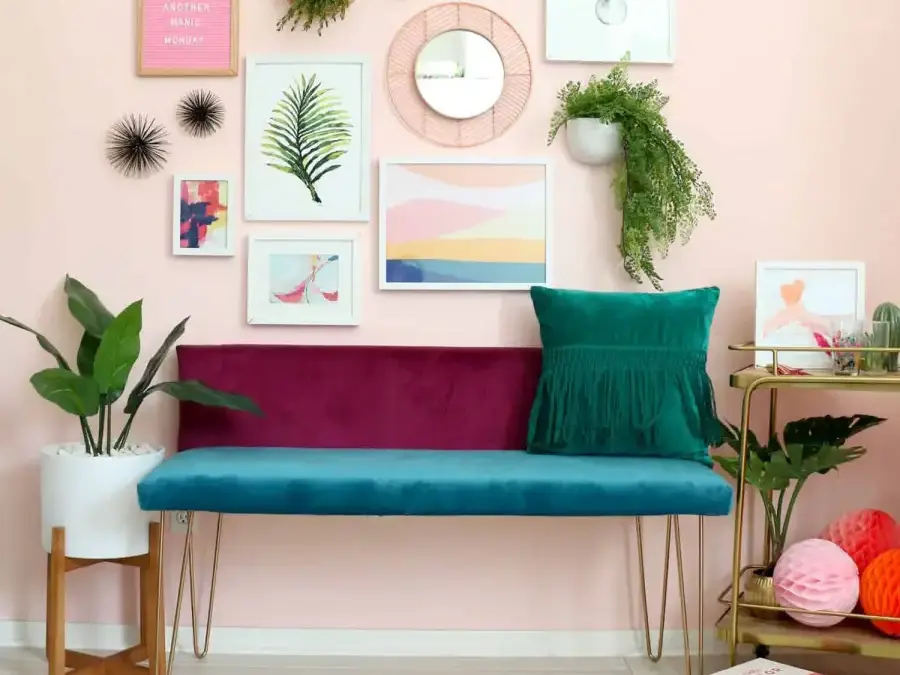
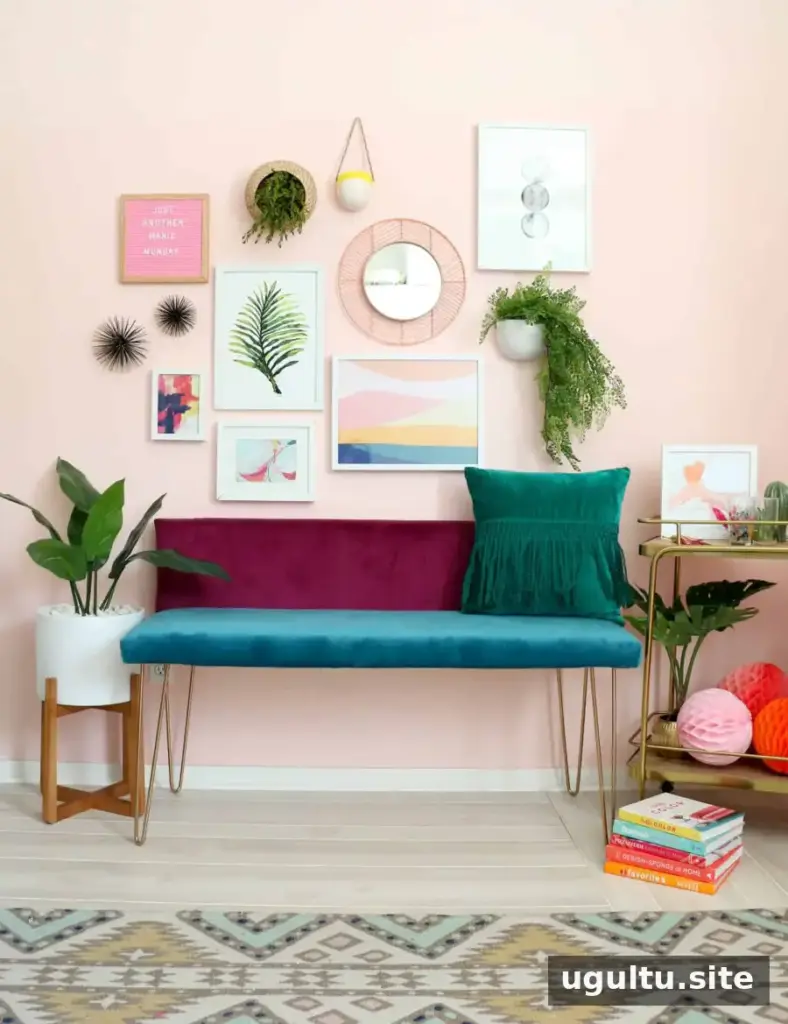
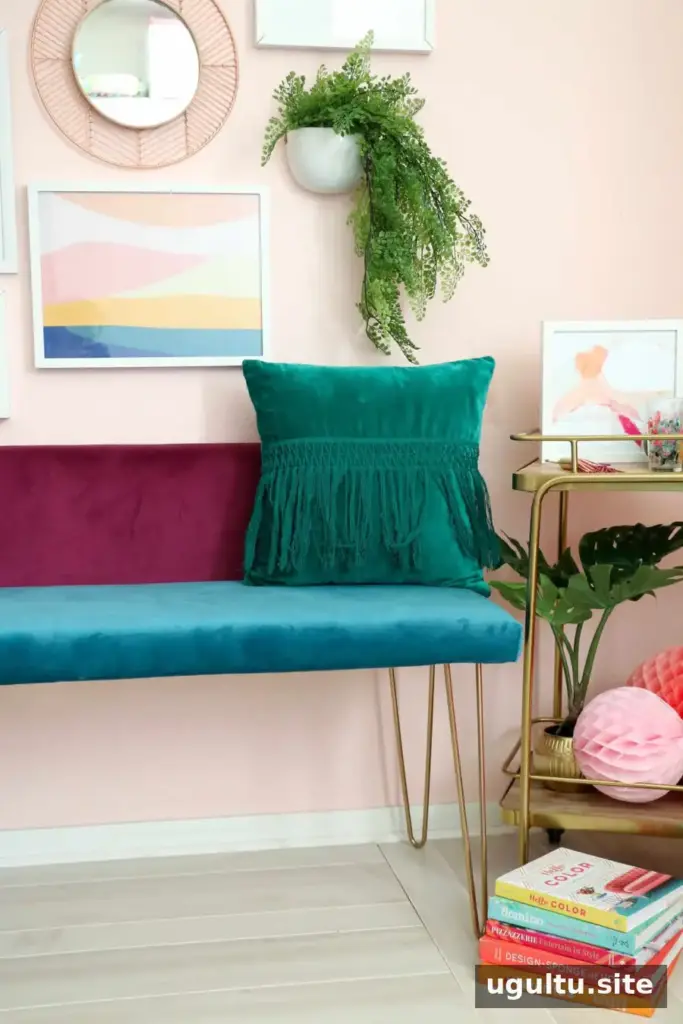
A color blocked velvet bench can add seating and a bold accent to an entryway, bedroom, or living area. This DIY project combines a padded wooden seat and back with two velvet colors, plus hairpin legs for a clean, modern look. Set aside a weekend to build it, or plan for a day if your supplies are ready and the wood is cut to size.
The measurements below create a bench with a 48-inch-long seat and back. Before you begin, check that the wood, foam, and fabric dimensions match your plan, and ask the hardware store to make the board cuts if you do not have suitable tools.
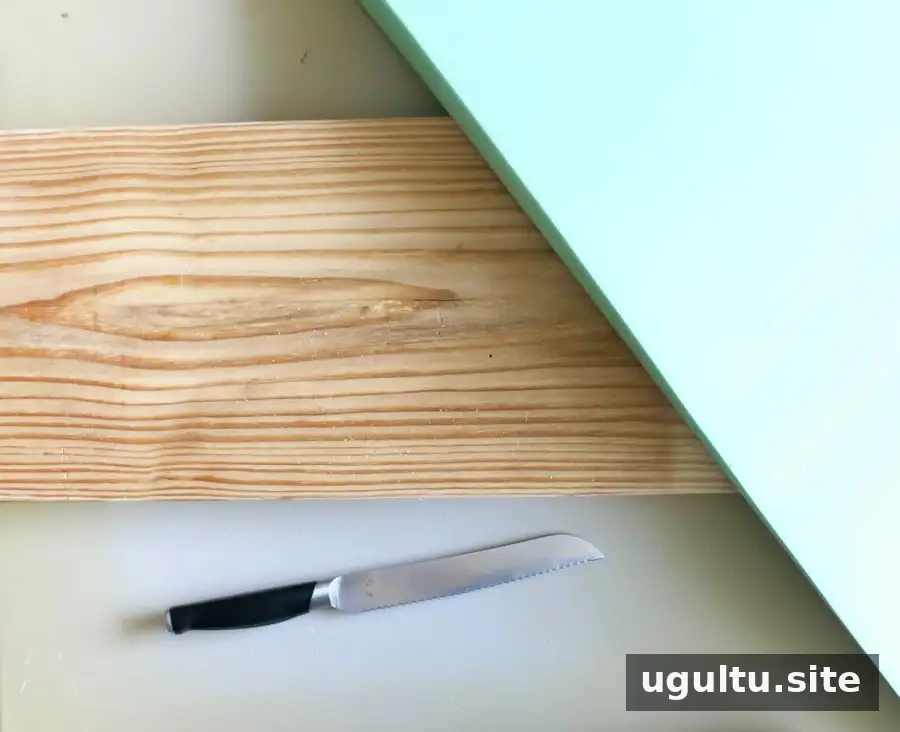
Materials for the Color Blocked Velvet Bench
- One 4-foot-long, 12-inch-by-1-inch wood board for the back
- One 4-foot-long, 20-inch-by-1-inch wood board for the base; this may be pieced together or made from thick MDF
- One piece of 2-inch-thick foam, 4.75 feet by 2 feet
- 3 yards of batting
- 4 yards of velvet: 2 yards in each of two colors
- Industrial staple gun and staples
- Serrated knife or scissors for cutting the foam
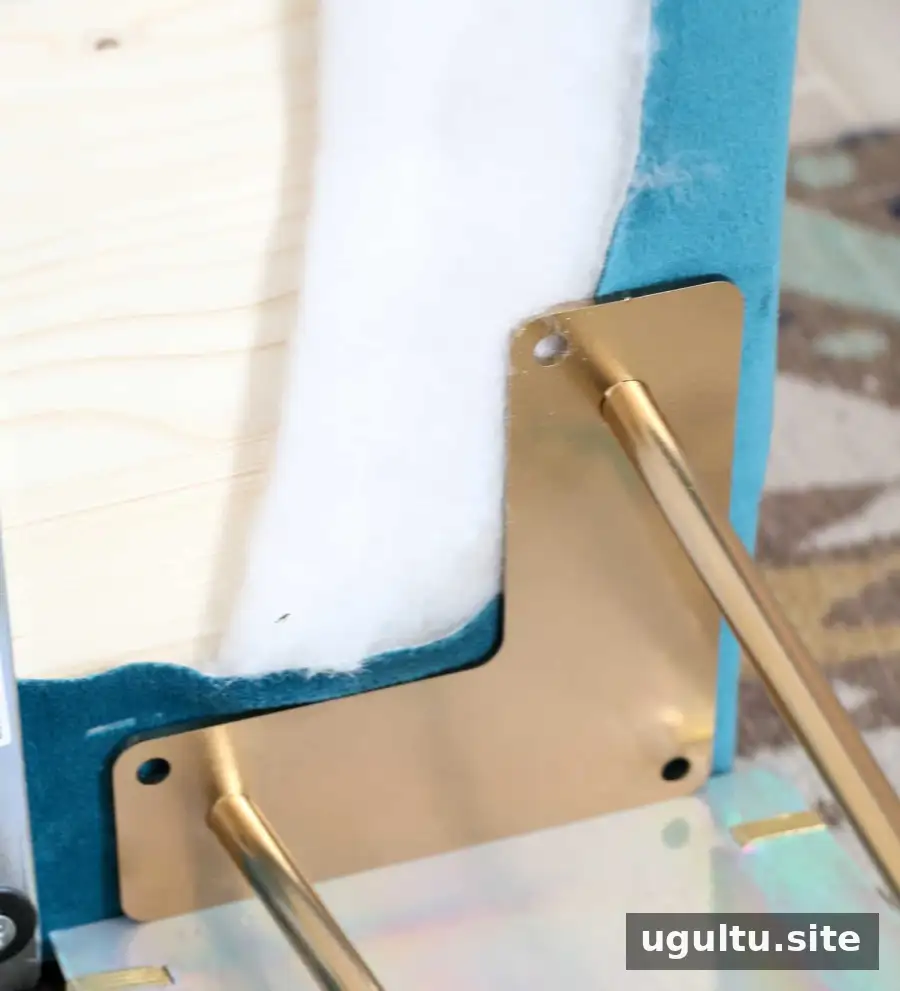
- Three 8-inch L brackets
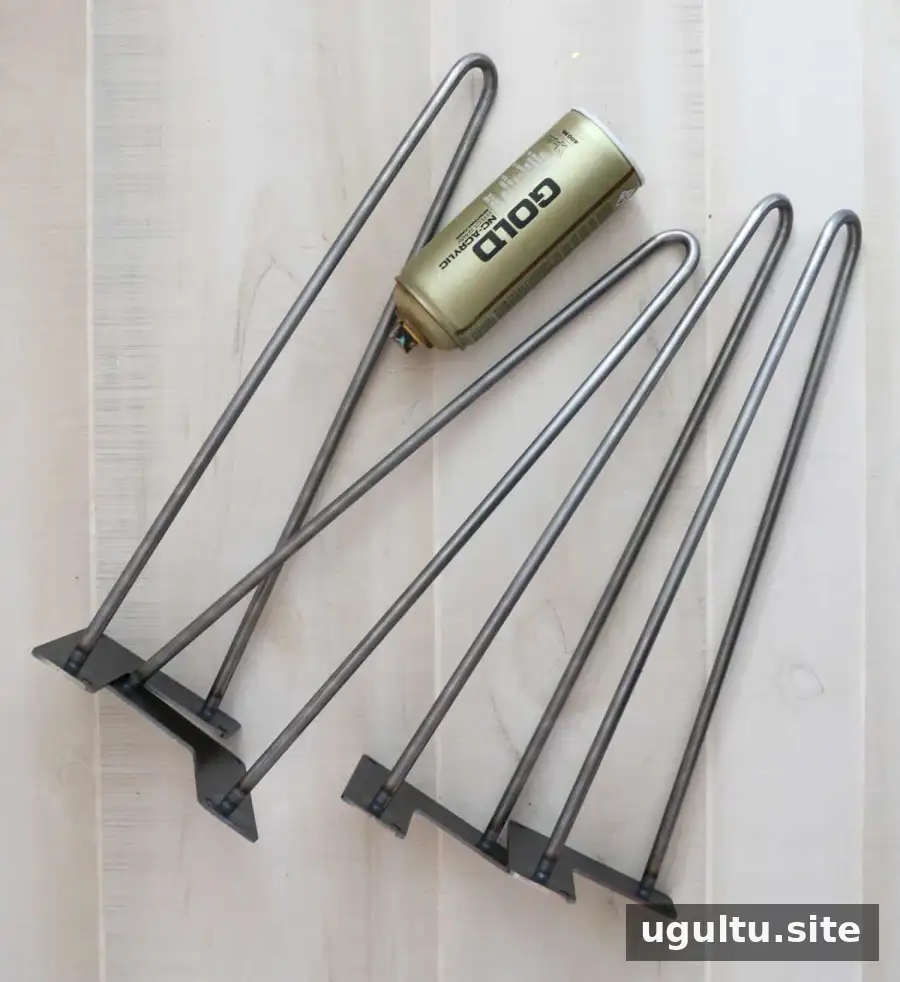
- Four 18-inch hairpin legs
- Gold spray paint, if you want gold legs
- Twenty-seven 1-inch wood screws and washers
- Scissors and a pen or pencil for marking
Gather the upholstery supplies before assembling the bench. A staple gun makes it easier to secure the batting and velvet evenly, while a serrated knife can help cut thick foam to size.
How to Make a Color Blocked Velvet Bench
1. Measure and cut the foam
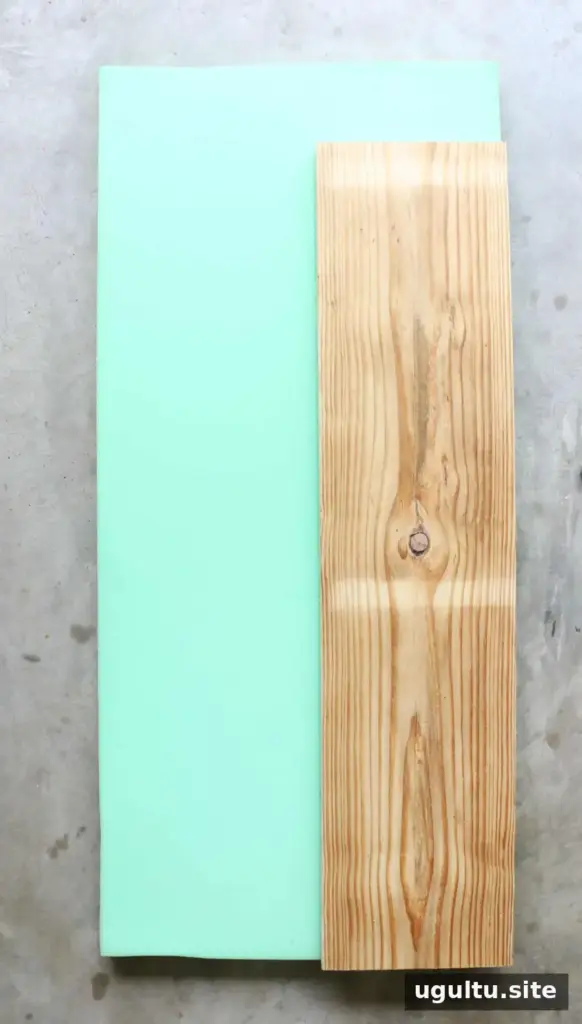
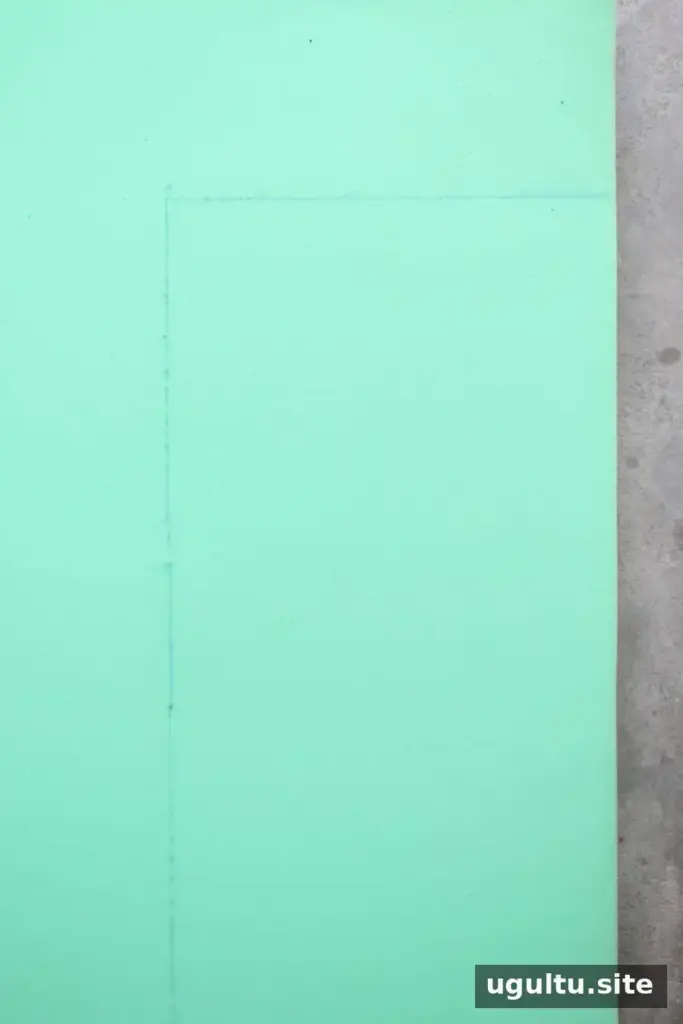
Lay each wood board on the foam and trace its outline. Cut the foam for the back to 48 by 12 inches so it covers the board. For the seat base, cut a 48-by-17-inch piece, leaving part of the board uncovered along one side to create a groove for fitting the back.
Take care when cutting: keep the foam on a stable surface and use controlled strokes. Check each piece against its board before moving on.
2. Cover the boards with batting
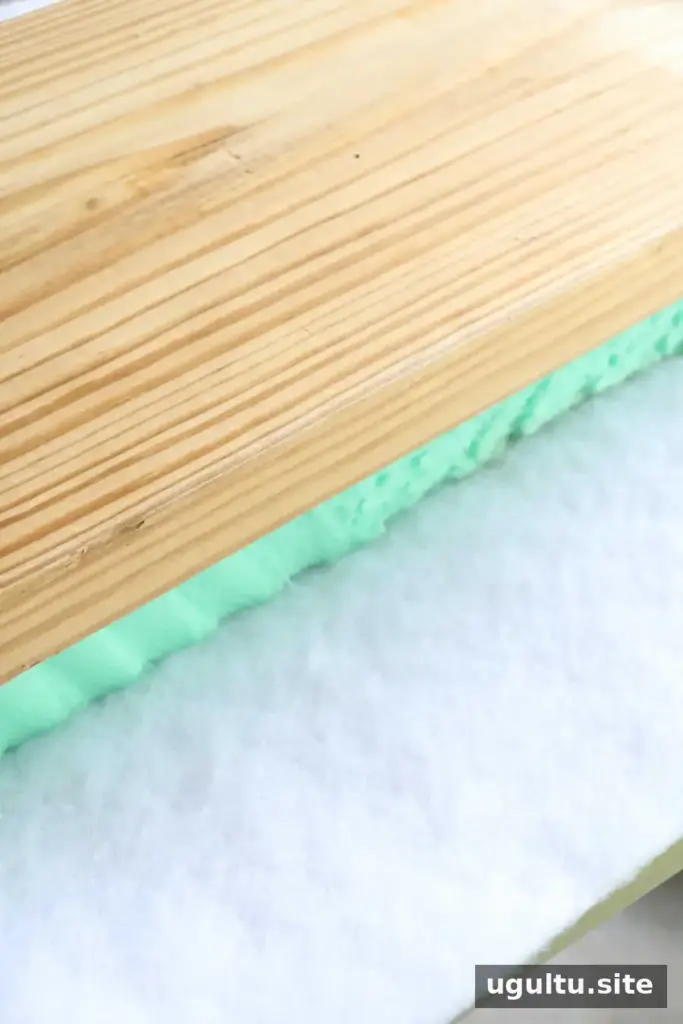
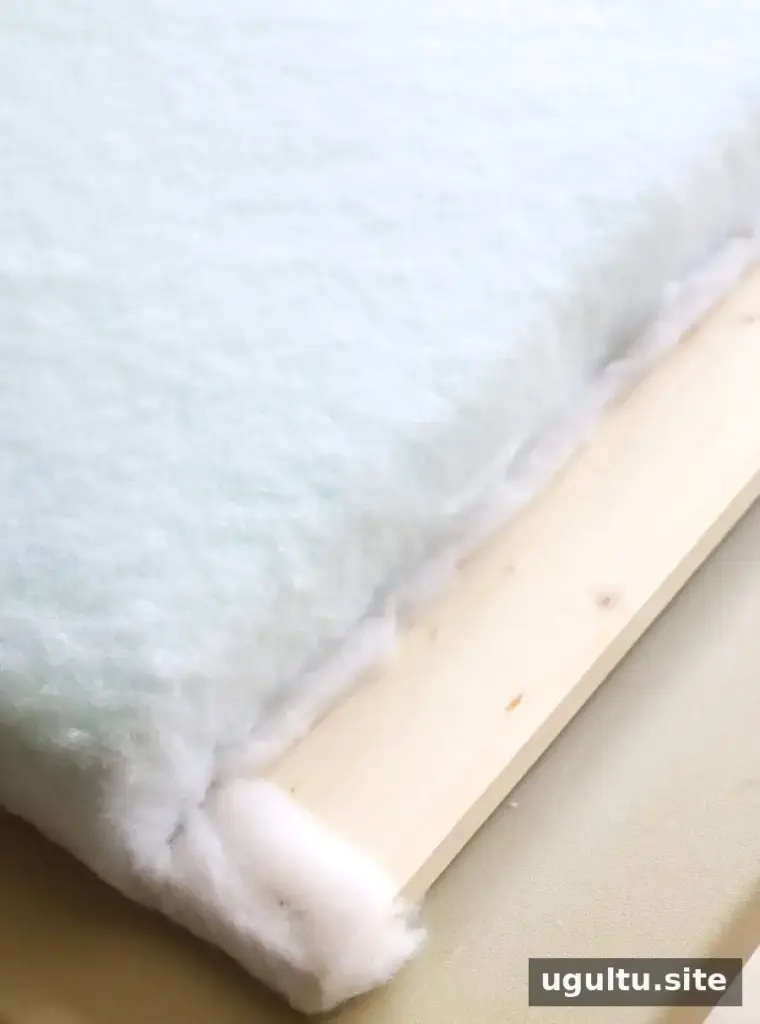
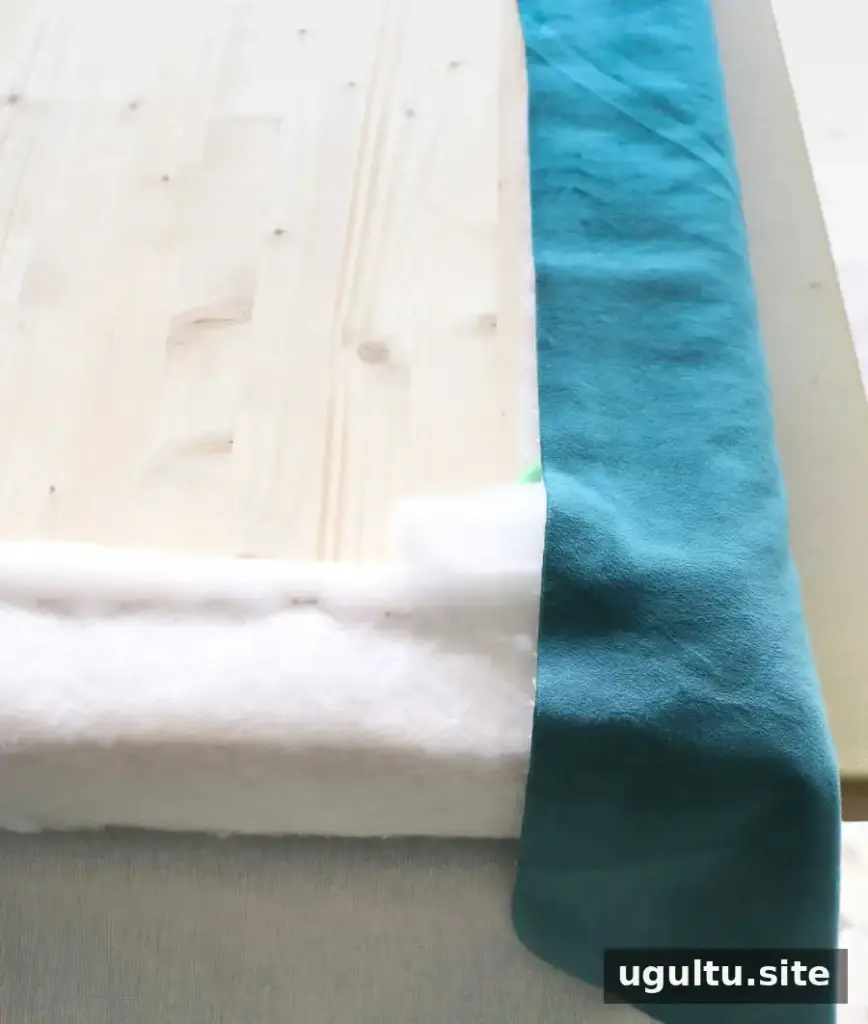
Spread out the batting and place the foam and wood on top, leaving enough material around the edges to wrap over the sides. Pull the batting around the foam and board, then staple it to the wood. Work around the entire piece, keeping the batting pulled snug without shifting the foam.
At each corner, tuck the extra batting neatly to one side, pull the remaining material tight, and staple it in place. Trim excess only after checking that the batting is secure.
3. Prepare the seat base
Wrap the base with batting in the same way. Keep the uncovered strip along one side free of foam and batting so the back can sit in the groove. Check that the opening remains clear before upholstery.
4. Upholster the boards with velvet
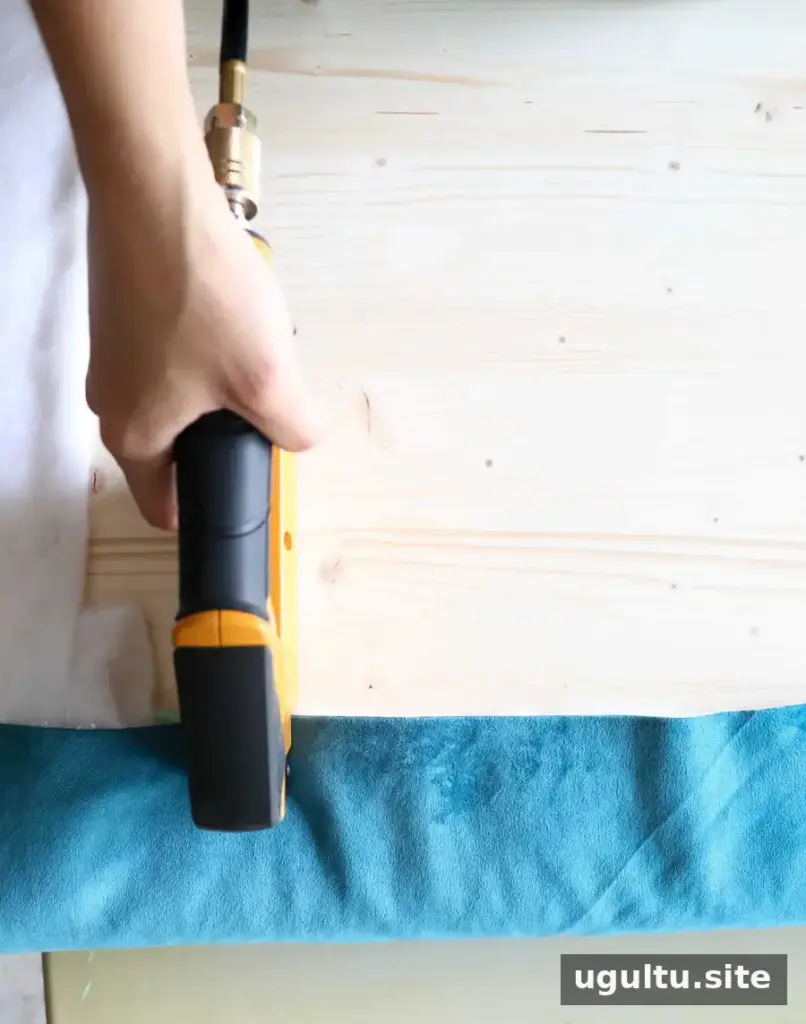
Place the batting-covered boards on the reverse side of the velvet. Arrange the two colors according to the color-blocked look you want, allowing enough fabric to wrap around every edge. Pull the velvet over the sides and staple it to the underside of each board.
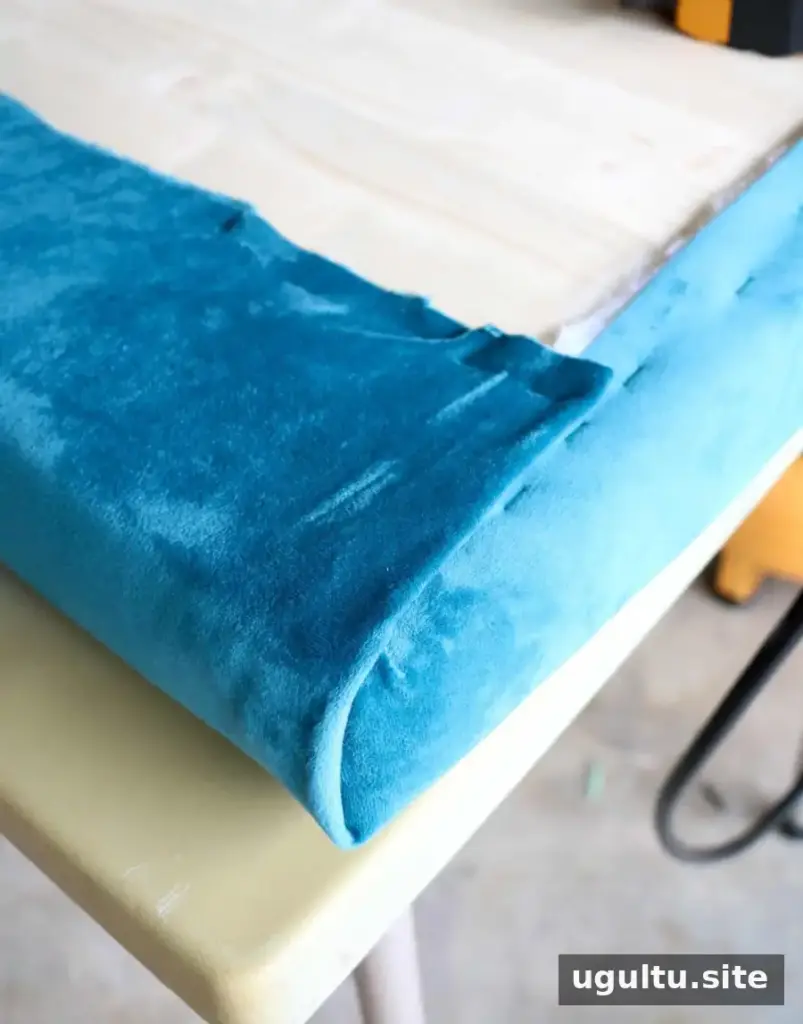
Continue around the boards, keeping the fabric smooth and evenly tensioned. Fold excess fabric neatly at the corners, then staple the folds to the underside. Avoid pulling so tightly that the velvet distorts.
6. Attach the back to the seat
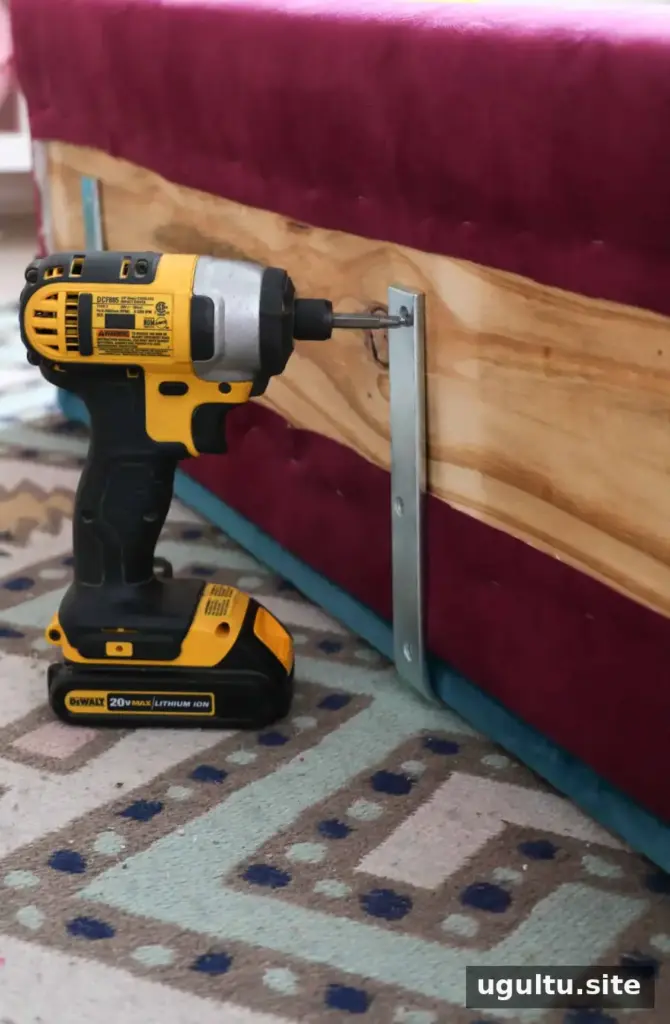
Position the three L brackets on the back side of the seat base. Fit the bench back into the foam-free groove, then use screws to attach the brackets to the back. Turn the bench over and fasten the brackets to the base with the remaining screws.
Before tightening everything, check that the back is aligned and sits securely in the groove. Use suitable care when handling the assembled pieces to avoid damaging the upholstered surfaces.
7. Add the hairpin legs
If using gold legs, spray-paint them and allow the paint to dry for 2–3 hours. Then screw one leg onto each corner of the bench base. Follow the paint product’s instructions for application and drying conditions.
Finishing the Back of the Bench
If the bench will sit against a wall, the unfinished back may not be visible. For a freestanding bench, cover a piece of 1/2-inch plywood measuring 48 by 12 inches with batting and velvet, then staple the coverings in place. Attach the finished panel to the back with finishing nails and wood glue for a more complete appearance.
Make sure the panel is positioned evenly and that the fasteners do not interfere with the bench’s structure.
Choosing Fabric and Using Your Bench
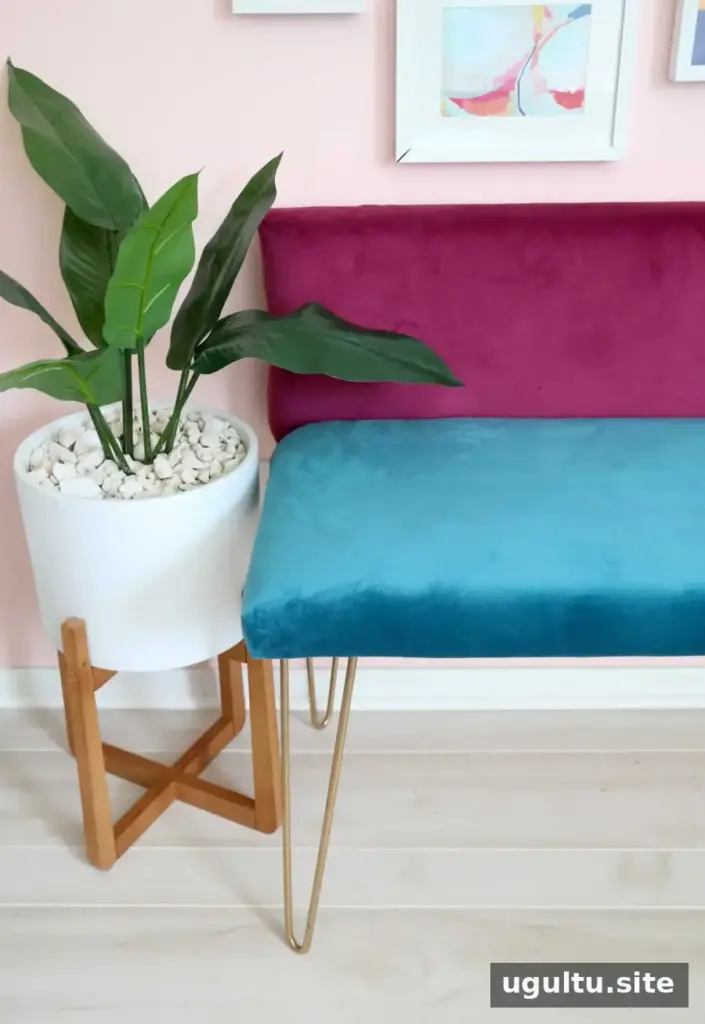
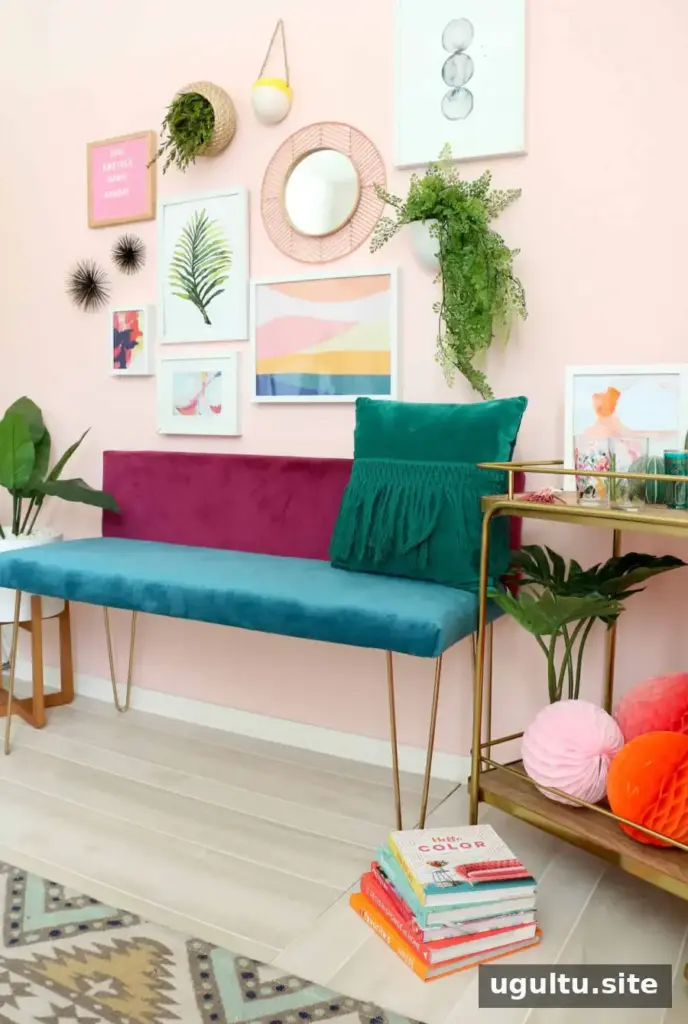
Two velvet colors create the color-blocked effect, but the same construction can be adapted with printed upholstery fabric or a single textured fabric. Choose a sturdy upholstery-weight material that is suitable for regular use, and consider how its color and texture will work with the room.
This color blocked velvet bench is a practical way to add a custom-looking piece of furniture to your home. Confirm the measurements, keep the seat-back groove clear, and secure the upholstery and brackets carefully for a neat finish.
Design and project credit: Kara.


