admin
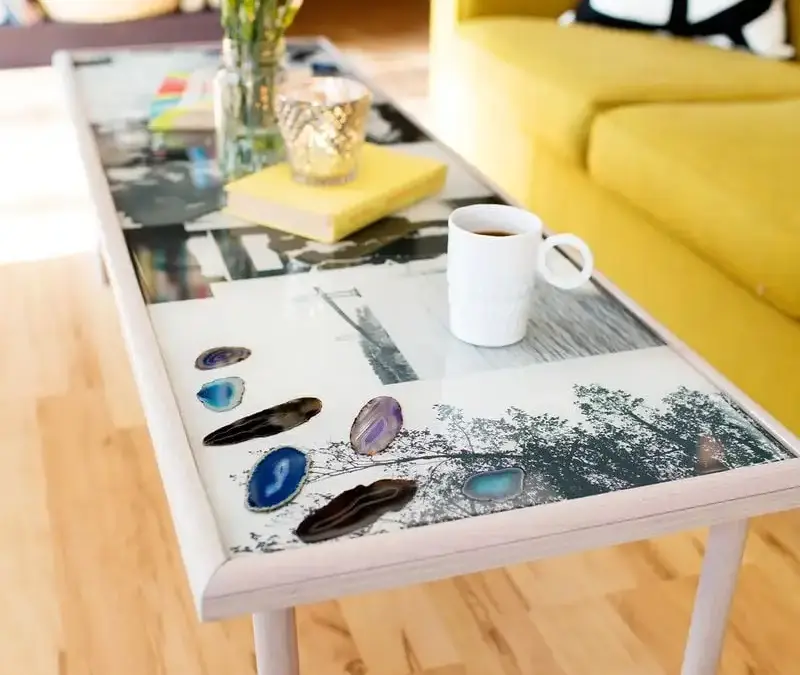
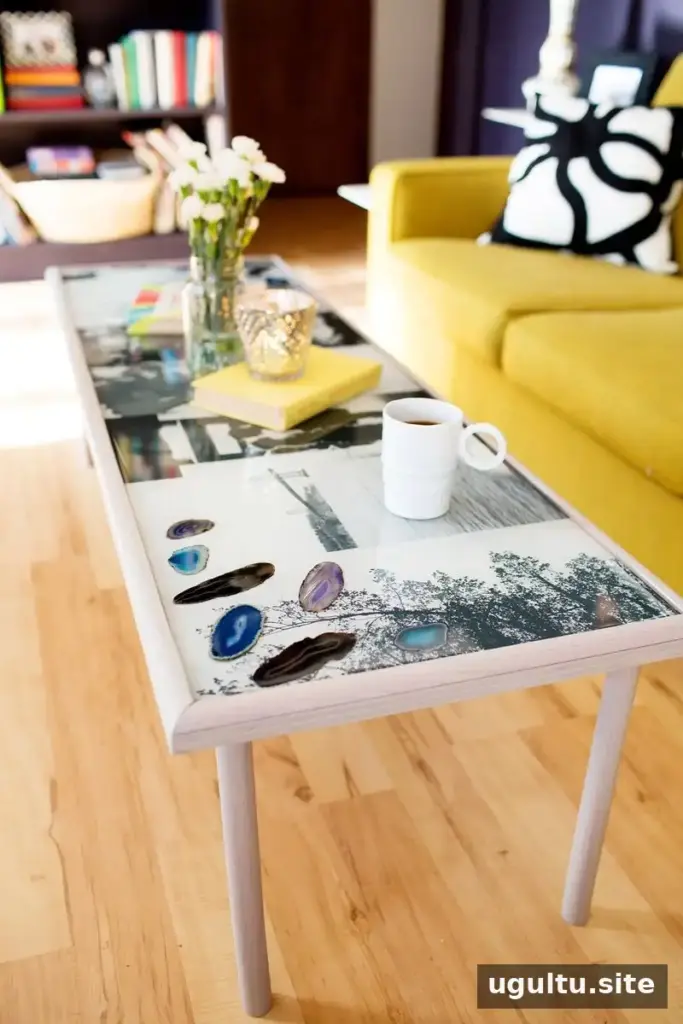

A DIY epoxy resin coffee table is a way to turn a simple tabletop into a personalized focal point by sealing photographs and decorative objects beneath a clear, glossy finish. With careful preparation and attention to the resin manufacturer’s instructions, you can create a design suited to your room and protect the items beneath the surface.
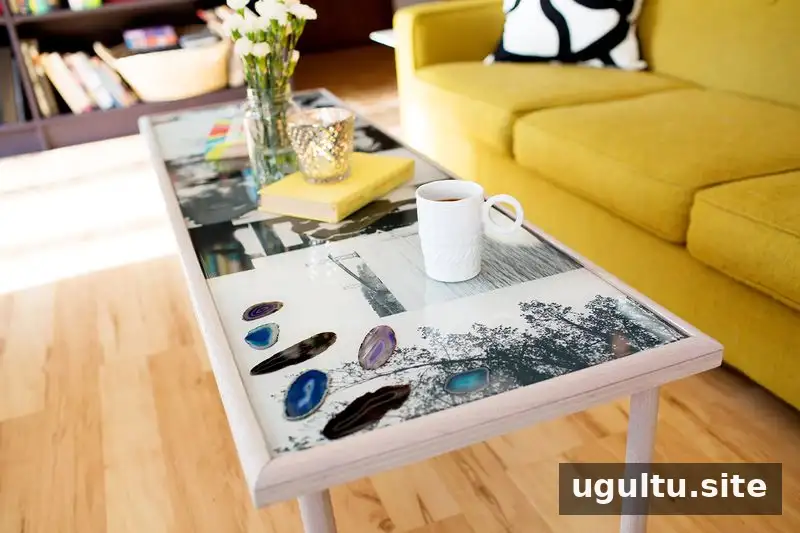
This project uses personal photographs and thin-sliced geodes. Other possible inclusions include small keepsakes or decorative pieces, as long as they fit below the table’s raised edge and are suitable for embedding in resin.
Planning a DIY Epoxy Resin Coffee Table
Choose images with colors and shapes that work well together, then arrange them on the tabletop before attaching anything. Abstract or less-detailed photographs can be a good choice when the table will be viewed often from different angles.
The tabletop needs a raised lip around its edges to contain the pour. The example table measures 4′ x 5″ x 16″ and has a 3/8″ depth from the tabletop to the top of the lip. The project used 1 gallon and 2 quarts of epoxy coating; the quantity you need depends on the area and depth to be covered.

Supplies
- A table with a 1/4″ or smaller raised lip around every edge
- Photographs and other objects to embed, all shorter than the lip
- Spray adhesive or glue
- High-gloss, pour-on epoxy resin coating
- Disposable paper or plastic cups, or small pitchers
- A disposable stir stick
- Disposable gloves; an apron and safety goggles are also useful
- A drop cloth to protect the work area from drips and spills
- Masking tape or painter’s tape
- A small handheld propane or kitchen torch for surface bubbles
Check the product label to estimate the amount of resin required for your tabletop. Set out the supplies before mixing, and work in a well-ventilated area as directed by the product instructions.
How to Make the Table
1. Prepare the tabletop
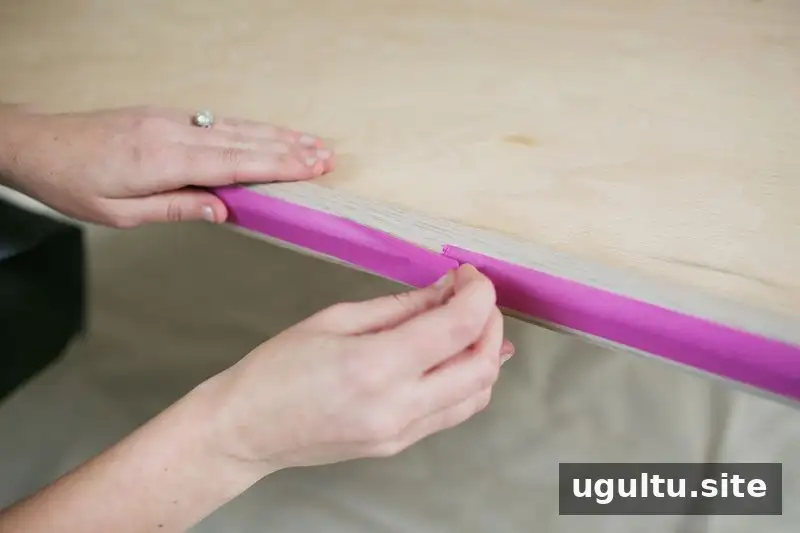
For a previously used table, lightly sand the surface that will receive the resin, then clean it thoroughly. Apply tape along the edges and over any gaps where resin could escape while curing. A stable, level work surface helps the coating settle evenly.
2. Print and trim the photographs
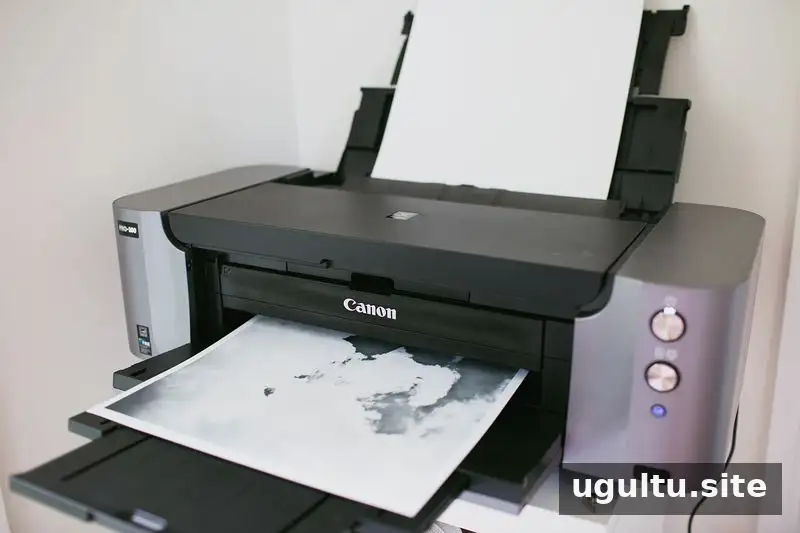
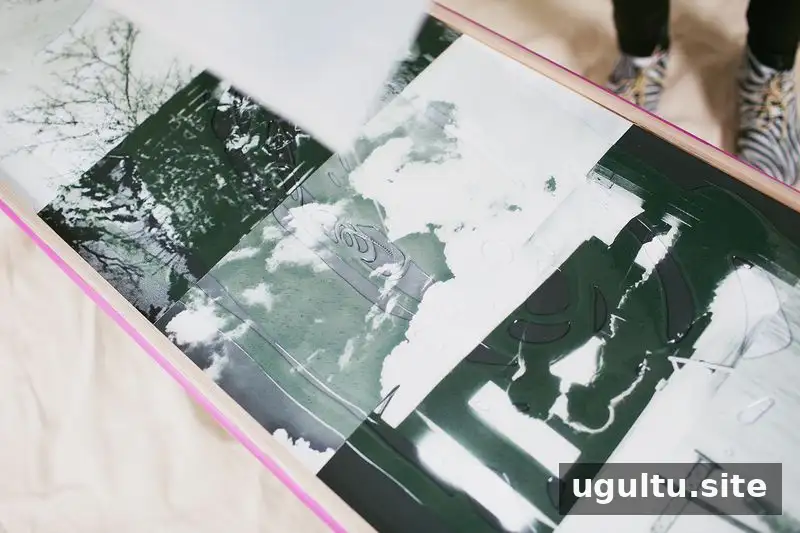
Print the images to suit the tabletop. In this project, the photographs were printed on 13″ x 19″ paper and trimmed to fit the available surface. Dry-fit each piece before applying adhesive so you can check the overall composition.
3. Arrange and secure the design
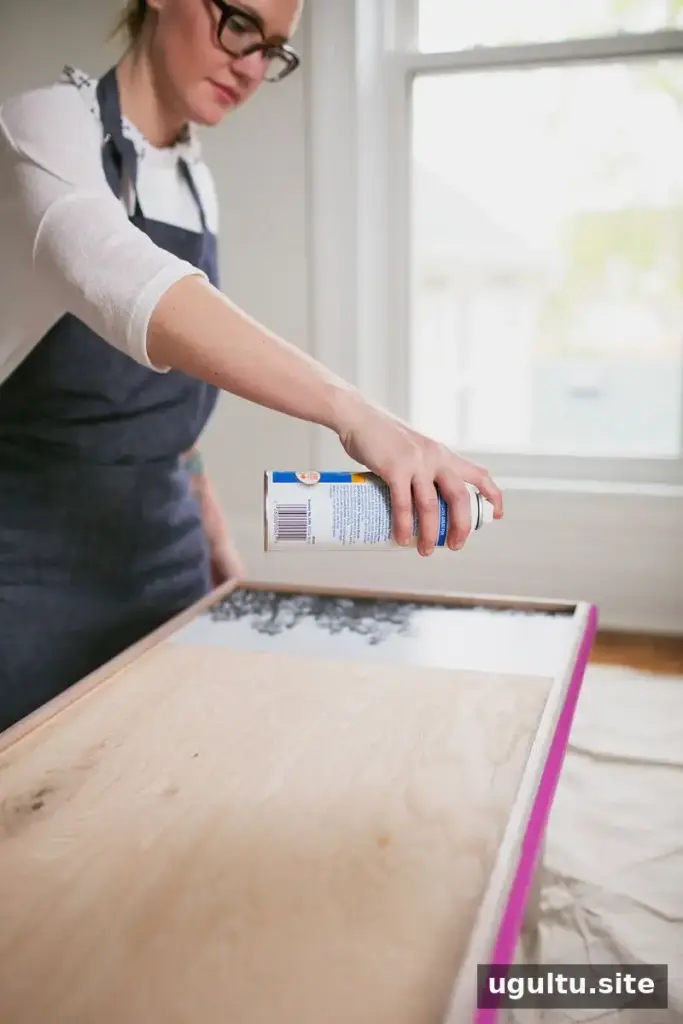
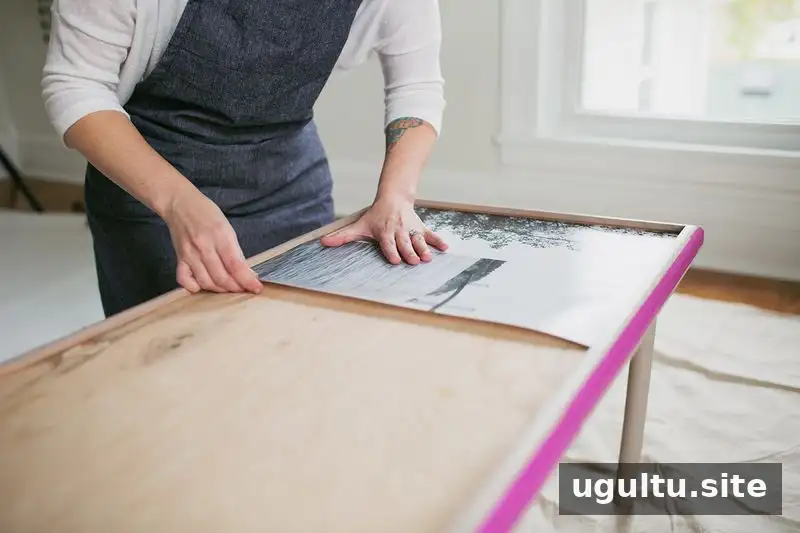
Move the photographs and decorative objects around until the layout looks balanced. Attach photographs and papers with a light layer of spray adhesive or glue. Secure placement matters: loose pieces can shift, lift, or form bubbles during the pour.
4. Mix the epoxy resin
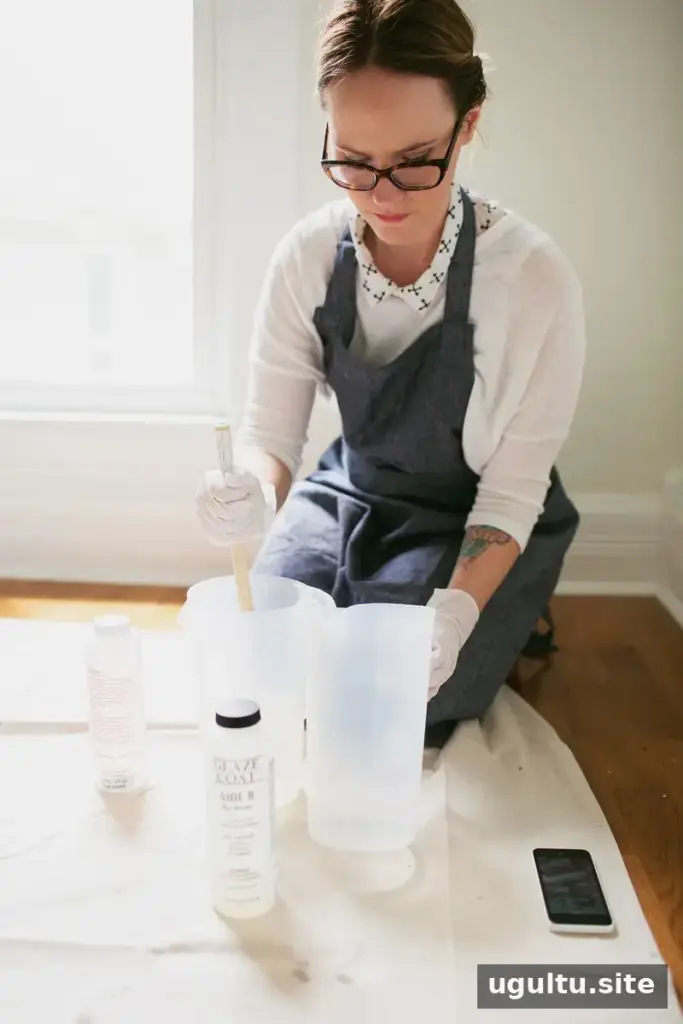
Follow the mixing directions for your specific product, since resin and hardener ratios and mixing times can differ. For the product used in this project, the components were mixed in disposable containers for four minutes in each container. Do not substitute a general timing or ratio for the directions on your own product.
Wear gloves and other protective equipment specified by the manufacturer, and work in a well-ventilated space. Keep dust and debris away from the resin. Avoid working in conditions that could blow particles onto the wet surface.
5. Pour the resin in controlled amounts
Pour the mixed resin over the tabletop gradually, taking care not to overfill the raised edge. The product instructions for this project recommended mixing one to two quarts at a time, so the mixing and pouring process was repeated in batches. Pour in lines or circles rather than depositing a large amount in one spot.
If you need another coat, allow the first coat to cure overnight before adding more. Do not pour onto a coat that is only partly cured, as this can lead to an uneven finish. If you are unsure about timing or application, consult the technical guidance provided with your resin.
6. Remove surface bubbles
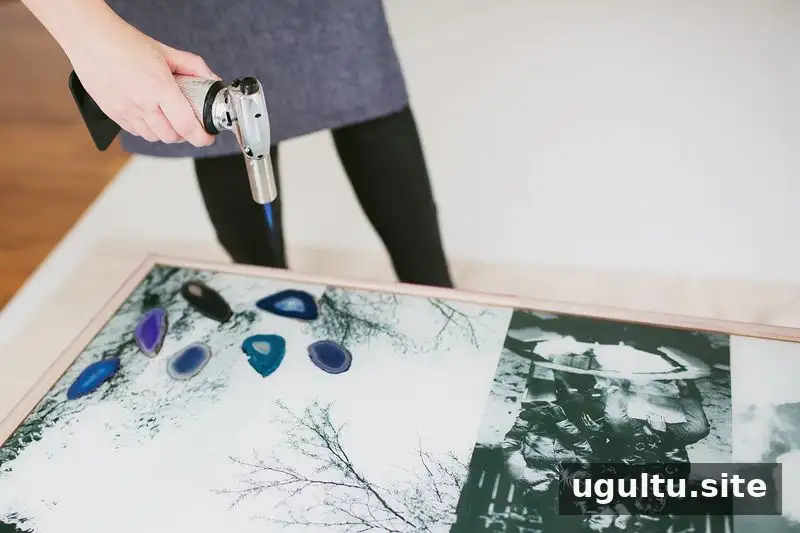
Use a small handheld torch to address bubbles on the surface, following the resin manufacturer’s guidance. A heat gun may also be an option for some products. Check the product instructions before using heat, and handle any flame or heat source cautiously.

Curing and Using the Table
Keep dust and other particles away while the coating cures. The project instructions give a curing window of at least 24–48 hours, with 72 hours recommended. Curing times vary by product and conditions, so rely on the directions for the resin you use.
Before placing anything heavy on the tabletop, check an inconspicuous edge to make sure the surface has fully hardened. Allow more time if it still feels soft or tacky.
DIY Epoxy Resin Coffee Table: Project Summary
Preparation: 15 minutes
Active work time: 30 minutes
Total time: 2 days
Use a raised-edge table, secure all photographs and objects, and measure the resin carefully according to its product directions. With patient pouring and adequate curing time, a DIY epoxy resin coffee table can showcase meaningful images and decorative details beneath a smooth, glossy surface.
— Emma