
 admin
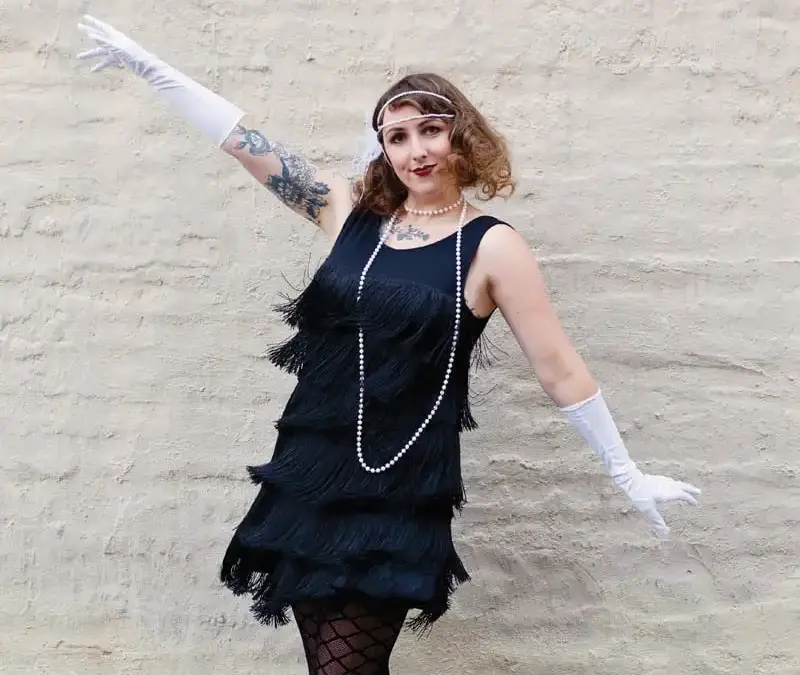
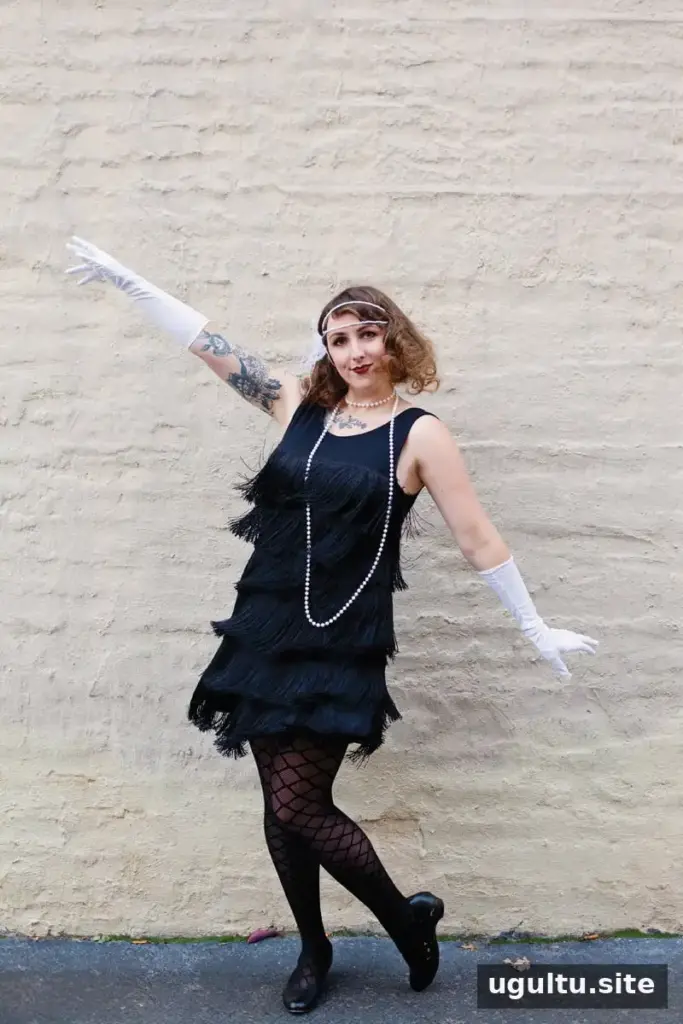
A DIY flapper costume can bring the bold style of the 1920s to a Halloween party or themed event. The look is recognizable for its dropped-waist silhouette, swinging fringe, pearl accessories and dramatic hair and makeup. You can put it together with a simple dress and a few carefully chosen details rather than buying a complete costume.
Flapper fashion challenged the conservative expectations of the time. For a costume inspired by the era, focus on a loose, straight-shaped dress and accessories that are comfortable enough to wear for an evening.
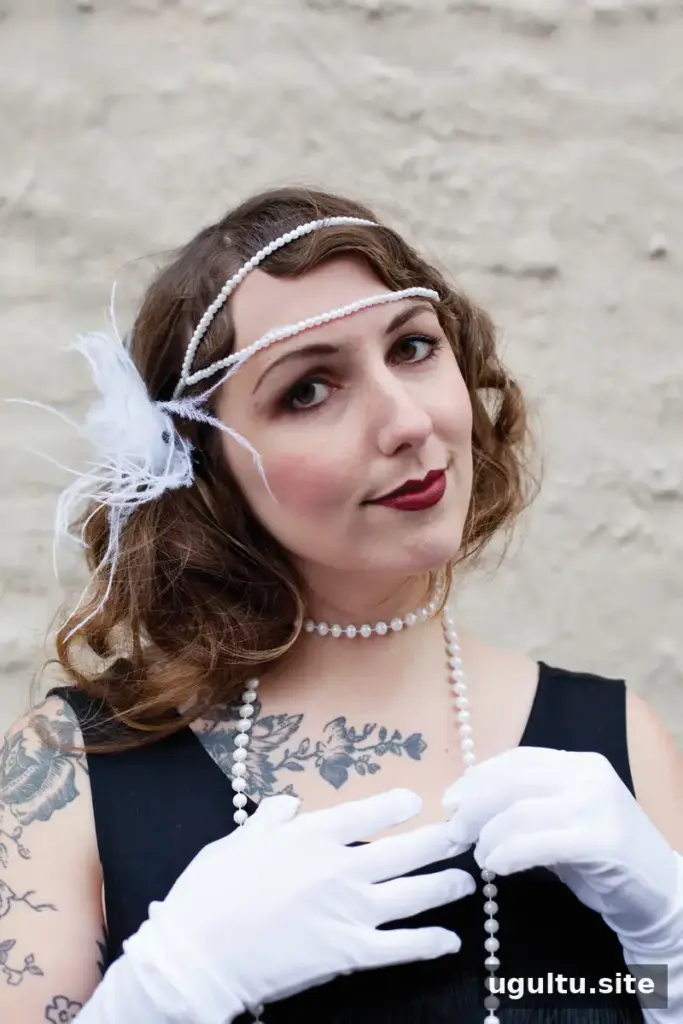
DIY Flapper Costume Headband
Pearl strands and a feather accent make a simple headband an effective finishing touch. A headscarf or turban is another option, but the beaded version below can be assembled in less than an hour.
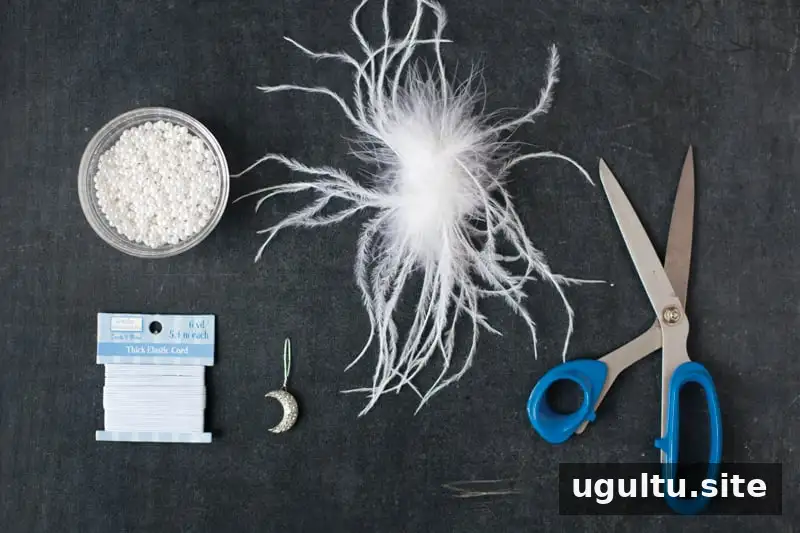
Supplies:
- Pearl beads in your preferred size
- A feather clip
- A sparkly barrette or brooch
- Thin elastic cord
- Scissors
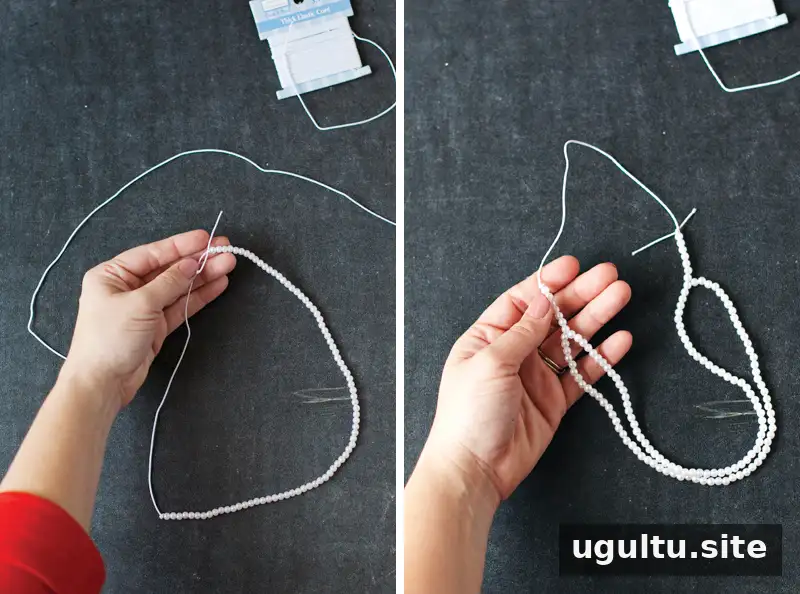
Step 1: Cut two pieces of elastic cord. Make one about 1 inch shorter than the circumference of your head and the second half the circumference of your head. Knot off two-thirds of the longer cord, thread beads onto it, and tie the ends together.
Step 2: Thread beads onto the shorter cord and tie its ends to the longer strand. Before trimming or tightening anything, try the headband on and check where the strands meet. Keep both strands snug enough to prevent beads from slipping toward your eyes, but not so tight that the headband is uncomfortable.
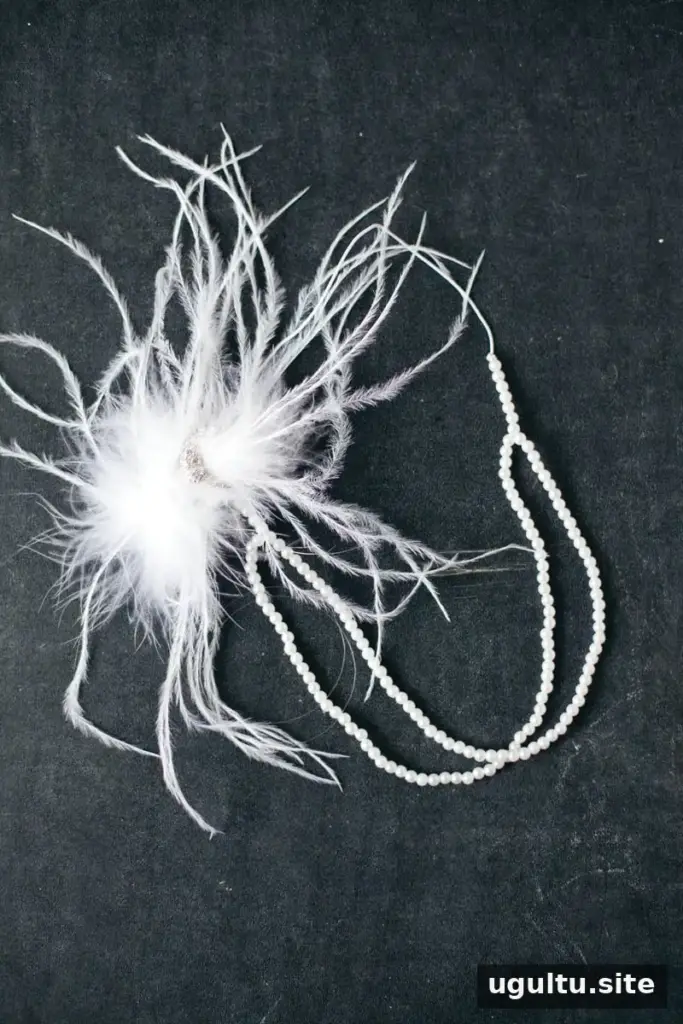
Step 3: Attach the feather clip to one end of the longer strand and add a decorative barrette or brooch. For a simpler look, leave out the extra embellishment.
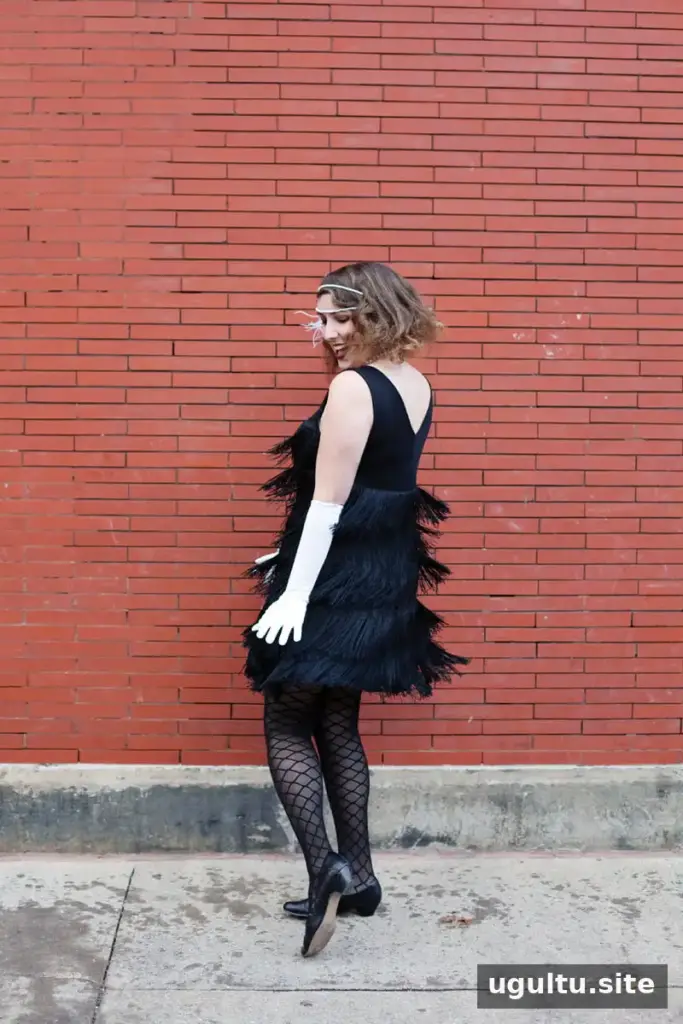
Make a Fringed Flapper Dress
Many 1920s dresses featured a dropped waist and a relatively straight silhouette. Choose a loose-fitting shift or drop-waist dress as a starting point. A sleeveless dress with a scoop neckline can work, but the overall shape matters more than the neckline.
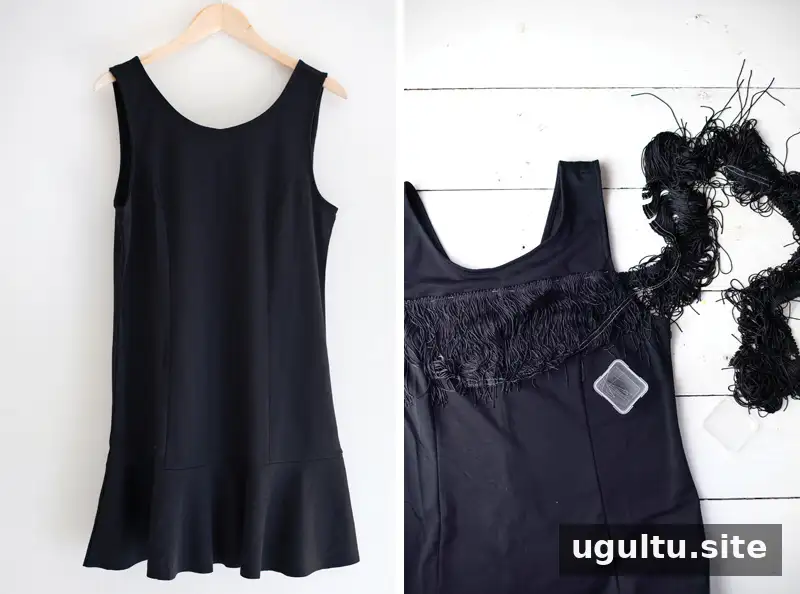
Step 1: Choose a dress that can be stitched through. Woven fabric is generally easier to sew fringe onto, although a knit dress can also work. If using knit fabric, handle it carefully because it may stretch as you sew.
Step 2: Adjust the dress length if needed, making sure it still provides comfortable coverage. Pin fringe around the bottom edge, leaving approximately 2–4 inches of extra trim. The extra length is useful because the fabric may stretch slightly during stitching.
The original project used 7 yards of fringe and took about an hour to complete. Fringe costs can add up, so consider decorating only the hem with two or three rows instead of covering more of the dress. Check the garment’s care instructions before sewing, and test your stitching on an inconspicuous area first.
Flapper Makeup
Makeup can help complete the look even when the dress or accessories are simple. Use cosmetics intended for the face, and test unfamiliar products on a small patch of skin before applying them more widely.
- Brows: Create a long, narrow, straighter-looking brow with a pencil instead of changing your natural brow shape.
- Eyes: Blend dark eyeshadow and smoky eyeliner above and below the eyes for a softly dramatic effect. Avoid applying products inside the eye.
- Cheeks: Use a light powder finish and pink blush on the apples of the cheeks.
- Lips: Use a dark lip pencil to draw a defined cupid’s bow and a rounded shape in the center of the lower lip. Fill in with lipstick, and set lightly with powder if desired.
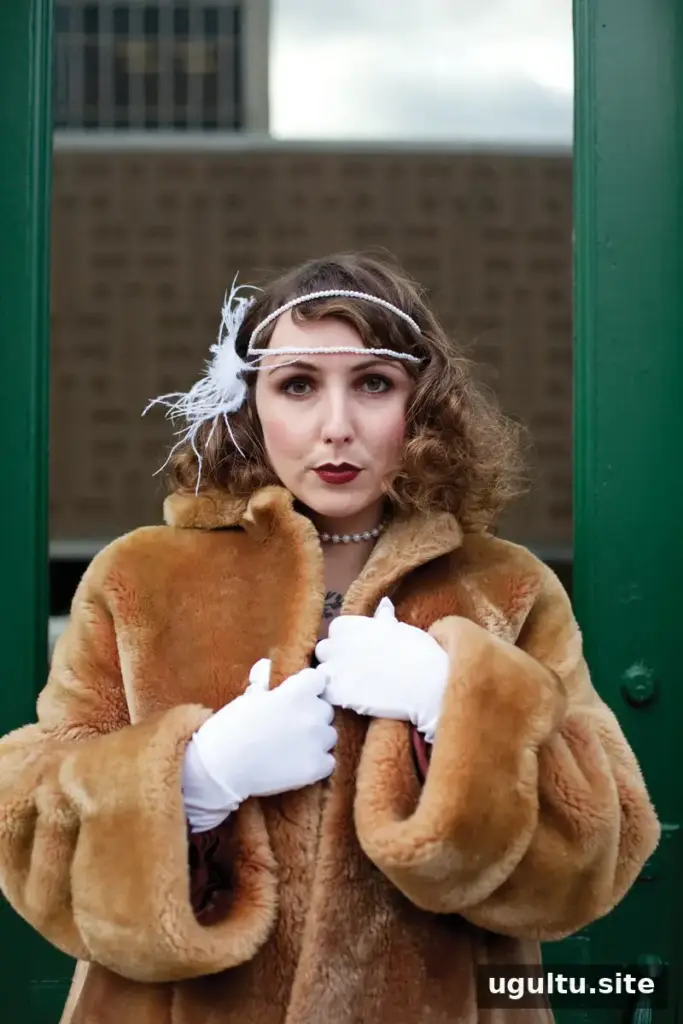
Flapper Hair: Bob and Finger-Wave Ideas
There are several ways to evoke a 1920s hairstyle. A sleek bob with blunt bangs, chin-length curls, close-set finger waves or long hair pinned up to imitate a bob can all complement the costume. A deep side part and curls near the cheekbones can add a period-inspired shape.
Long hair can be pinned into a faux bob. Work in sections and keep bobby pins handy, especially if the style will be worn outdoors.
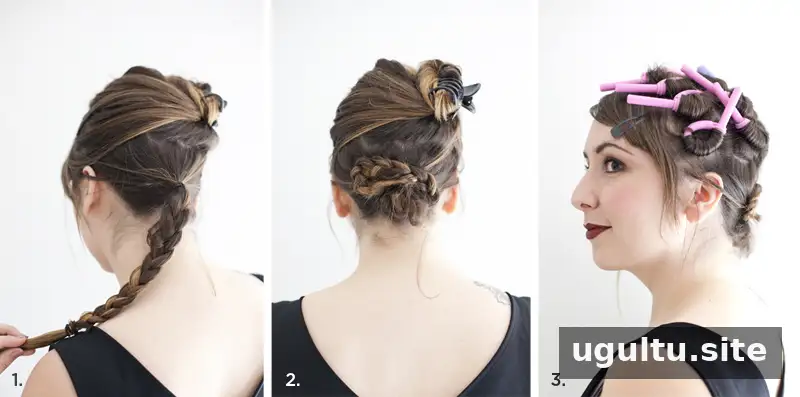
Step 1: Clip up the top half of your hair and braid the lower half.
Step 2: Coil the braid at the base of your head and pin it securely in place.
Step 3: Use thin curlers or hot rollers on the upper section to create curls. Follow the tool’s safety instructions and avoid using heat on damp hair unless the tool is designed for it.
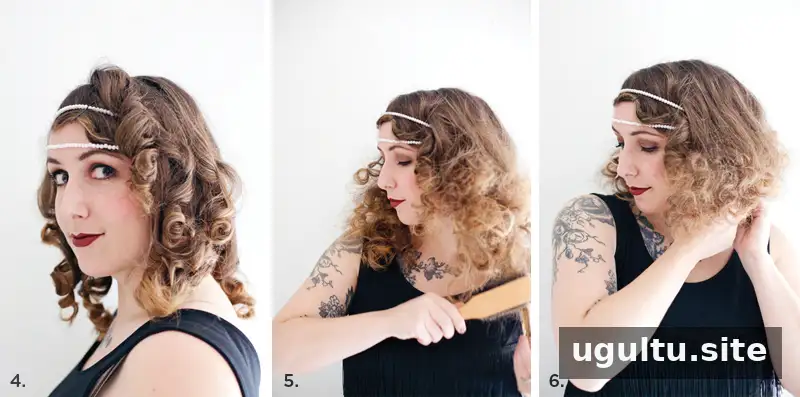
Step 4: Curl the bangs or shape them into waves with a curling iron. Put on the headband before removing the curlers so it sits in the right place.
Step 5: Apply hairspray and gently fluff the curls with a brush. Add another light layer of spray to help hold the shape.
Step 6: Pin the remaining hair in small sections into the braided coil at the nape of the neck. Finish with hairspray.
Styling tip: Mousse or setting cream applied before curling may help the style last longer. Keep extra bobby pins nearby in case the pinned sections loosen.

Finish the outfit with fishnet tights, simple black pumps, a long strand of pearls and gloves. Choose shoes you can walk in comfortably, and check that the headband and jewelry are secure before heading out.
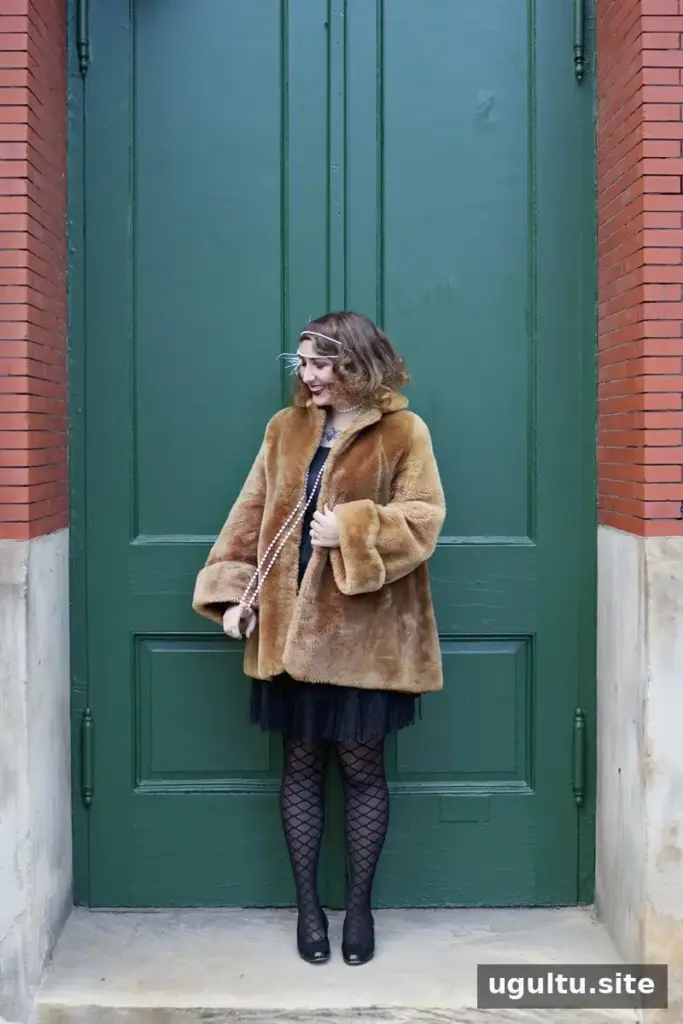
For a chilly evening, add a warm coat over the costume. A vintage-inspired faux-fur coat can suit the look, but any outer layer that provides enough warmth will work.
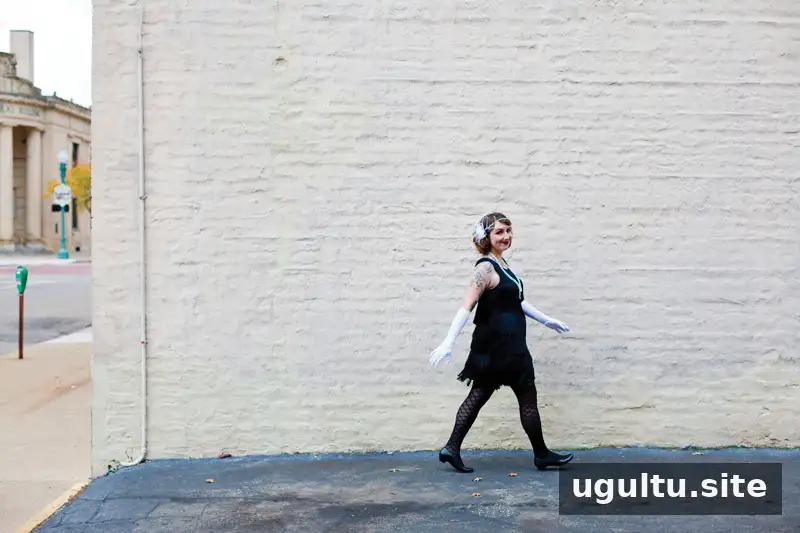
A successful DIY flapper costume comes together through a few distinct elements: a loose, fringed dress, a pearl accessory, vintage-inspired hair and carefully applied makeup. Adjust the details to suit your comfort, budget and the weather, then enjoy the finished 1920s-inspired look. —Mandi


