
 admin
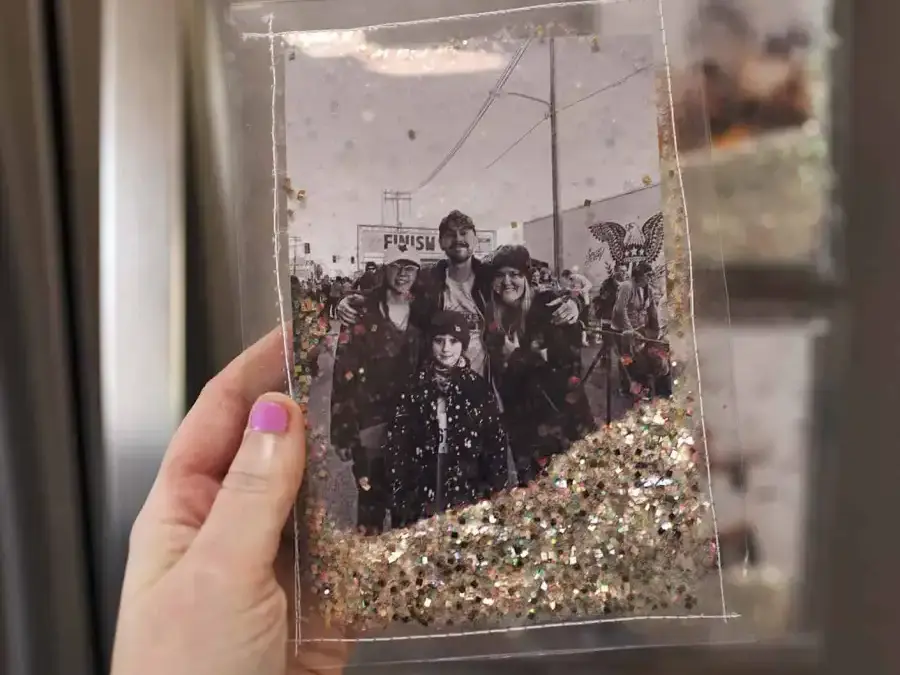
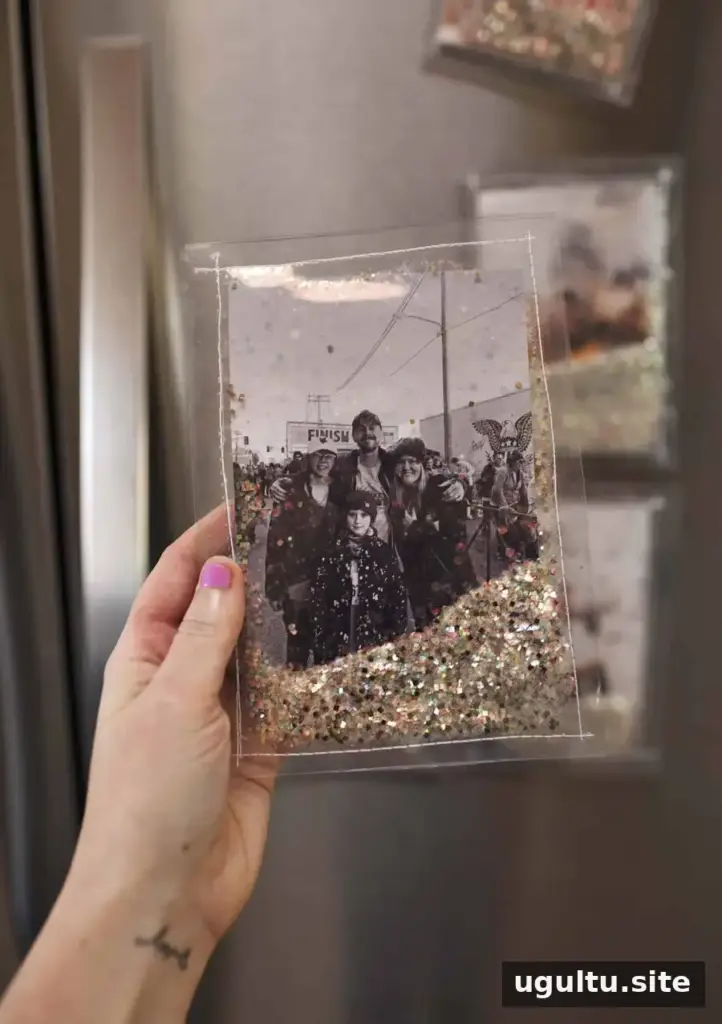
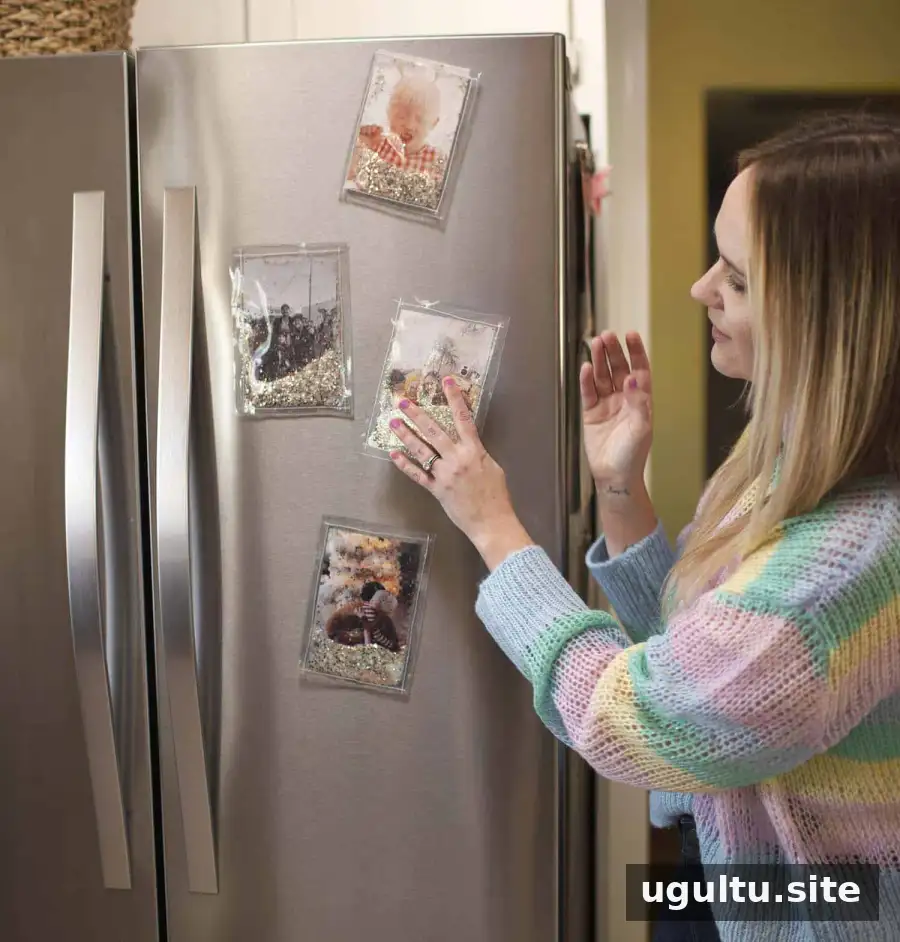
DIY glitter photo frames are a simple way to display favorite memories on a refrigerator or another magnetic surface. Made with clear vinyl, a little glitter, and basic sewing supplies, these frames can be sized to fit different photos. A straight stitch is all that is needed, although testing on scrap vinyl first can make the project easier.
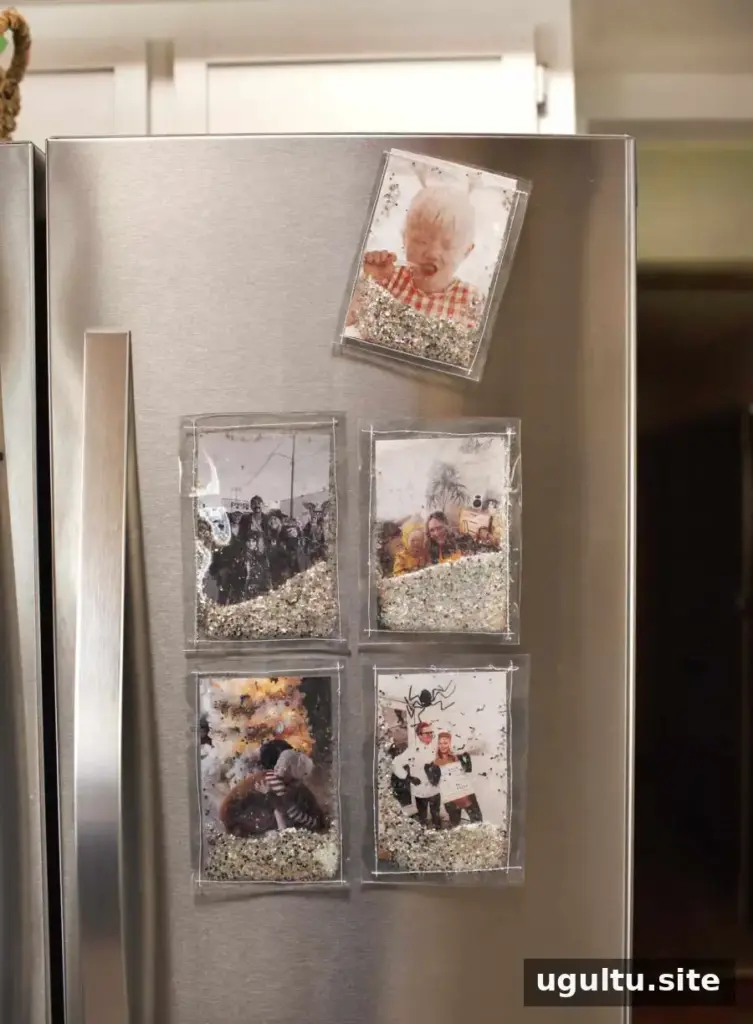
Clear vinyl can sometimes stick to a sewing machine foot, so plan to test your materials and machine settings before working on the finished frames. Glitter can also spread easily; using a tray or sheet of paper while handling it can make cleanup simpler.
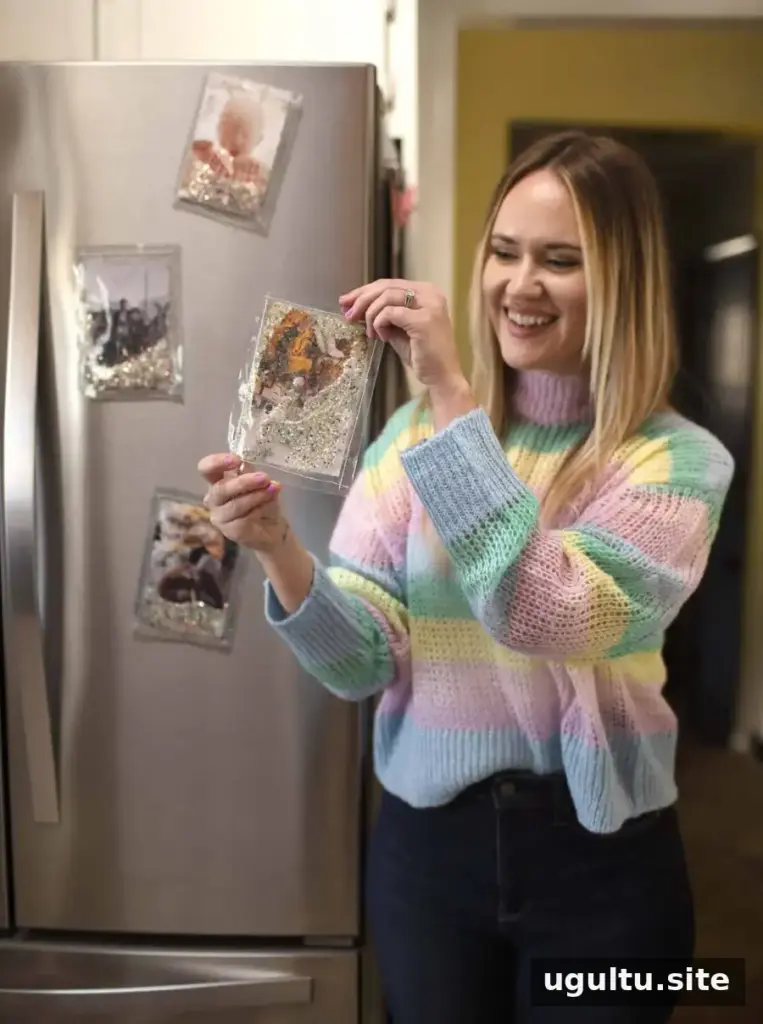
DIY Glitter Photo Frames: Supplies and Sizing
Gather the following materials before you begin:
- Glitter
- Scissors
- Sticker magnet
- Three pieces of clear vinyl
- A printer and printed photos
- A sewing machine and thread
For a frame that holds a 4 × 6-inch photo, cut the vinyl pieces to 5 × 7 inches. The extra space provides room for the seams. To make a different size, cut the vinyl about one or two inches larger than the finished frame size, allowing enough material for stitching around the edges.
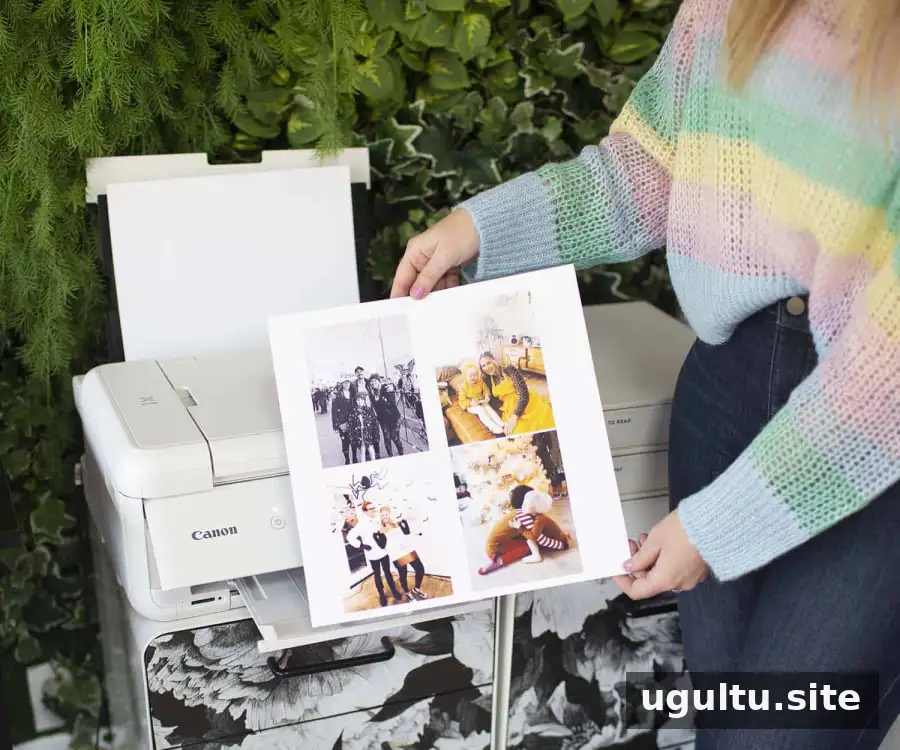
Print and prepare the photos before sewing. If you are making several frames, cutting all the vinyl pieces to the same dimensions can help keep the finished set consistent.
How to Make the Frames
1. Stitch the vinyl layers
Stitch two pieces of vinyl together along one side. Place the third piece on top and sew it to the other layers along two sides, following the arrangement needed to form the frame and its pockets.
Vinyl may drag or stick beneath a standard presser foot. A non-stick sewing foot can help. Alternatively, place matte tape, such as washi or Scotch tape, on the underside of the foot. A very thin piece of cotton fabric beneath the vinyl as it passes through the machine may also help it move more smoothly.
Machine tension may need a small adjustment depending on your setup. Test a straight stitch on a scrap of vinyl first, and change the setup if the material bunches or does not feed evenly.
2. Add glitter and close the pocket
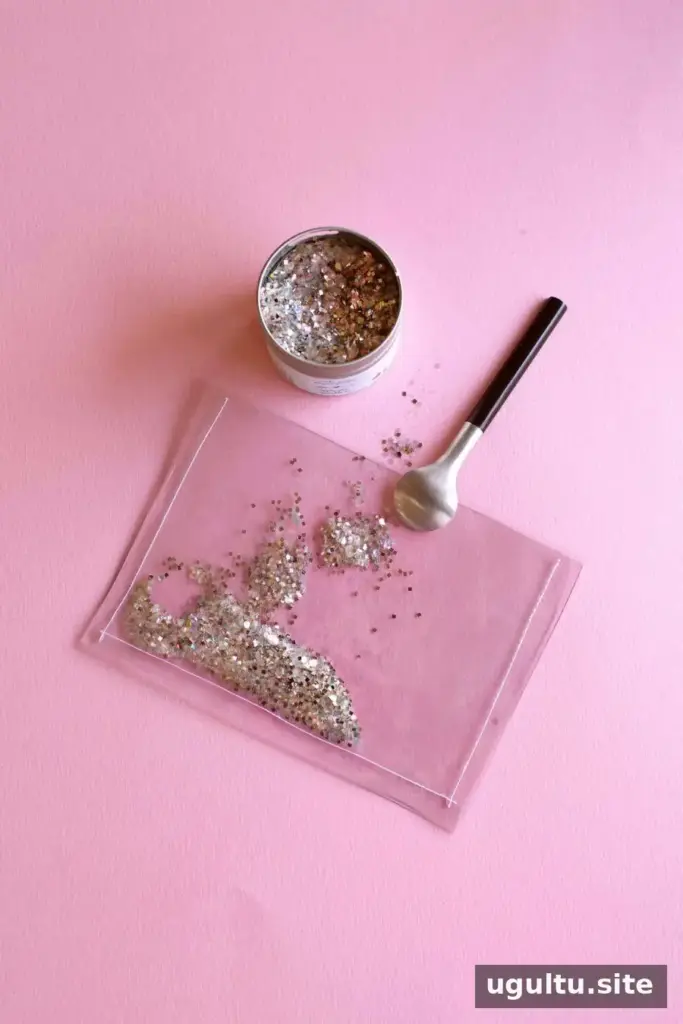
Put glitter into the outer pocket between two layers of vinyl. Add a modest amount so it can move within the pocket without making the frame bulky. Sew the remaining open side closed, then trim loose threads carefully.
3. Attach a magnet and insert the photo
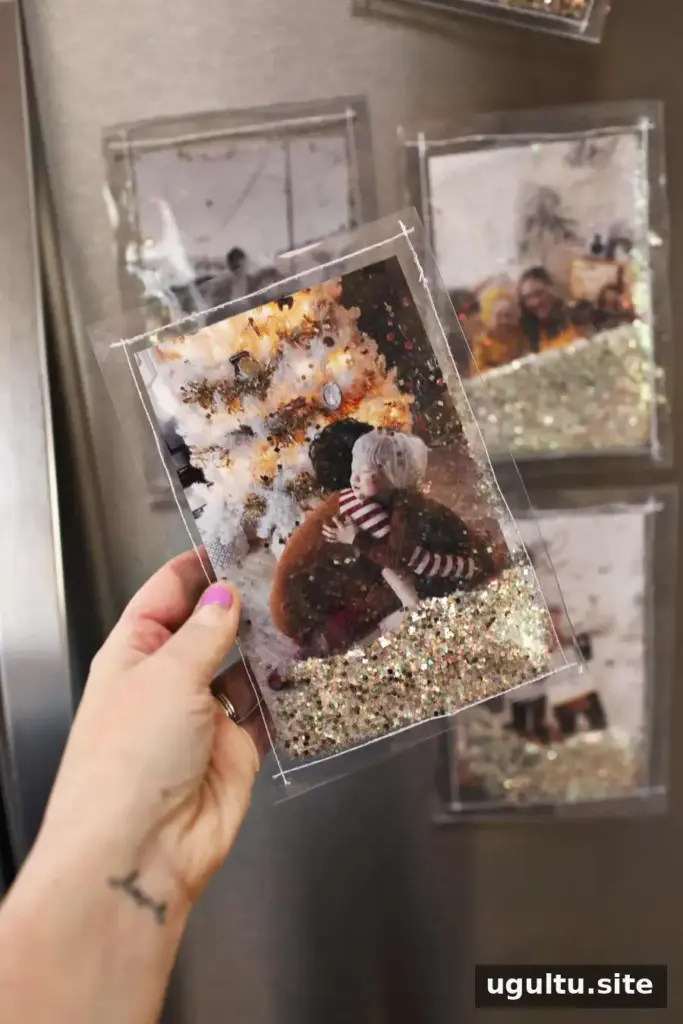
Cut an adhesive magnet sheet into small pieces and attach them to the back of the frame, or use a sticker magnet sized to fit. Press the adhesive firmly into place. Slide the photo into the appropriate opening and check that it sits flat before displaying the frame.
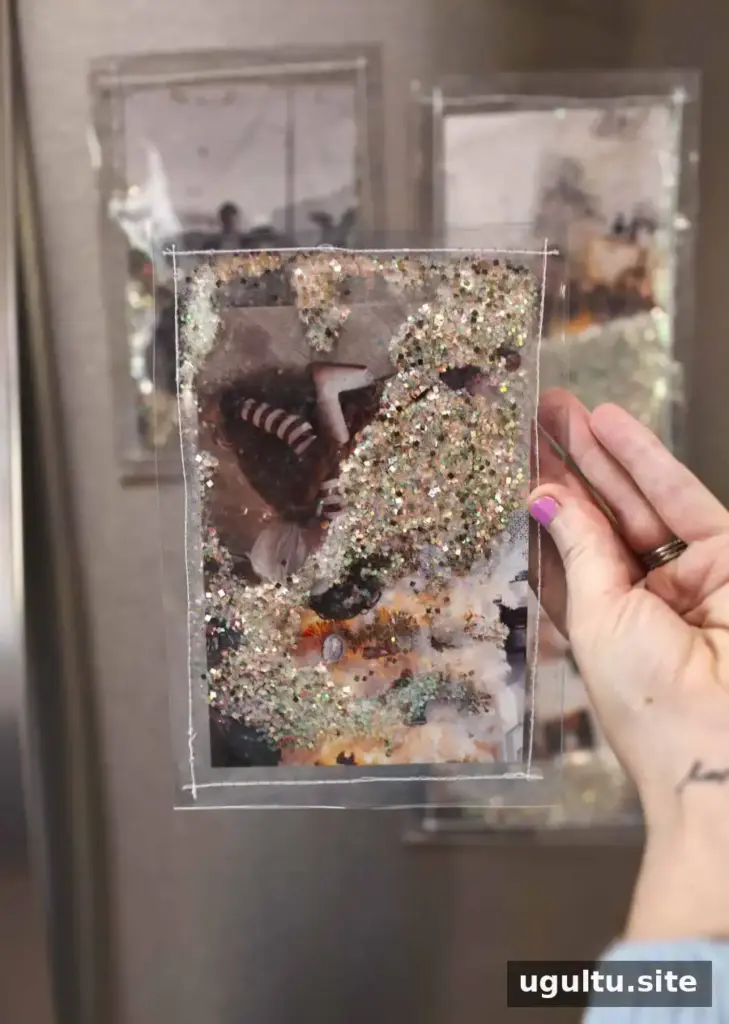
These handmade frames work well for seasonal pictures or everyday snapshots. Keep them on a refrigerator or another magnetic surface where the photos are easy to see. For a gift, choose a photo that suits the recipient and match the glitter to the occasion.
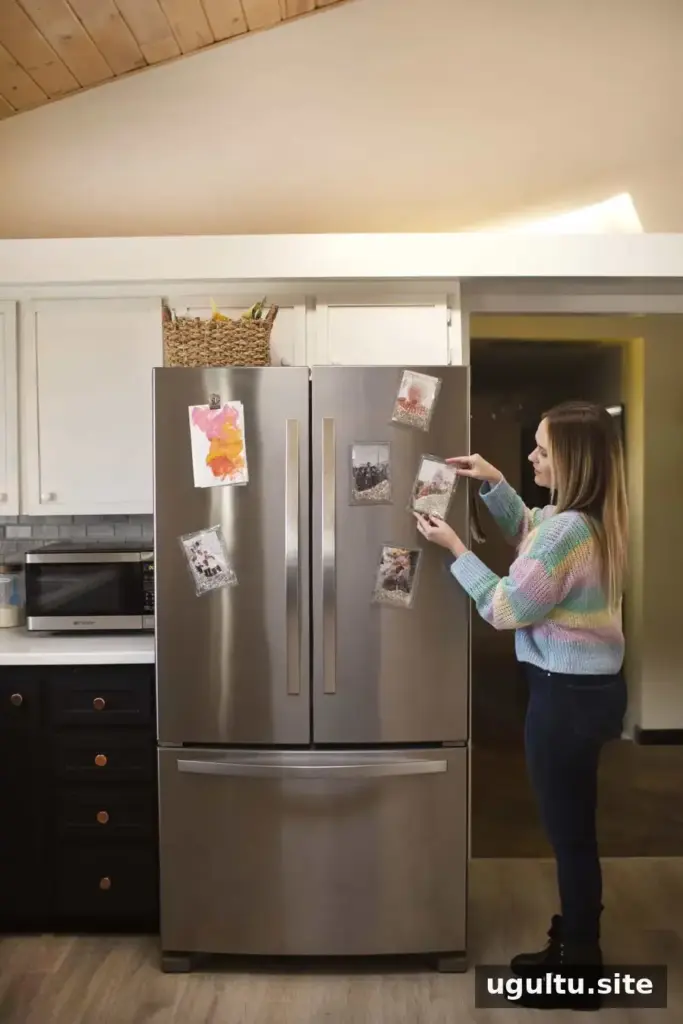
With a few supplies and careful stitching, DIY glitter photo frames offer a practical, customizable way to showcase printed photos. Remember to test the vinyl and sewing-machine setup first, especially if you are new to sewing plastic materials.
Project shared by Emma.


