
 admin
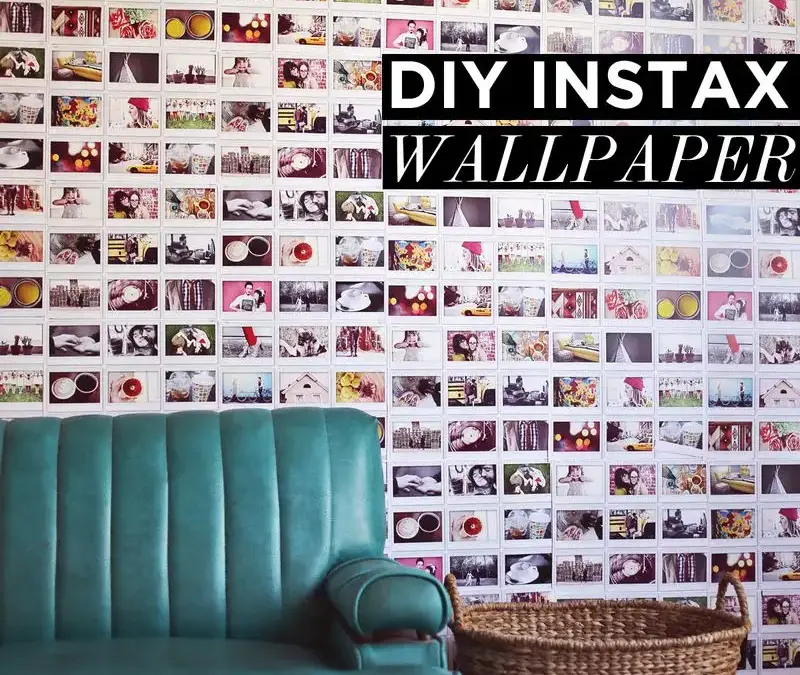
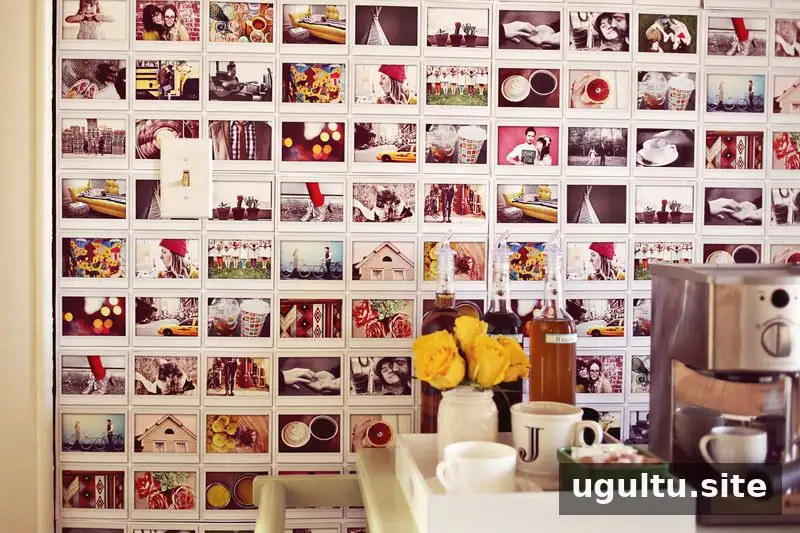
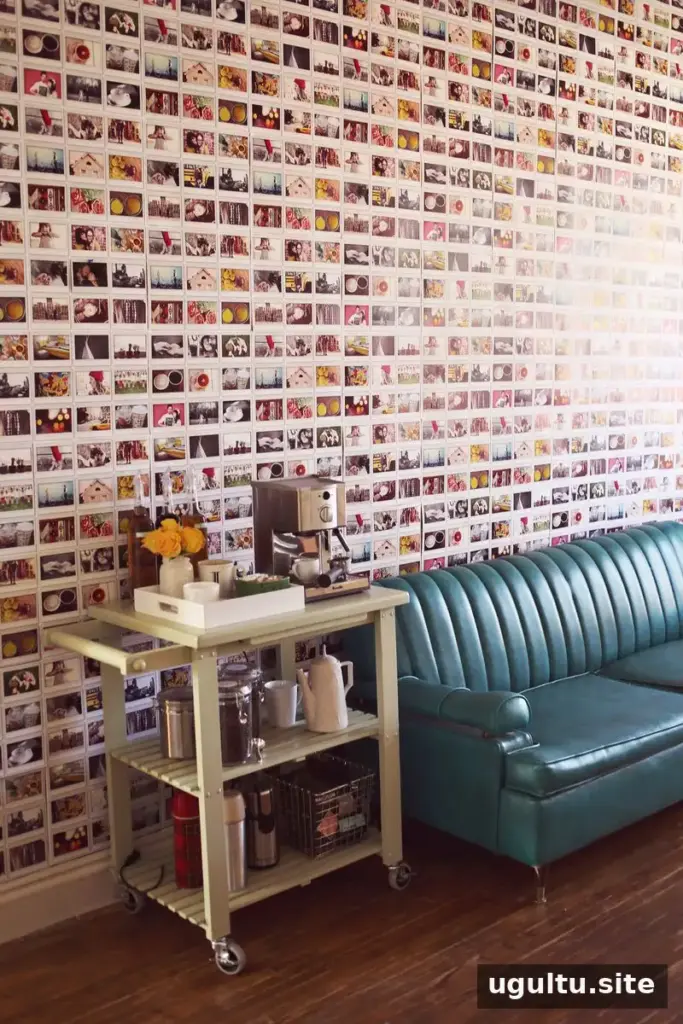
Instax photo wallpaper offers a practical way to create a photo-filled feature wall without collecting enough instant prints to cover the entire space. By printing photo layouts on cardstock, you can build the look quickly and gradually replace repeated images with real photos later. This project used Fujifilm INSTAX Wide-sized images and turned a large studio wall into a colorful backdrop.
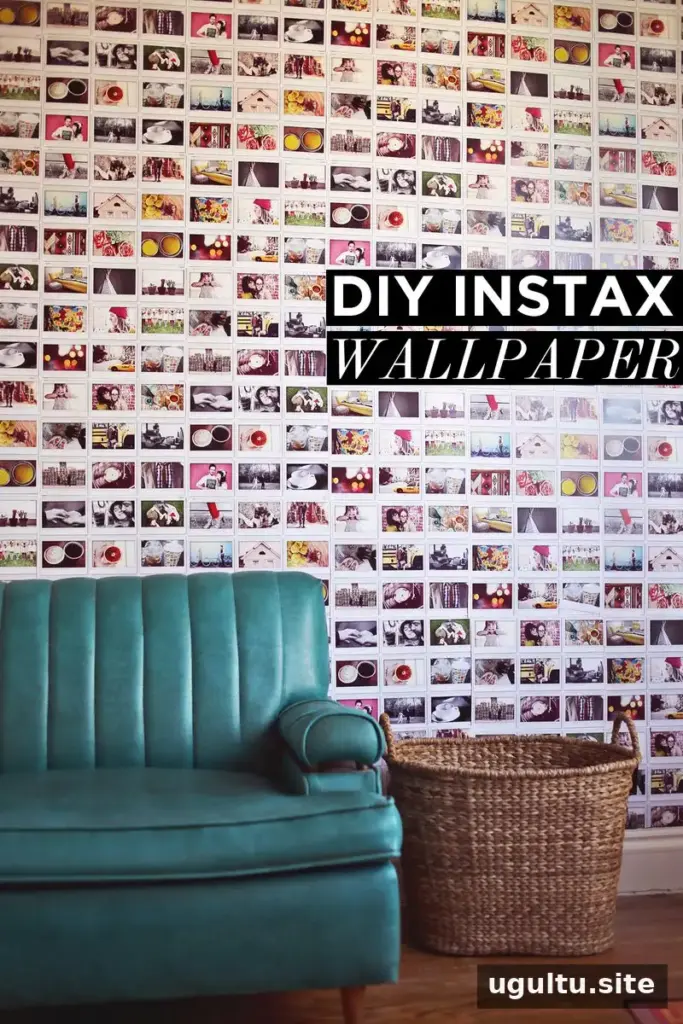
How to make Instax photo wallpaper
The main challenge with a full photo wall is the cost and time involved in taking enough instant photos. In this project, color copies provided an affordable starting point. The printed images were not original instant photographs, and some images repeated, but the wall could be refreshed over time with genuine prints.
Design and print the photo sheets
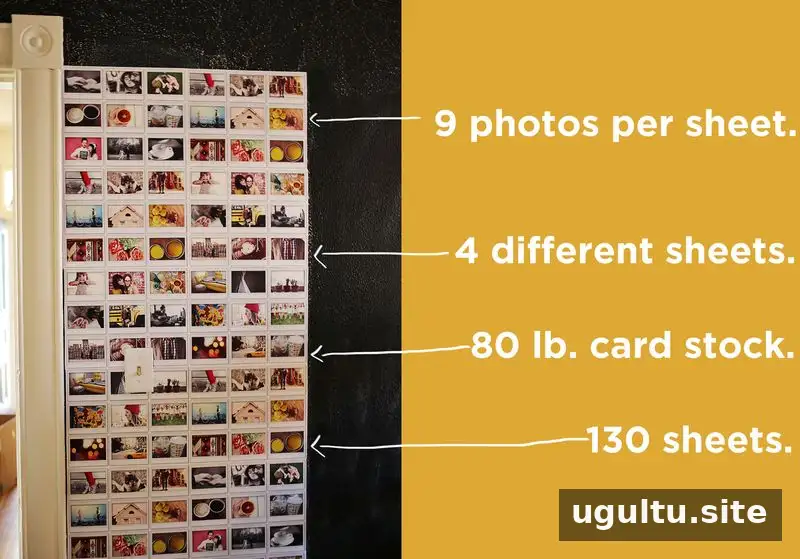
The layout was designed on 11 × 17-inch sheets, with nine Instax Wide-sized photo images on each sheet. Four different sheet designs were created. Adding more designs can reduce how often the same photos appear, while keeping the printing process straightforward.
After measuring the wall, approximately 130 sheets were ordered on 80 lb cardstock. A local printer charged around $1 per sheet, bringing the total printing cost to about $130. The sheets were then trimmed before installation. For a similar project, measure the full wall carefully and account for edges, corners, and any areas that will need smaller cut pieces.
Attach the sheets to the wall
Double-sided tape was tried first, but it did not hold well on this particular wall. A staple gun was used instead. The installation took an afternoon, including cutting sheets to fit the remaining spaces around the edges.
The best attachment method depends on the wall surface and how long the display will stay in place. Test a small area first, especially if you want to avoid marks or repairs later. The staple method worked for a display intended to remain up for a couple of years, but removing the staples will take extra work. On a different wall, masking tape may be sufficient; a previous photo collage stayed up for more than six months with only minor curling.

Personalize the wall over time
Once the printed sheets are installed, repeated images can be replaced gradually with real Instax photos. This makes the project manageable: there is no need to wait until you have collected a large number of prints before decorating the wall. Keep a few spare photos or trimmed sheet sections available to cover gaps as the display changes.

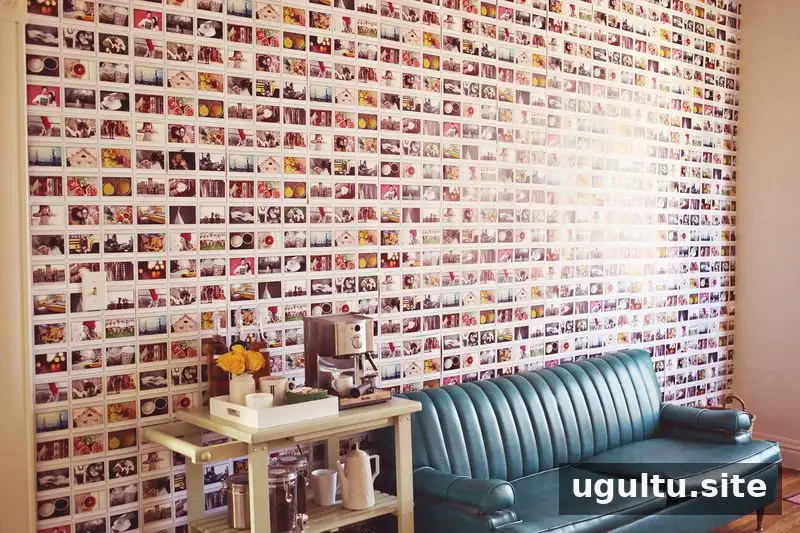
The completed wall adds color and personality to the studio, while leaving room for the collection to grow. The printed arrangement acts as a starting point rather than a finished display that cannot be changed.
Is Instax photo wallpaper right for your space?
This approach can work well when you want the impact of a large photo wall without the expense or delay of gathering hundreds of instant prints at once. Before printing, confirm the dimensions of the photo format and the wall, choose a paper weight that suits your plan, and test your preferred fixing method. With those details sorted, Instax photo wallpaper can be installed in stages and updated with real photos whenever you have them.
Project by Elsie.


