
 admin


A DIY lap desk can provide a comfortable, flat surface for typing, reading, or using a laptop while sitting or relaxing in bed. This simple no-sew project uses a wooden top, foam, and fabric, so you can choose colors and materials that suit your space without needing sewing skills.

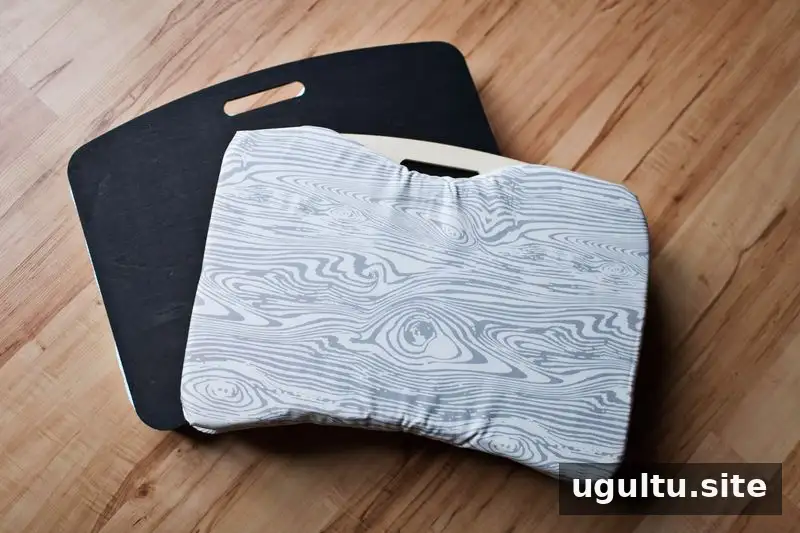
Making your own lap desk is also a practical option if ready-made designs do not match your style or budget. Each desk in this project costs about $18 to make, depending on the fabric selected. That estimate does not include tools such as scissors or a staple gun.
DIY Lap Desk Supplies
Gather the materials before starting. Choose a wooden lap desk top that provides enough room for your intended use, and check that your staple gun staples are shorter than the thickness of the top.
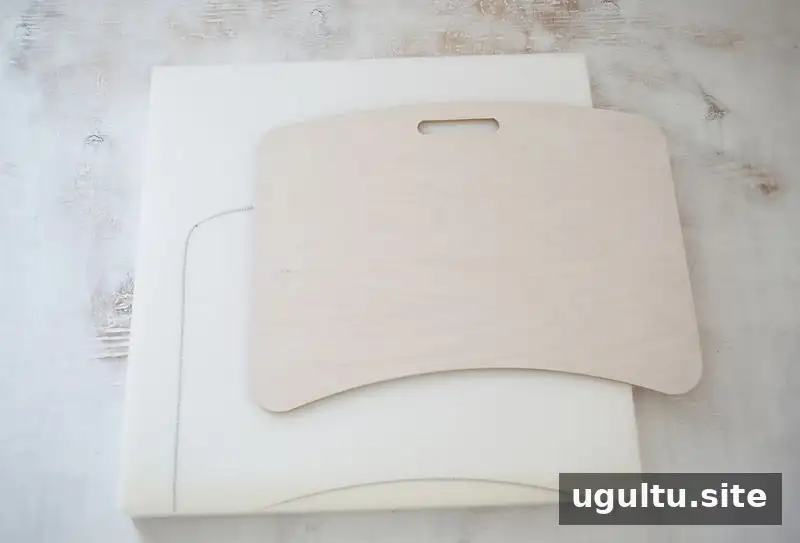
- Wooden lap desk top
- Foam square, available in the fabric department of many craft or fabric stores
- Fabric, about 1/3 to 1/2 a yard depending on the size of the top
- Trim
- Scissors
- Fabric glue
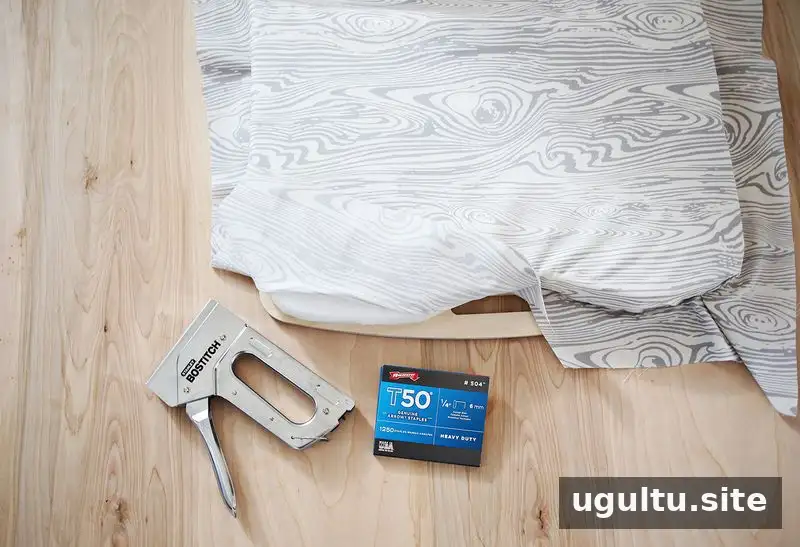
- Staple gun and staples shorter than the lap desk top
- Wood stain and brushes, optional
How to Make a No-Sew Lap Desk
1. Cut the foam to fit
Place the wooden top on the foam and trace its outline. Cut the foam slightly smaller than the top so it will sit inside the fabric-covered edges. The cut does not need to be perfectly even because the fabric will cover it. Work on a stable surface and take care when cutting.
2. Finish the wooden top, if desired
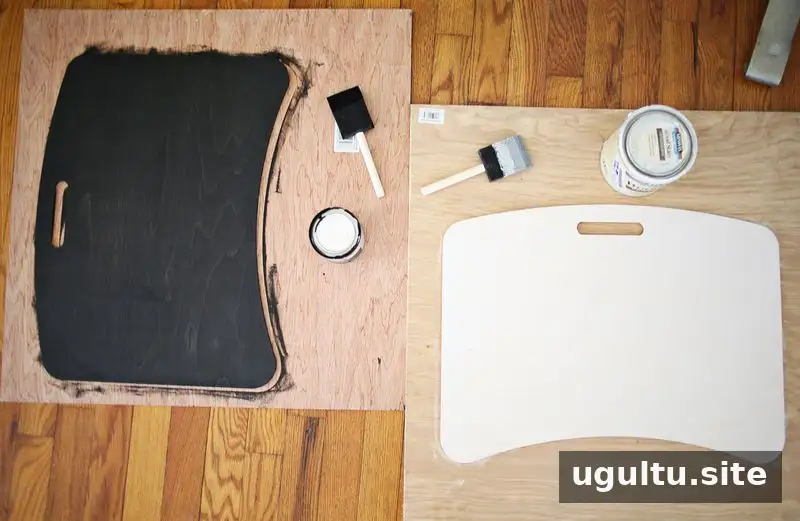
Stain the top and sides if you prefer a finished look, or leave the wood unfinished. The examples used Ebony stain for one top and a tinted stain base with white paint for the other. Let the finish dry completely before moving on, following the product directions.
3. Attach the foam and fabric
Place the foam on the underside of the wooden top. Lay the fabric over it, pull the fabric taut, and staple it in place around the edges. Keep the fabric smooth as you work so the padded surface is even.
Check each staple as you go. If one enters at an angle and comes through the desk surface, remove it with pliers and try again. Exposed staples can snag skin or fabric, so make sure none are sticking through before using the lap desk.
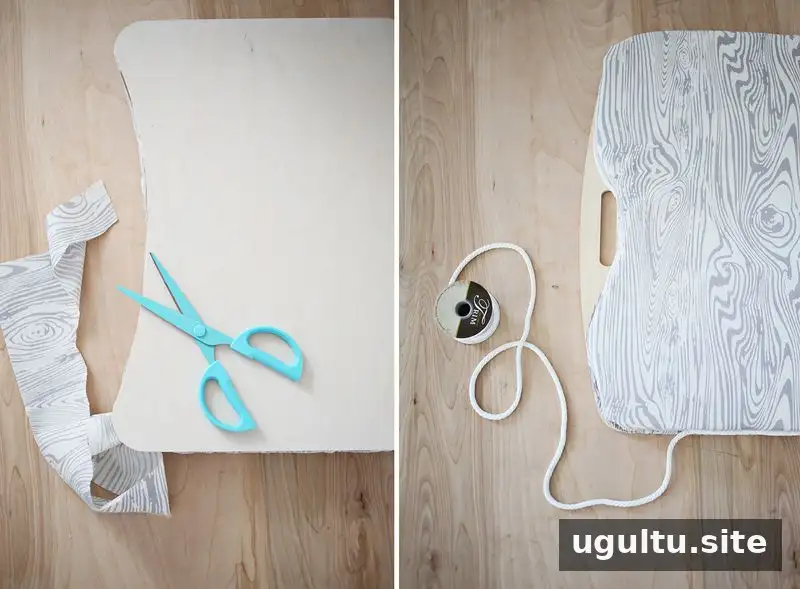
4. Trim the fabric and add the edging
Once the fabric is secured, trim away the excess. Leaving extra fabric while stapling gives you more material to hold and pull taut; it can be cut back when the fabric is firmly attached.
For a neater edge, use fabric glue to attach trim over the cut fabric edges. Allow the glue to dry fully according to its product instructions before placing the desk on your lap.


Using and Caring for Your DIY Lap Desk
Set the finished desk on a stable surface before placing a laptop or other item on it. For everyday use, check occasionally that the fabric remains secure and that no staples or rough edges are exposed. The DIY lap desk can be customized with different fabric and trim, while the optional wood stain lets you coordinate the top with your room.
— Emma


