
 admin
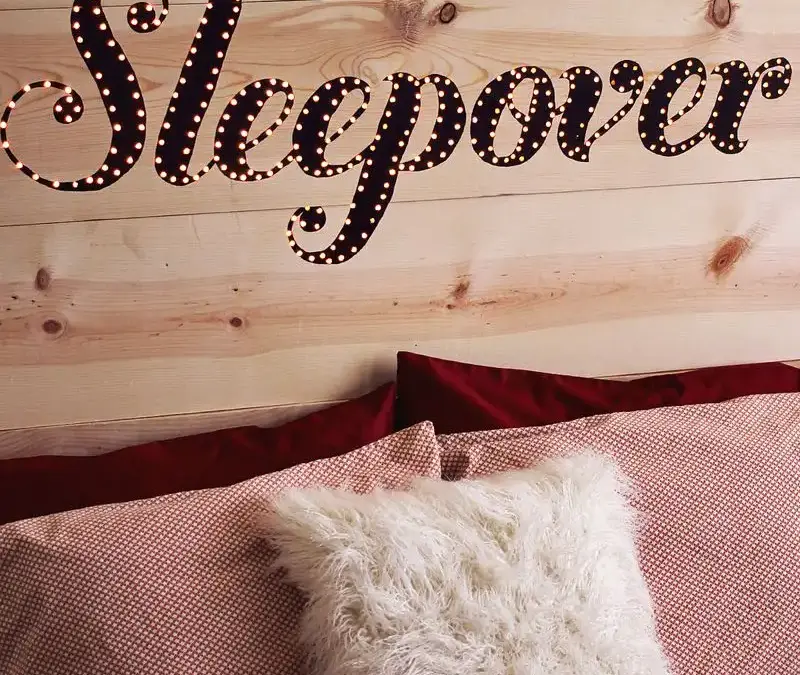
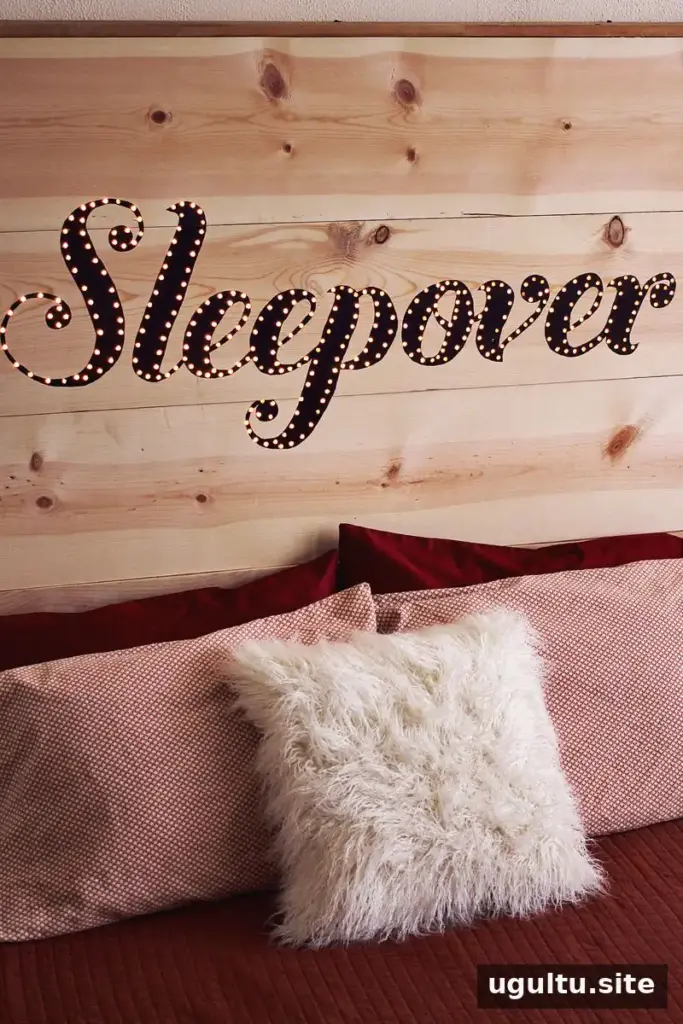
A DIY light up headboard can add a playful marquee-style feature to a guest bedroom. This project combines a simple wooden frame, a painted word or phrase, and more than 300 Christmas lights. Plan the design and electrical layout before you begin, and follow the light manufacturer’s safety instructions throughout.
The original project was created by Elsie and Emma. Its straightforward shape makes it adaptable: choose a short message that suits the room, then adjust the lettering and light placement to fit your bed.
How to Build a DIY Light Up Headboard
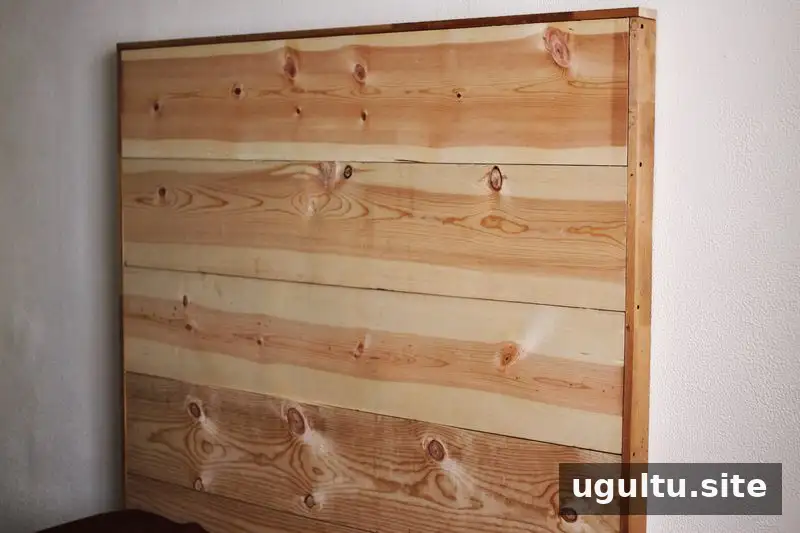
Start by making a tall, simple headboard with space behind it to conceal the light wiring. The frame should be sized to suit the bed and positioned so the lights and cords can be arranged without being trapped or exposed.
Build the wooden frame
Use six thin planks, each approximately the same length as the bed. Join them with two long 2×4 boards placed across the back. Add a frame along the top and both sides using 1×4 boards. Check that the planks are secure and the assembled headboard is stable before moving on.
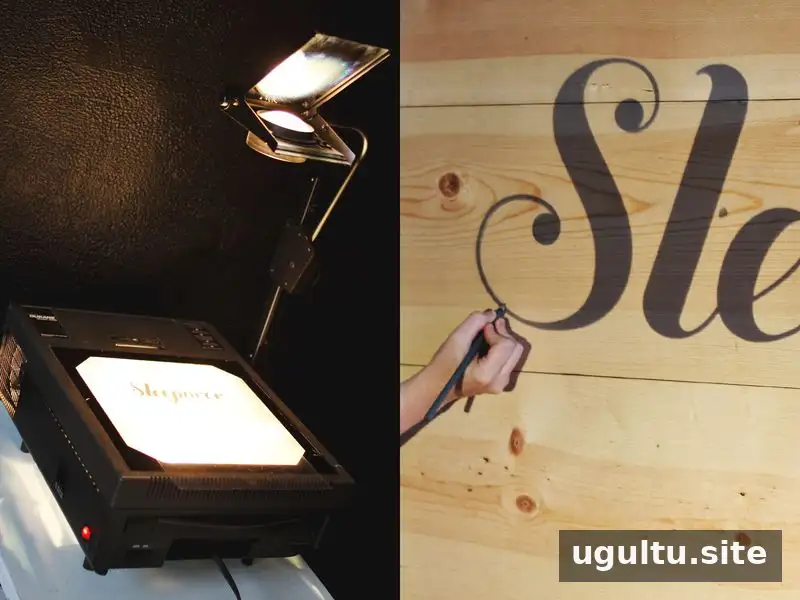
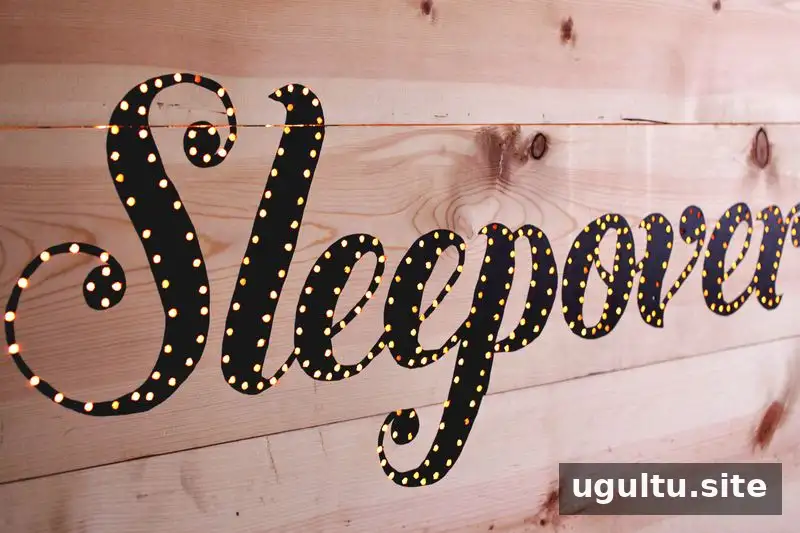
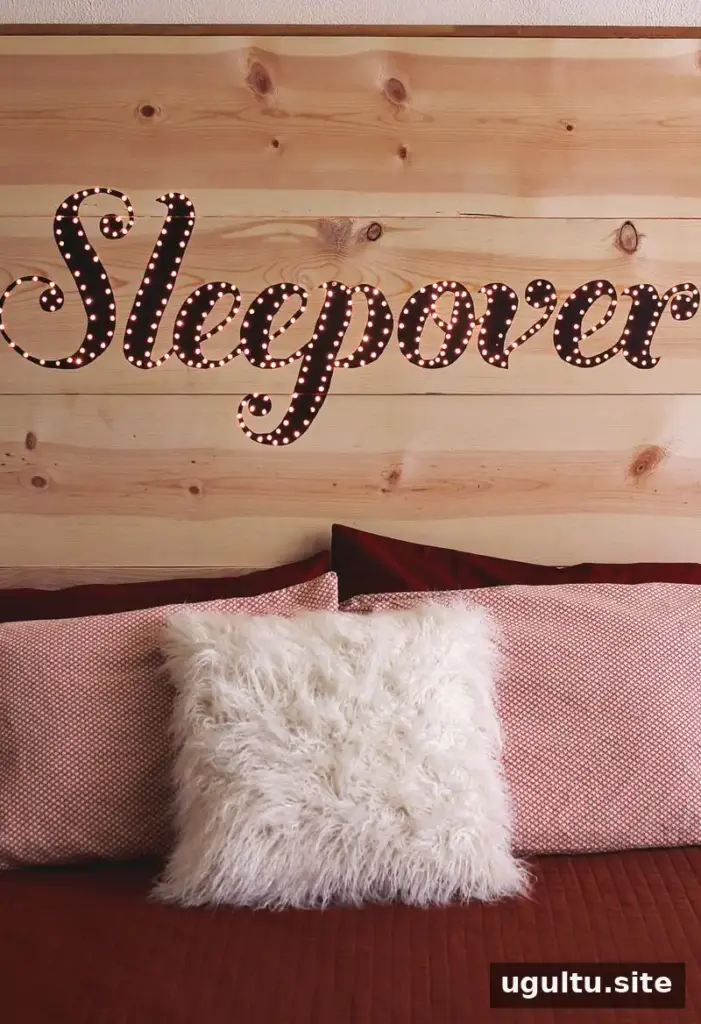
Use a projector to trace your chosen word onto the front of the headboard. The original design used “Sleepover”; other ideas considered included “Good Night,” “Welcome,” and “Sweet Dreams.” A font called Buttermilk was used for the lettering. Choose a word that is easy to read from across the room, and test its size and position before drilling.

Mark and drill the light holes
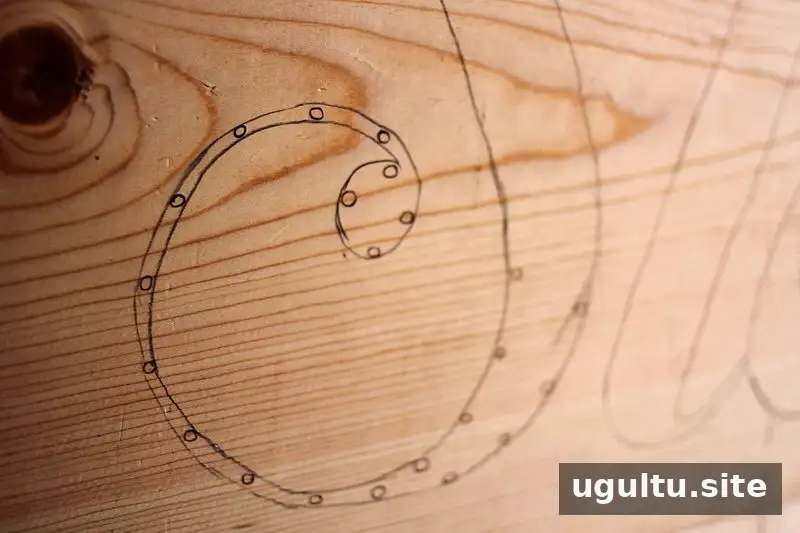
Plan where each light will sit along the traced design. Aim for even spacing, while allowing yourself to adjust individual positions to suit the shape of the letters. Mark the locations clearly so you can review the layout before making any holes.
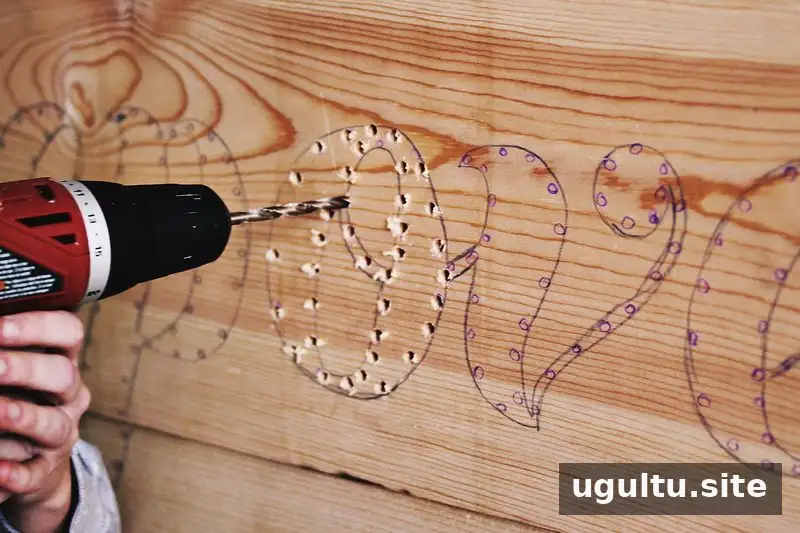
Test a few hole sizes on a scrap piece of wood and select a drill bit that fits the lights appropriately. Drill carefully through the headboard, protecting the wall and work surface behind it. A stable work area and controlled drilling help prevent damage to the board or surrounding surfaces.
Sand, paint, and install the lights
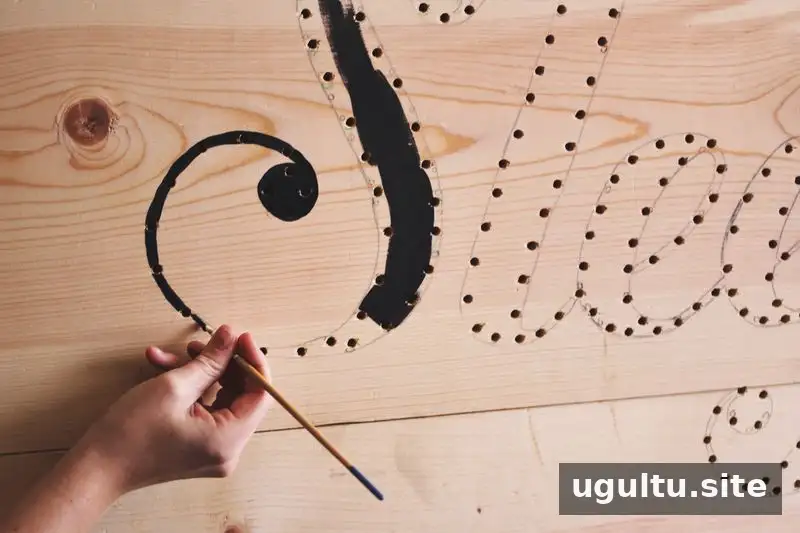
After drilling, sand the surface and remove dust before painting. The original headboard was painted black. Let the paint dry fully according to its instructions before installing the lights; this helps keep the finish clean and avoids handling a damp surface.
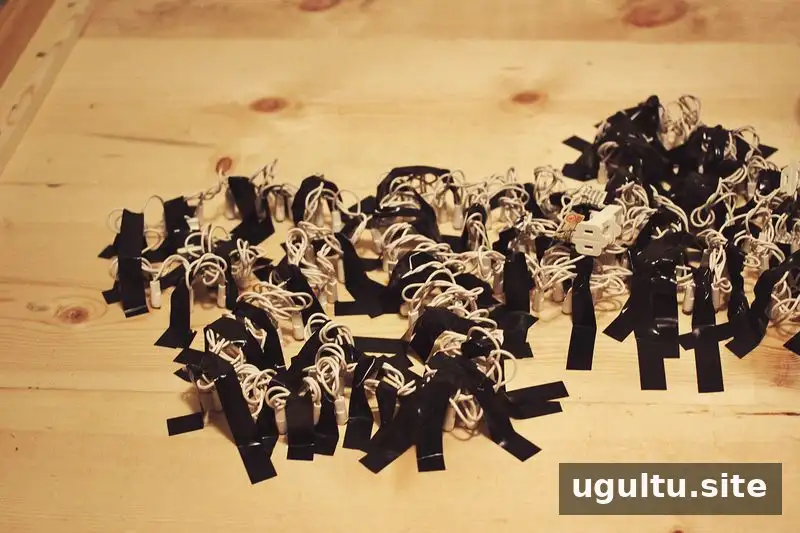
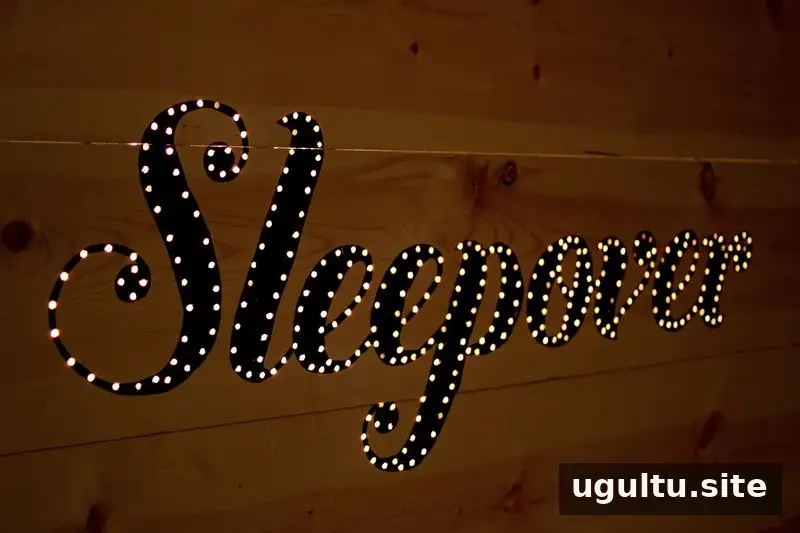
Once the paint is dry, push the Christmas lights through the holes and secure them from behind with electrical tape. The original design used more than 300 lights. Depending on the distance to the outlet, an extension cord may be needed. Keep wiring orderly and avoid leaving bundles of cords exposed.
Light and Electrical Safety
A well-planned light-up headboard can make a guest room feel welcoming, but electrical safety should come first. Before using the finished piece, check the lights and their instructions, and keep these precautions in mind:
- Choose lights that carry a label from an independent testing laboratory. Use lights intended for indoor use in a bedroom.
- Do not use a light strand with worn or damaged cords, loose bulbs, or broken lights. Follow the manufacturer’s instructions about how many strands may be connected safely.
- Keep the wiring concealed and tidy, with only the final cord or extension cord routed to the outlet.
- Turn the lights off before leaving home or going to sleep, just as you would with other decorative lights.
- Unplug the lights while working on the headboard, and inspect the completed setup before use.
With careful measuring, evenly spaced holes, and suitable indoor lights, a DIY light up headboard can become a distinctive feature in a guest bedroom. Take time to check the frame and wiring, and always follow the light manufacturer’s safety guidance.


