admin
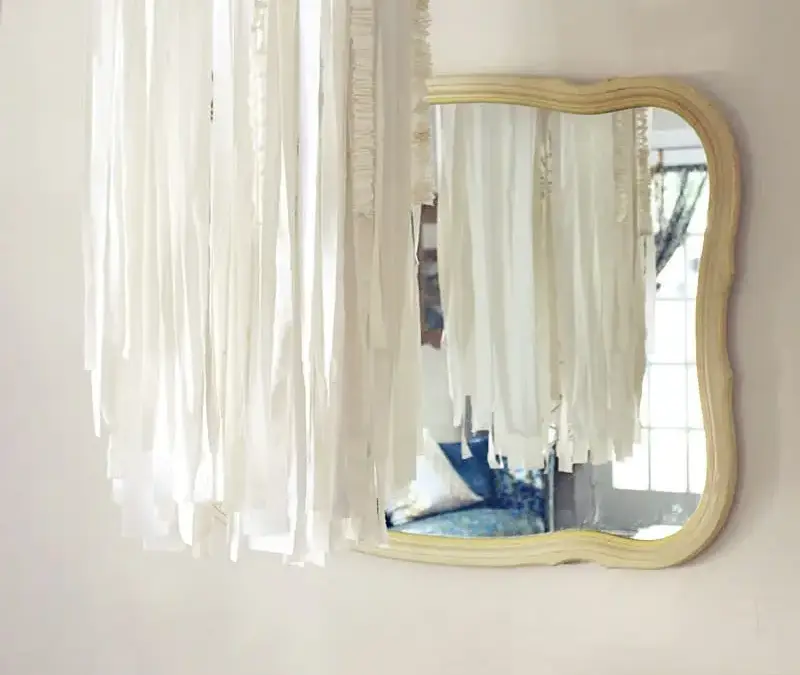
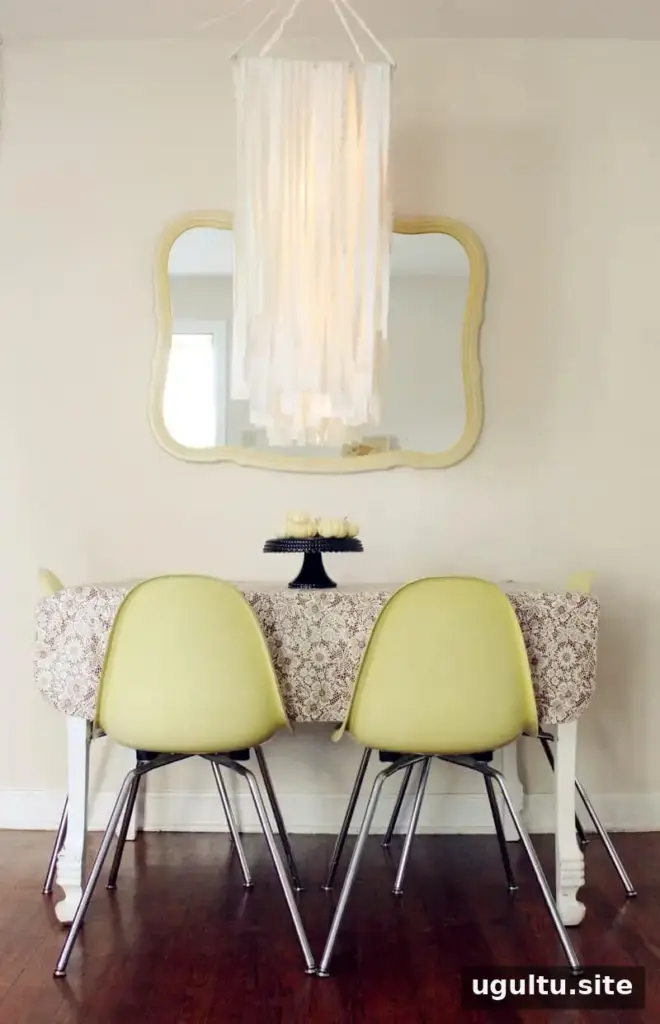
A DIY fabric garland chandelier can turn a few craft supplies into a colorful focal point for a dining area, reading nook, or party backdrop. This project uses a wire cooling rack as its base, layered fabric strips for texture, and twinkle lights for a gentle glow. Plan where you want to hang it before you begin so you can choose suitable dimensions and a safe route for the cord.
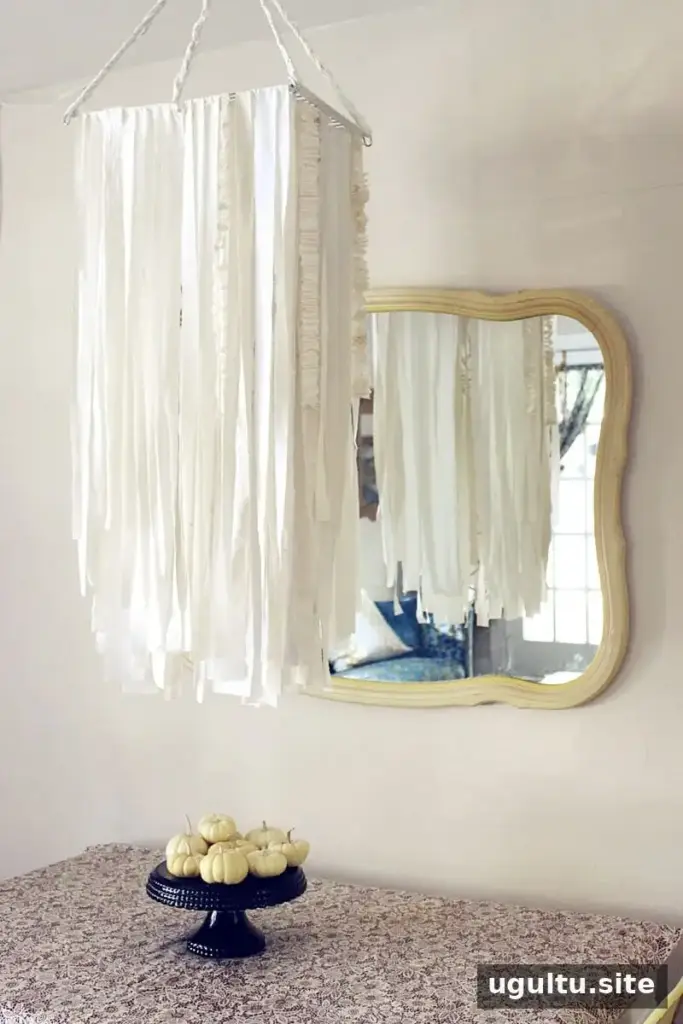
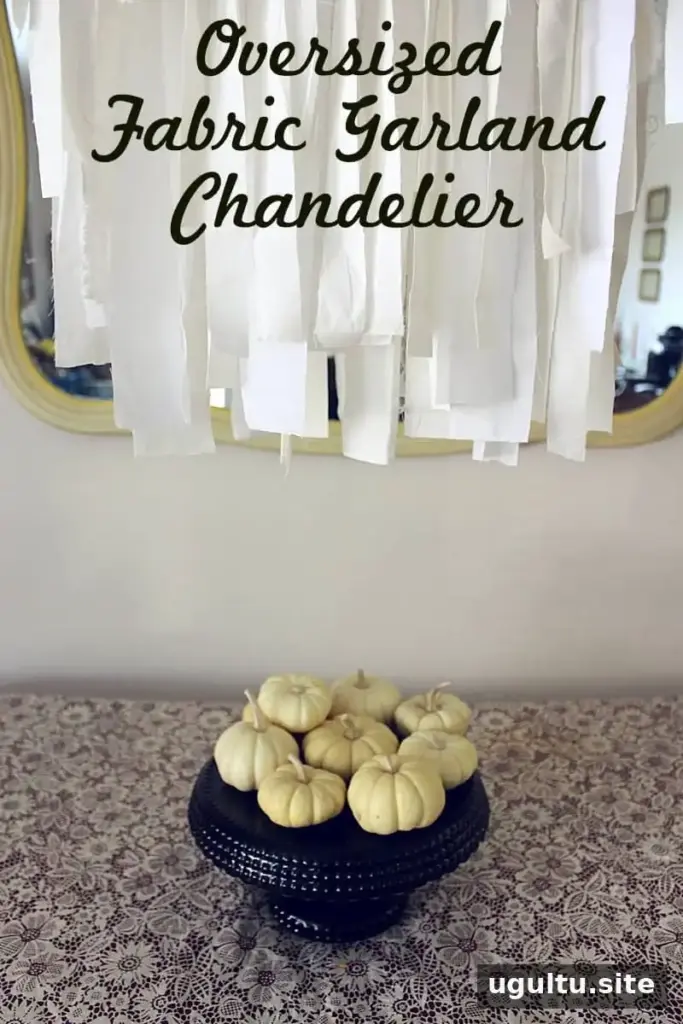
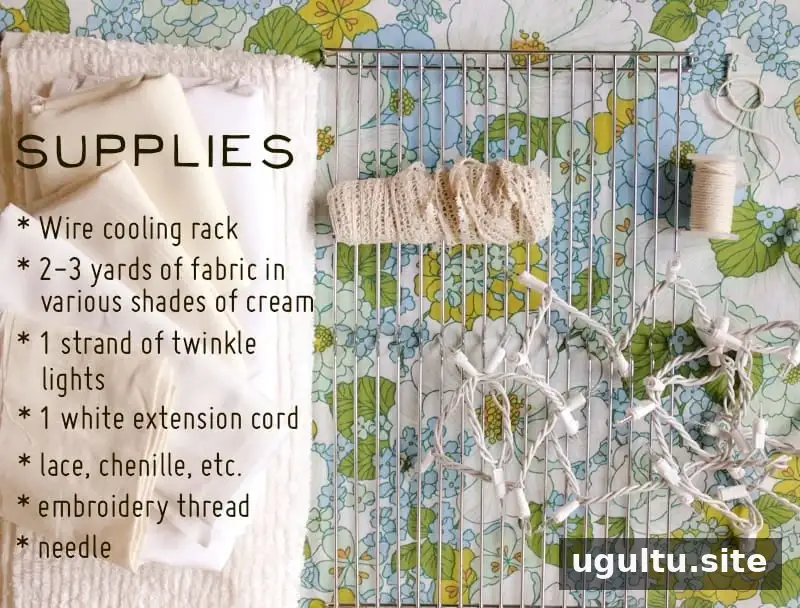
Materials for a DIY Fabric Garland Chandelier
Gather the following supplies before starting. Fabric in different shades adds visual depth, while lace and chenille can bring extra texture.
- 1 wire cooling rack
- 2–3 yards of fabric in different shades
- 1 strand of twinkle lights
- 1 white extension cord
- Lace and chenille
- Embroidery thread and a needle
- Two hooks that screw into a wall
- A drill
Check that the light strand and extension cord are in good condition. Keep fabric away from bulbs that become hot, and follow the lighting manufacturer’s instructions.
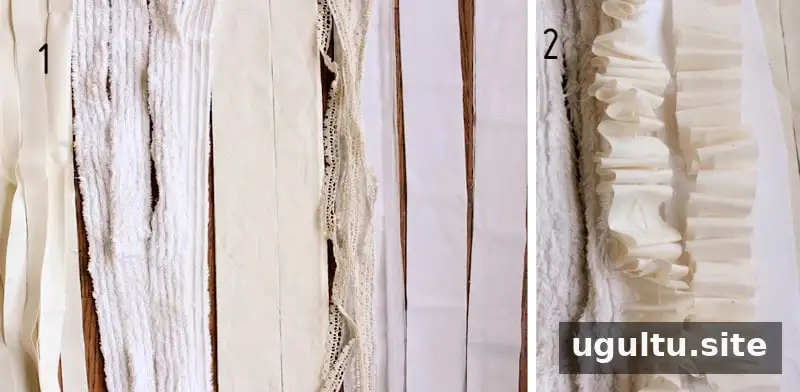
Make the Fabric Garland and Cover the Rack
-
Cut fabric into strips of varying widths, from 1/2 to 2 inches. Mixing widths creates a fuller, more dimensional look.
-
To make textured strands, loosely stitch through fabric strips with embroidery thread. Bunch the fabric, tie a knot, and spread the pieces evenly along the thread. Leave enough thread at one end to tie the strand to the cooling rack.
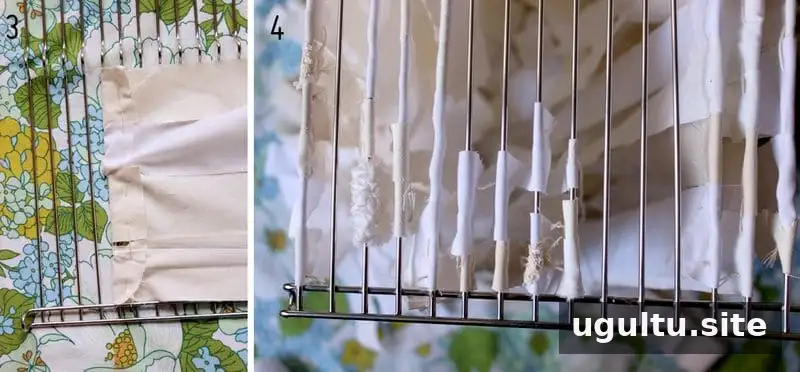
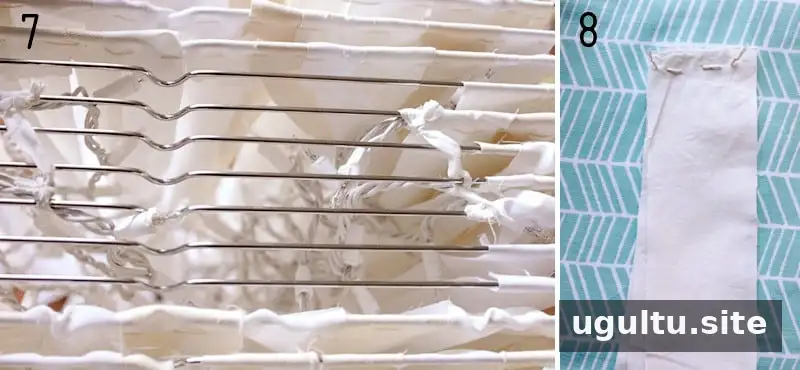
Starting about five rows in from the outer edge, fold the short ends of the fabric strips over the rack and hand-stitch a complete row. Vary the shades and widths. Use more wide strips in the inner rows to help cover the lights and create density. Tie off each row and trim the thread. Continue until the outer five rows on each side are covered; use more narrow strips along the outer row.
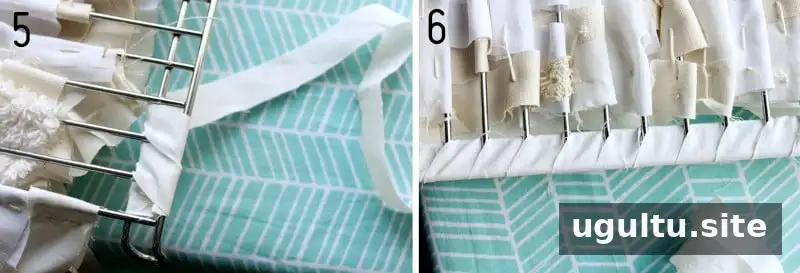
On the middle rows, add three or four strips at each end, leaving a large opening in the center for the lights to hang. Include a few narrow strips to fill out the edges. For a neat finish, wrap a thin fabric strip around the rack’s exposed metal edge and stitch it in place at both ends. Repeat on the other side.
Add the Lights and Hanging Strands
Carefully attach the twinkle lights, beginning with the plug near a back corner. Tie the strand near the top with a narrow fabric strip, then secure it in three or four places so the lights hang down without extending below the fabric. Avoid pinching or tightly bending the light wire.
Cut four fabric strips measuring about 2.5 inches apart, then stitch them together at one end as shown. Pull one strand through a corner and braid the remaining strips together to form one of the four hanging supports.
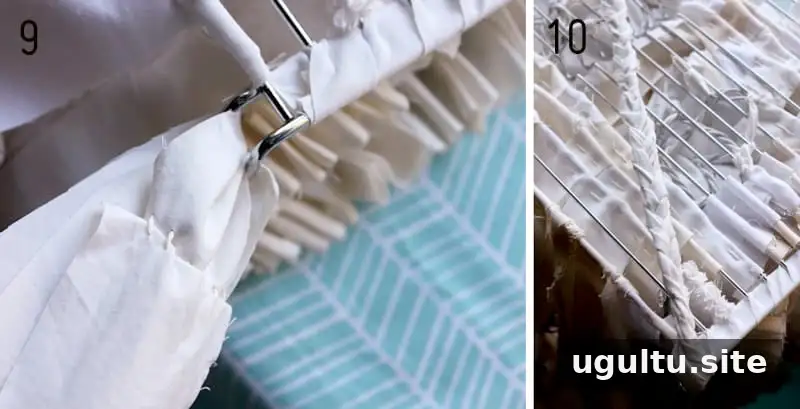
Repeat to create the hanging strands at the corners. Chain can be used instead of fabric, but a fabric strand can help disguise the extension cord. Connect the extension cord to the light strand and braid it alongside the fabric strand at that corner. Bring all four strands together, adjust them to equal lengths, and tie them in a large knot.
Hang and Finish the Chandelier
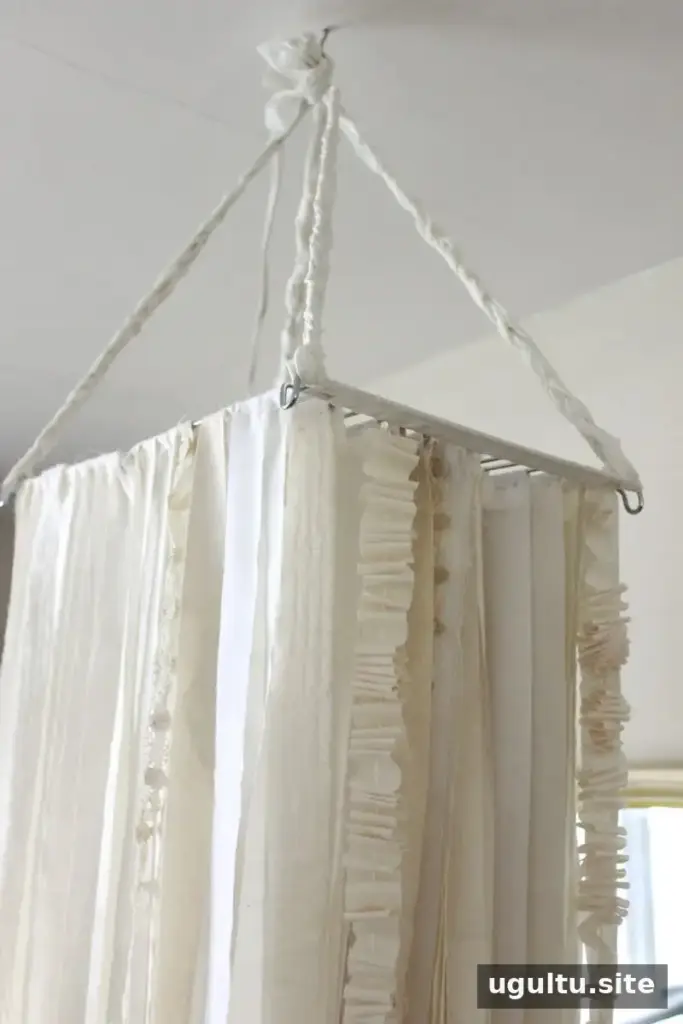
Drill a pilot hole and install a strong ceiling hook where you want the chandelier to hang. A second hook above a wall socket can guide the extension cord and keep it from dangling freely. Make sure the ceiling and hooks can safely support the finished piece before hanging it. Keep the cord clear of walkways and follow the light manufacturer’s safety guidance.
Plug in the lights and trim the fabric strands to the height you prefer. During the day, the finished piece can soften a dining area; in the evening, its lights add a warm accent. The DIY fabric garland chandelier works best when its fabric, lights, and hanging position are planned together. Designed by Rachel.