
 admin
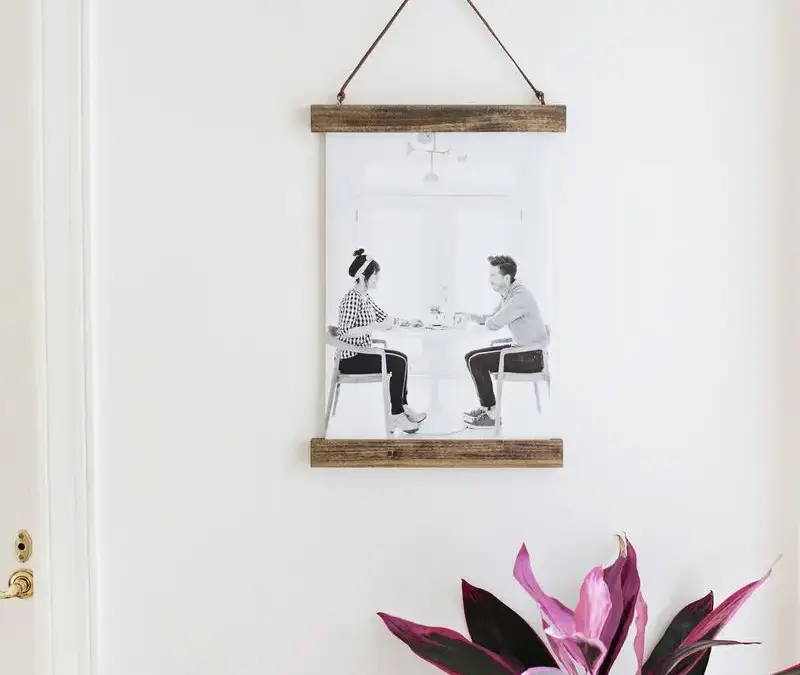
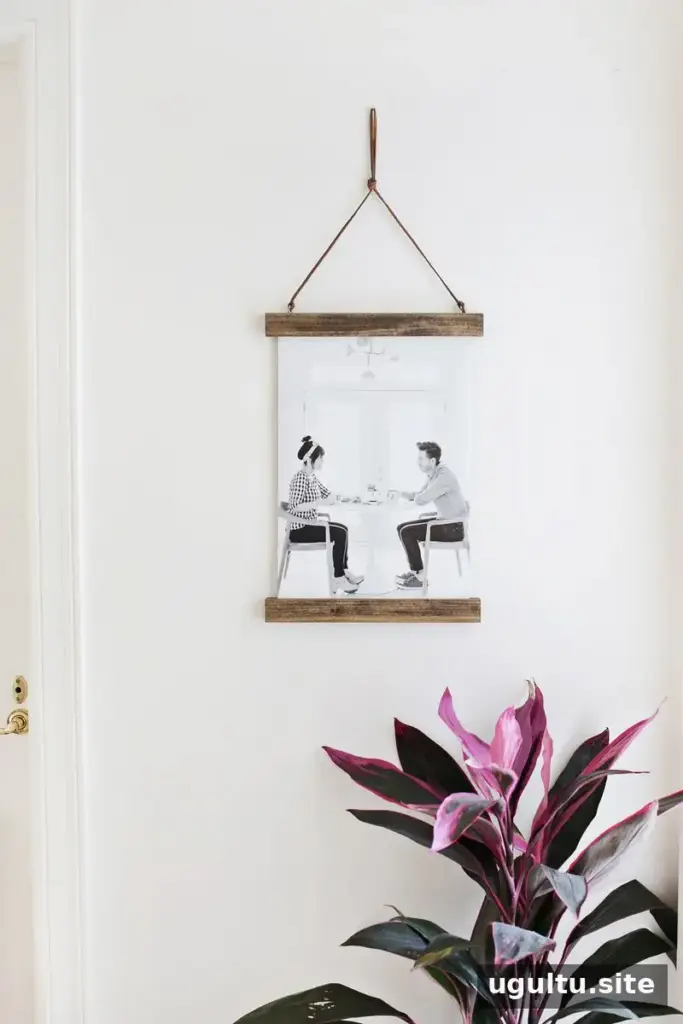
A DIY poster hanger is a simple way to display a large photograph or art print without building a traditional frame. Made from four narrow wood strips, screws or nails, and a hanging cord, this project can be customized with stain or paint to suit your space. Choose a print size that fits your available wood, and prepare a flat work surface before you begin.
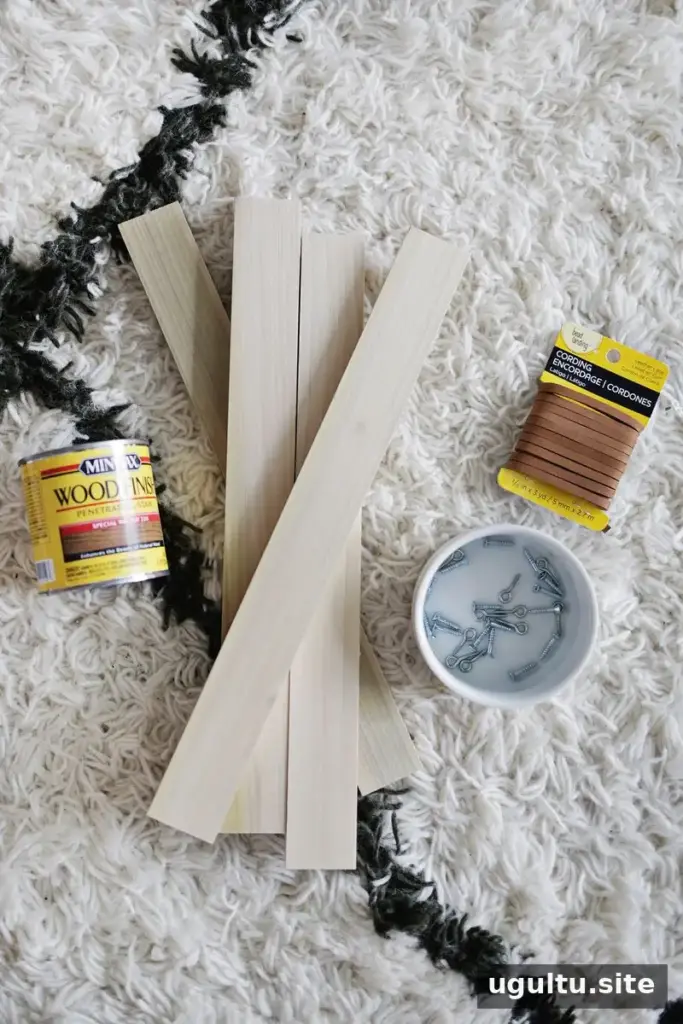
Materials and tools
- Four wood strips, each 14 inches long, 1 1/2 inches wide, and 1/2 inch thick. Have them cut at a home improvement store or cut them to size with a jigsaw.
- 3/4-inch wood screws or nails
- Two small eye screws
- Wood stain and rags, or paint
- Leather cord
- Canon PIXMA iP8720 printer, if printing your own artwork
Check that the four pieces are the same length so the top and bottom bars line up evenly. If cutting the wood yourself, use appropriate eye protection and secure each strip before cutting.
How to make a DIY poster hanger
1. Print and prepare the poster
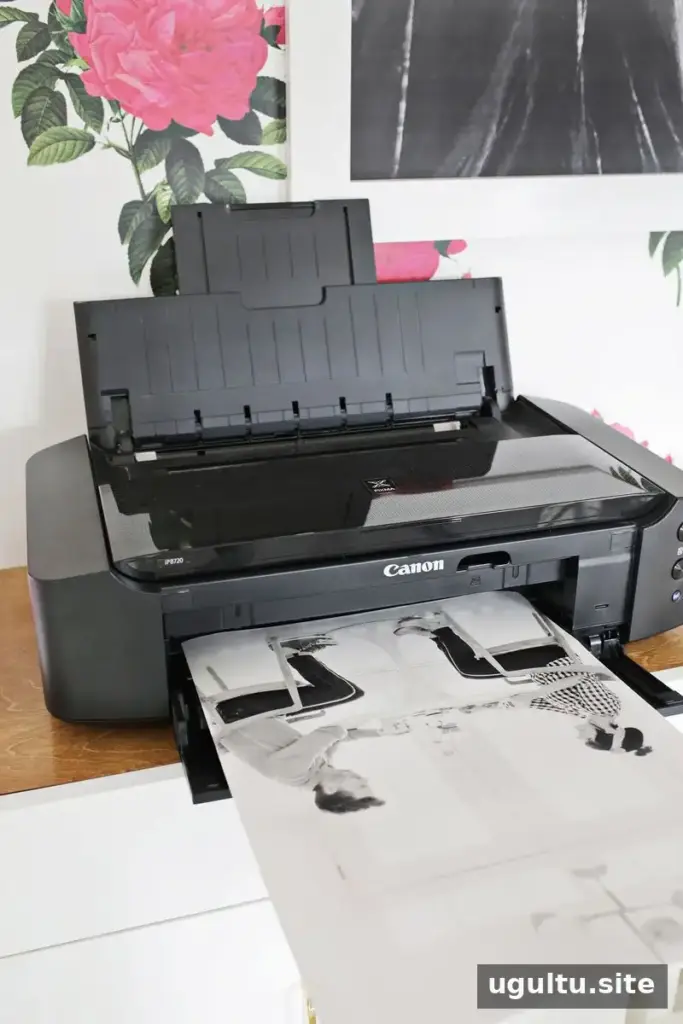
Print your photo or artwork to the desired size. A 13 × 19-inch print was used for this project. To make the most of the paper and print area, select borderless printing if your printer and paper support that option. Let the print dry fully before handling it, especially if it uses ink that may smudge.
2. Stain or paint the wood
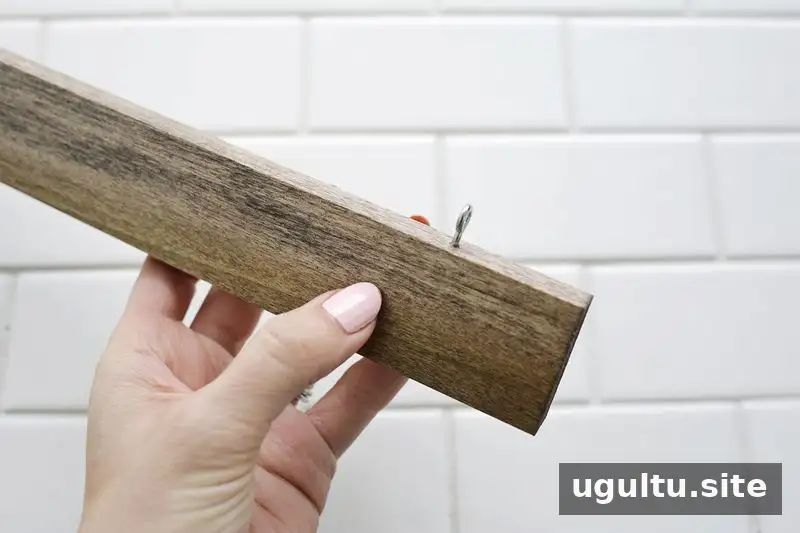
Apply wood stain with a rag, adding coats as needed to reach the color you want. Painting the strips is another option. Follow the finish instructions and allow the wood to dry before assembly. Set aside two strips for the bottom bar and two for the top.
On the back strip of the top bar, install two eye screws, positioning each about 1 1/2 inches in from an end. Making small pilot holes first can help guide the screws and reduce the chance of splitting the wood.
3. Attach the bottom bar
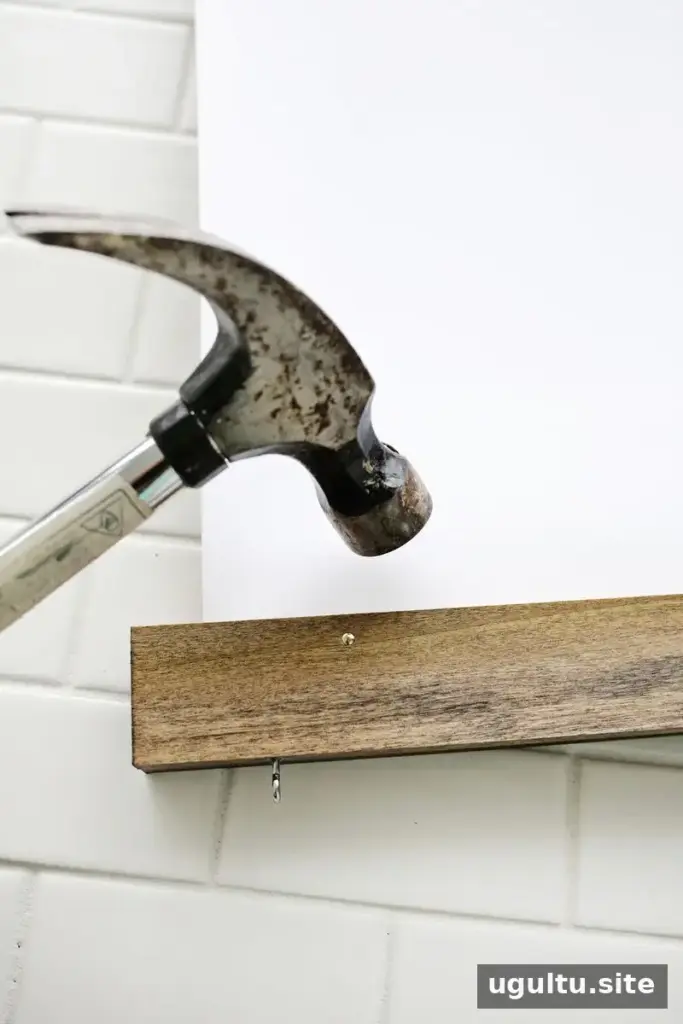
Place the poster face down and sandwich its bottom edge between the two strips reserved for the lower bar. From the back, use three nails or screws to fasten the pieces together. Position the fasteners so they pass through the poster as well as the wood; this helps keep the lower bar attached when the poster is lifted.
Nails make a more permanent assembly. Choose screws if you may want to take the hanger apart later and replace the artwork. Tighten carefully to avoid damaging the print or splitting the wood.
4. Secure the top and add the cord
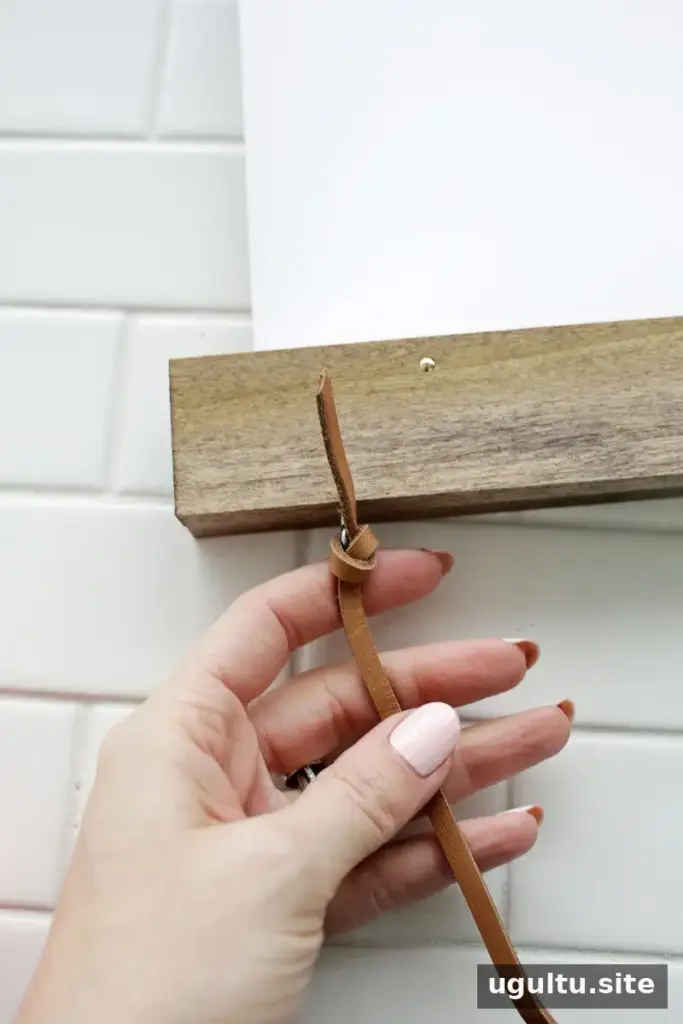
Repeat the sandwiching and fastening process with the top edge of the poster and the remaining two wood strips. Tie a length of leather cord to the eye screws to form a hanging loop. Before placing the hanger on a wall, check that the cord knots are secure and the poster hangs straight.
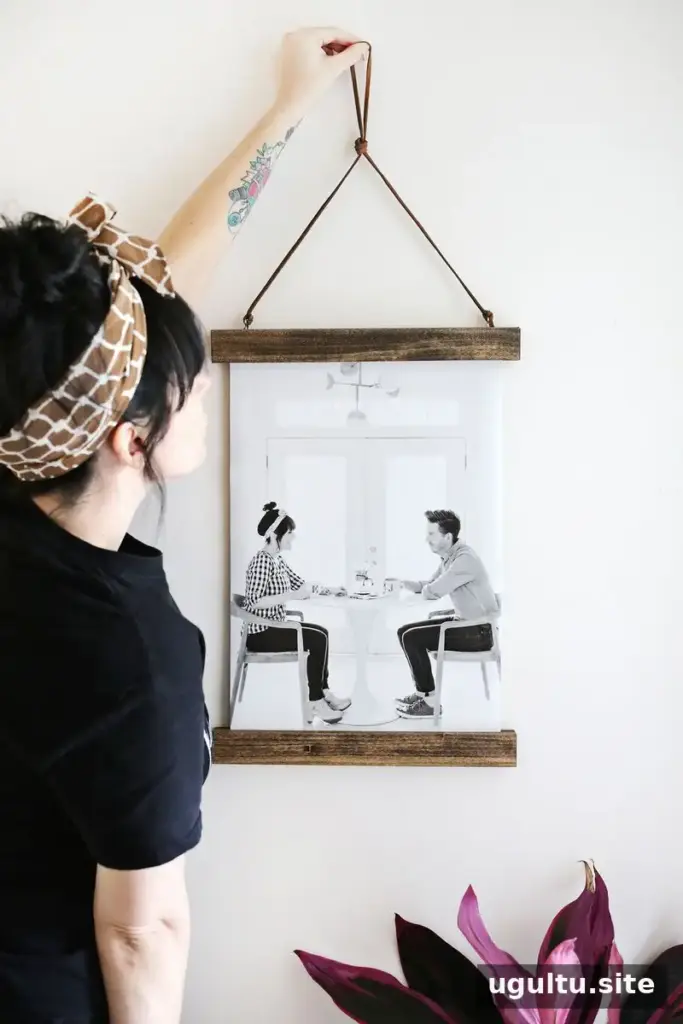
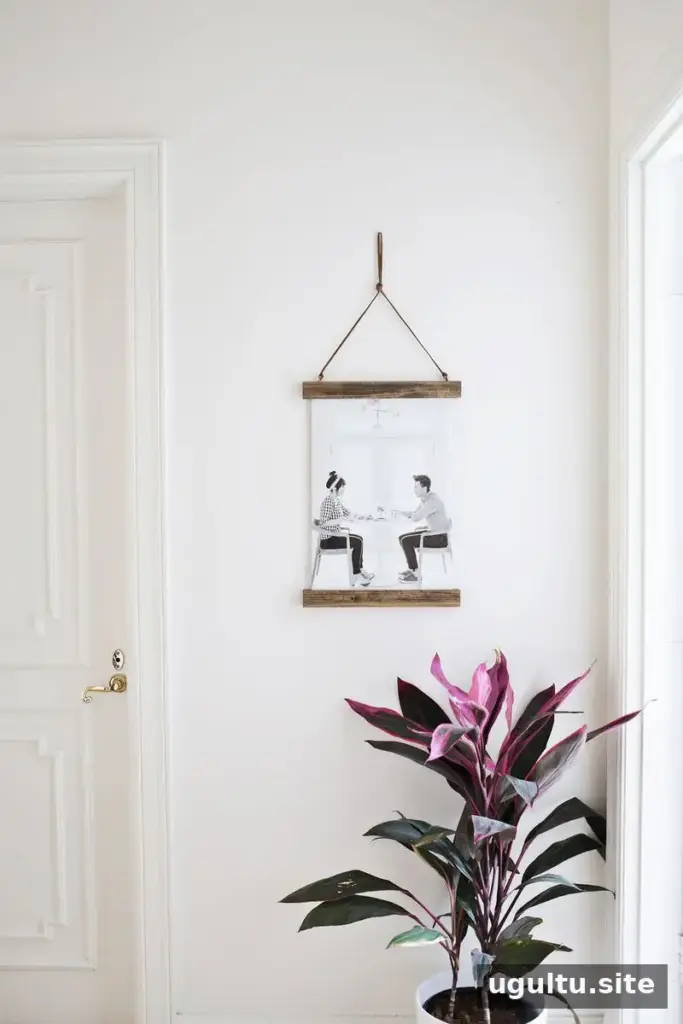
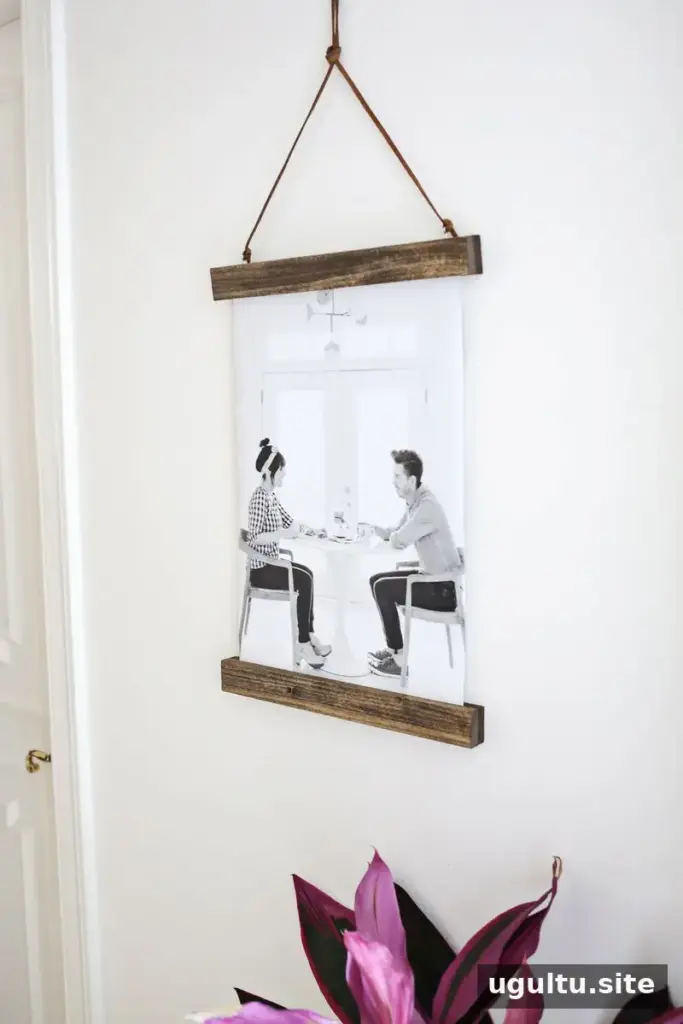
This design can be made in a row of three for a hallway or customized with different paint, stain, and cord colors. For a balanced display, use prints with matching dimensions and measure the spacing between hangers before installing them.
Make the DIY poster hanger your own
A DIY poster hanger offers a lightweight, adaptable alternative to a conventional frame. Keep the wood measurements consistent, let the finish dry completely, and use screws if you want to change prints later. With those details in mind, you can create a straightforward display that suits your artwork and room.
Author: Elsie Larson. Photography and Project Assistant: Laura Gummerman. Photos edited with A Beautiful Mess Actions.


