
 admin
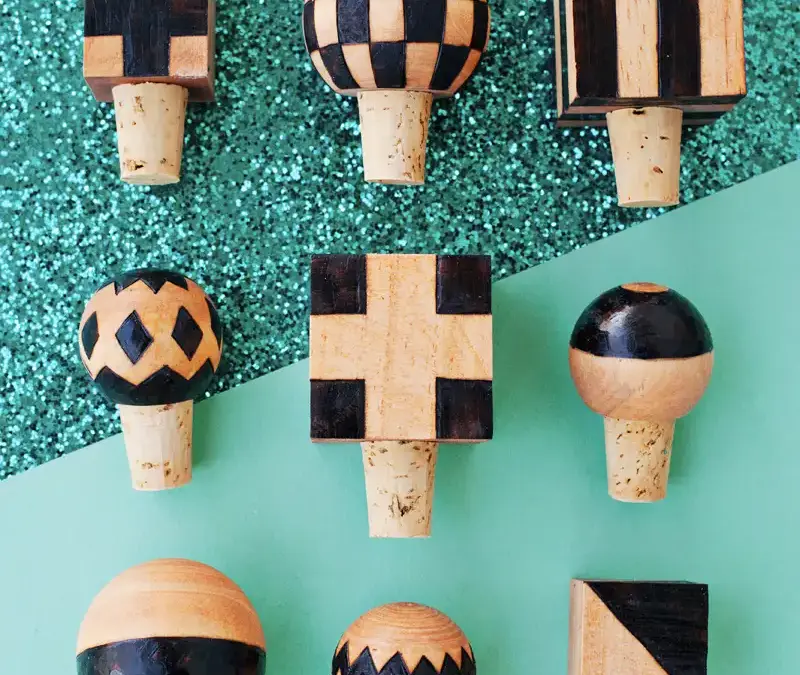
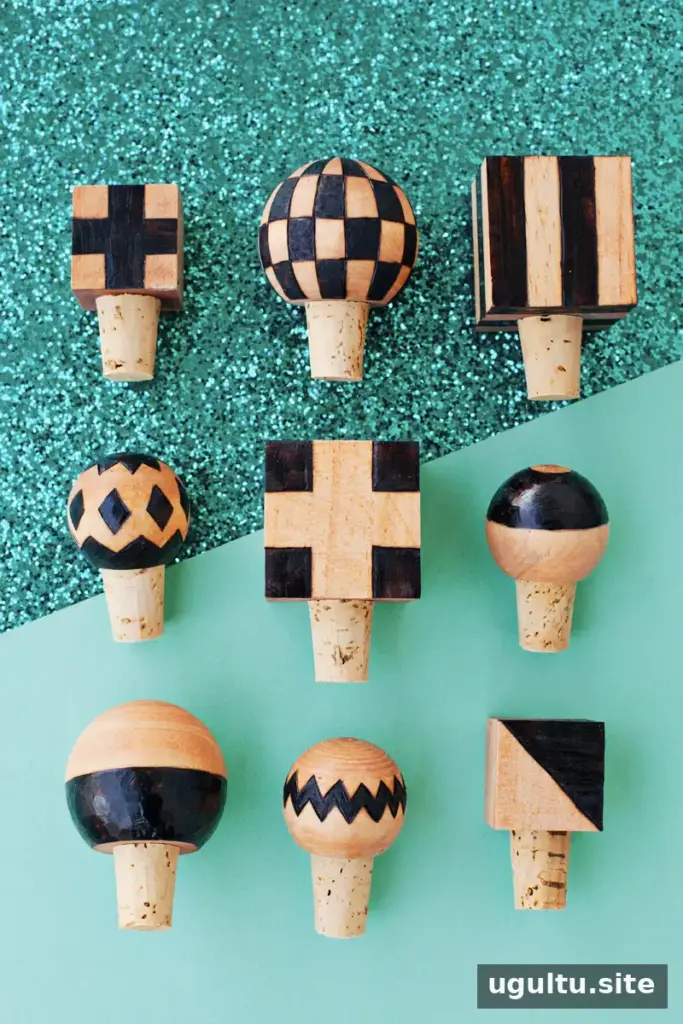
DIY wood burned bottle stoppers are an easy way to give a collection of mismatched bottles a more coordinated look. With wooden blocks or knobs, corks, and a wood burning tool, you can create a set in designs that suit your home or make thoughtful handmade gifts.
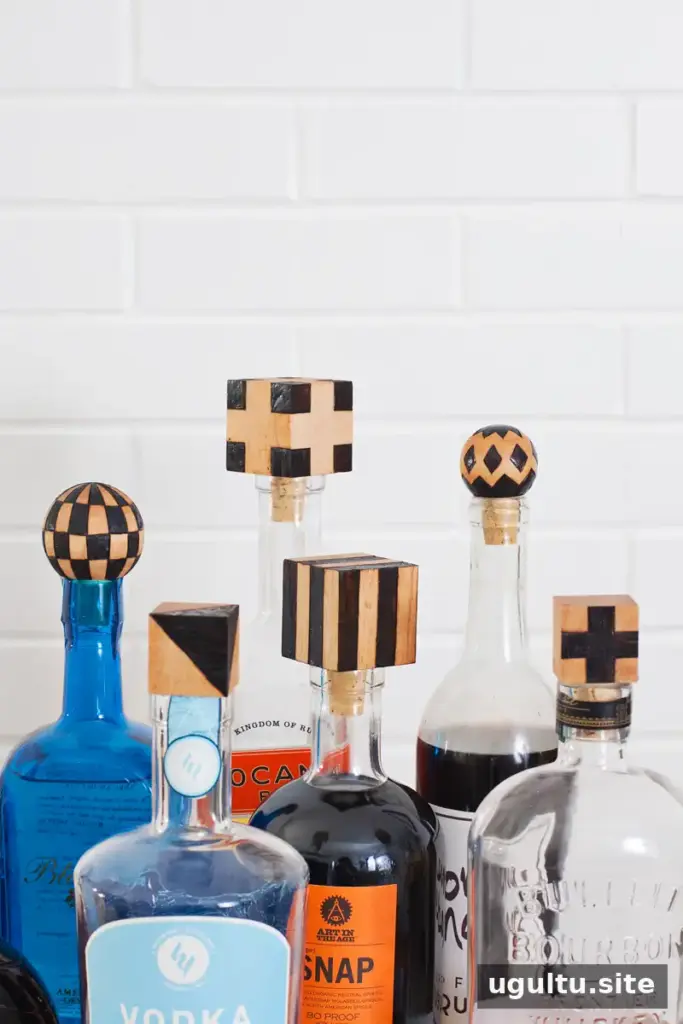
Unlike a full set of matching decanters, custom stoppers let you keep the original bottles while adding a decorative detail. Each piece can have its own pattern, while consistent materials and finishes help the set feel unified.
How to Make DIY Wood Burned Bottle Stoppers
Wood burning adds a dark, textured design to the wooden top. If you do not have a wood burning tool, paint is an alternative, although it will create a different finish. Before starting, choose a cork that fits the bottle opening and a wooden top that can sit securely on it.
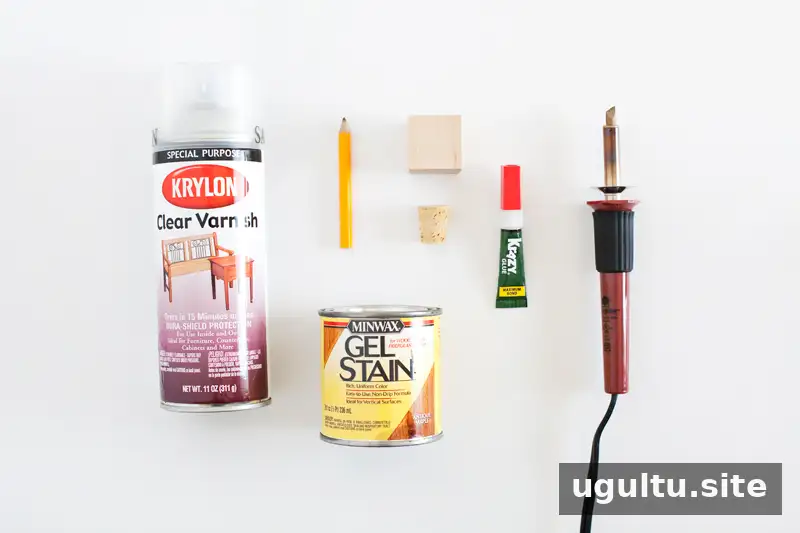
Supplies
- Wood blocks or knobs
- Corks
- Super glue
- Wood finish, stain, or oil of your choice
- Pencil
- Wood burning tool
Step 1: Draw the design
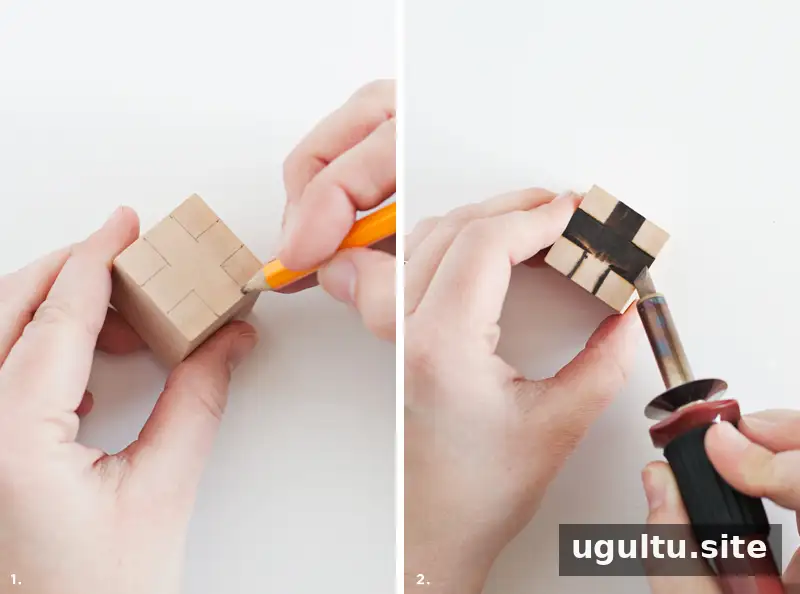
Sketch a pattern on the wooden block or knob with a pencil. Use a ruler for straight lines or draw freehand. Keep the pencil marks light so they are easier to erase if they remain visible after burning. A simple motif is often easier to trace evenly, especially if this is your first time using a wood burner.
Step 2: Burn the pattern
Trace the pencil lines with the heated tool. To darken larger areas, move the edge of the tool slowly across the wood. Outlining typically takes less time than filling in shapes, so work patiently and use steady strokes. Wood burning marks are permanent, so test the tool on a scrap piece of wood first if available.
Burning wood can create smoke. Work in a well-ventilated area and avoid leaning close to the surface, as smoke may irritate your eyes. Safety goggles can offer additional protection. The tool becomes extremely hot: follow its instructions, place it on a heat-resistant stand when not in use, and keep it away from children and pets.
Step 3: Apply a wood finish
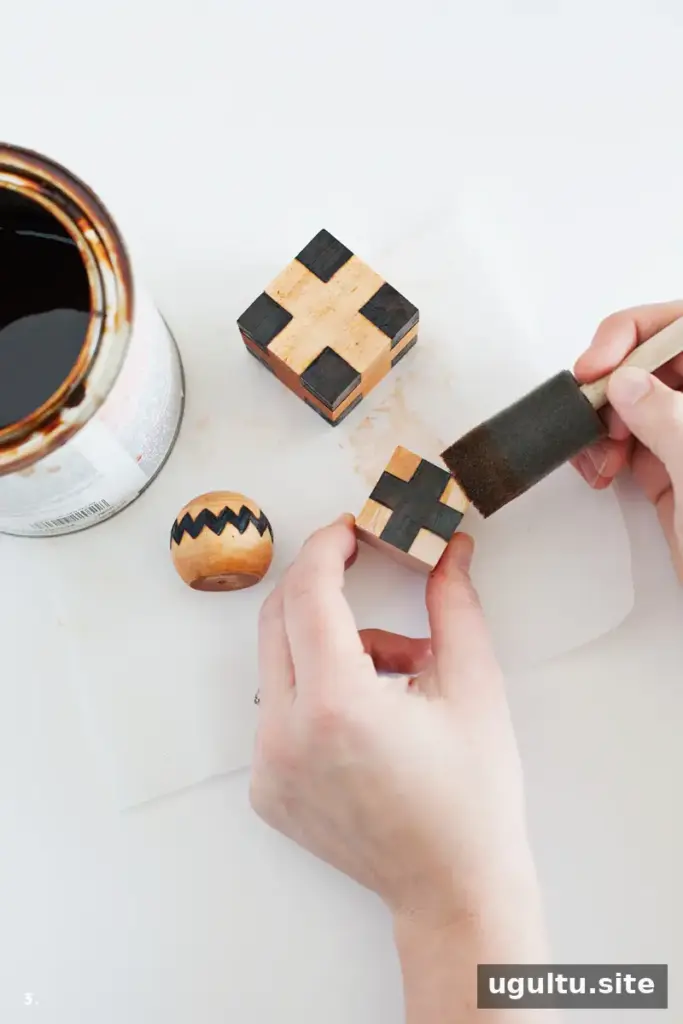
Once the design is complete, apply your chosen stain, oil, or wood finish according to the product directions. Sealing the wooden top can help protect it from splashes. Allow the finish to dry or cure fully before assembling the stopper, and keep it on the exterior wooden portion rather than the cork that goes into the bottle.
Step 4: Attach the cork
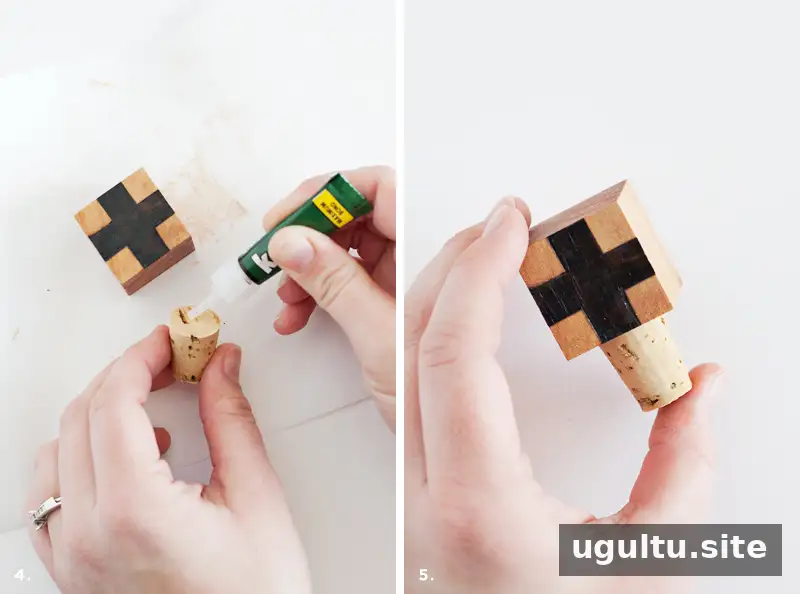
Apply super glue to the wider end of the cork. Center the cork beneath the decorated block or knob, then hold the pieces together for the time specified by the adhesive manufacturer. Let the glue set as directed before using the stopper.
Finishing and Using Your Bottle Stoppers
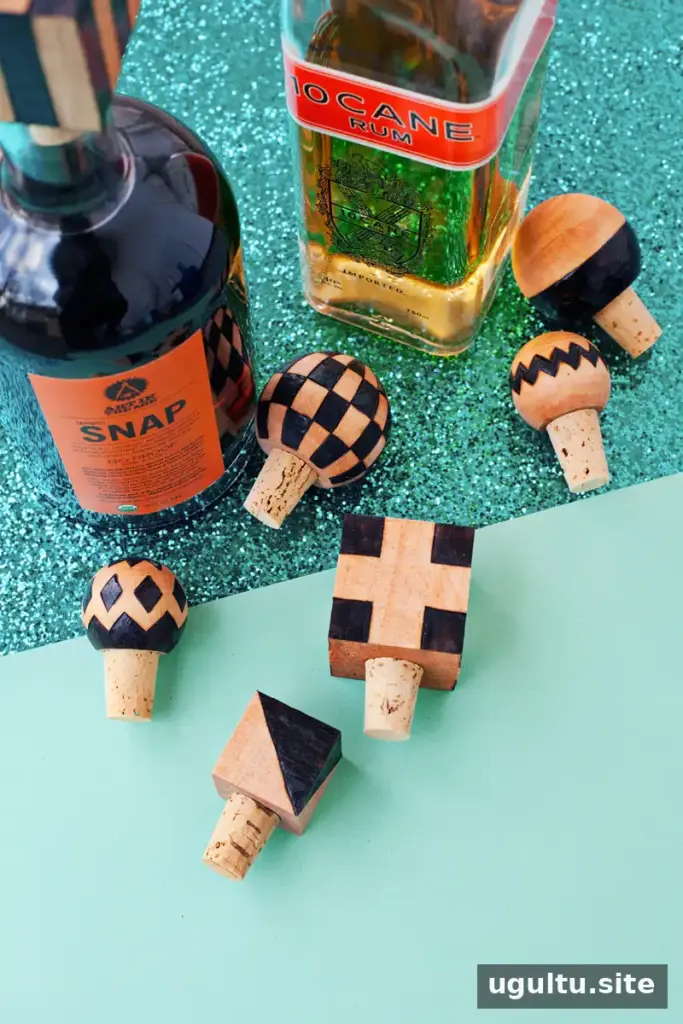
Make several stoppers in complementary patterns or vary the designs for a more eclectic collection. They can be useful as a small handmade present or as an addition to a bottle given for a housewarming. For a polished result, check that each cork is straight and fits its intended bottle snugly without forcing it.
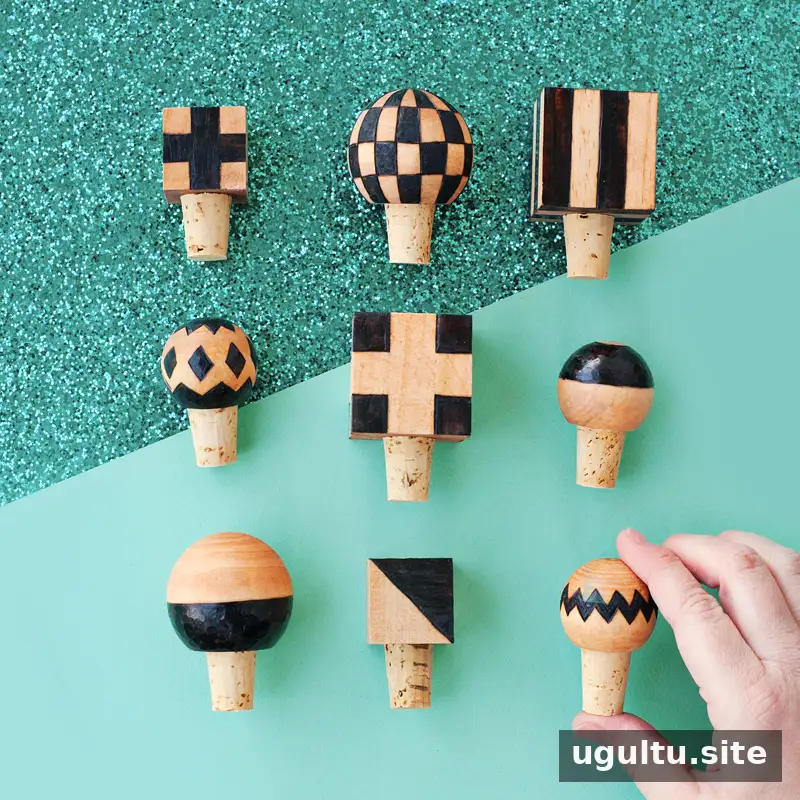
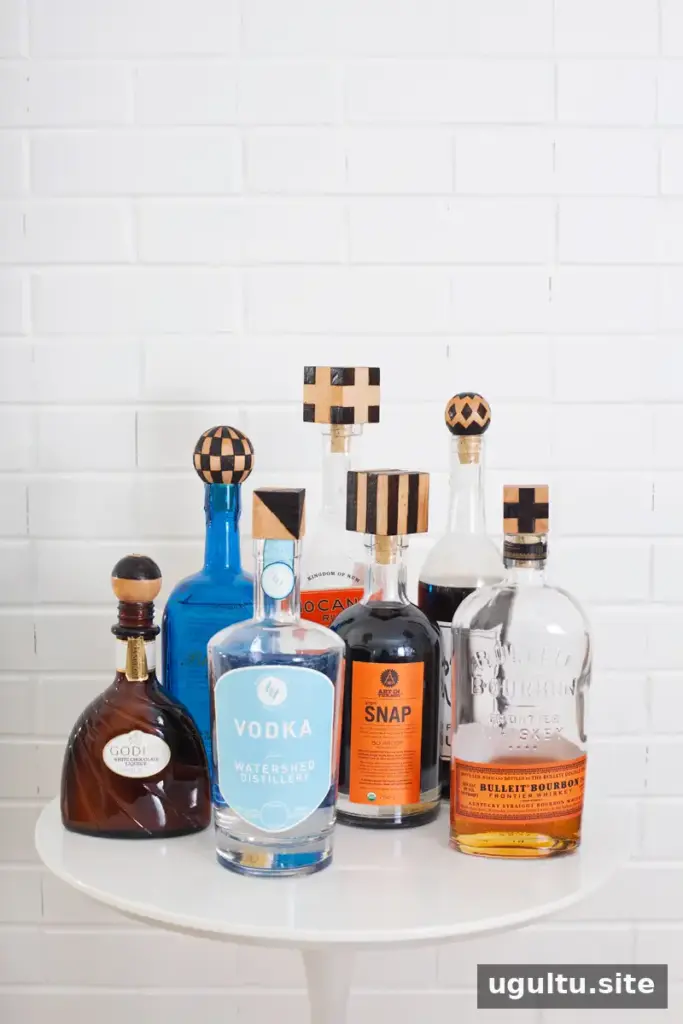
A coordinated group of bottle stoppers can make bottles on a bar or shelf look more intentional while keeping their original labels and shapes visible. These DIY wood burned bottle stoppers are also easy to personalize with simple lines, geometric motifs, or other designs that are manageable to burn by hand.
Project by Mandi


