
 admin
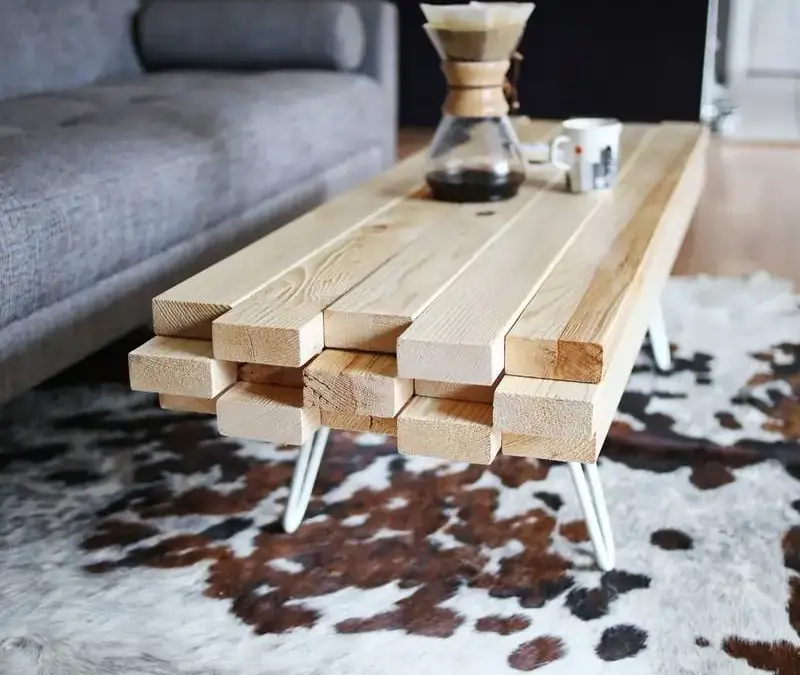
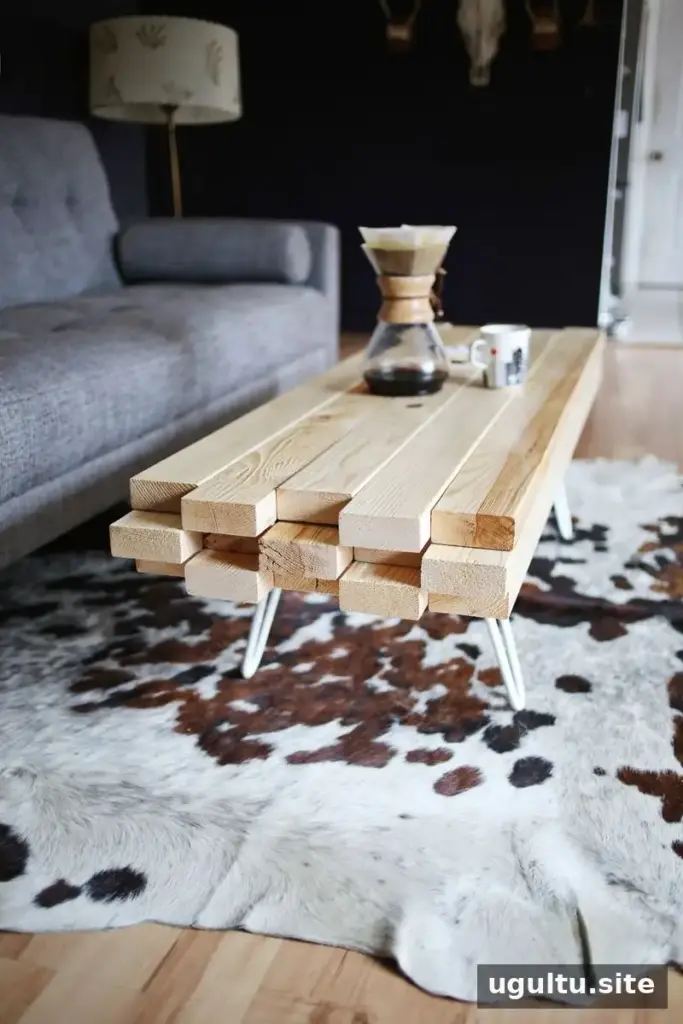
A DIY wooden coffee table made from cut-to-size 2×4 boards is a straightforward woodworking project that can be adapted to suit your room. This design uses staggered boards for a layered look, a hollow center to reduce weight, and either bench-style hairpin legs or four wooden legs. The assembly can take a couple of hours once the boards are ready; allow additional time for sanding and for the protective finish to dry.
Why build a DIY wooden coffee table?
A sturdy wood table can be a practical centerpiece for a living room, and the natural wood color works with many interiors. The board arrangement also gives the table a distinctive stepped edge. Before starting, check that the intended table size and leg placement will work with your sofa and available floor space.
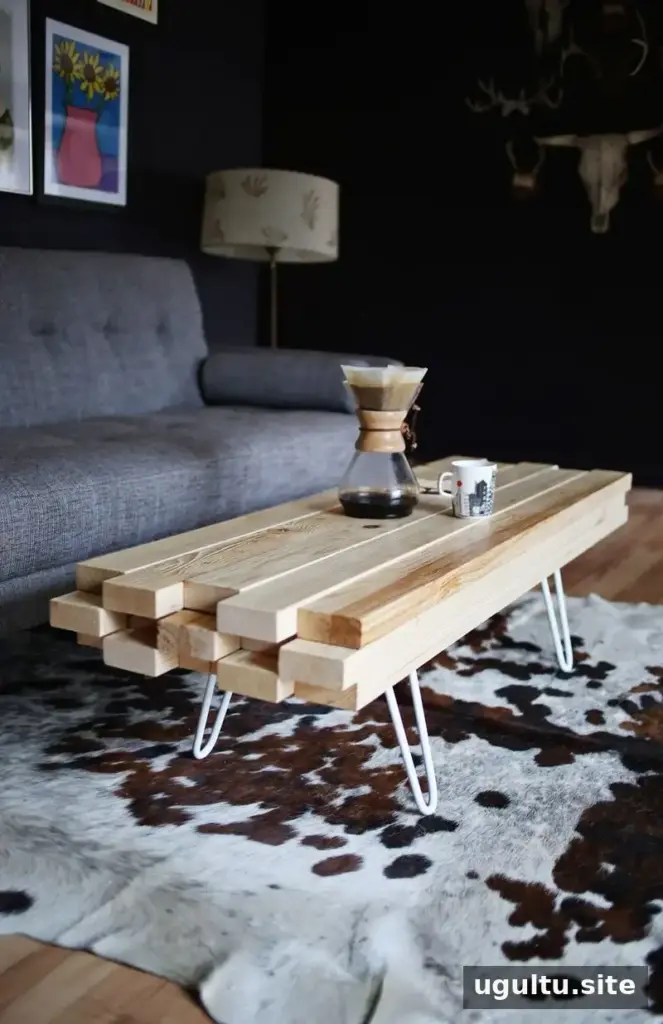
The design is based on a larger 2×4 board table adapted to a smaller coffee-table format. Cutting the lumber to the specified lengths ahead of time can make assembly quicker. If you do not have the tools or experience to cut lumber, ask a lumber supplier or experienced woodworker about preparing the pieces.
Materials and tools
Materials
- 9 boards measuring 55 × 2 × 4 inches
- 12 boards measuring 8.5 × 2 × 4 inches
- 2 boards measuring 13.5 × 2 × 4 inches
- 2 bench-style hairpin legs or 4 wooden legs
- 2.5-inch wood screws; a box of 50 was used, with about half required
- Sandpaper
- Semi-gloss protective finish; the materials list specifies Polycrylic
Tools
- Power saw
- Power drill
- Paintbrush for applying stain, if desired
- Sawhorses, optional
Cut and plan the boards
Cut the 2×4 boards to the listed lengths. Lay the pieces out in the intended final arrangement before fastening them, and mark where the legs will sit. This dry fit helps confirm that the pieces fit together and leaves adequate room for the leg hardware.
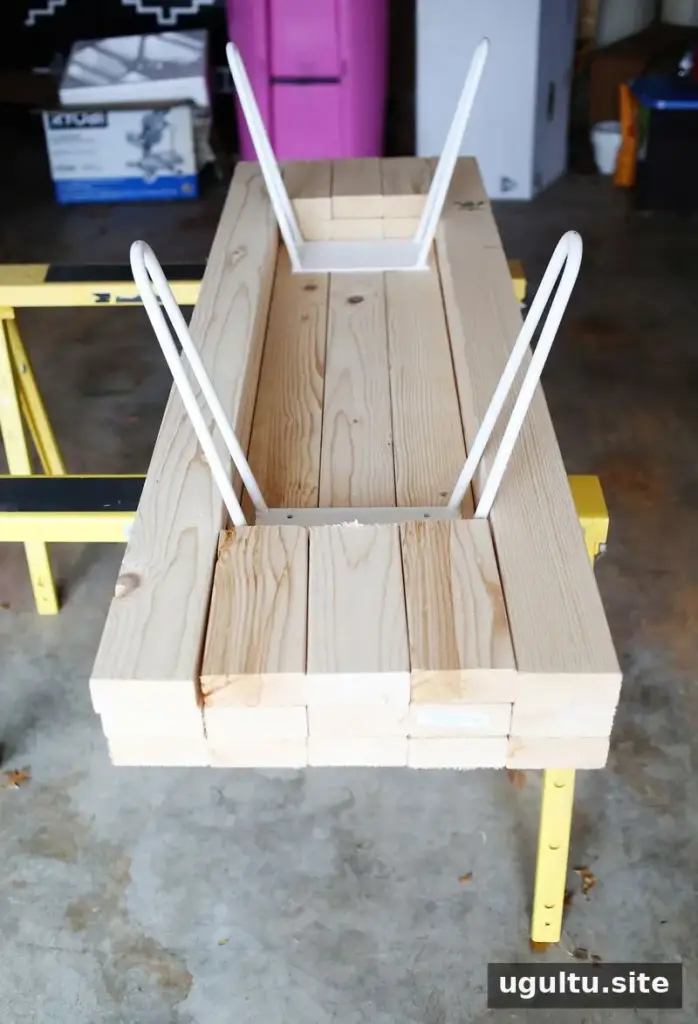
If you want to avoid making cuts yourself, you could ask for the lumber to be cut to size. The original alternative suggested using boards cut to 55 inches and wood glue, but that changes the assembly method. Follow the adhesive manufacturer’s directions and make sure the finished structure is secure before use.
Assemble the table frame
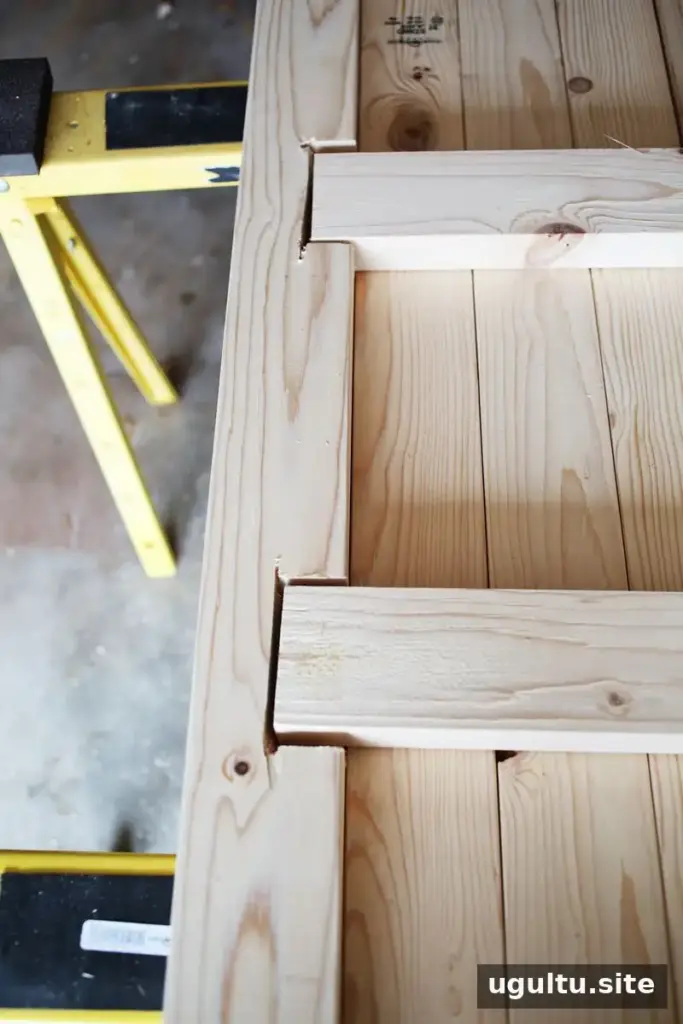
Arrange five of the 55 × 2 × 4-inch boards to form the top layer, choosing the best-looking faces for the visible surface. Offset every other board by 2.5 inches to create the staggered, bundled-board appearance.
To connect the boards horizontally, this design uses crossbeams concealed by the next row. Position the second row of 55-inch boards along the edges, keeping the 2.5-inch stagger. Use the two 13.5-inch boards as guides for marking the notches, and check the fit of the smaller 8.5-inch boards along the vertical edges before cutting.
Mark the notch locations on the second row and leave a little extra space, since these cuts will be hidden. A circular saw, jigsaw, or handsaw and chisel can be used, depending on your tools and skill. Secure the second row and crossbeams with screws. Wear suitable eye and hearing protection when using power tools, and follow the tool manufacturer’s safety instructions.
Fasten the boards and legs
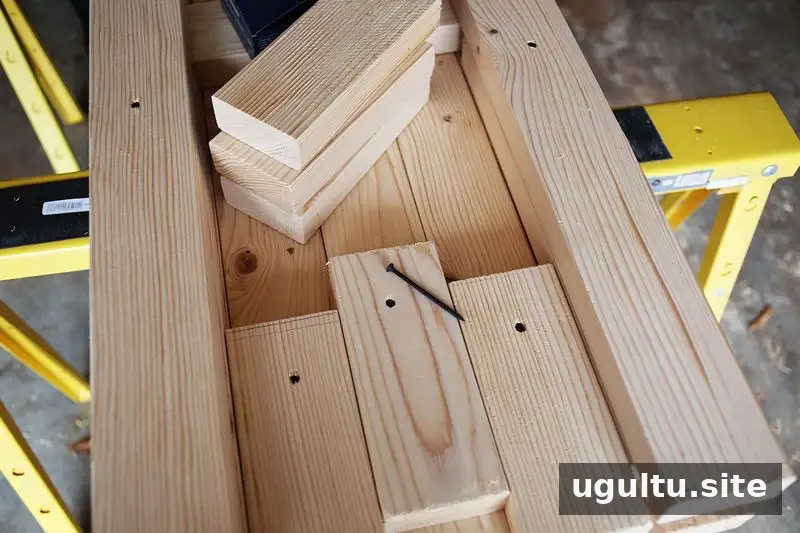
Continue adding the boards layer by layer and screw them into place. Keep the stagger consistent if you want the stepped edge shown in this design. Once the boards are secured, attach the legs according to their installation instructions. Check that the table sits level and that the fasteners are firmly tightened.
Sand and finish the wood
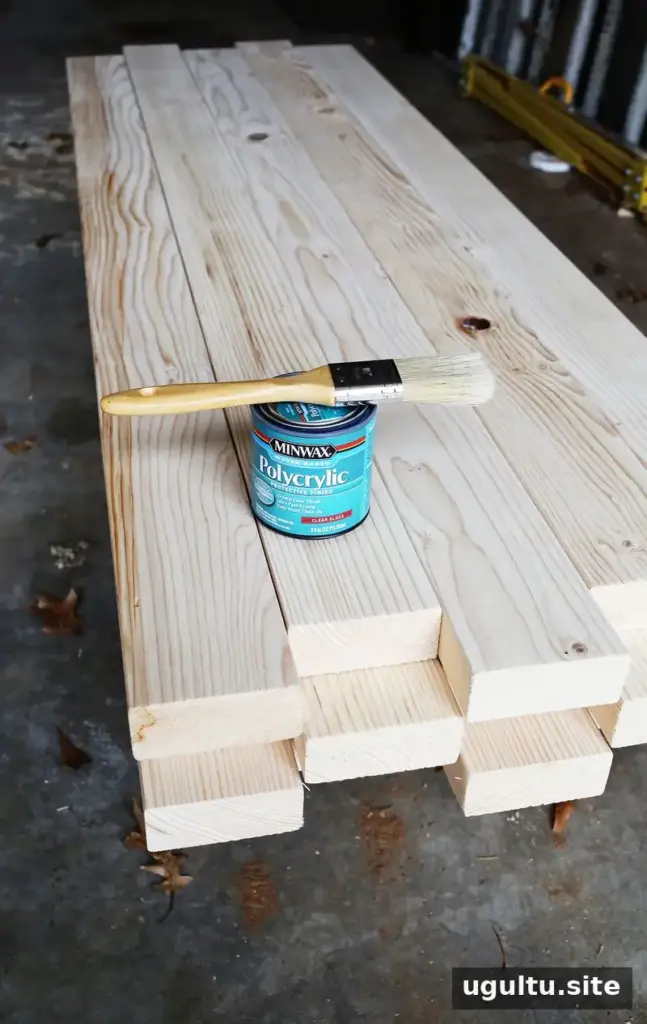
Sand the top and edges thoroughly, since construction lumber may have a rough surface. Remove sanding dust before applying a protective coating. The original materials list names semi-gloss Polycrylic, while the finishing instructions refer to semi-gloss polyurethane; check the product label and use one finish suitable for your project, following its application and drying directions.
The wood can be left its natural light color or stained before sealing. If you choose to stain, test the color on an offcut first so you can see how it looks on the actual lumber. Apply the finish in suitable conditions and let it dry fully before placing objects on the table.
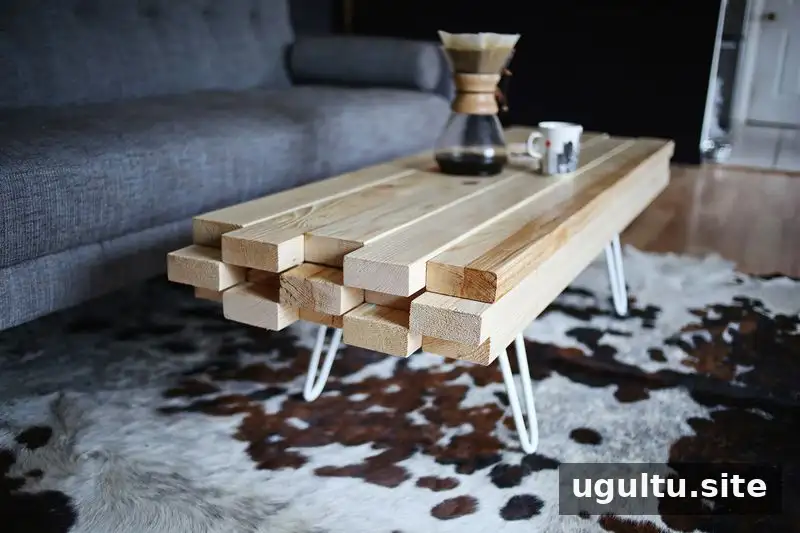
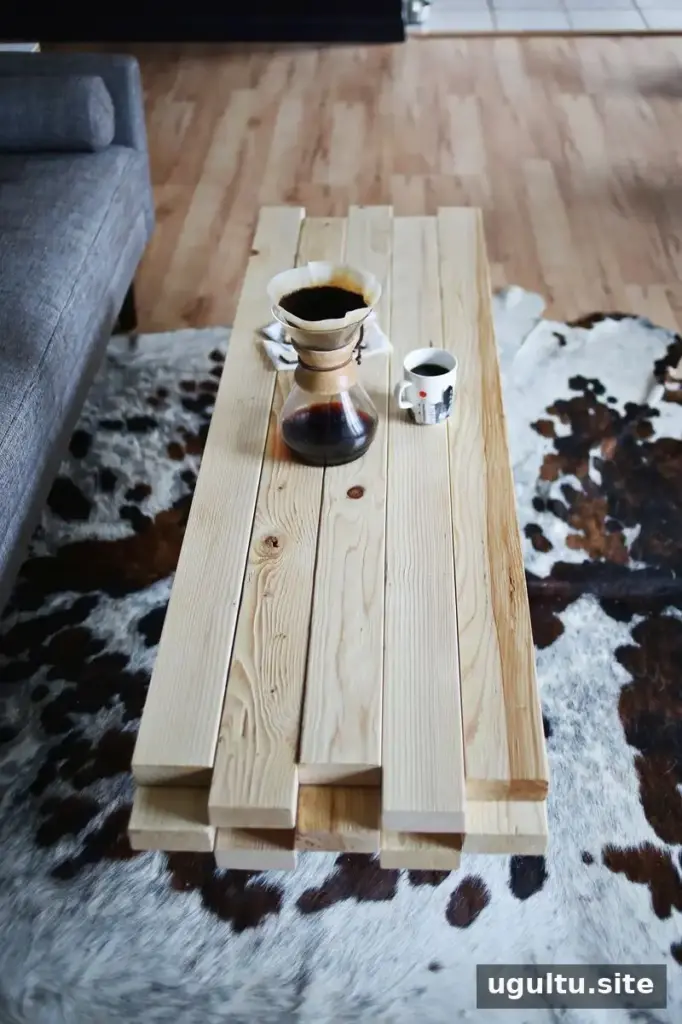
This layered 2×4 design creates a solid, functional coffee table with a simple, customizable finish. For a successful DIY wooden coffee table, take time to dry-fit the pieces, position the legs carefully, and let the protective coating cure as directed. Project shared by Emma and Trey.


