
 admin


A DIY yarn wreath is a simple way to create custom decor for a holiday or any season. With a wire frame, yarn, and a few basic tools, you can make a soft, textured wreath in about two hours. Choose colors and embellishments that suit your space, then reuse the finished piece year after year with proper care.
The finished texture is similar to a latch-hook rug, with fluffy yarn strands covering the frame. This project is also easy to adapt for a craft night or a handmade gift.
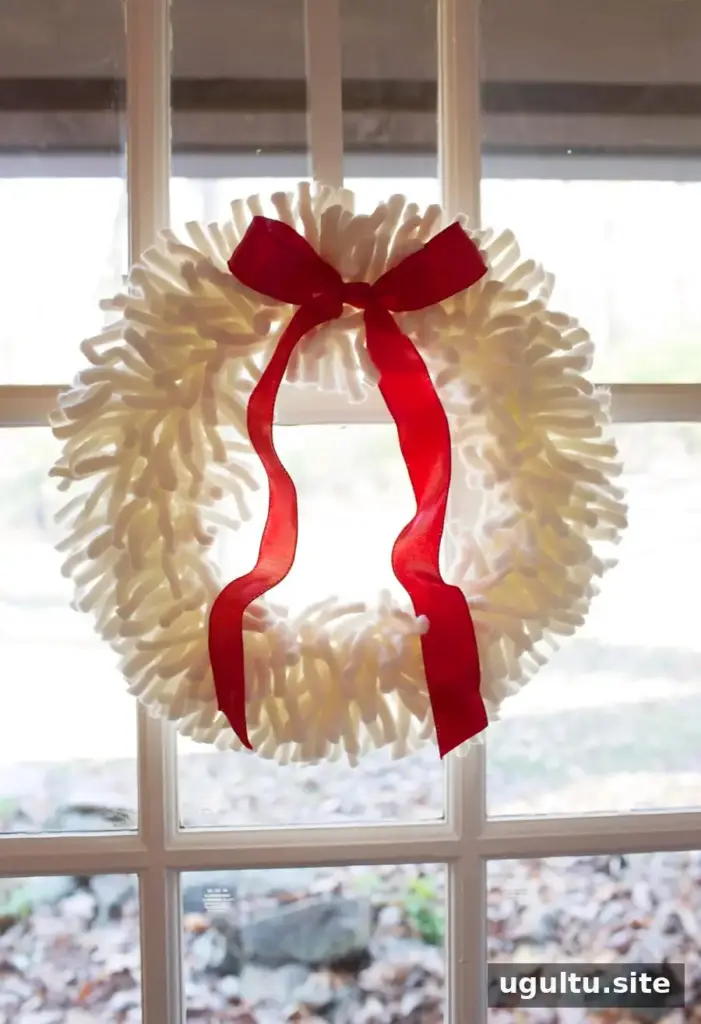
The wreath can be made in different colors, so it does not need to be holiday-themed. The original project cost around $12; your total will vary depending on the yarn and other supplies you select.
DIY Yarn Wreath Supplies
Gather the following materials before you begin:
- 50–60 yards of yarn
- Wire ribbon
- One wire wreath frame
- Spray paint, optional
- Scissors
- Needle and thread
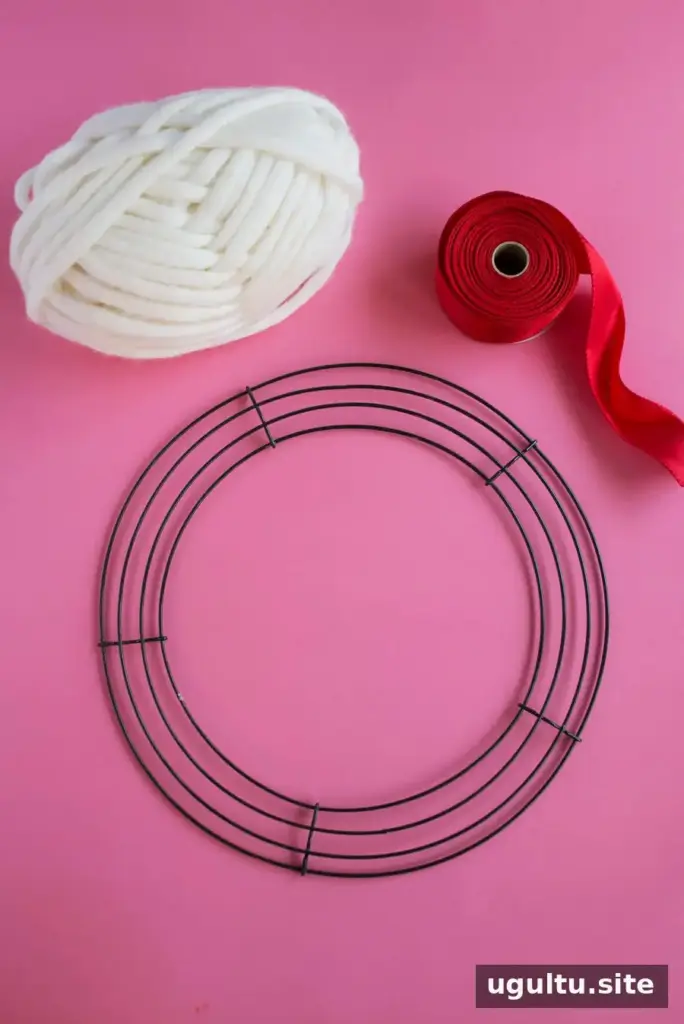
Yarn choice affects both the look and the time needed to cover the frame. A thicker yarn can fill the frame more quickly, while a yarn that resists fraying will generally keep the strands looking neater. The project used 1 1/3 skeins, with 43 yards in each skein. Jersey yarn or thin strips cut from T-shirts can also create a different fabric-like finish; choose material that is not prone to fraying.
How to Make a DIY Yarn Wreath
1. Prepare the wire frame
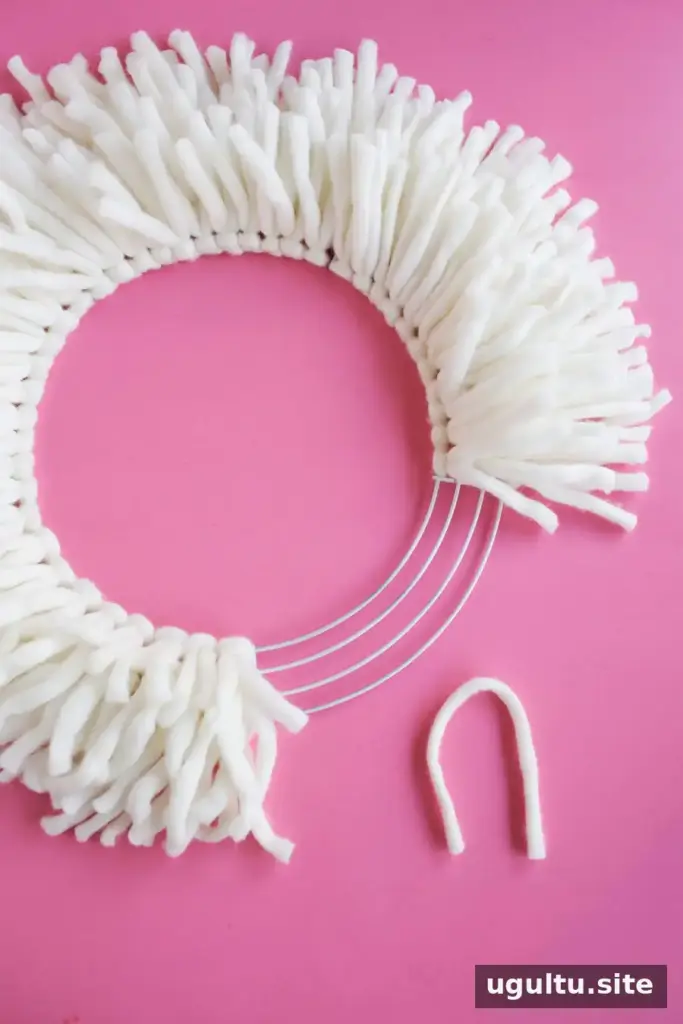
If the frame color may show through the yarn, spray-paint it to coordinate with your chosen yarn. For example, a white frame can blend in beneath white yarn. Painting is optional when the frame already matches or when small visible areas will not bother you. Allow paint to dry according to its label before adding yarn.
2. Cut the yarn
Cut yarn into pieces about 7 to 8 inches long. This length gives you extra material to handle while attaching the strands, which you can trim later. Start with one skein rather than cutting all your yarn at once; the amount needed depends on the size of the wreath frame.
3. Cover the frame
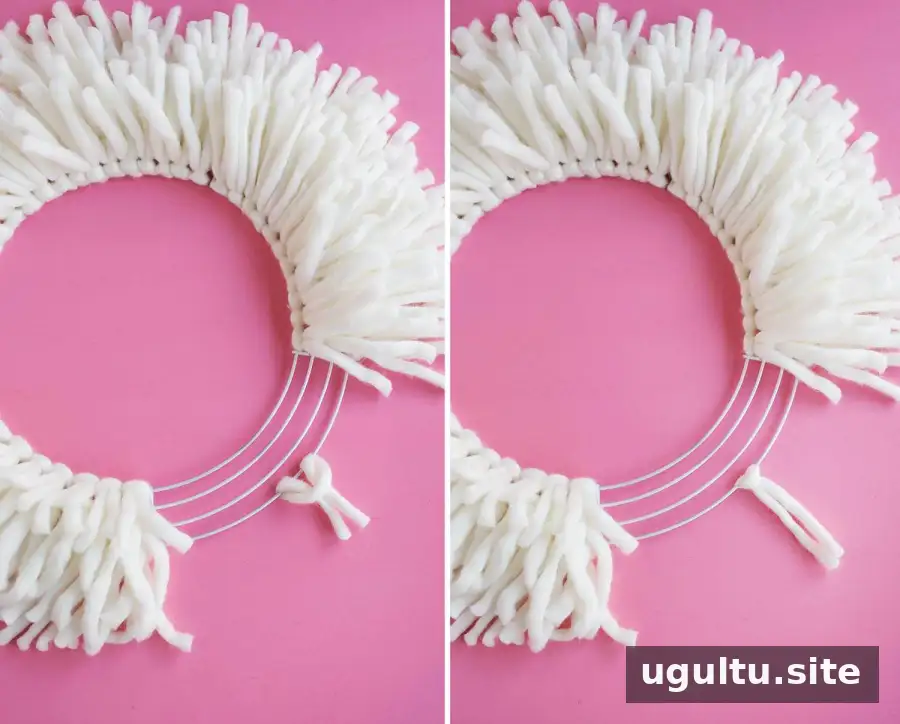
Loop each piece of yarn over the wire frame and slide it into position. Continue adding strands until the frame is covered. Keep the yarn distributed evenly as you work, and check for gaps before moving on. If the frame is visible in a few places, add more strands where needed.
4. Trim and decorate
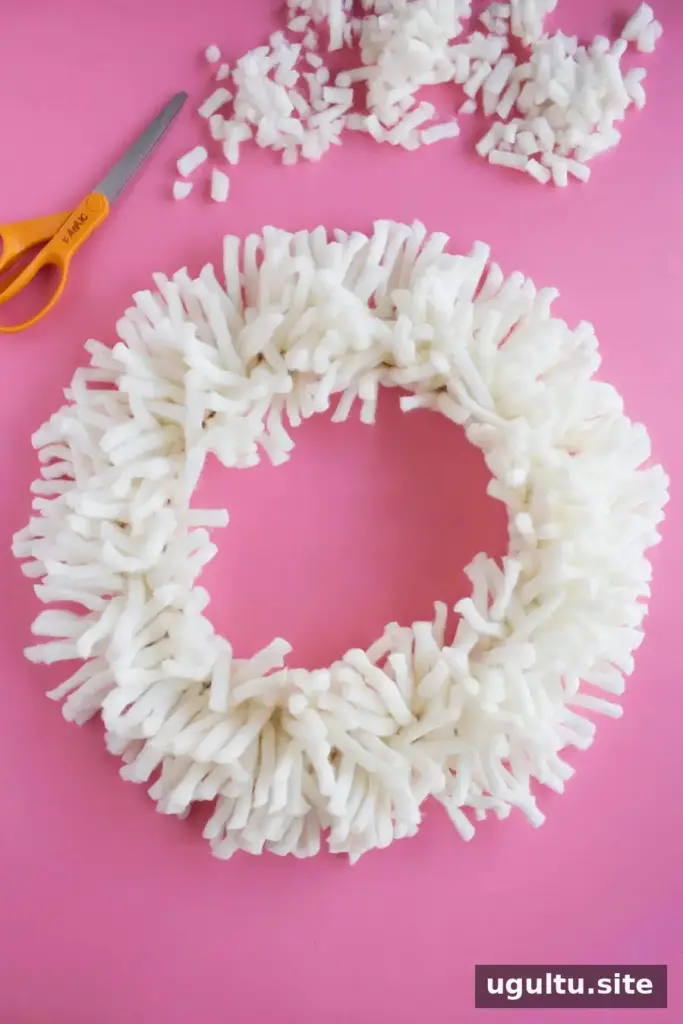
Trim the yarn to your preferred length, shaping the wreath as you go. Add a wire-ribbon bow or other decorations, such as faux berries, decorative birds, or greenery. Sew embellishments to the frame with a needle and thread, or attach them with hot glue. Take care when using hot glue and let it cool before handling the finished decoration.
Displaying and Caring for Your Wreath
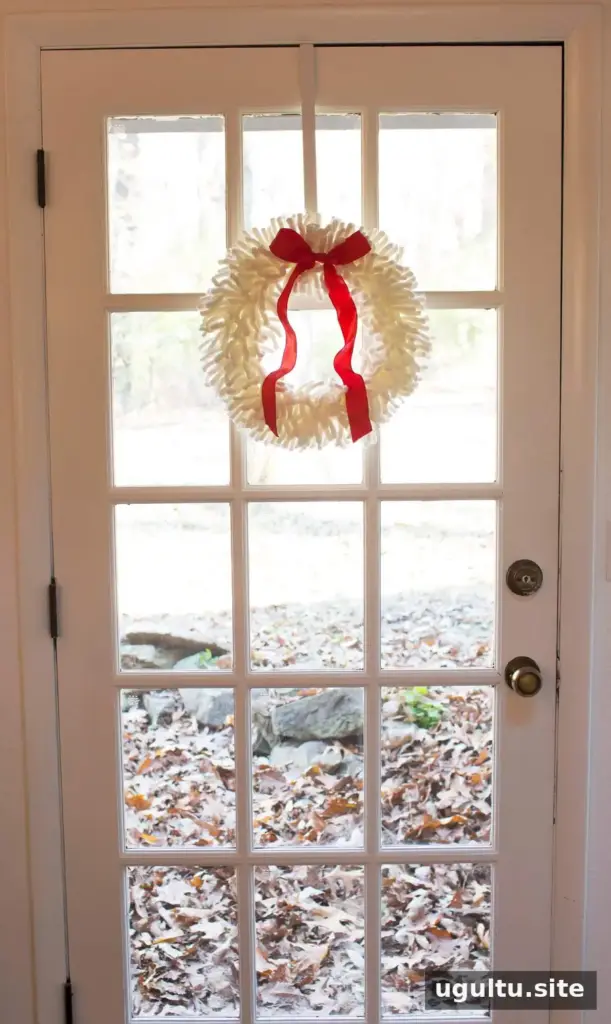
Hang the completed wreath on a door or wall using a removable hanger or an over-the-door hanger. Yarn can be delicate, so an indoor display or a sheltered outdoor spot is a better choice than an area exposed to frequent rain. A weather-protective product may help, but follow its directions and use your judgment based on the location. If the wreath is likely to get very wet, it may not last as long.
This project is straightforward to customize: change the yarn and ribbon colors, adjust the strand length, or add decorations to suit the season. For a fuller look, use thicker yarn; for a tidier finish, trim gradually and inspect the wreath from different angles.

Conclusion
A DIY yarn wreath is an approachable craft that uses a short supply list and offers plenty of room for personal choices. Select yarn that does not fray easily, cover the frame evenly, and keep the finished wreath protected from excessive moisture. These simple steps can help you create a decorative piece for your home or a thoughtful handmade gift.
Project by Emma.


