
 admin
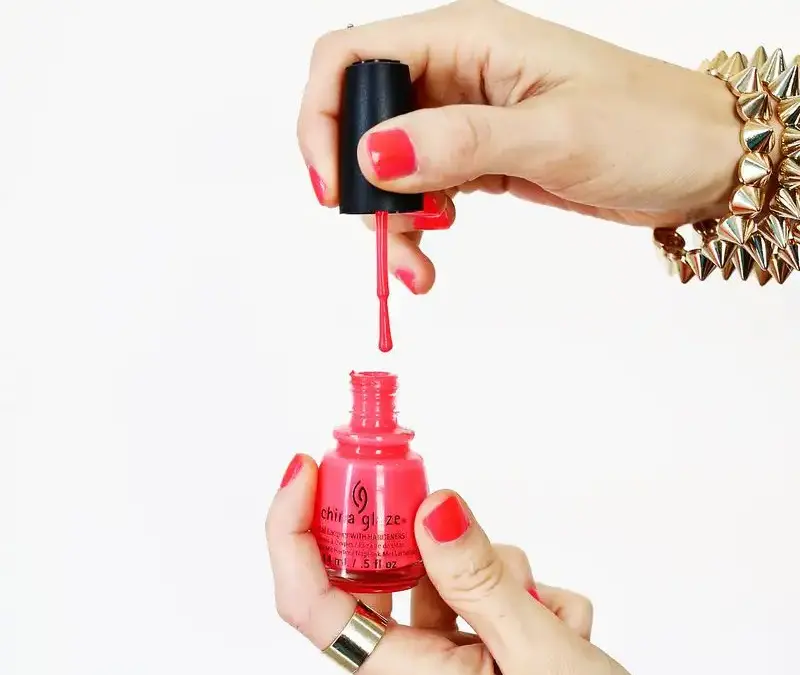
An at-home gel manicure can help regular nail polish last longer between applications. This layered technique uses gel-effect nail products alongside ordinary polish, without requiring the multi-step salon process. Set aside about 15–20 minutes for applying the coats, plus time for them to dry fully before using your hands.
What You’ll Need for an At-Home Gel Manicure
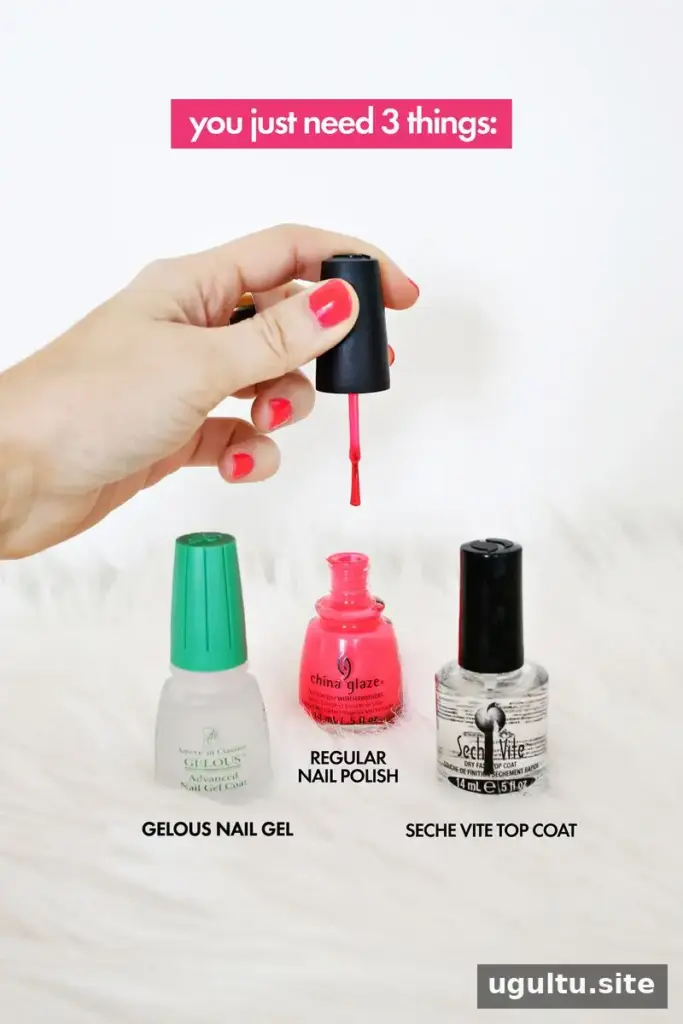
Gather your supplies before you begin so each layer can be applied without interruption:
- Gelous Nail Gel
- Regular nail polish
- Seche Vite Dry Fast Top Coat
- A nail buffer and nail polish remover
Work on clean, dry nails and use thin coats. Thick layers may take longer to dry and can be more likely to smudge, so resist the urge to apply extra polish for stronger coverage.
How to Apply the Layers
- Prepare your nails. Gently buff the nail surface to smooth it, then remove the dust with nail polish remover. Let the nails dry before applying product.
- Apply the first gel layer. Brush on a thin coat of Gelous Nail Gel and allow it to dry for one minute.
- Add the first polish coat. Apply a thin layer of regular nail polish and let it dry for three minutes.
- Apply another gel layer. Add a second thin coat of Gelous and wait one minute.
- Build the color. Apply a second thin coat of polish and allow three minutes of drying time.
- Apply top coat. Brush on Seche Vite Dry Fast Top Coat and let it dry for one minute.
- Finish with gel. Apply a final coat of Gelous and allow 5–10 minutes for it to dry.
Help Prevent Chipping
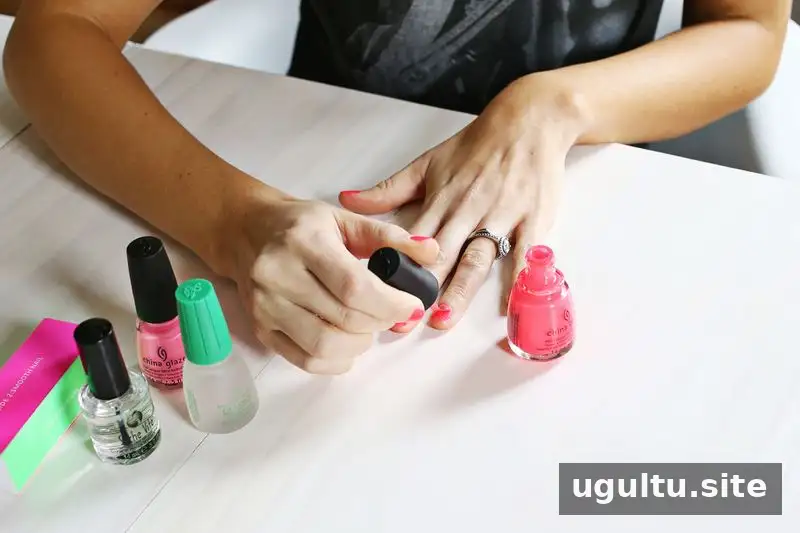
As you apply each coat, lightly sweep the brush across the free edge at the tip of each nail. This seals the ends, where polish can begin to chip. It can be a little trickier on short nails, but careful, thin strokes can still help cover the edge.
After the final coat, give your nails extra time to set before doing tasks that could dent or smudge them. The listed drying intervals are part of the application process, but they do not guarantee that every layer is fully hardened at that exact moment.
Choosing Products and Removing the Polish
Results can vary depending on how different polish formulas work together. Seche Vite may cause some colors to appear to shrink at the edges; if you notice this, the original method also suggests trying Out the Door Top Coat. China Glaze and OPI polishes were reported to work well, though your own combination may need some testing.
The final Gelous layer is optional for some combinations. If you are unsure whether it suits your top coat, try the routine once with that layer and once without it, then compare how each manicure wears.
To remove the finished manicure, use regular nail polish remover or 100% acetone for faster removal. Follow the product directions, avoid scraping or forcefully peeling the polish, and stop if removal causes discomfort.
What to Expect
This at-home gel manicure is a DIY layering method, not the same service as a salon gel manicure. The original account reported that the polish remained in near-perfect condition on day five and could last at least a week, but wear time varies with nail preparation, products, and everyday activities. If the first combination chips quickly, adjust one product or step at a time so you can identify what works best for your nails.
For a longer-lasting at-home gel manicure, focus on clean, dry nails, thin coats, and sealing the nail tips. With a little experimentation, this routine may help extend the life of a regular polish manicure.


