admin
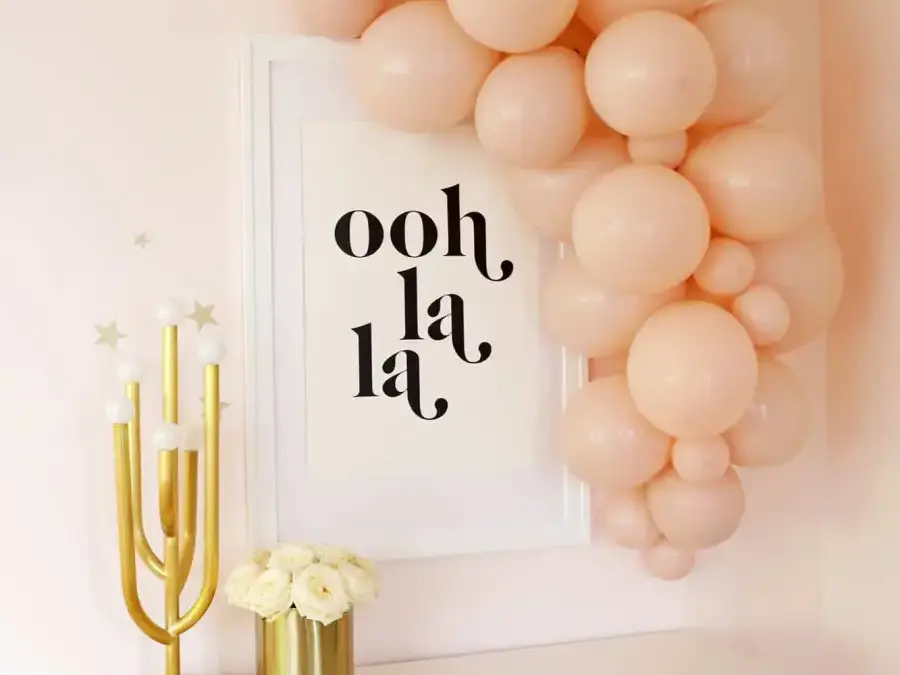
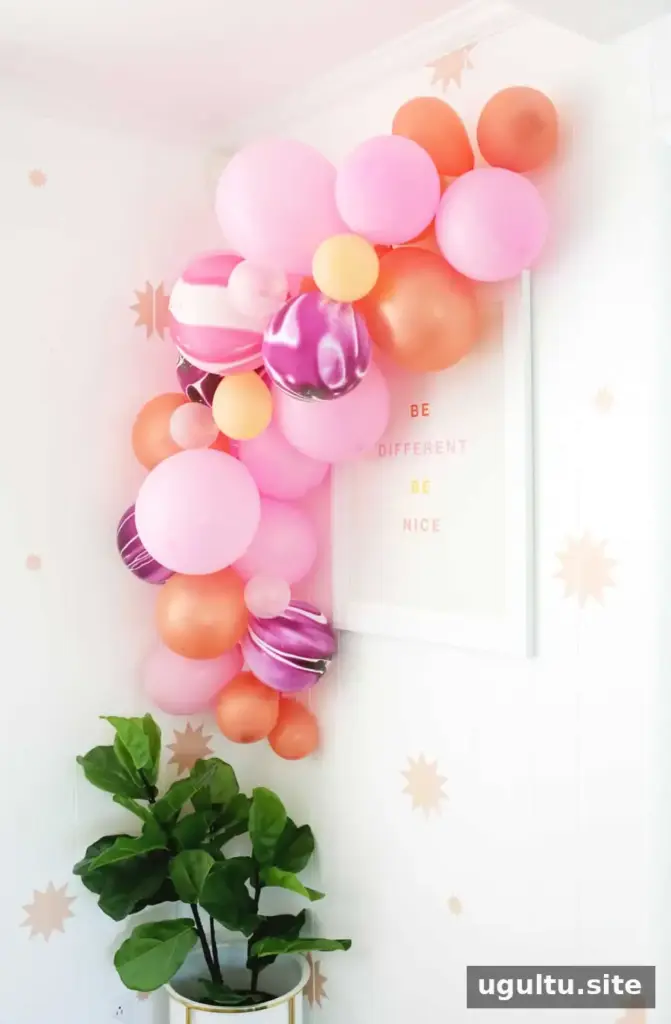
A balloon garland is an easy way to add color and a focal point to a party, and you can customize the shape and palette to suit your space. With a decorating strip, balloons in a few sizes, and simple hanging supplies, even a first-time DIYer can make a polished-looking display.
This project makes one garland. The original estimate lists a cost of $30, about 1 hour of preparation, and 2 hours total. Your time and cost may vary depending on the garland’s size and the supplies you already have.
Balloon Garland or Balloon Arch: What’s the Difference?
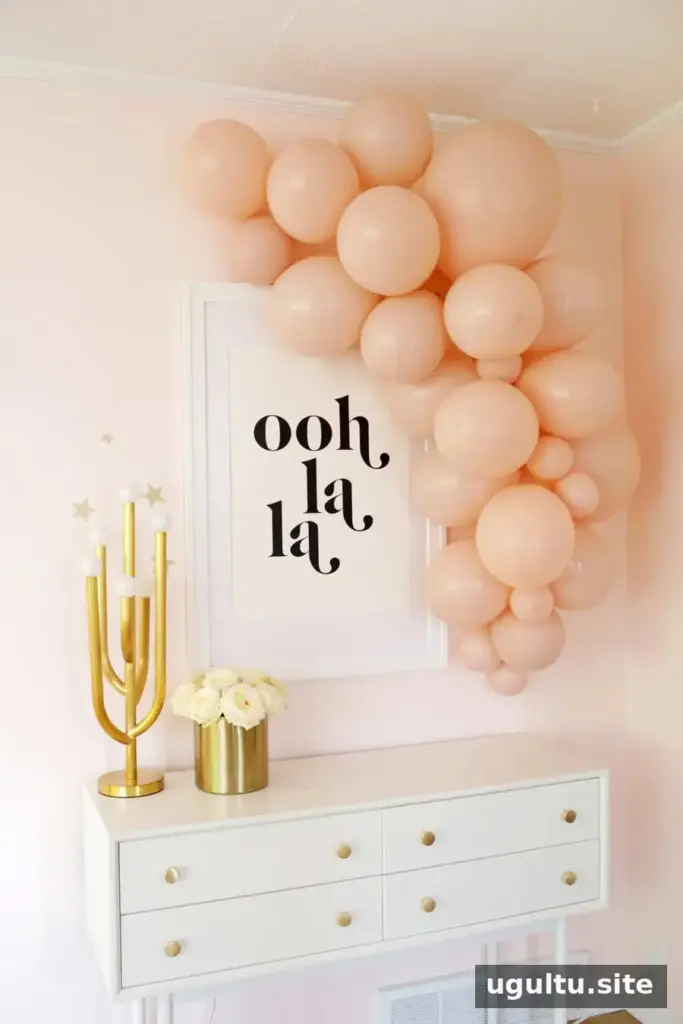
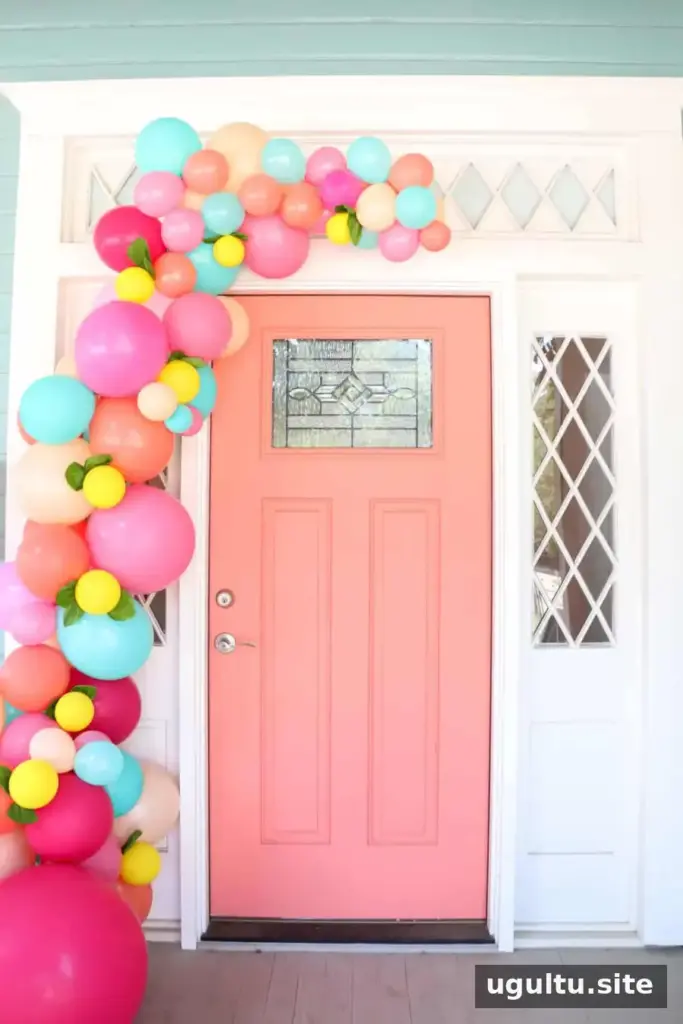
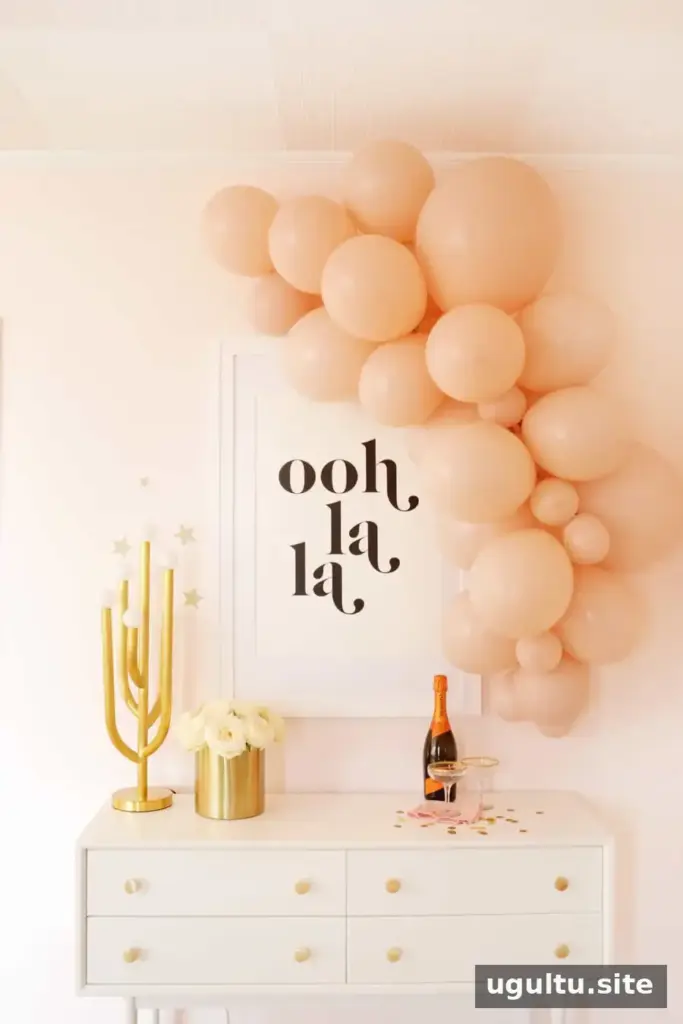
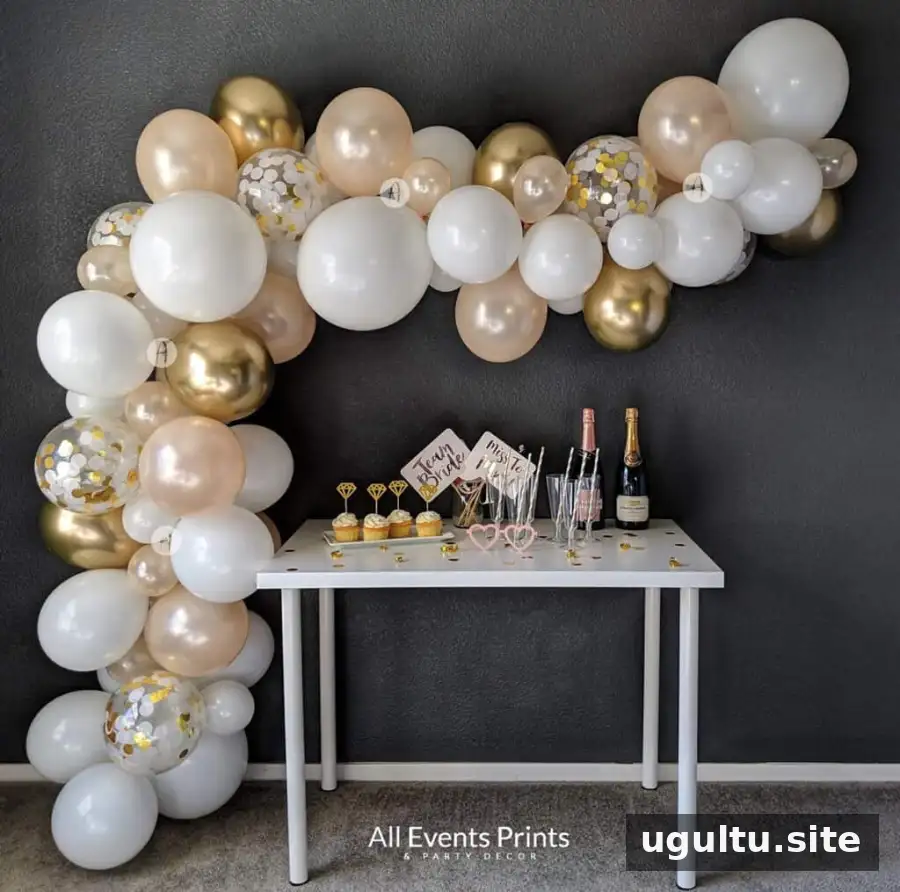
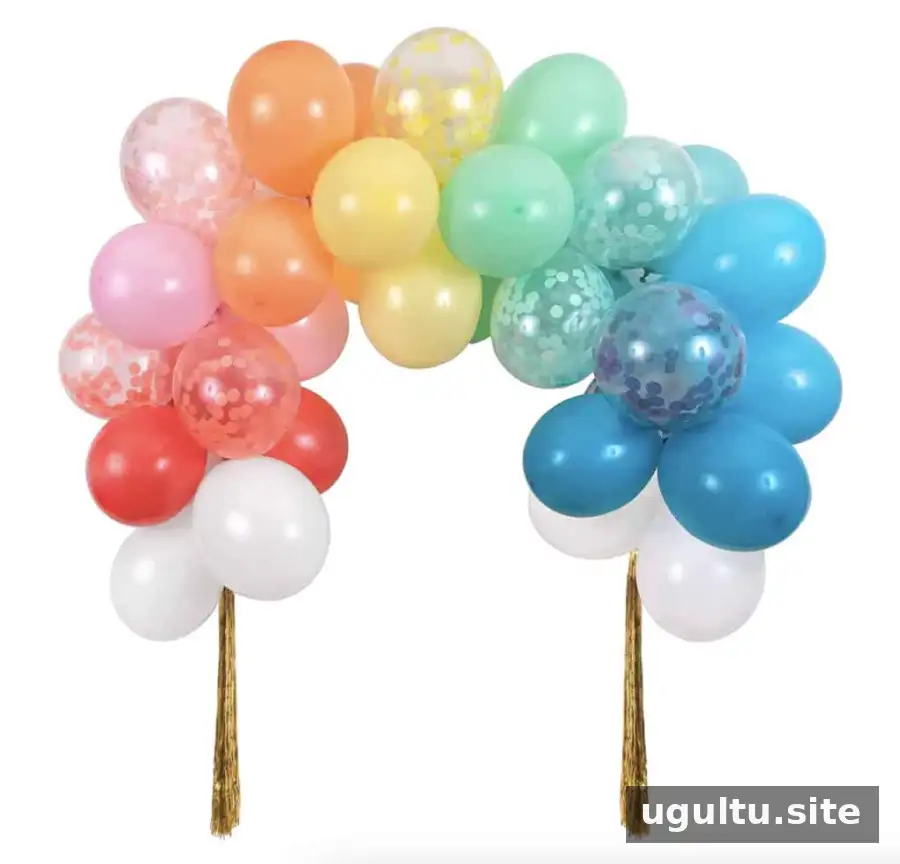
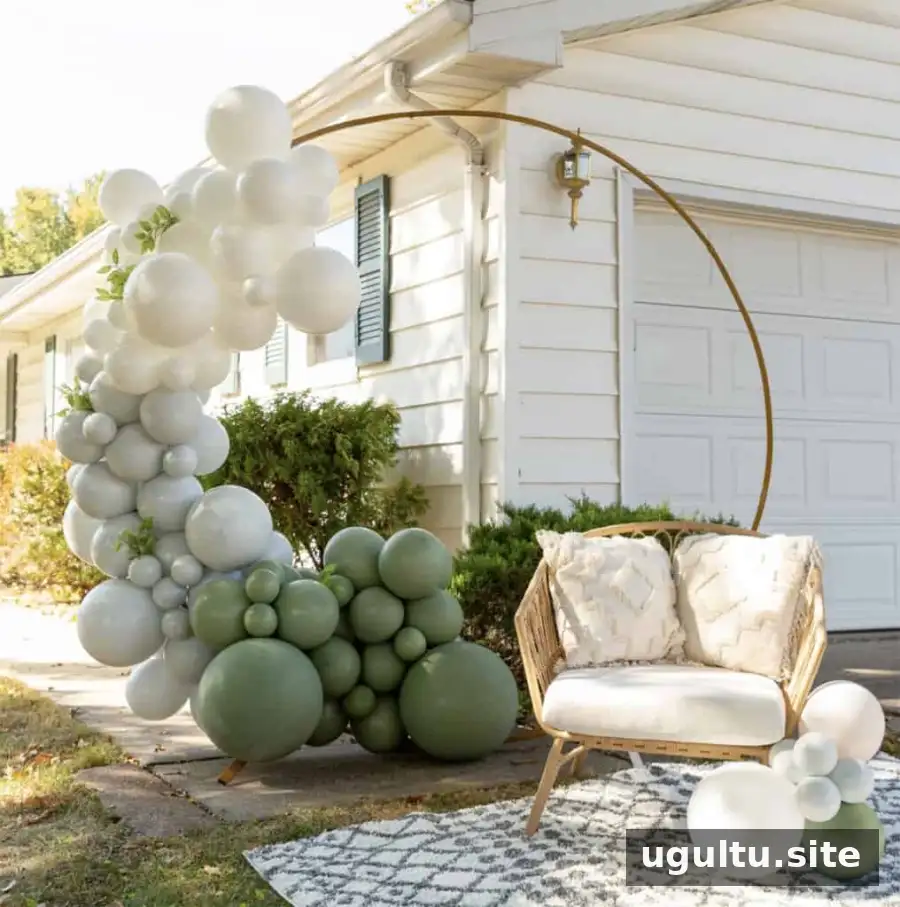
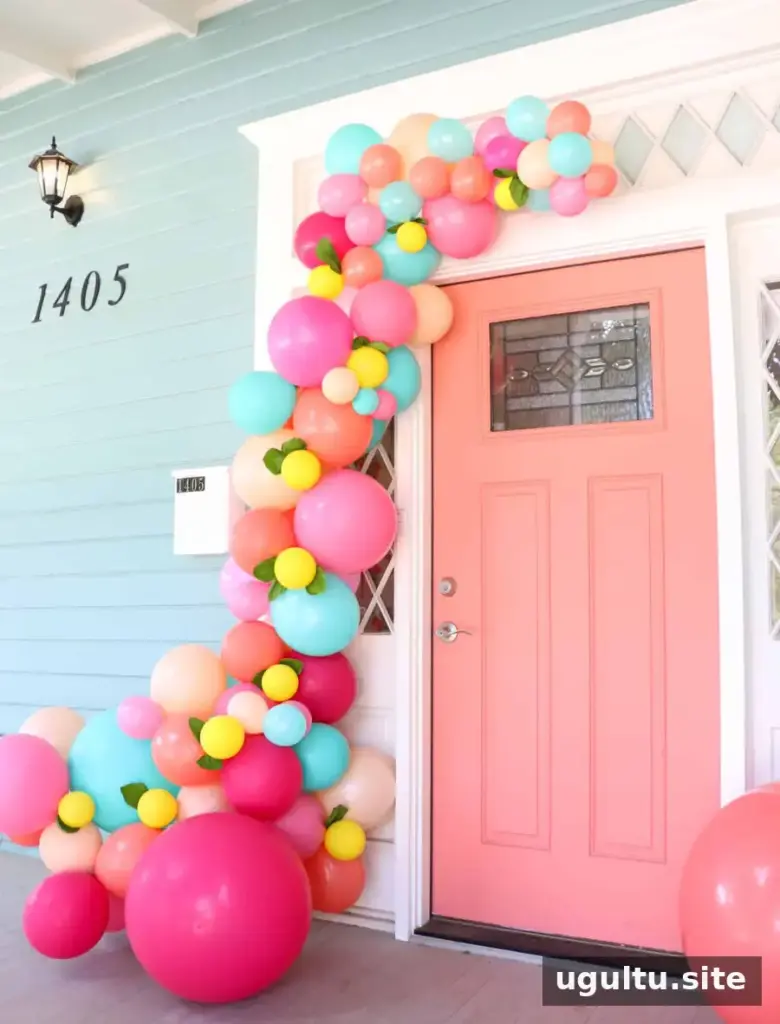
The names mostly describe the shape and how the balloons are displayed. An arch often forms an upside-down U over a table, doorway, or walkway. A garland is commonly arranged asymmetrically, like an upside-down J, but it can also be hung straight along a banister or laid across a table.
Practical tip: Decide where the decoration will go before assembling it. That helps you choose a suitable length and shape, and plan where its ends and middle will need support.
Choosing Balloon Sizes and Planning Quantities
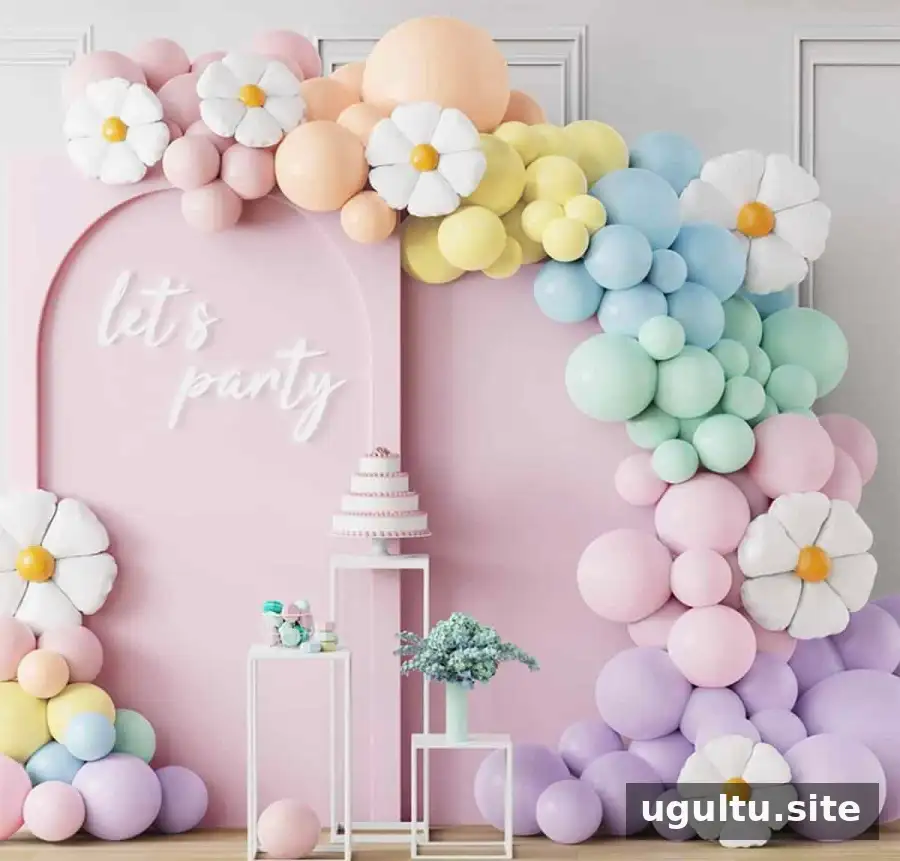
You can make a garland using one balloon size and inflate the balloons to different sizes. For more variation, combine 5-inch balloons with standard 11-inch or 12-inch balloons. A few 17-inch or 24-inch balloons can add larger accents to a bigger display.
The number of balloons depends on the garland’s length, the sizes used, and how full you want it to look. As a reference, a pink garland about 6 feet long used 10 small 5-inch balloons, around 20 standard 12-inch balloons, and a few 17-inch balloons. Inflate a few extra balloons so you can adjust the fullness as you assemble the piece.
Do You Need Helium for a Balloon Garland?
No helium is needed when the garland is attached to a wall, doorway, railing, or another support. Regular air is suitable for this type of display. For a freestanding arch that is not secured overhead, helium may be considered, but plan carefully for how the structure will stay stable and safely in place.
How Long Does a Balloon Garland Last?
Indoors, a garland filled with regular air may last 1–2 weeks, depending on the balloons and the temperature. Outdoor displays are more exposed to heat and changing conditions, so they may last only about a day.
Helpful tip: If the party is outside, keep the garland indoors until the event day and hang it shortly before guests arrive.
Can You Make a Balloon Garland Ahead of Time?
Yes. You can assemble an indoor garland a few days before the celebration. Another option is to inflate the balloons in advance, store them in large bags, and add them to the decorating strip on the day of the party. Store completed garlands indoors until it is time to hang them.
Supplies for a DIY Balloon Garland
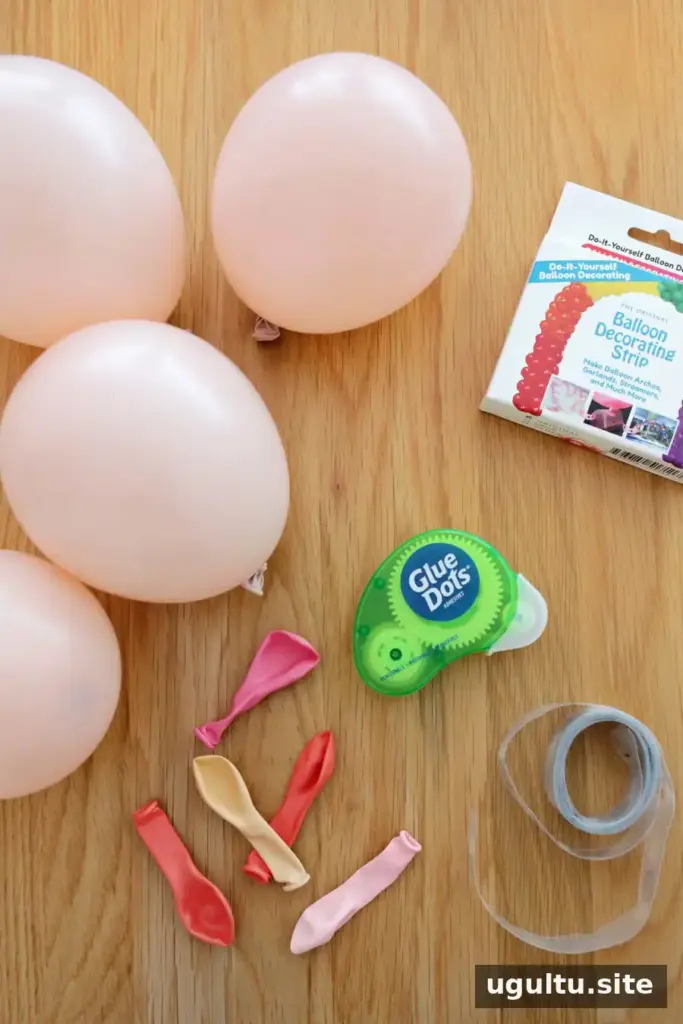
- Balloon decorating strip: The pre-punched holes hold balloon knots and create a flexible base. Leave extra strip at both ends for hanging.
- Latex balloons: Choose 12-inch and 5-inch balloons in colors that suit your event. Add 17-inch or larger balloons if you want more size variation.
- Glue dots or a low-temperature glue gun: Use these to attach small filler balloons and cover gaps. Glue dots are a convenient option; if using a glue gun, keep its heated tip away from the balloon.
- Removable wall hooks: These can support the ends of a garland on a suitable surface. Check the hook instructions and the surface before attaching anything.
- Electric balloon pump (optional): A pump can make inflating many balloons faster.
- Balloon tying tool (optional): This can make tying a large batch of balloons easier on your fingers.
A ready-made balloon garland kit is another option if you prefer a bundle of balloons and basic assembly supplies. Check the included sizes and quantities against the length you plan to make.
How to Make an Easy Balloon Garland
Step 1: Inflate the balloons
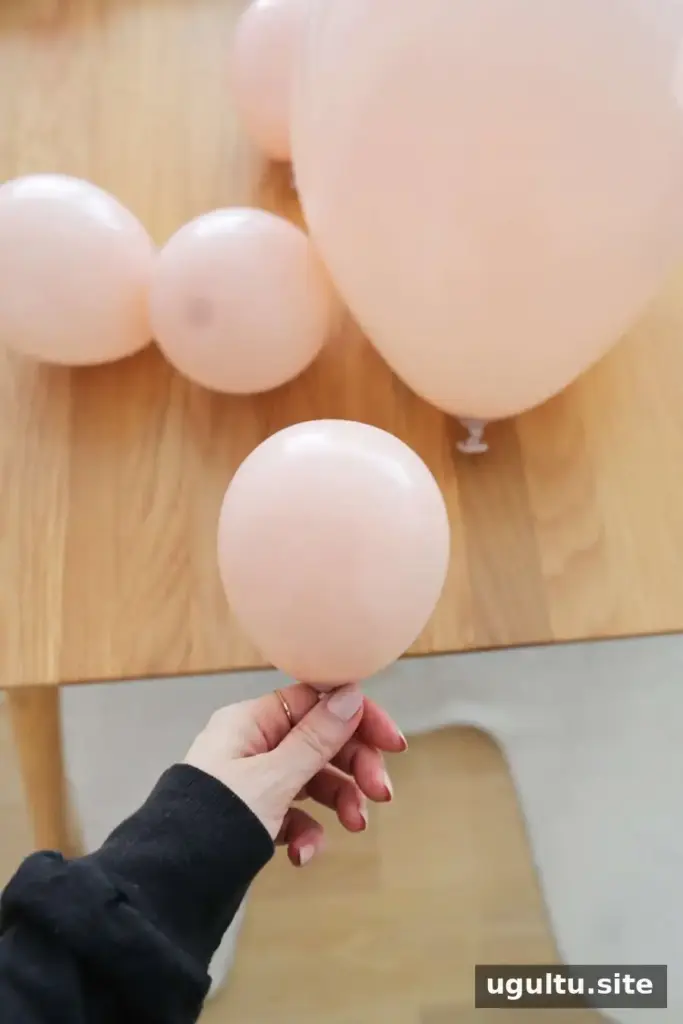
Inflate balloons in your chosen colors and sizes. Avoid making every balloon exactly the same size: a mix of smaller, medium, and fuller balloons helps create a more dimensional arrangement. Set aside a few extras for filling gaps later.
Step 2: Measure the decorating strip
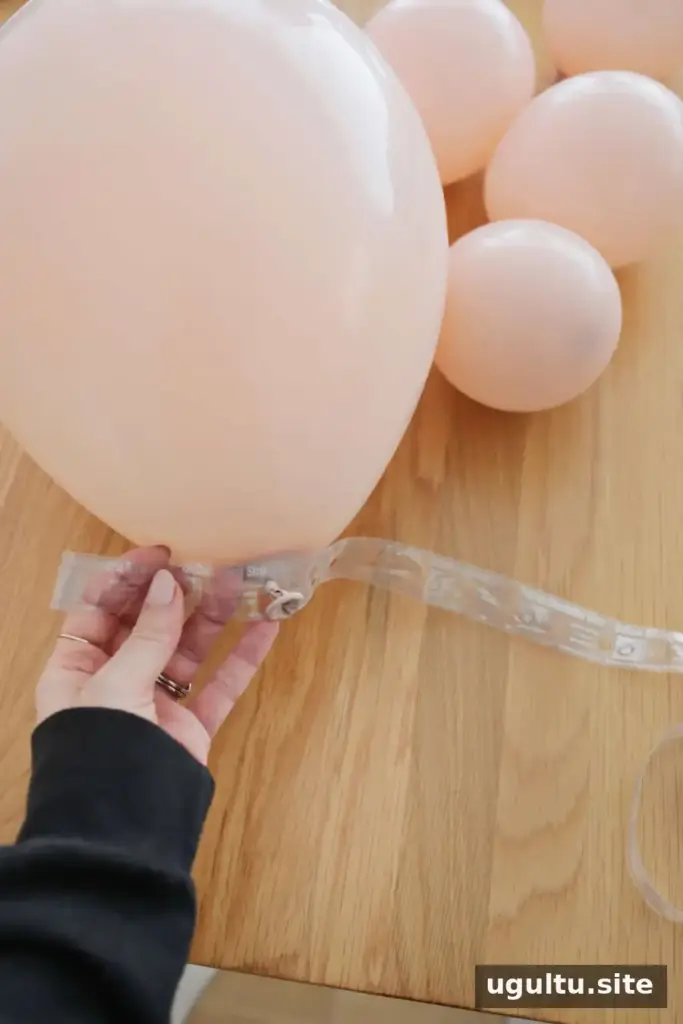
Measure the strip to match your intended garland length, leaving a few extra inches at each end so you can attach it to the hanging surface. Insert the knots of the larger balloons through the strip’s holes first, spacing them apart to leave room for other sizes.
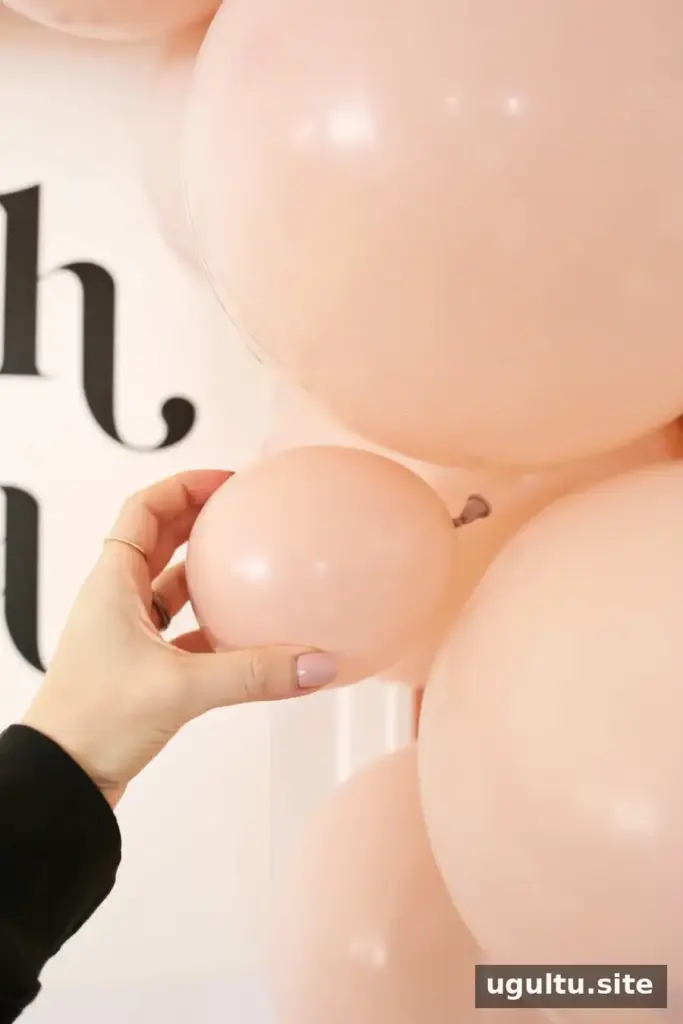
Step 3: Fill out the shape
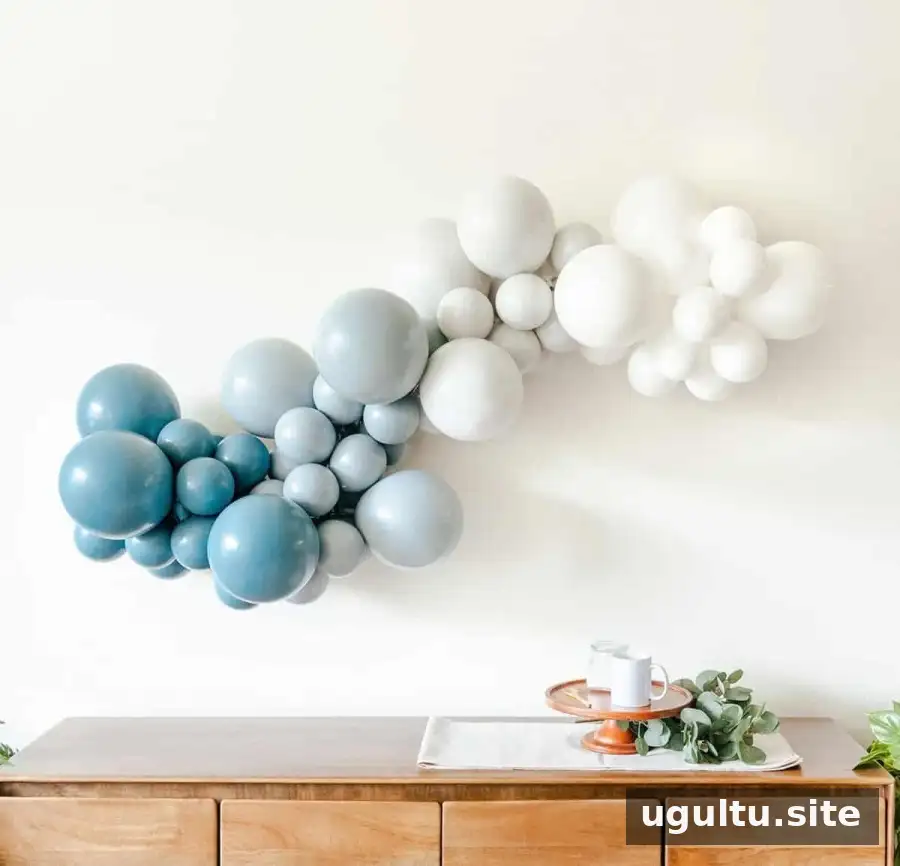
Add balloons in different sizes and colors until the strip has the fullness you want. You can keep the volume even along the whole garland or concentrate more balloons in the middle or about one-third of the way along, with thinner ends. Choose a layout that works with the shape and location you planned.
Tip: Alternate placing balloons through the front and back of the strip for a fuller look from different viewing angles.
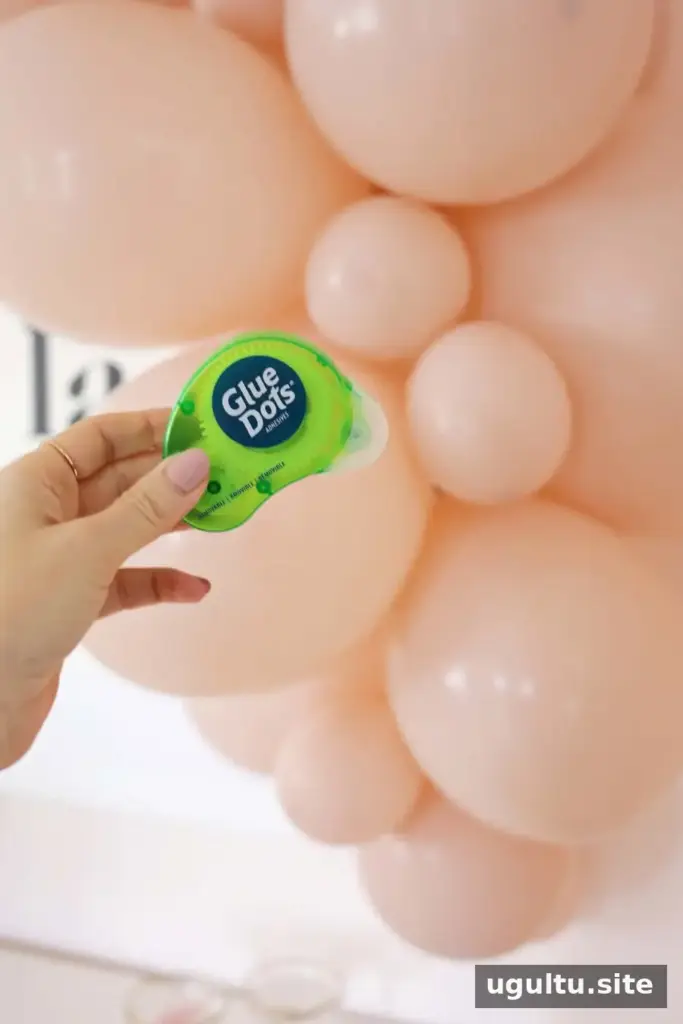
Step 4: Cover gaps with small balloons
Use glue dots to attach small balloons where the strip looks sparse. Partially inflated balloons can also fill spaces without making the garland too bulky. You can add some fillers before hanging and make final adjustments once the garland is in position.
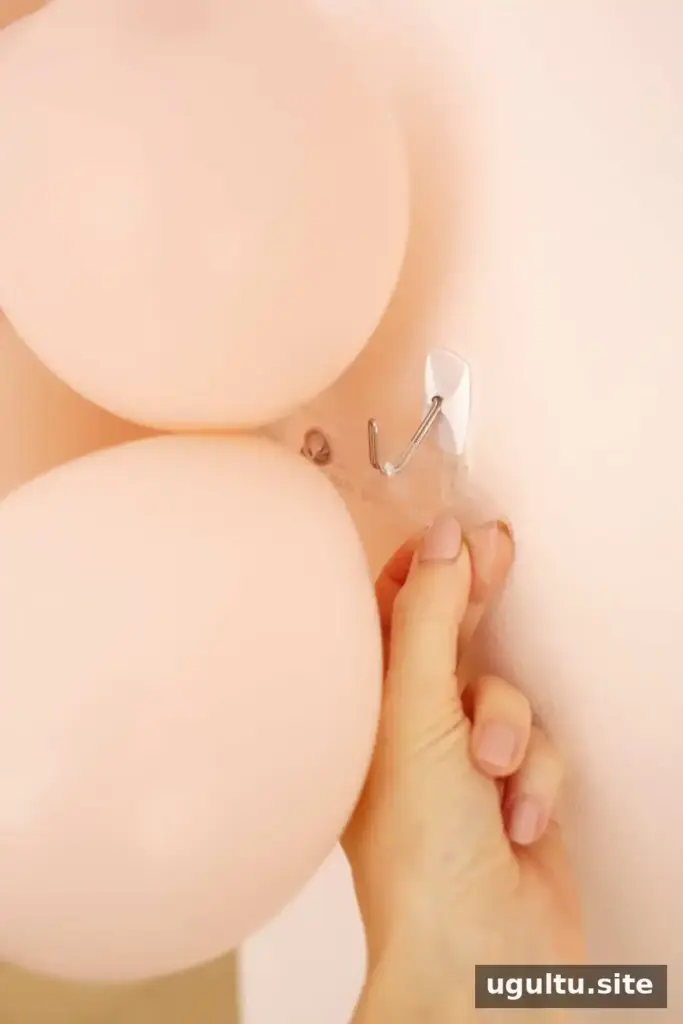
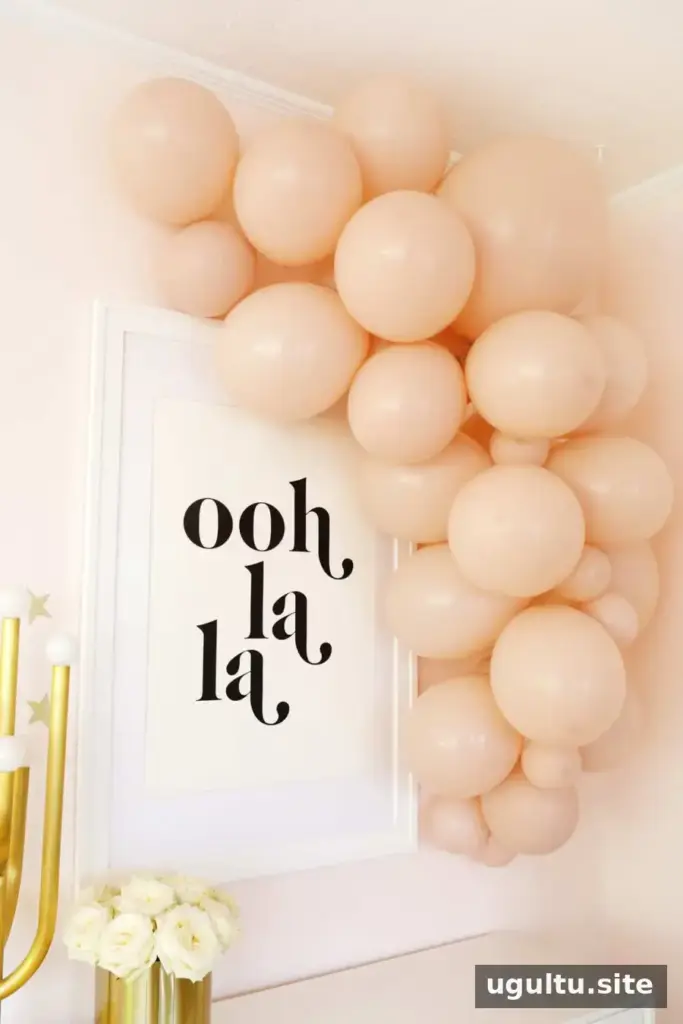
Step 5: Hang and adjust the garland
Use removable hooks to support the ends of the garland. For longer displays, add support near the middle as needed. You can also use twine or fishing line through the strip’s holes to attach it to an existing railing or suitable anchor point.
Hang the garland carefully, then step back to check its shape. Add filler balloons where gaps are visible and make sure the hooks and supports are holding securely before the event begins.
Final Tips for Your Balloon Garland
For a successful balloon garland, plan its shape and placement first, mix balloon sizes, and keep a few extras for last-minute adjustments. Use regular air for displays attached to a structure, and assemble outdoor decorations as close to the event as practical. With these steps, you can create a customized party display without needing complicated equipment.


A balloon garland is a flexible decoration for birthdays, showers, and other gatherings. Adjust the colors, sizes, fullness, and hanging shape to suit your space, and use the steps above to make your own balloon garland with confidence.