
 admin


A DIY choker T-shirt is an easy way to update a basic tee with a neckline you can customize. The attached collar creates a choker-inspired look while letting you choose the opening’s shape and depth. With a thicker neckband, a paper template, and careful cutting, you can adapt a shirt you already own instead of relying on the styles and sizes available in stores.
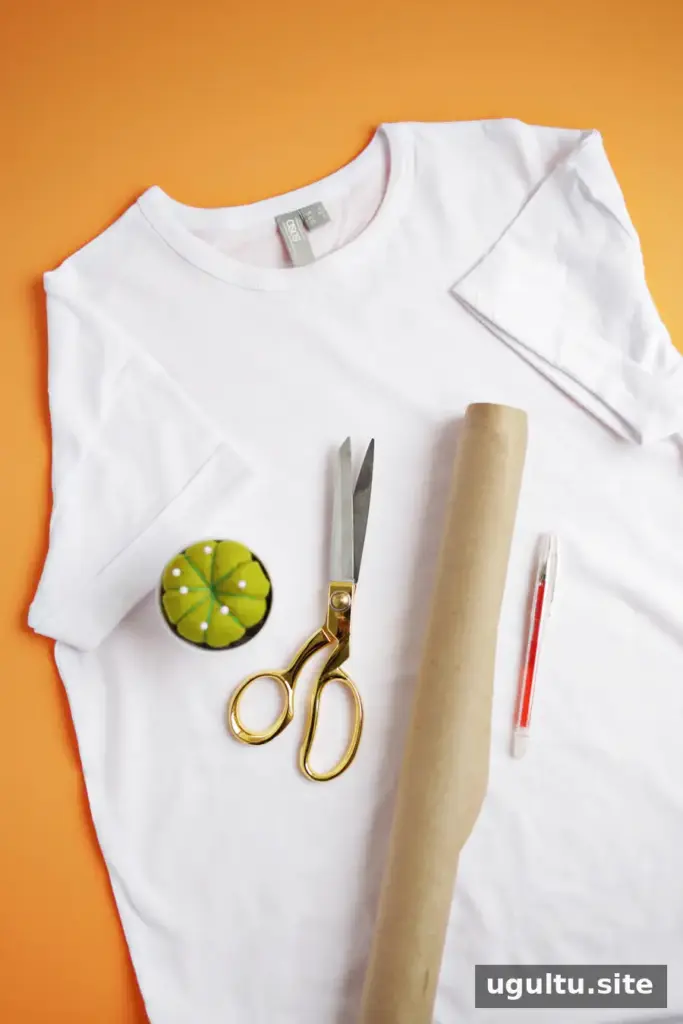
Supplies:
- A T-shirt, preferably with a thicker collar or neckband
- Fabric scissors
- Craft paper
- A pen or an iron-erasable pen
- A curve ruler, optional
- Straight pins
A thicker neckband is more likely to stay in place as the choker detail after you cut away the fabric beneath it. Before starting, check that the shirt fits comfortably and decide how much of the neckline you want to change. Keep in mind that cutting is permanent, so make the opening smaller at first if you are unsure about the depth.
How to Make a DIY Choker T-Shirt
1. Make a paper pattern
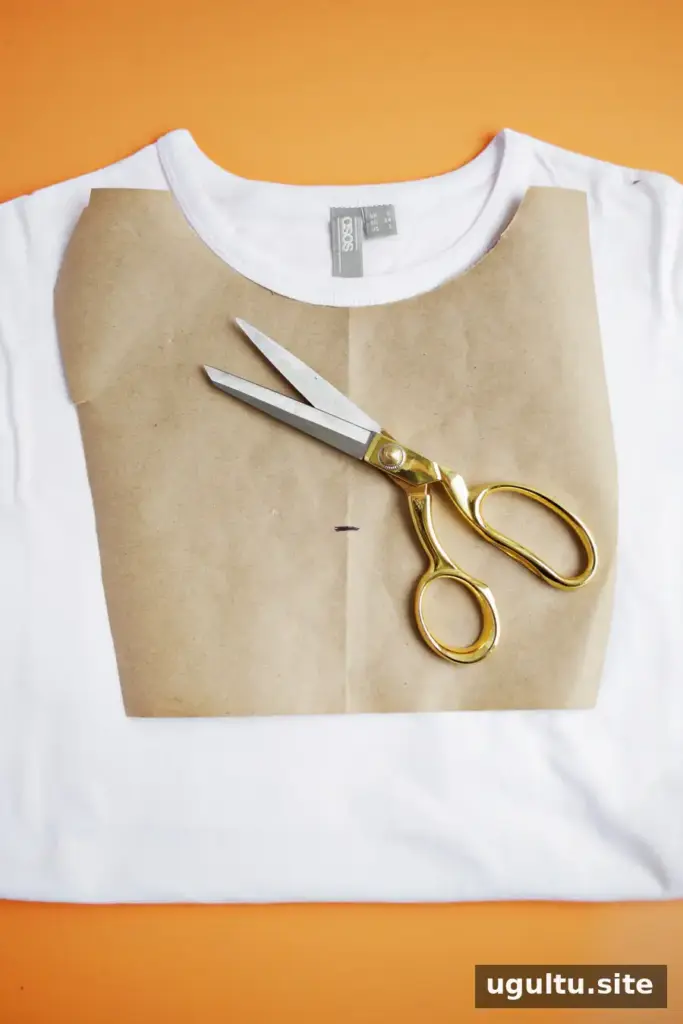
Place craft paper over the shirt’s neckline and chest. Feel through the paper for the lower edge of the neckband, then crease the paper along that line. Cut along the crease so the pattern can sit beneath the collar. Mark how far down you want the opening to reach. Trying on the shirt before marking can help you choose a depth that feels right when worn.
Decide where the cut should end at the shoulders. You can take it all the way to the top of each shoulder or leave part of the neckband connected to the shirt at the front, as in this example. Trim the top of the paper pattern where you want the neckband to join the shirt again.
2. Shape and check the neckline
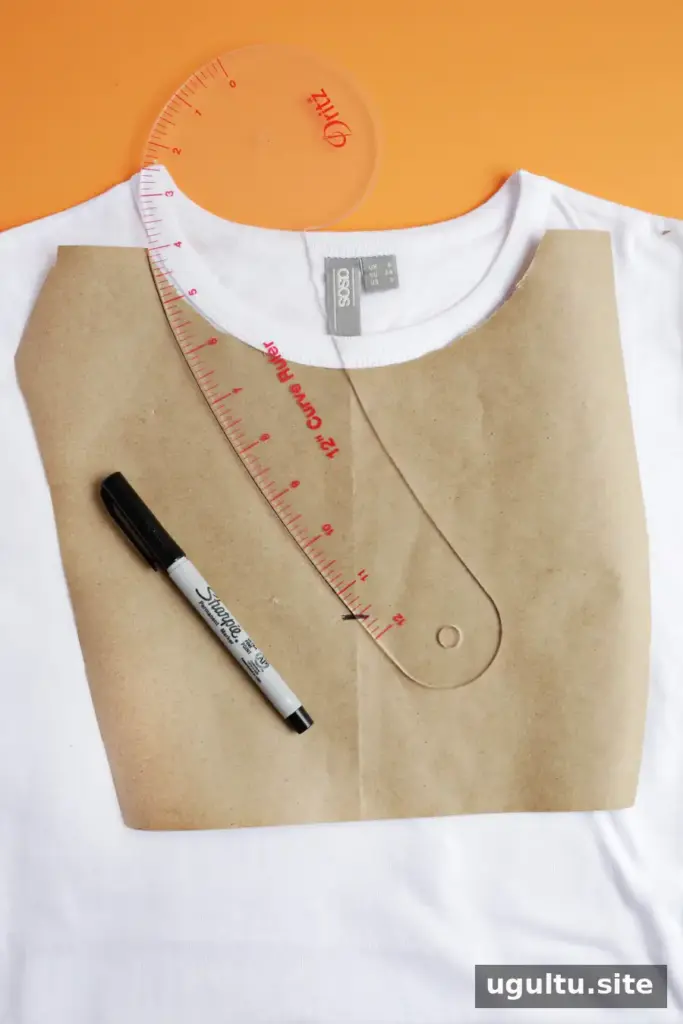
Use a curve ruler for a rounded line, a straight ruler for a sharper shape, or draw the outline freehand. The opening can be shaped like a V-neck or a scoop. Draw the line on one half of the paper, fold the template in half, and cut through both layers to create matching sides.
Before cutting the shirt, unfold the template and check that both sides are even. This simple check can help prevent an off-center neckline.
3. Trace and cut the shirt
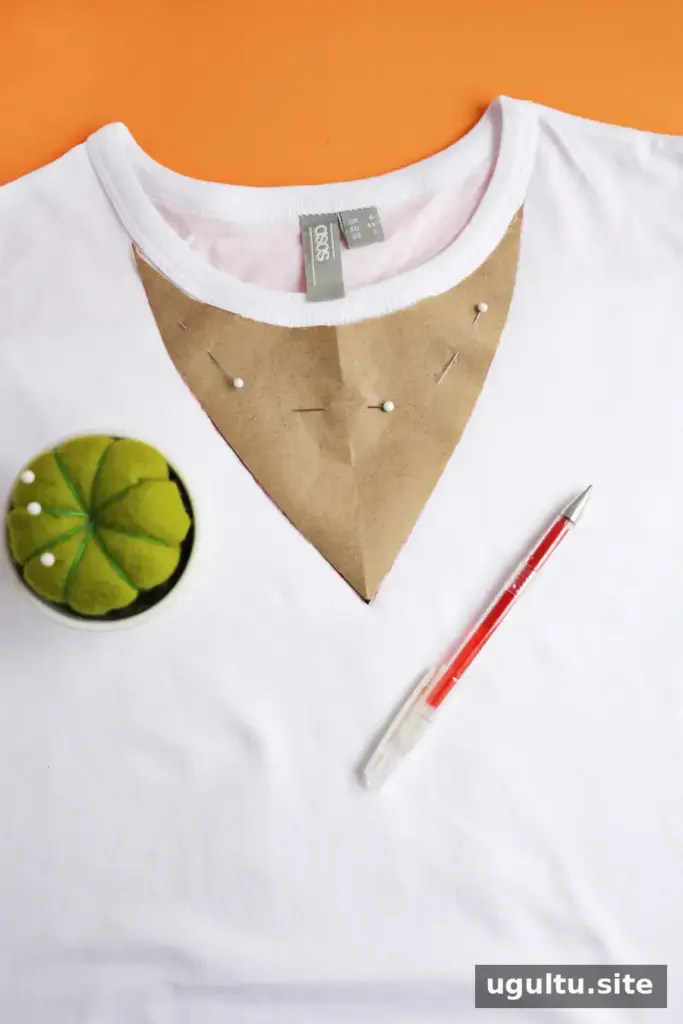
Pin the paper template in place so it does not shift. Trace the outline with a regular pen or an iron-erasable pen, keeping the marks visible while you work.
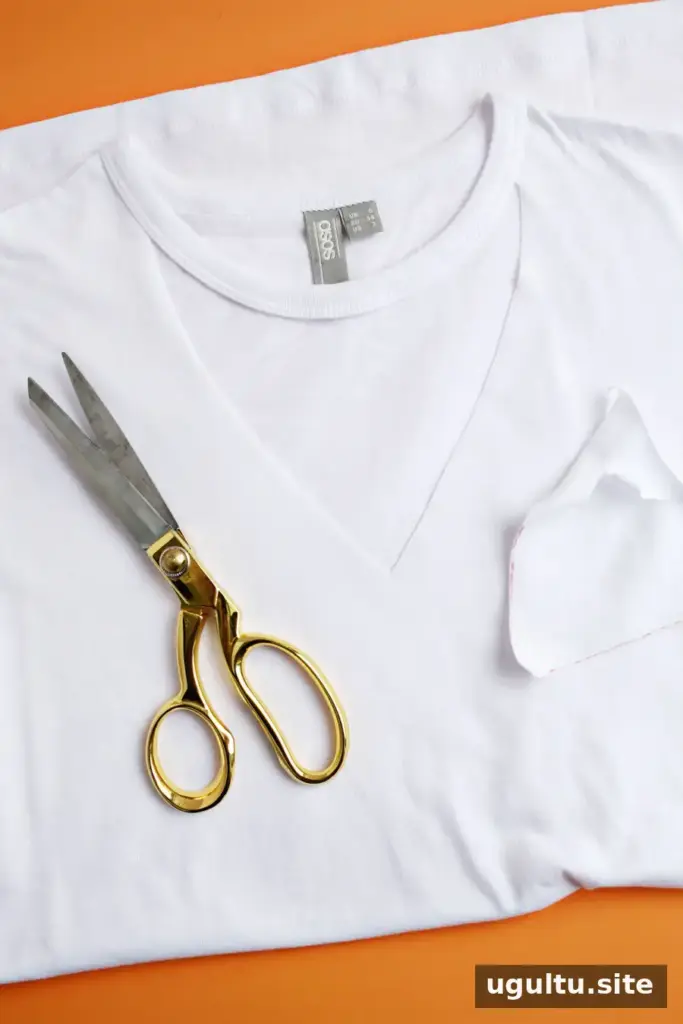
Cut along the outline with fabric scissors, then carefully cut beneath the neckline to separate the fabric below the neckband. If you used a regular pen, cut just outside the marked line so the ink is removed with the excess fabric. If you used an iron-erasable pen, follow the pen’s instructions to remove any remaining marks. Work slowly around the collar to avoid cutting through the section you want to keep.
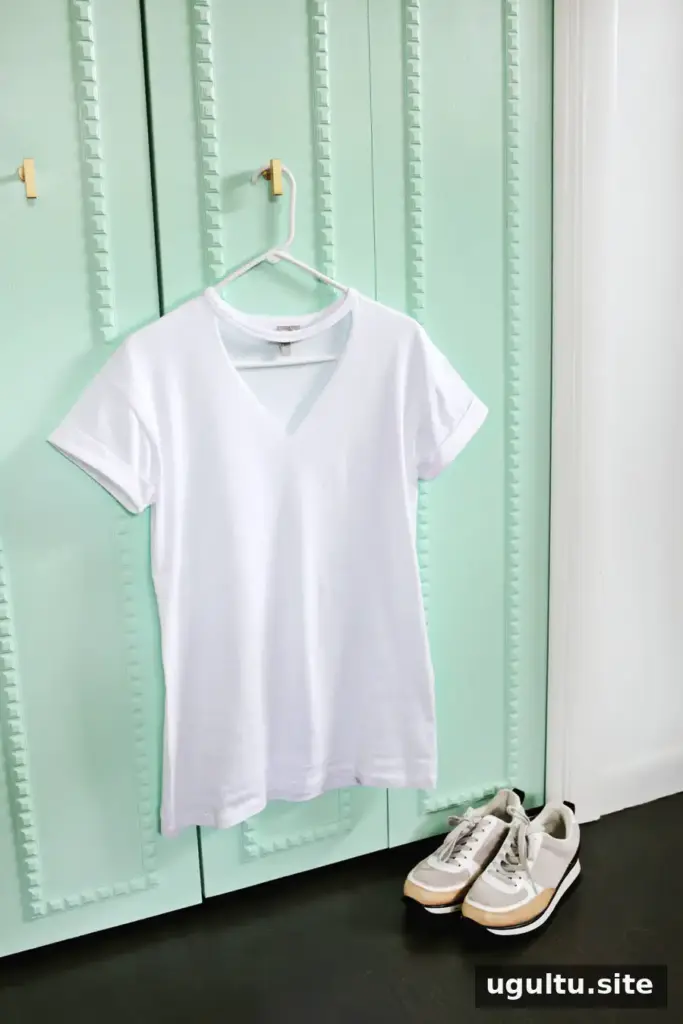
Finishing and wearing your shirt

The finished shirt can give a plain tee a new look while allowing you to choose the neckline’s shape and depth. Starting with a shirt that is already long enough for your preferred coverage can also help preserve the fit you want. Try on the finished tee and check that the neckband sits comfortably before wearing it out.
For a balanced result, take time to position the paper pattern evenly and make small, careful cuts. A thicker collar is a useful choice because it can help the choker-style band hold its shape. With those details in mind, this DIY choker T-shirt is a straightforward way to personalize a favorite basic tee.
By Laura


