
 admin
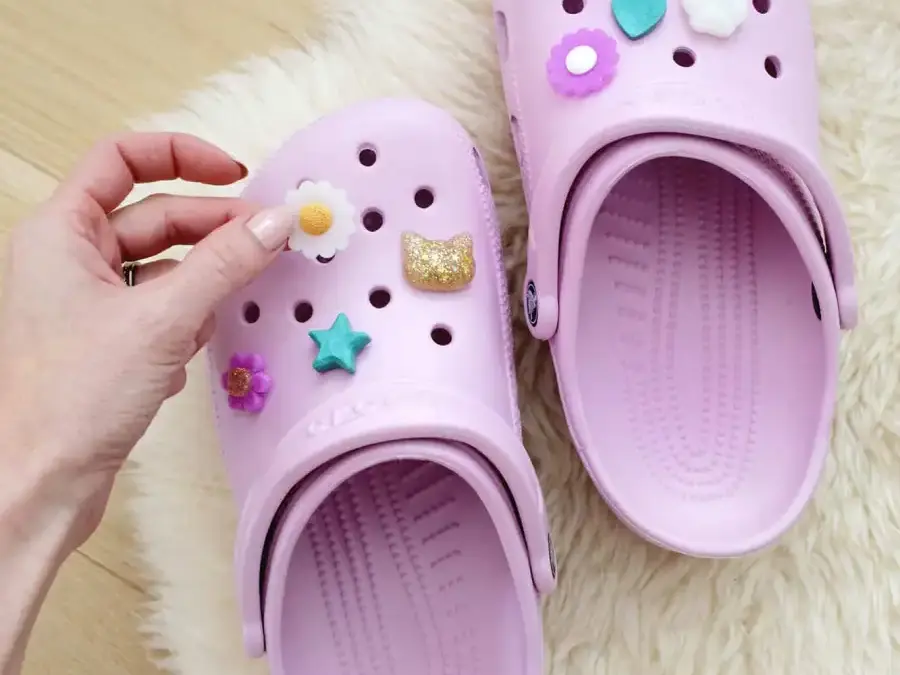
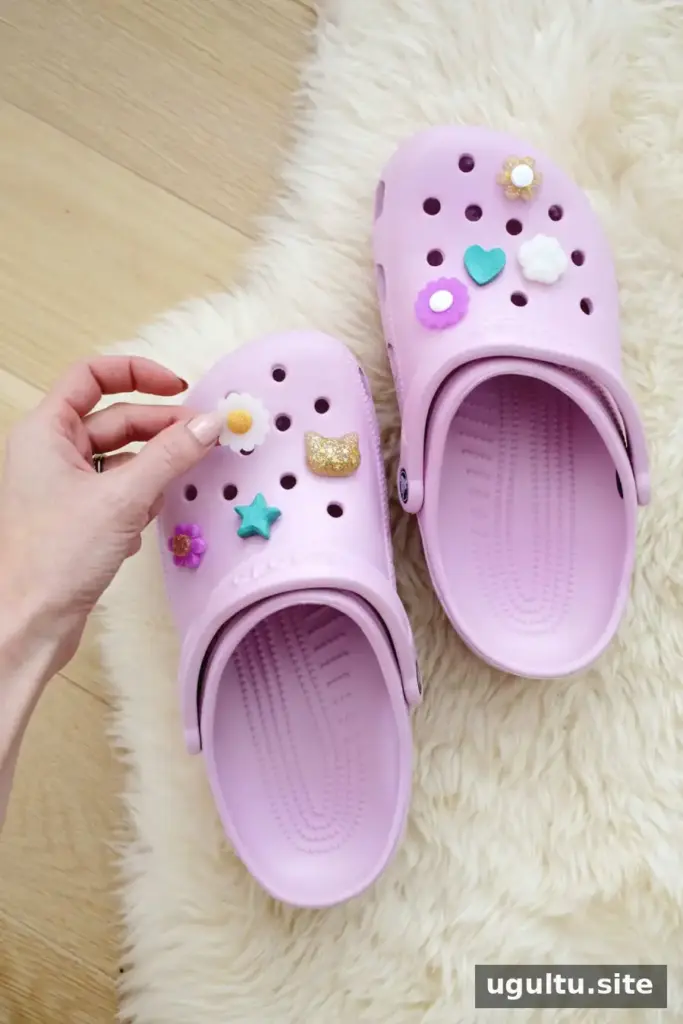
DIY shoe charms are an easy way to personalize ventilated clogs with colors and designs that suit your style. With liquid oven-bake clay, silicone molds, and a few basic supplies, you can make a set of small accessories at home. Choose single colors, combine shades, or add glitter for extra sparkle.
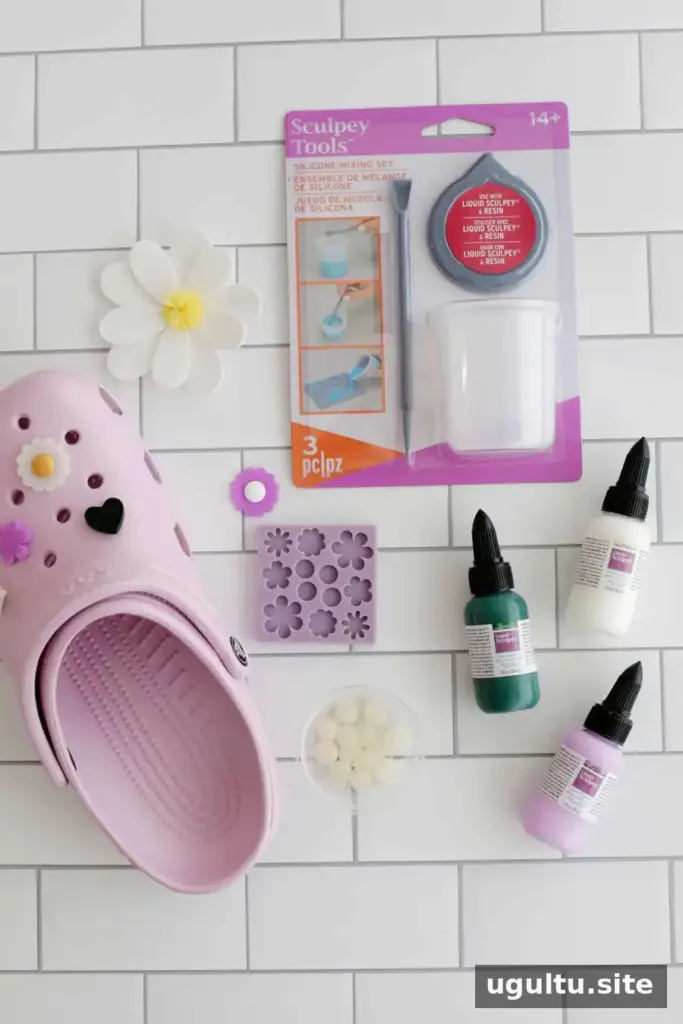
Supplies for DIY Shoe Charms
Gather your materials before you begin so the clay is ready to pour once you have chosen your designs. This project makes about 10 charms and costs approximately $10.
- Liquid oven-bake clay in your favorite colors
- A silicone mold with charm-sized shapes
- Charm backings
- Super glue
- A pair of ventilated clogs with holes for charms
- A mixing cup set and stir stick (optional)
- Glitter or mica powder (optional)
Prepare the Clay and Choose Your Colors
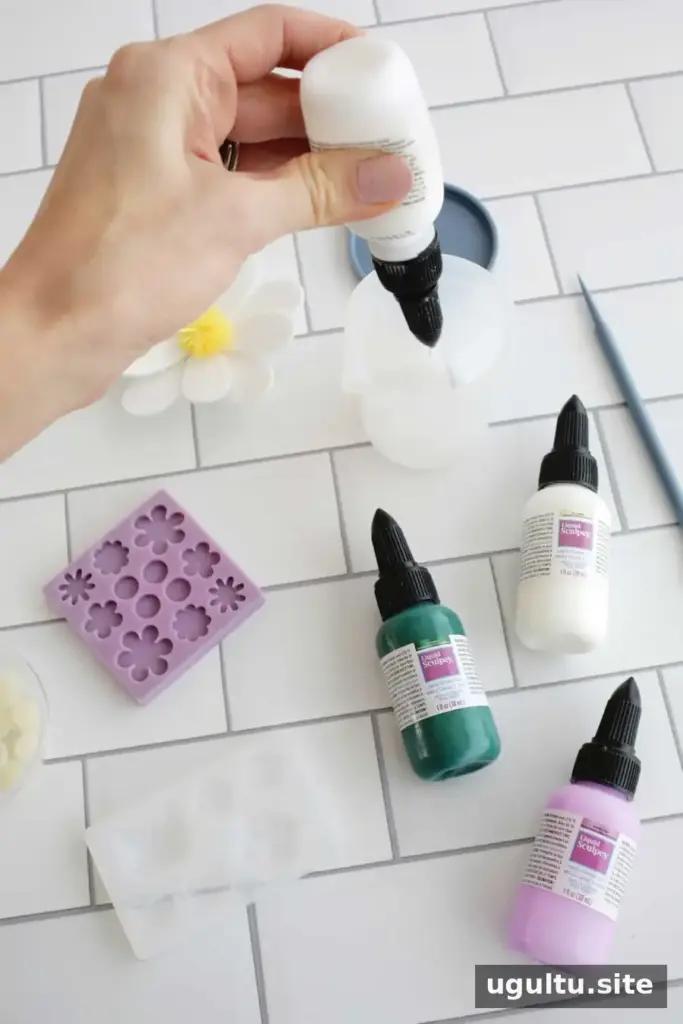
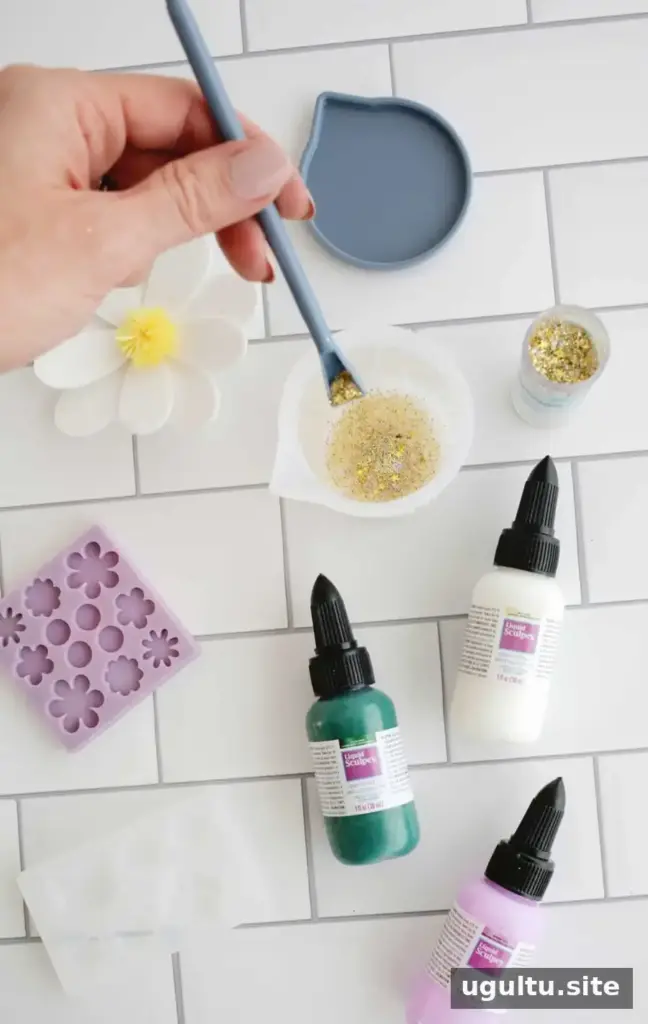
Set out the silicone molds and decide which colors you want to use in each shape. Stir the clay in its container before pouring. If you are blending colors, an oven-safe mixing cup with a measuring scale and pouring spout can make the process easier.
A dual-ended stir stick is useful for adding glitter or mica powder with less mess. Its pointed end can also help release small bubbles from the mixture. If you have extra clay in the cup, cover it for later use or follow the product directions for baking and removing it from the cup.
Fill and Bake the Charms
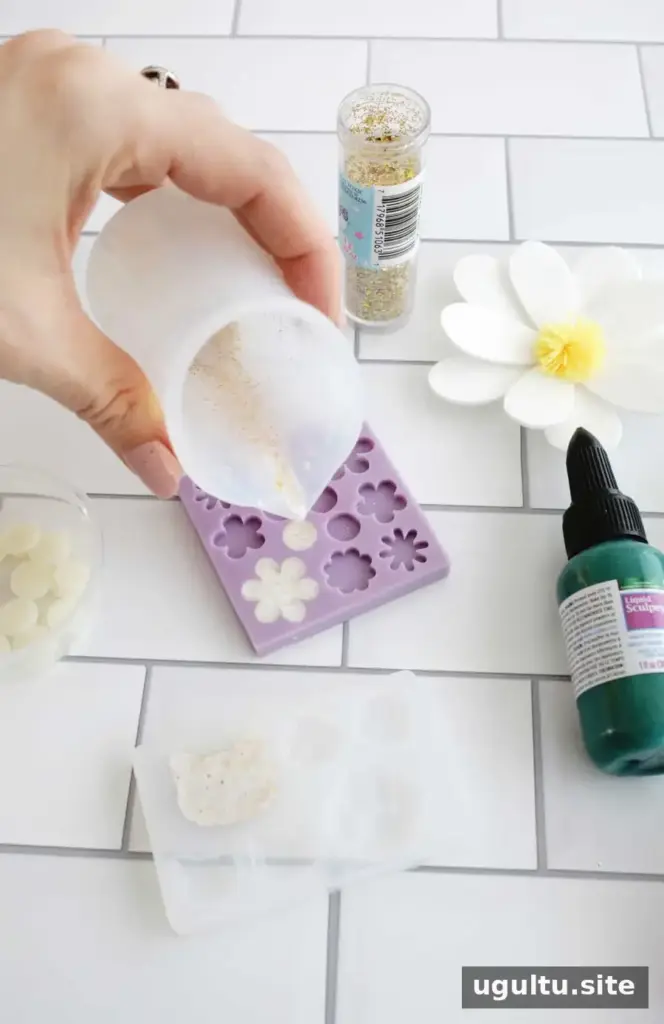
Pour or squeeze the prepared clay into the mold. Fill each shape with one color, create color-blocked sections, or add multiple colors and gently swirl them with a toothpick for a marbled effect. Avoid overfilling the cavities so the finished pieces keep their shape.
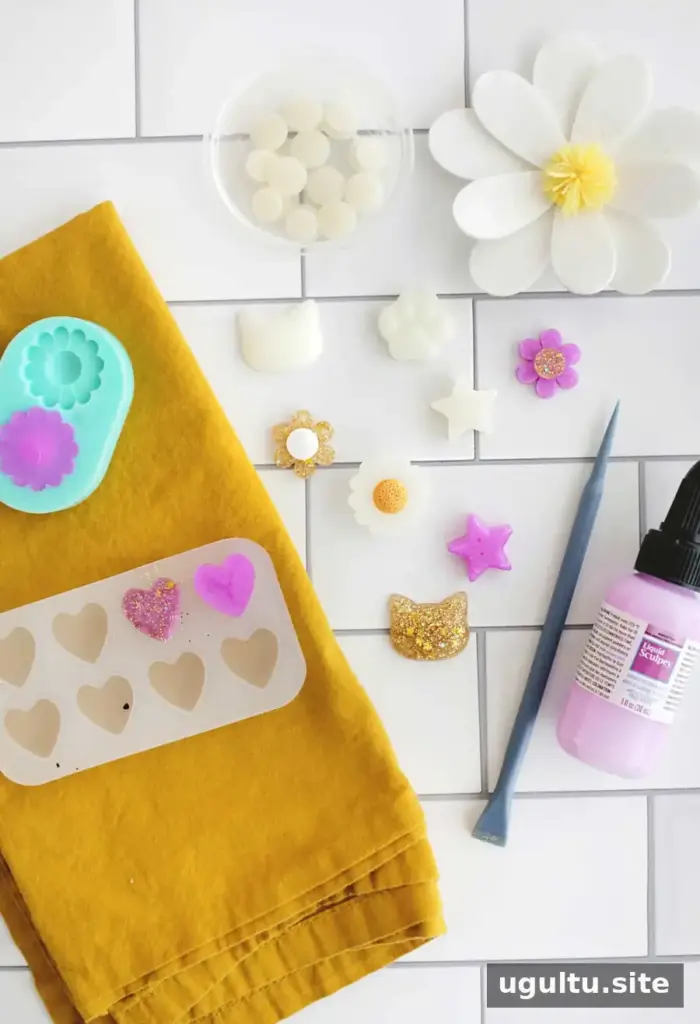
Bake the filled molds at 275° for 15 minutes per 1/4 inch of clay thickness. For example, bake a 1/4-inch-thick piece for 15 minutes and a 1/2-inch-thick piece for 30 minutes. Check the clay packaging for any additional directions, and use only molds intended for oven use. Let the molds cool completely before removing the charms.
Attach the Backings and Decorate
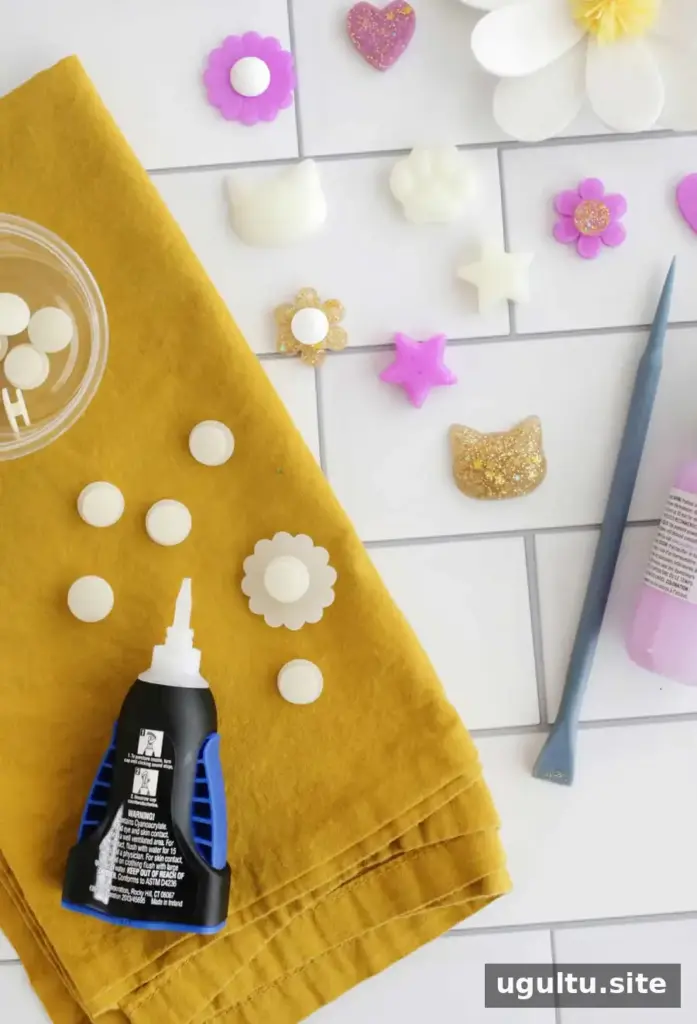
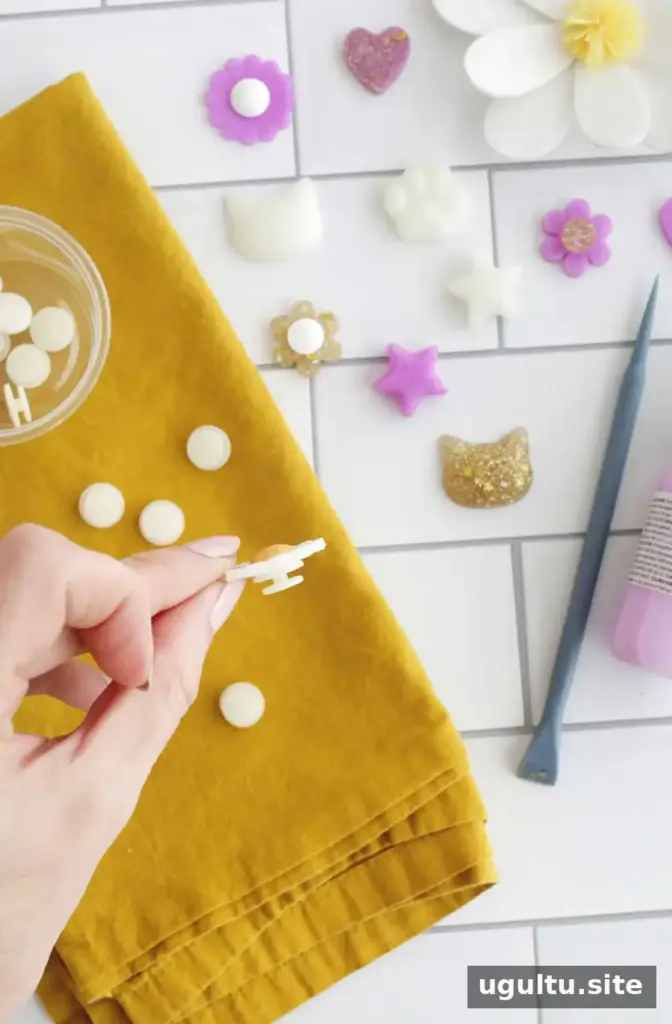
Once the charms are fully cool, use super glue to attach a backing to each one. Let the glue set and dry according to its instructions before placing the charms on your shoes. Keep glue and uncured craft materials away from children, and have an adult manage baking and hot molds.
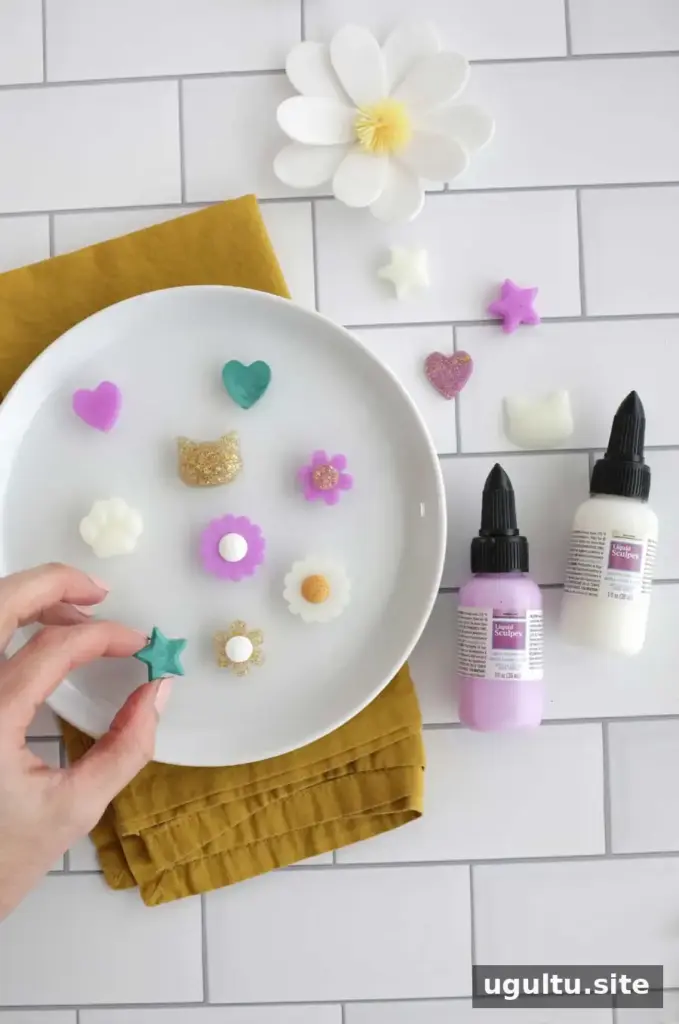
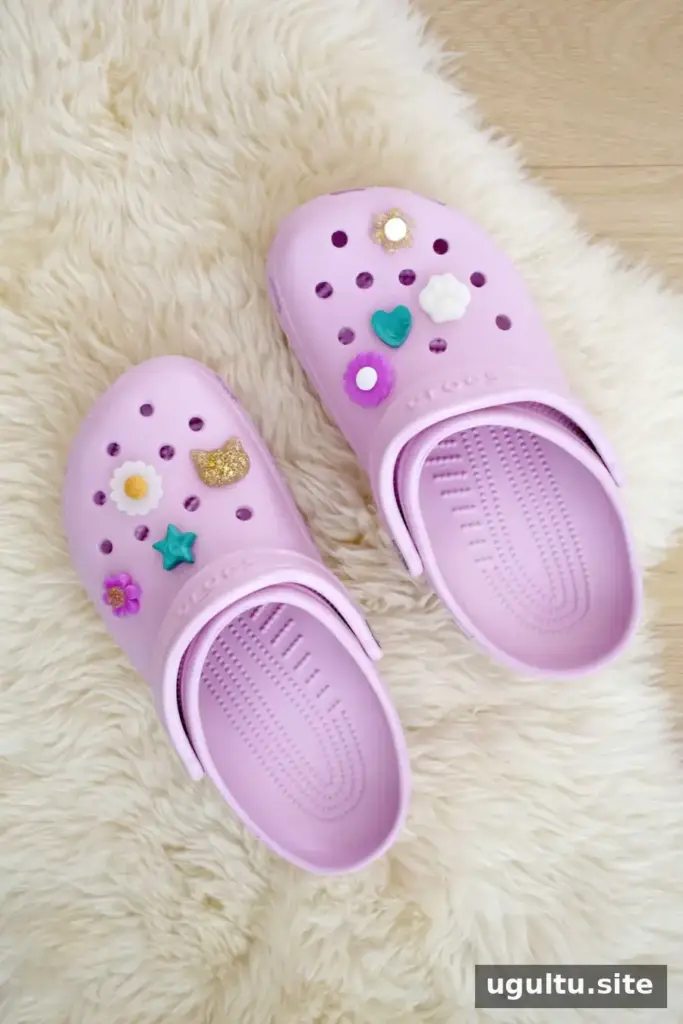
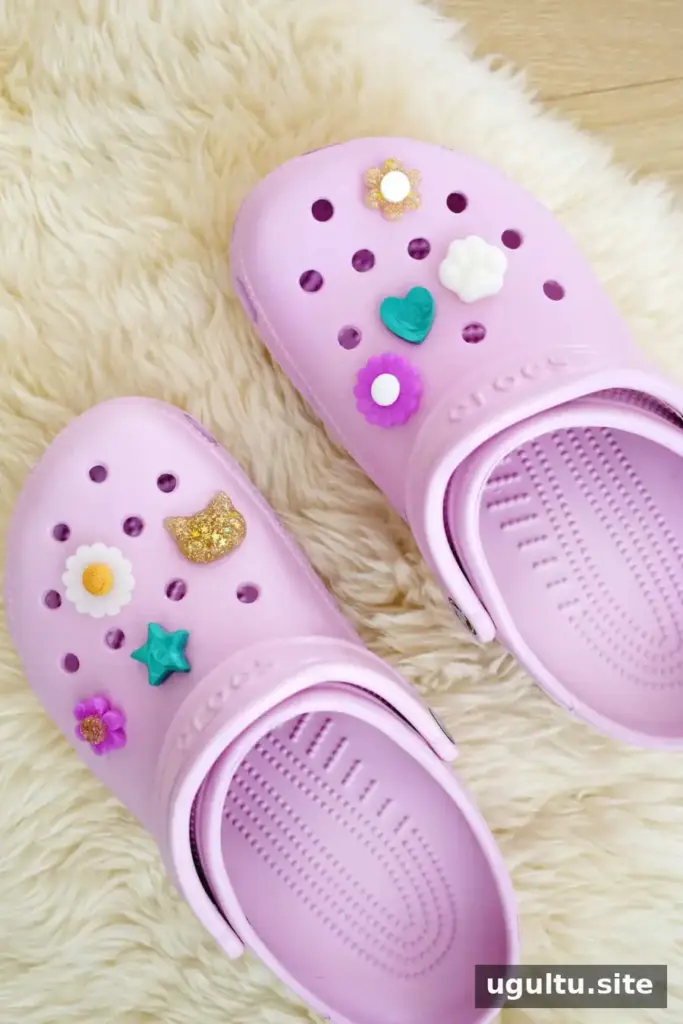
When the adhesive is dry, your handmade charms are ready to wear. Check that each backing fits securely into the shoe holes before heading out.

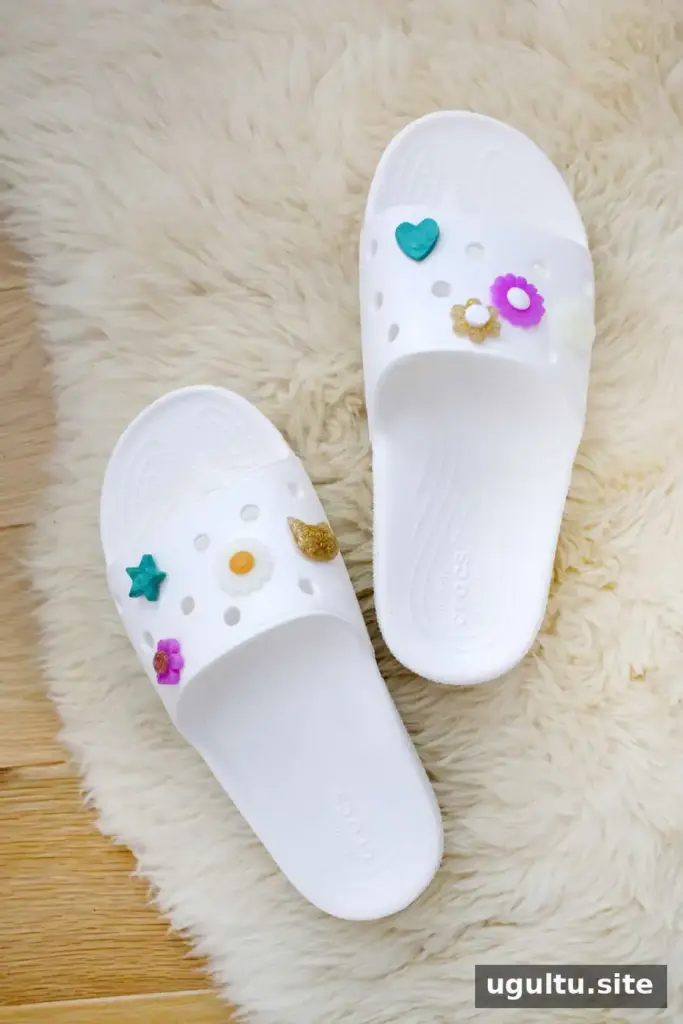
More Ways to Customize Your Charms
Try bright color combinations, glitter, or glow-in-the-dark clay to give each design a different look. The same molded pieces can also be adapted into pins or necklace charms by using suitable backings; choose attachments that match the finished piece and follow the adhesive directions.
This project takes about 5 minutes to prepare, 15 minutes to bake, and around 30 minutes in total. The recipe details list a yield of 10 charms and a cost of $10. Baking time varies with thickness, so use the specified 15 minutes per 1/4 inch as your guide.
Conclusion
DIY shoe charms offer a simple, customizable craft for adding personality to ventilated clogs. With a mold, colored liquid clay, and secure backings, you can make a coordinated set or experiment with different patterns and finishes. — Laura


