
 admin
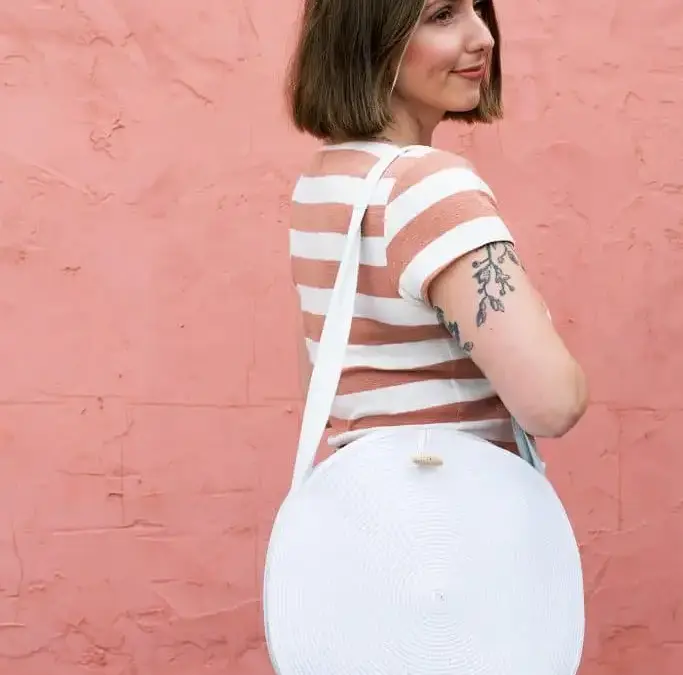
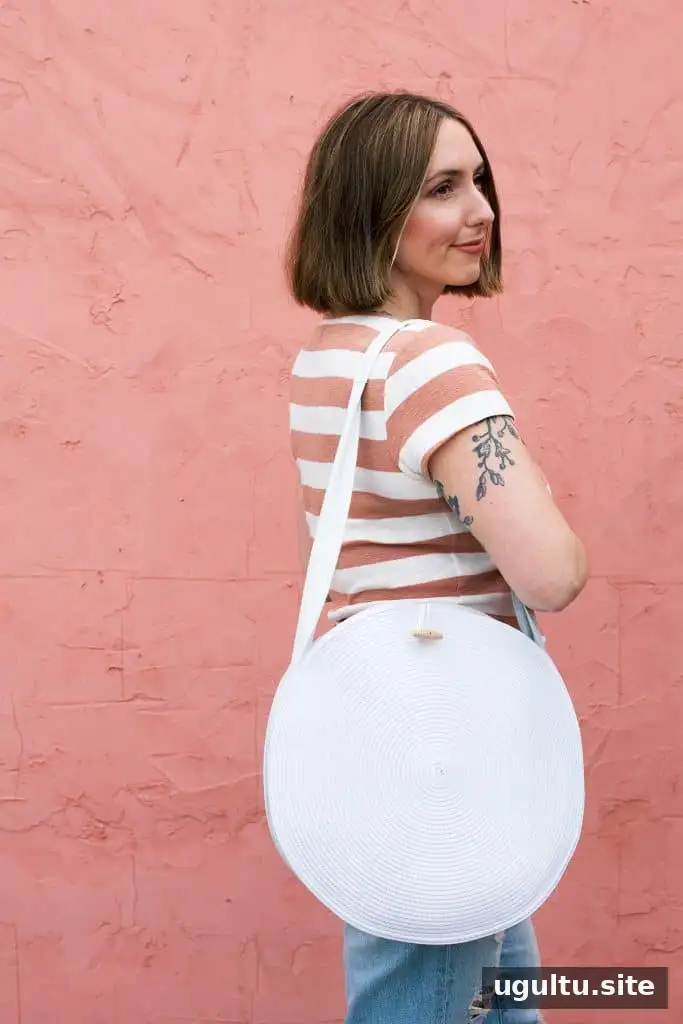
A DIY circle tote is a simple way to turn two woven placemats and a leather strap into a distinctive everyday bag. The rounded shape works well for carrying books, magazines, and other small essentials, while the straightforward construction makes this a manageable sewing project. Gather the materials first and decide how long you want the handles before you start stitching.
Materials for a DIY Circle Tote
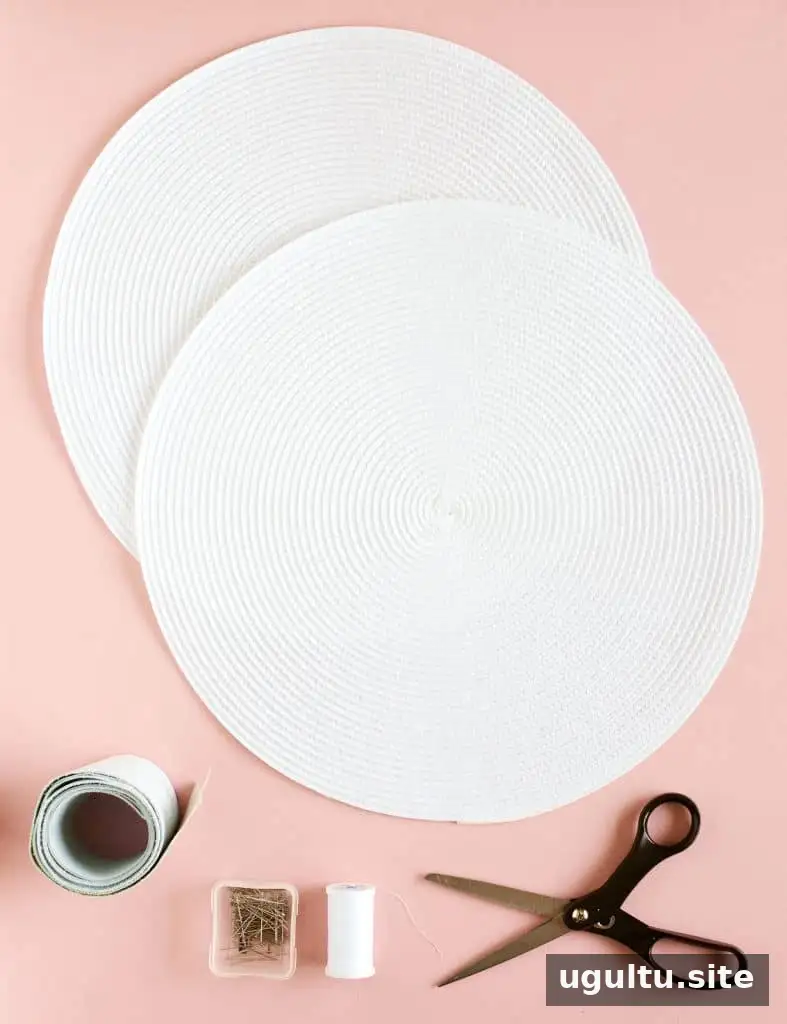
- Two woven placemats
- Two yards of 2-inch or 3-inch-wide leather strip
- Needle and thread
- Scissors
- Optional: a toggle button and leather cord. You can make the cord by trimming a narrow strip from the leather piece cut in the first step.
Choose placemats that are similar in size and have enough structure to hold the shape of the bag. Before cutting the leather, lay the materials out together so you can plan where the bag body and handles will sit.
How to Make the Tote
Step 1: Prepare the leather
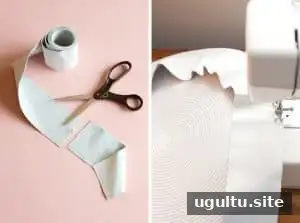
Cut about 6 inches from one end of the leather strap. Set this piece aside; it will be used to wrap the center of the handle. If you want to add the optional toggle closure, trim a narrow strip from this section to make a cord.
Step 2: Attach the first placemat
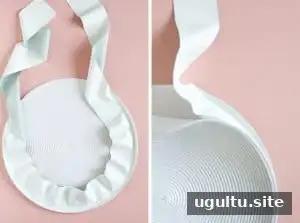
Sew the leather strip along part of the edge of one placemat, keeping the less-finished side of the leather facing inward. Leave similar lengths of leather loose at both ends. The leather was stitched around more than half of the circular edge. Keep the strip aligned with the placemat as you sew to help the finished bag sit evenly.
Step 3: Attach the second placemat
Sew the second placemat to the other side of the leather strip, following the placement shown. Check that the two loose leather ends are approximately even before continuing. Pinning was not necessary for this construction, but you can use clips or pins if they help keep your materials in position.
Step 4: Shape the handle
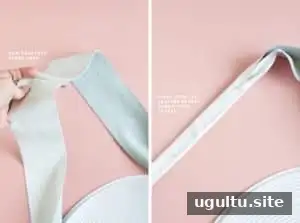
Choose the tote handle length you prefer. About 3 inches were cut from each end of the leather strap before stitching the ends together to form the handle. This joining seam will be covered in the next step. Before sewing, hold the strap in place to check that the bag will hang comfortably at your chosen length.
Step 5: Cover the handle join
Use the leather piece saved in Step 1 to wrap around the center of the handle, covering the stitched join. Fold the strap before wrapping the leather around it, then sew the wrap in place so it stays put. Keep the wrap snug, but avoid pulling it so tightly that the handle becomes distorted.
Step 6: Add an optional toggle closure
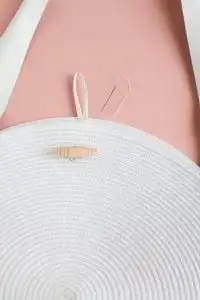
A toggle button adds a finishing detail and helps hold the tote closed. Stitch the toggle button onto the bag, then attach a piece of leather cord long enough to loop around it. Check the cord length before securing it so the loop can fasten around the toggle without being overly tight.
Using and Finishing Your DIY Circle Tote
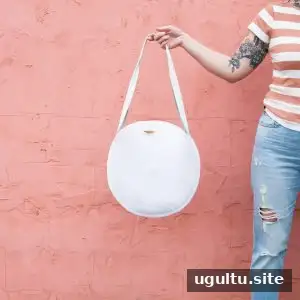
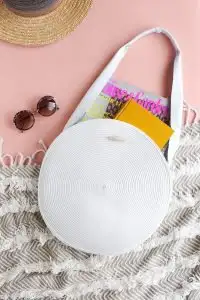
This DIY circle tote is sized for items such as books and magazines, without being so large that smaller belongings are difficult to find. When finished, check the handle seams and the stitching along both placemats, especially if you plan to carry heavier items. The same simple design can be made in different colors by choosing placemats and leather that suit your style.
—Mandi


