admin
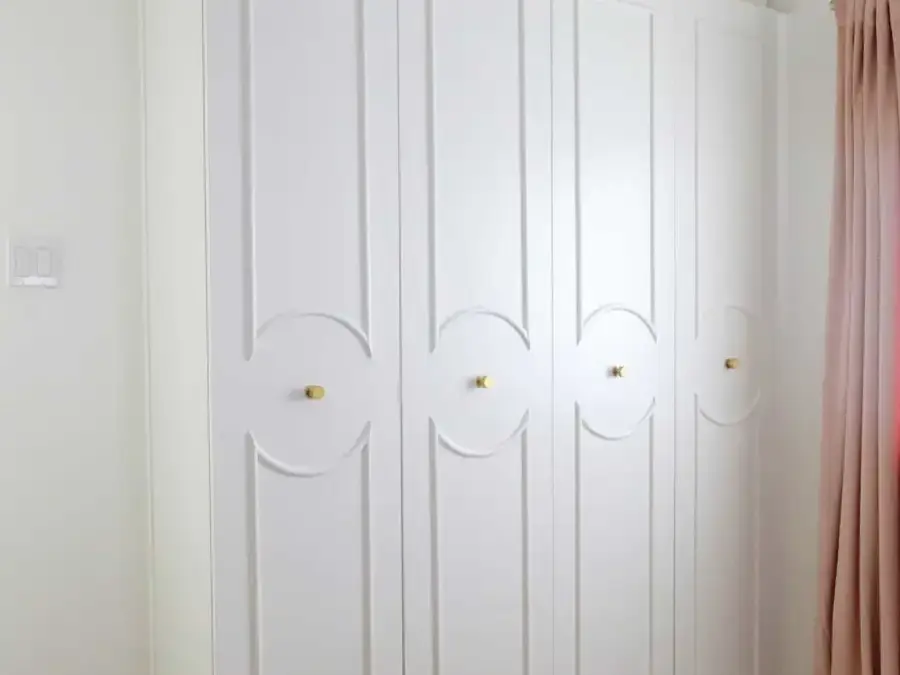
An IKEA Pax built-in wardrobe can add practical closet storage to a room without an existing closet. With a raised wood platform, carefully fitted trim, and a little finishing work, standard wardrobe units can look integrated with the room. This project is designed to make the installation more polished while keeping the wardrobe’s storage flexibility.
The example project cost about $50, not including the wardrobe, and took around five hours of preparation and total work time. Your measurements, wall shape, and trim details may affect the time and materials needed.
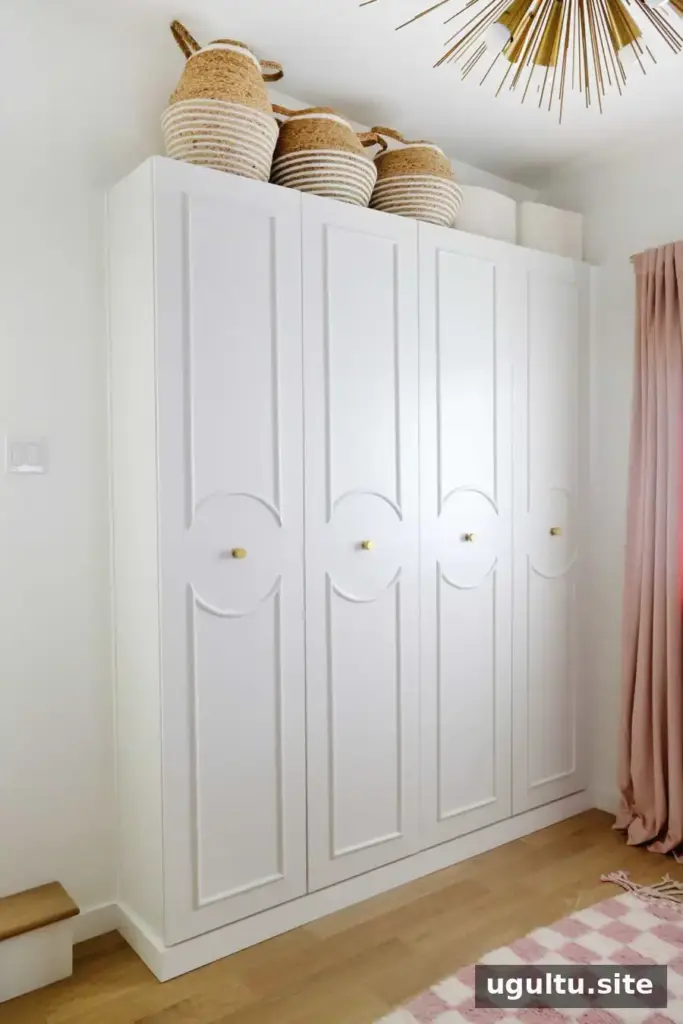
Materials and tools for an IKEA Pax built-in wardrobe
- IKEA Pax wardrobe units and doors
- 2 1/2-inch or 3-inch construction screws
- 2x4s or 2x2s for the base
- Drill
- Miter saw or hand saw with a miter box
- Finishing nail gun, or small finish nails, a hammer, and a nail setter
- Baseboard to match the room
- Wood filler, caulk, and paint to match the baseboard and/or wardrobe
How to make an IKEA Pax wardrobe look built in
1. Remove the baseboard
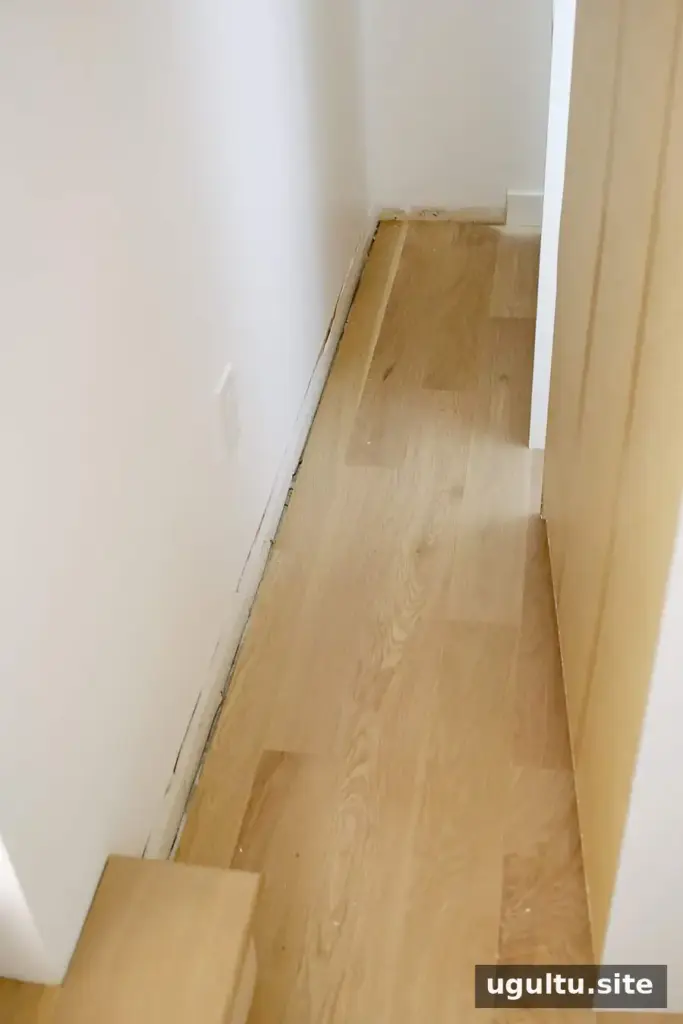
Remove the baseboard along the wall where the wardrobe will sit so the unit can fit close to the wall. First, score the caulk line at the top of the baseboard with a utility knife. Then gently work a crowbar behind it, moving along the board a little at a time to reduce the chance of breaking it.
If you only need to remove part of the baseboard, mark the required section and cut it with a multi-tool before prying it away. Measure the wardrobe area first so you remove only what is needed. Wear eye protection when cutting or prying.
2. Build a level platform
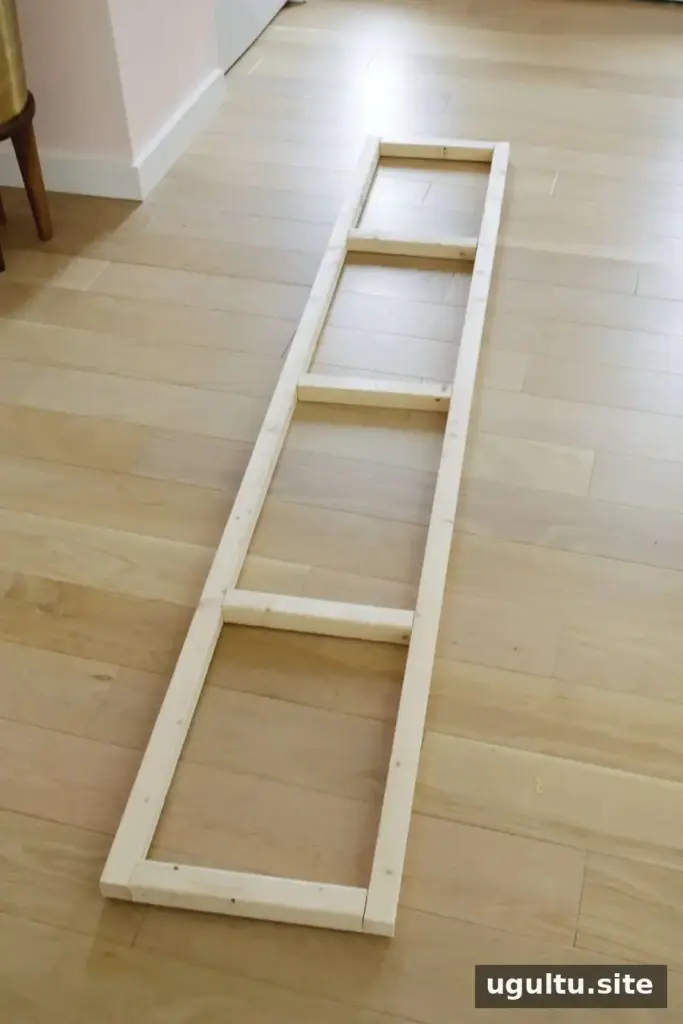
Make a rectangular base from 2x4s or 2x2s, sized to match the footprint of the wardrobe. For example, a space measuring 24 inches by 80 inches would need a platform with the same dimensions. Cut the boards with a miter saw or a hand saw and miter box, then screw the frame together from the outside edges.
Add intermediate support boards so the center of the platform is supported as well as the ends. Check that the frame is square and level before placing the wardrobe on it; an uneven base can affect how doors open and align.
If a wardrobe side will sit close to a wall, consider allowing space for a side spacer. In the example, a 3-inch spacer helped provide room for the door to open. Include any spacer in the overall width measurement before cutting the platform.
3. Secure the platform
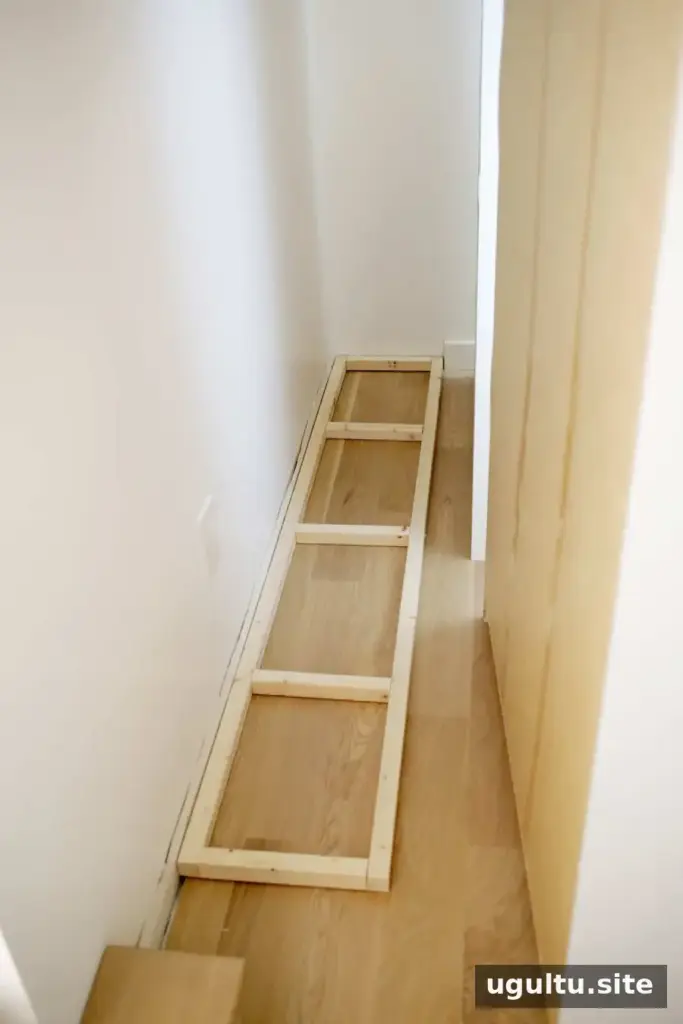
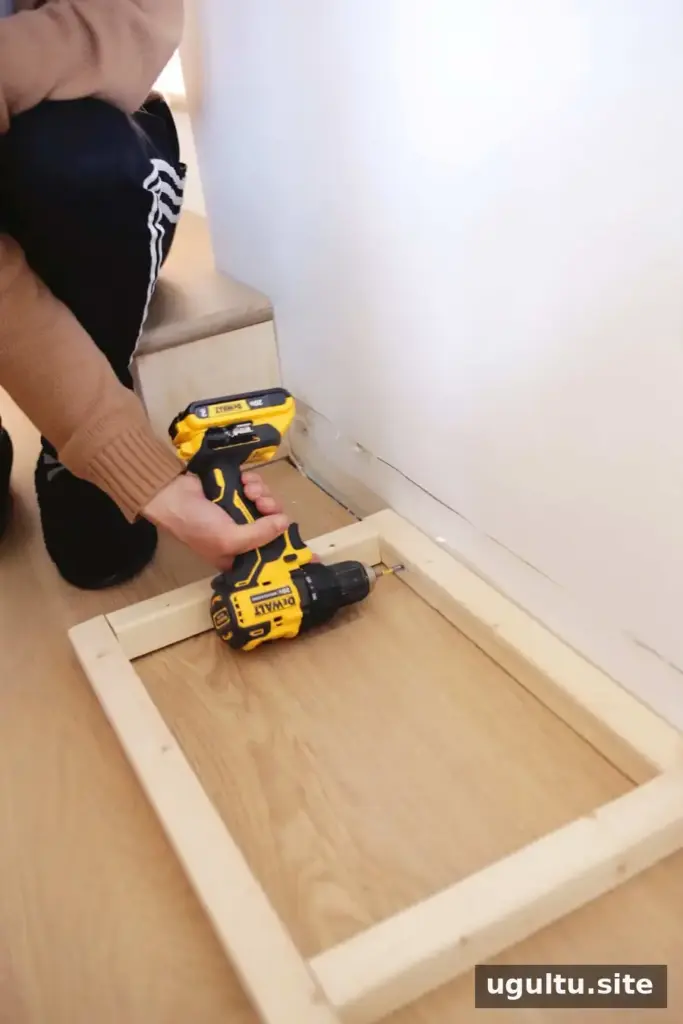
Attach the back edge of the base to the wall with suitable screws, spaced about every 12 inches. Choose fasteners appropriate for the wall construction and secure the platform safely. The front edge can also be fastened to the floor if the flooring can be drilled and the installation calls for it.
4. Install and anchor the wardrobe units
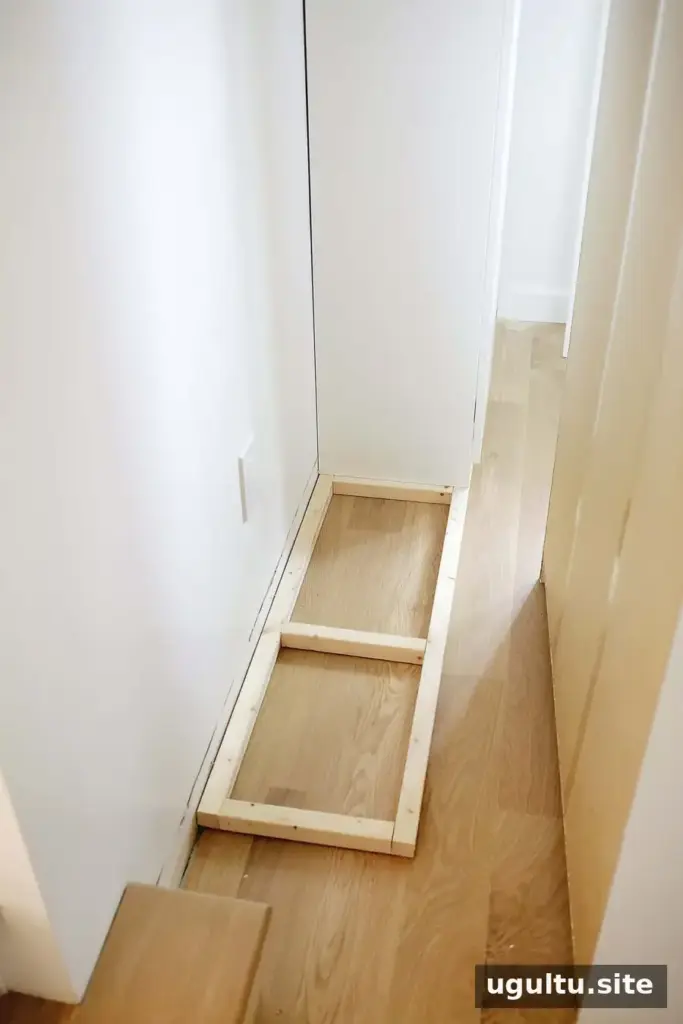
Set the wardrobe sections on the platform one at a time, positioning them snugly against the wall. Connect the units to one another and anchor them to the wall according to the IKEA installation instructions. Follow the instructions for the specific units and use appropriate wall fixings; do not rely on the platform alone to prevent tipping.
5. Refit the baseboard and add trim
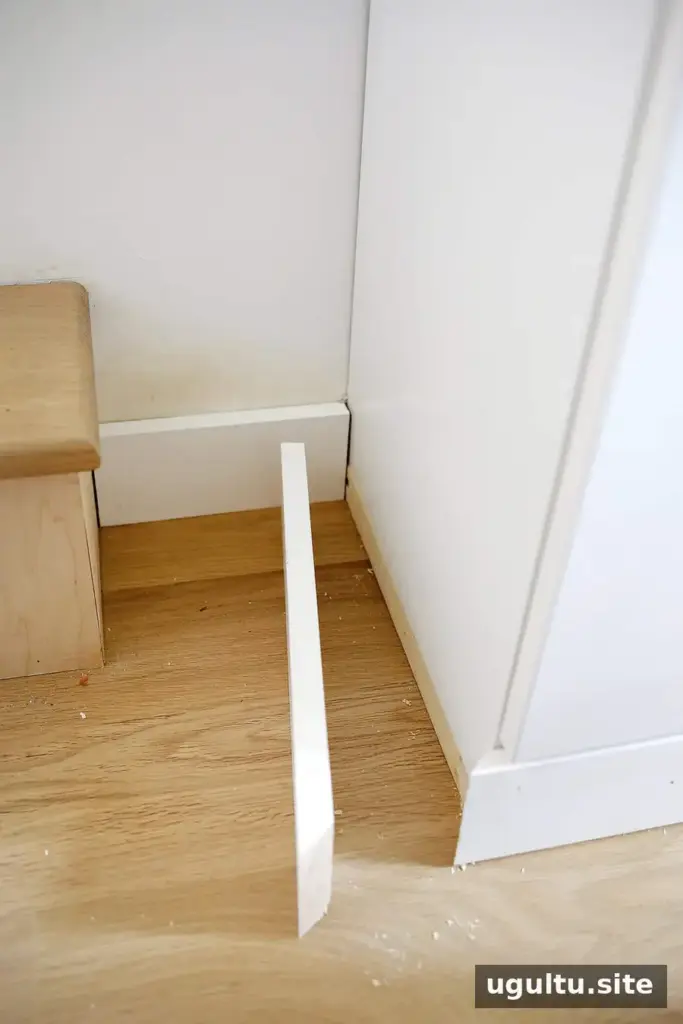
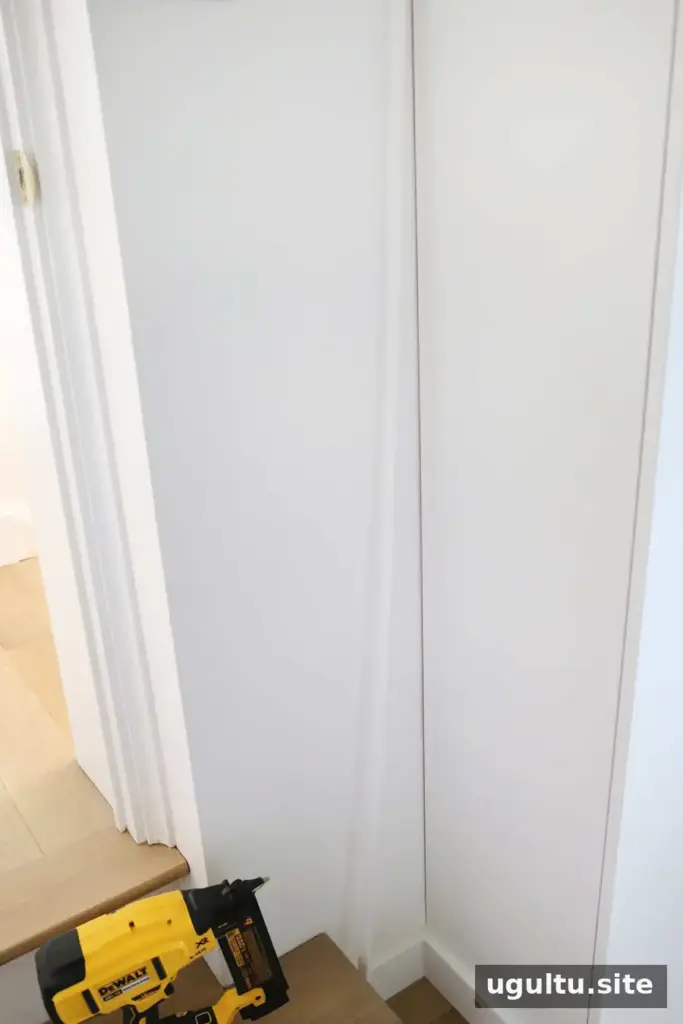
Measure and cut the baseboard so it fits along the wall and around the wardrobe. A miter saw can make 45-degree corner cuts; a hand saw and miter box are another option. Fit the wall sections first, then measure the pieces around the wardrobe for a closer fit.
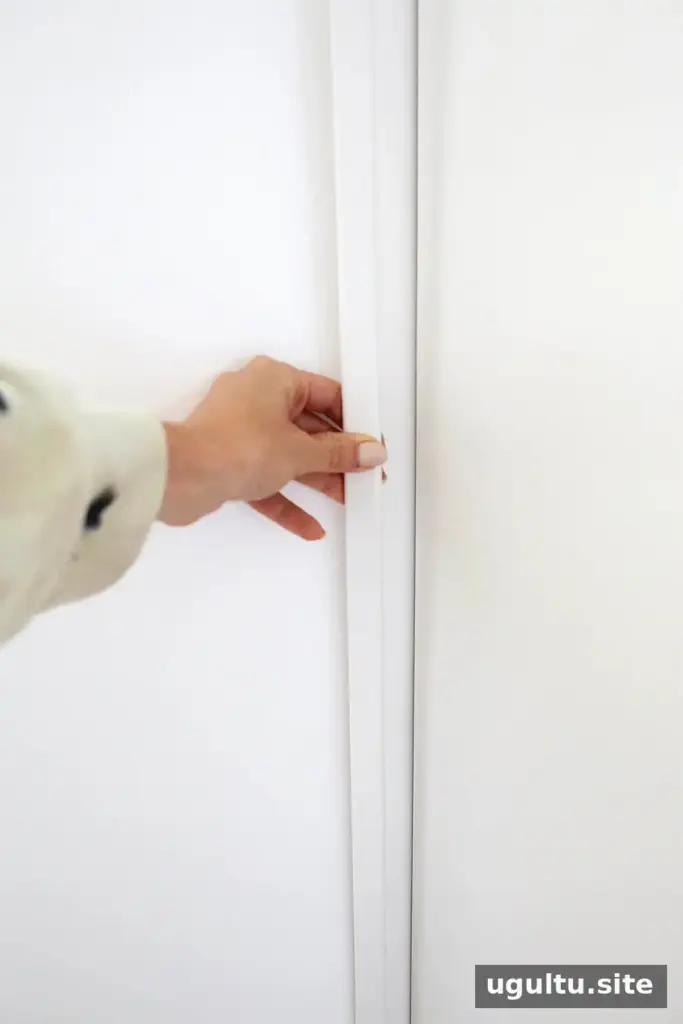
Attach the trim with a finishing nail gun or small finish nails. Set nail heads slightly below the wood surface with a nail setter. If there is a narrow vertical gap between the wall and wardrobe, add a suitable piece of cabinet trim cut to the cabinet’s height.
6. Fill, caulk, and paint
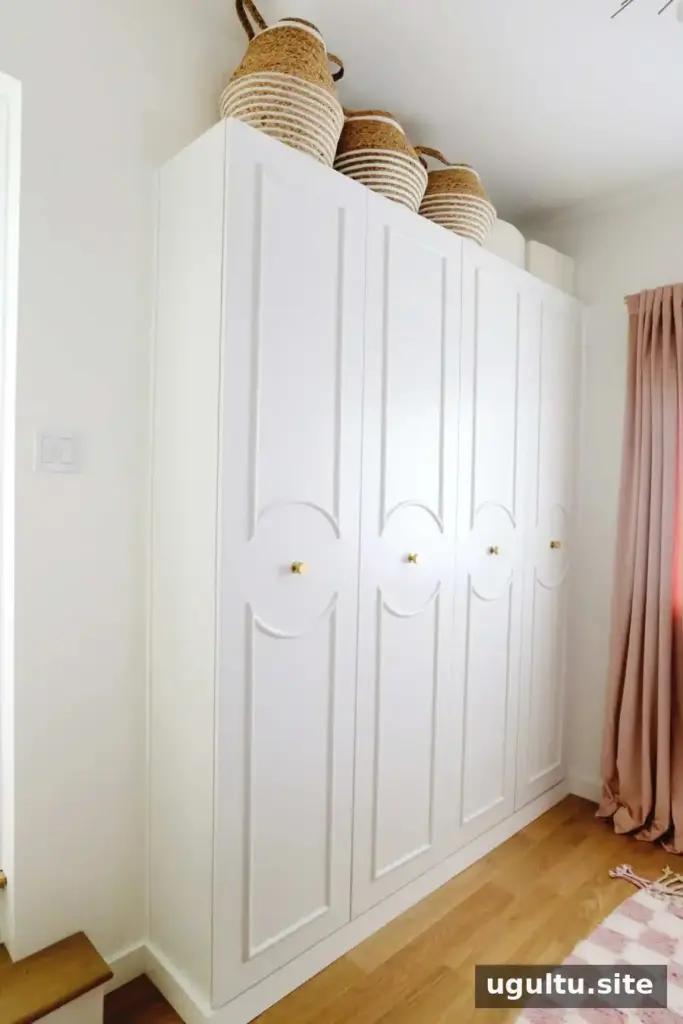
Fill nail holes with wood filler and smooth it as directed on the product label. Apply caulk along the joints between the baseboard, wall, and wardrobe to create a neat transition. Once the filler and caulk have dried, paint the trim to match the room’s baseboards or the wardrobe. Behr’s Melting Icicles was used in the example to match the white IKEA Pax finish.
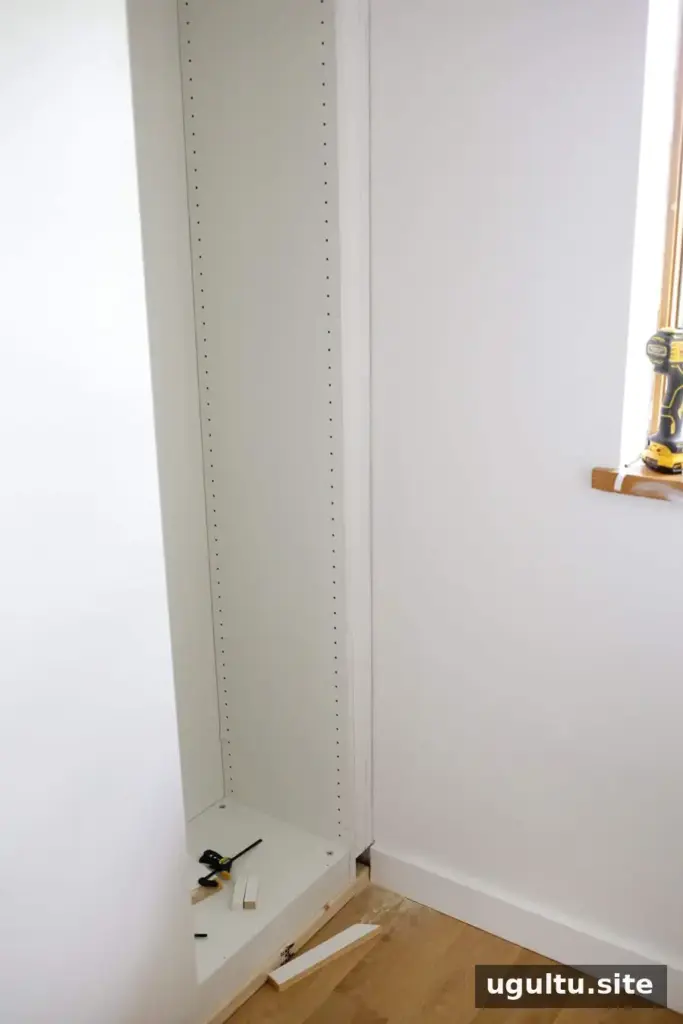
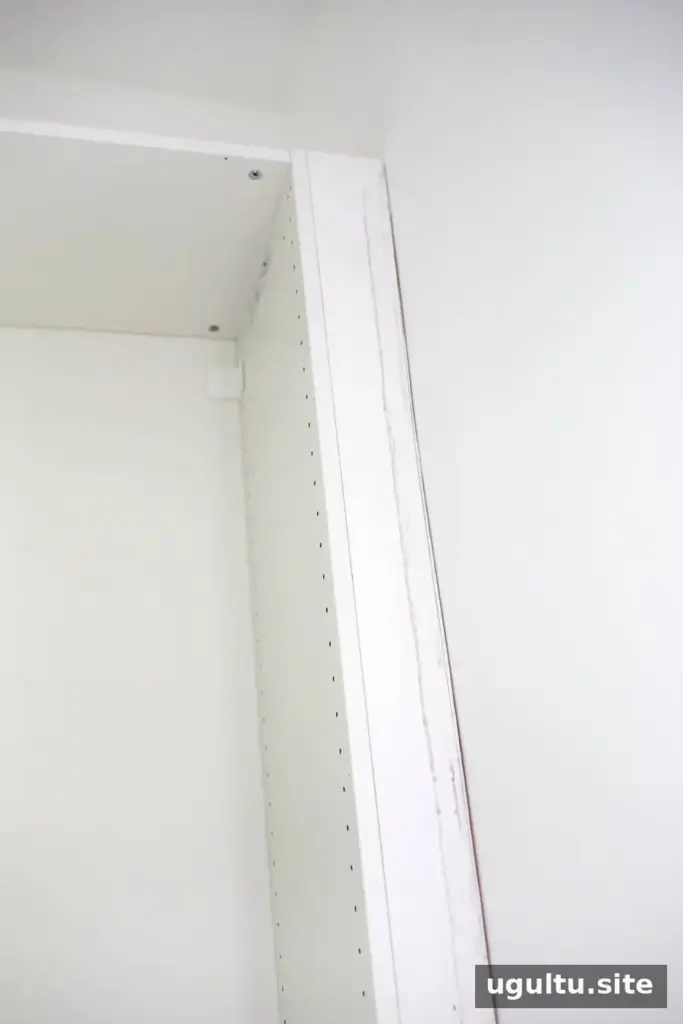
Optional: Fit a side spacer to an uneven wall
A spacer can move a wardrobe door farther from a nearby wall or help fill a gap beside a recessed installation. Place and anchor the wardrobe units first. Then trace the wall’s actual contour onto a board; walls are not always straight, so measuring only at the top and bottom may leave an uneven gap.
Cut the board to the required height, transfer the wall profile, and trim along the marked line with a jigsaw. Test-fit the piece so its front sits flush with the wardrobe, then attach it from inside the cabinet with finish nails. Caulk and paint the spacer to blend it with the surrounding trim. Add its width to your measurements when planning the installation.
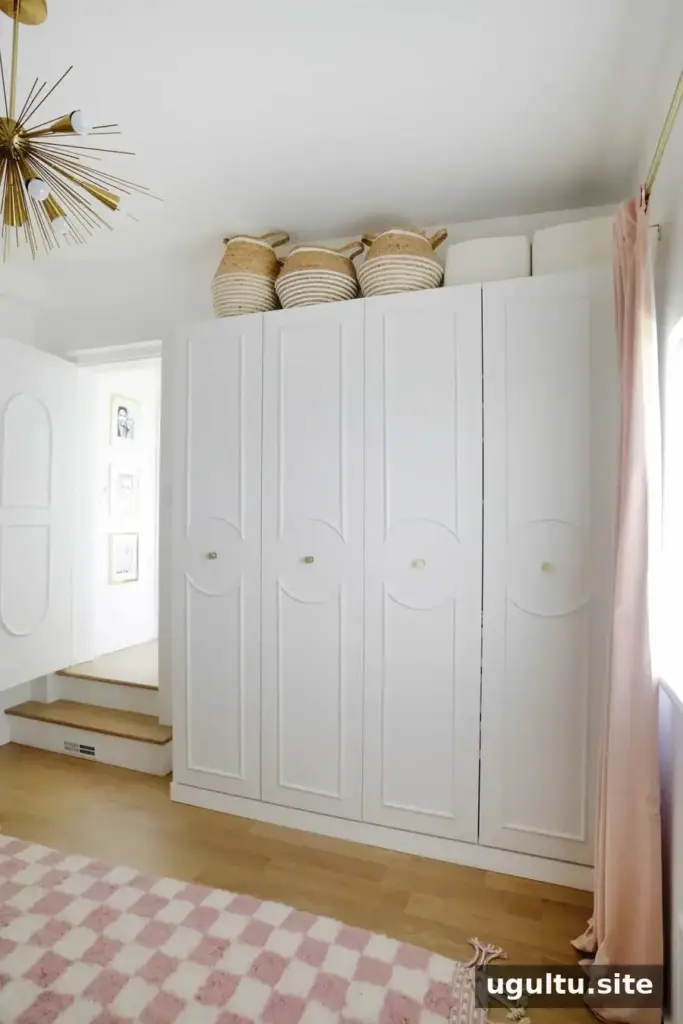
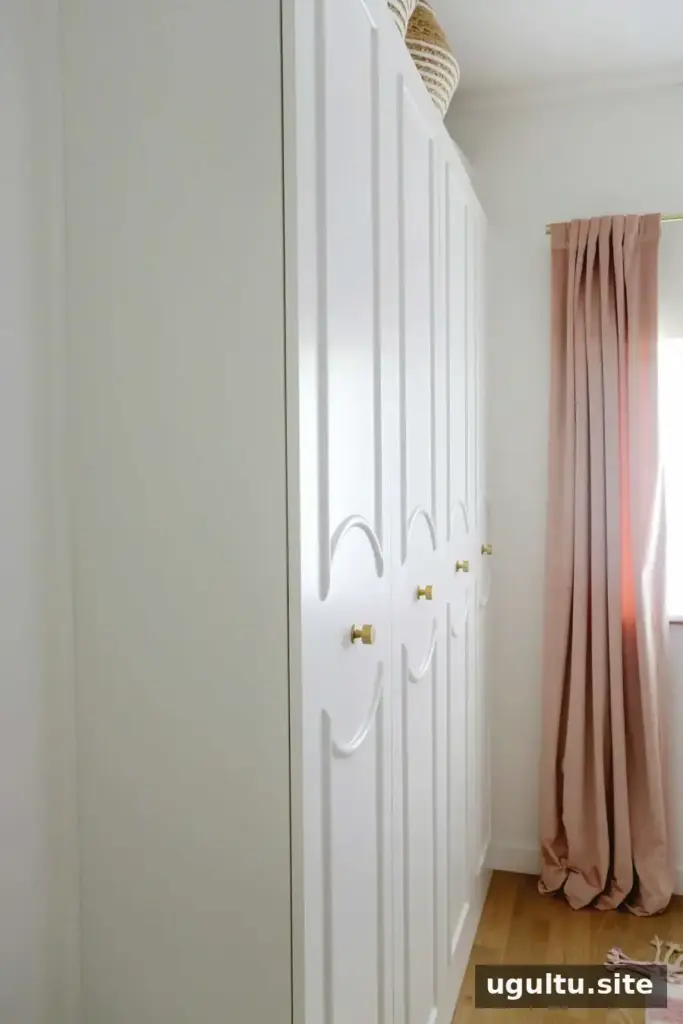
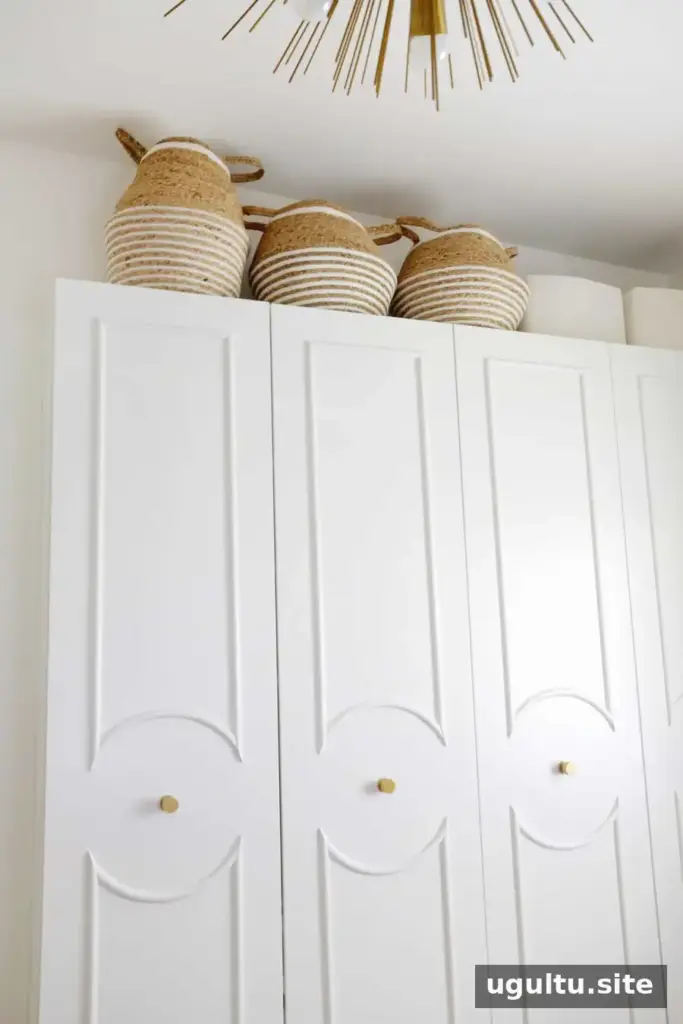
Finishing touches and final checks
Before loading the wardrobe, check that the units are stable, the wall anchors are secure, and the doors open freely without striking the wall or trim. Small adjustments to the spacer or trim can improve door clearance and make the finished installation look more seamless. The wardrobe doors can also be customized with additional trim, provided the added details do not interfere with their operation.
This approach lets you adapt the storage capacity by choosing the number of Pax units that fit your space. Measure carefully, account for any side spacers, and follow the manufacturer’s anchoring instructions for a neat and secure IKEA Pax built-in wardrobe.
Project by Laura.