
 admin
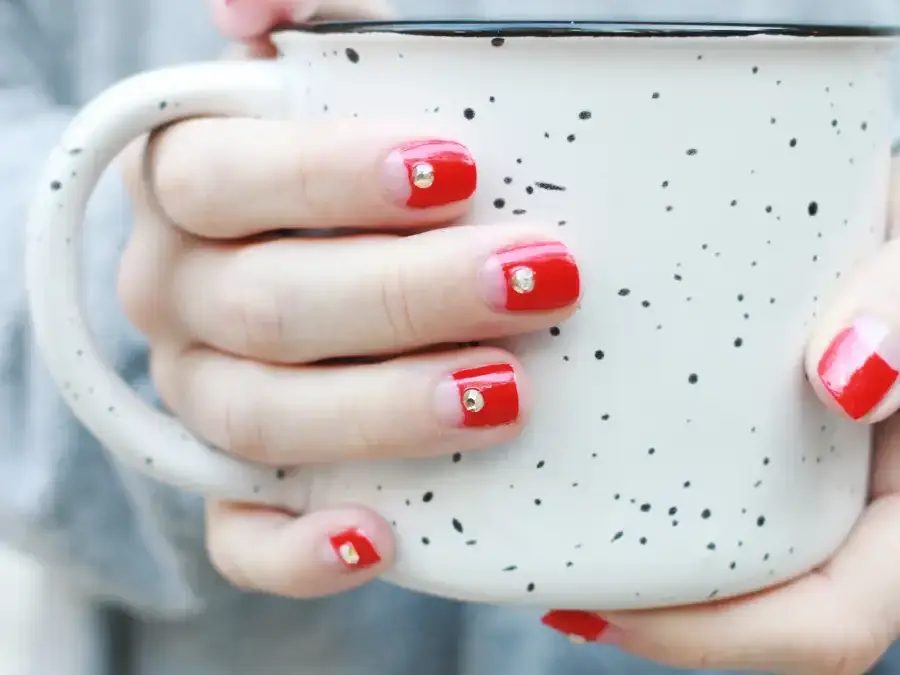
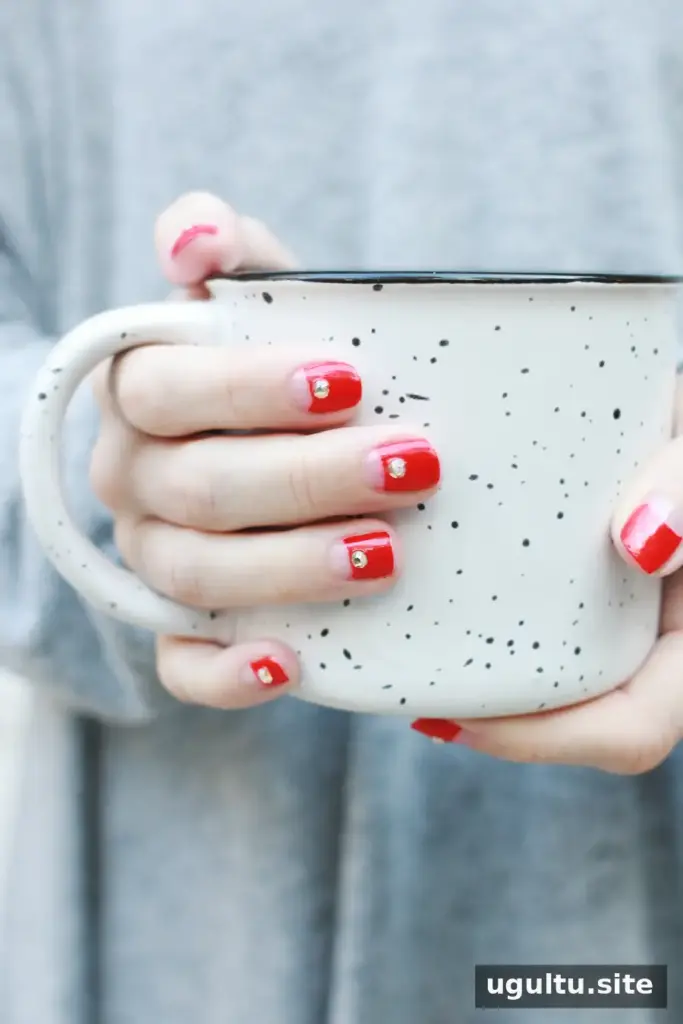
A half moon manicure adds a clean, modern detail to your nails without requiring elaborate tools or nail art skills. Reinforcement labels help shape the curved space at the base of each nail, while a crystal is an optional way to add a touch of sparkle. You can also leave the design simple and let the contrast between the bare half moon and colored polish stand on its own.
Supplies for a Half Moon Manicure
Gather everything before you begin so you can remove the labels and tidy the polish while it is still workable. You will need:
- Small, stiff makeup brush
- Polish remover
- Nail polish of your choice
- Top coat
- Crystals, if desired
- Reinforcement labels
Choose a polish color that contrasts with your natural nail for a more defined curve. If you plan to use crystals, keep them close at hand before applying polish so they can be placed while the polish is wet.
How to Create the Half Moon Shape
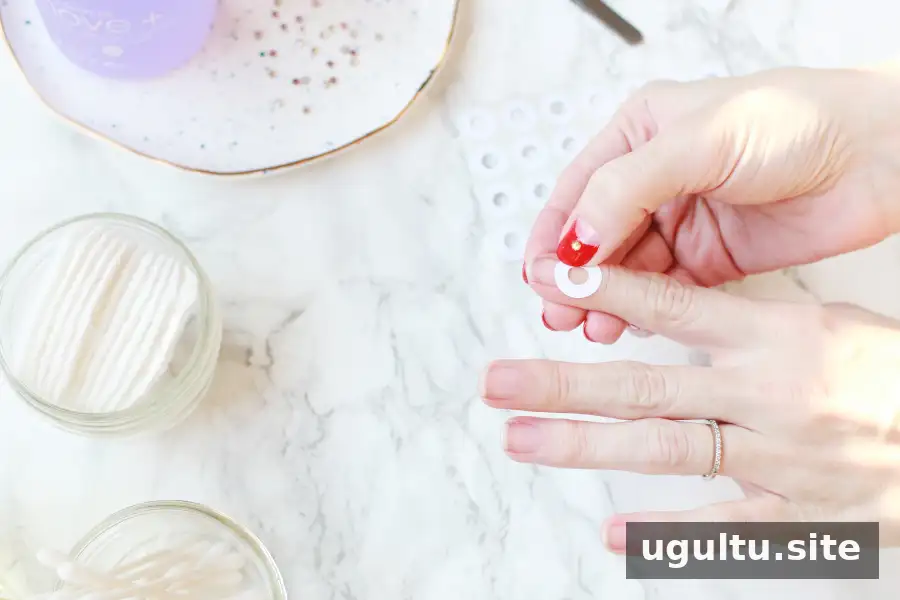
1. Position a reinforcement label
Place a label over the bottom portion of the nail, leaving the area you want to paint exposed. Press it down firmly, especially around the curved edge. The label provides a guide, but it may not block every bit of polish, so expect to do some cleanup. Working on one nail at a time can make the process easier to manage.
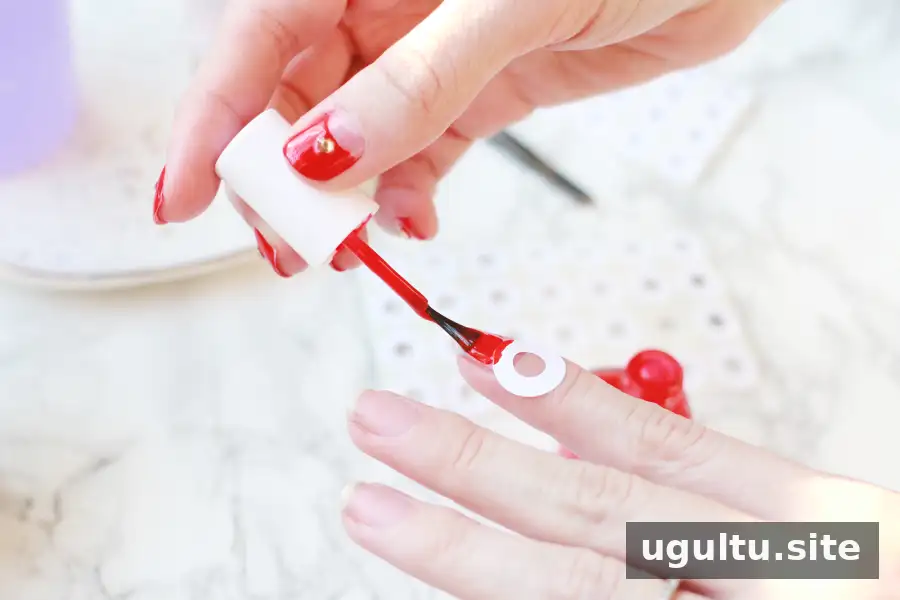
2. Apply the polish and remove the label
Paint two coats of your chosen polish over the exposed part of the nail. Carefully peel the label away immediately after applying the polish, before it has time to dry. The edge may look uneven at this stage; you will refine it in the next step.
3. Add an optional crystal
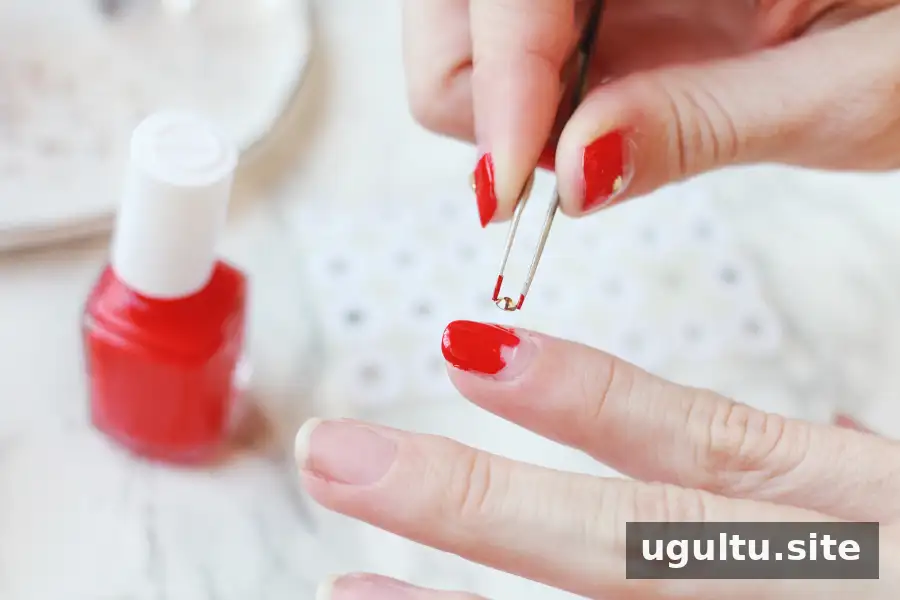
For a small decorative accent, place one crystal in the center of the nail while the polish is still wet. This step is optional, so skip it if you prefer a minimal design. Handle the crystal carefully to avoid disturbing the polish.
4. Clean the curve
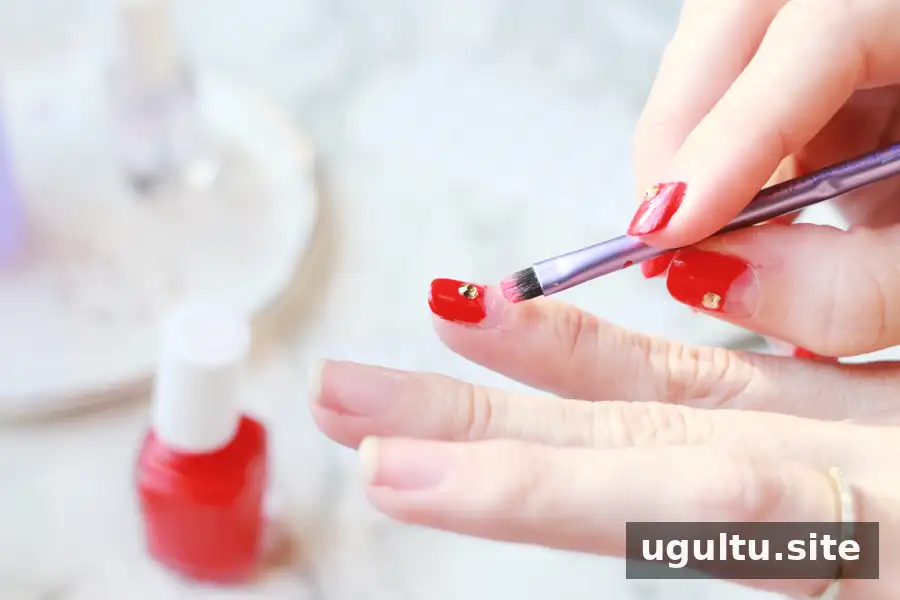
Dip the small, stiff makeup brush in polish remover and gently tidy the area around the nail. Use controlled strokes to sharpen the half moon curve and remove any polish that slipped beneath the label. Take care not to brush over the finished colored section.
5. Seal the design
Once the polish is ready for a top coat, apply one or two layers to add shine and help secure the crystal, if you used one. Follow the same steps on the remaining nails. Allow the manicure to dry thoroughly before doing tasks that could smudge the polish or shift the embellishment.
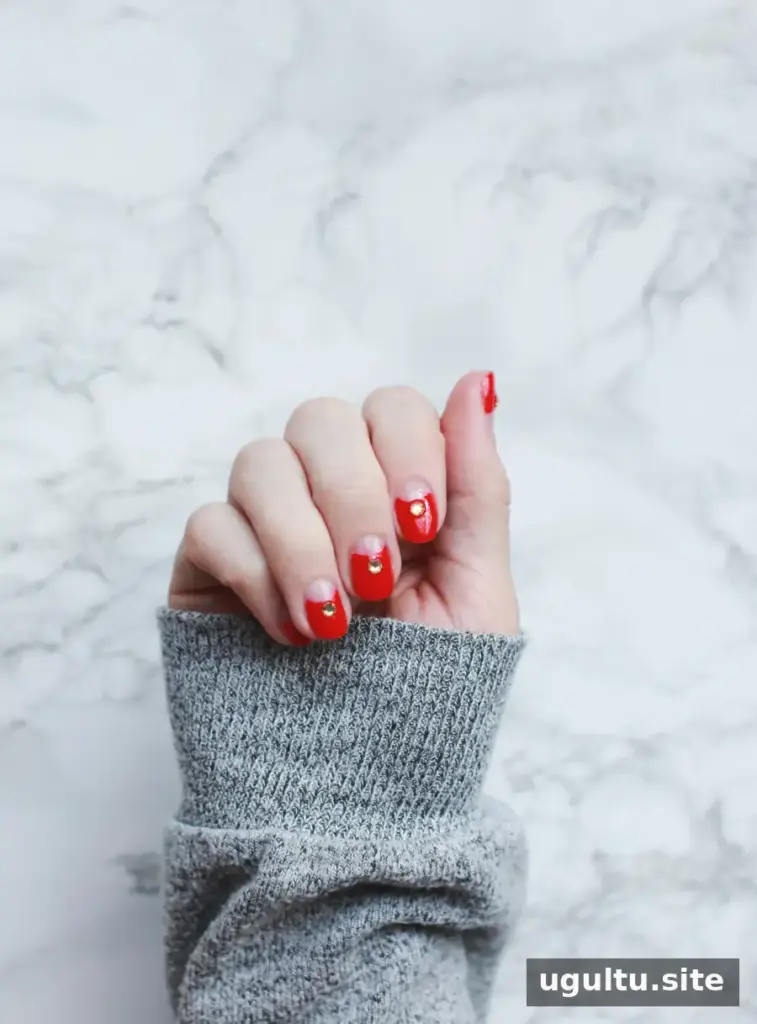
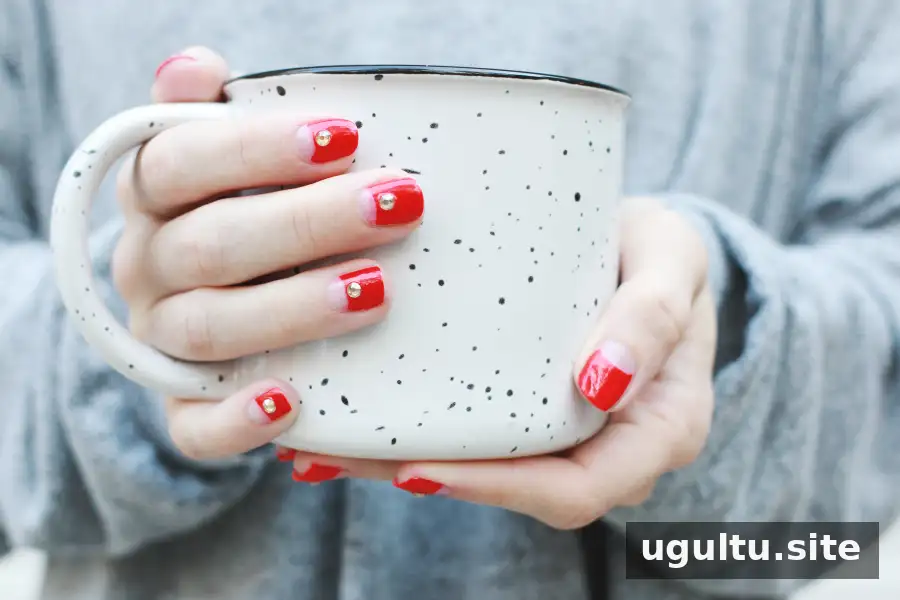
The finished half moon manicure can be worn with or without crystals, making it easy to adapt the look to your preferred level of detail. For cleaner results, press each label firmly into place, remove it while the polish is wet, and take your time with the final cleanup.
— Sav


