
 admin


Built-in cubby shelves can add practical, divided storage to a closet or other room. This guide, based on Collin’s project method, explains how to build cubby shelves by measuring the wall, installing supports, fitting the shelves, and finishing the front with trim. The example assumes an 8′ × 8′ wall and six rows of cubbies; adjust the measurements to suit your own space.
Supplies and tools for cubby shelves
Gather the materials and tools before starting. The quantities and cut lengths will depend on your wall dimensions and chosen layout.
- 1″ × 10″ × 8′ shelf boards
- 1″ × 2″ × 8″ trim boards
- 3/4″ × 1/2″ support boards
- 1″ × 4″ × 8′ board
- One 2″ × 4″ board
- Drywall anchors
Tools: tape measure, circular saw or miter saw, nail gun, drill, 4′ level, carpenter’s square, and stud finder. Wear appropriate eye and hearing protection when cutting or fastening lumber. Check board lengths and quantities against your final plan before purchasing.
How to build cubby shelves: plan and mark the wall
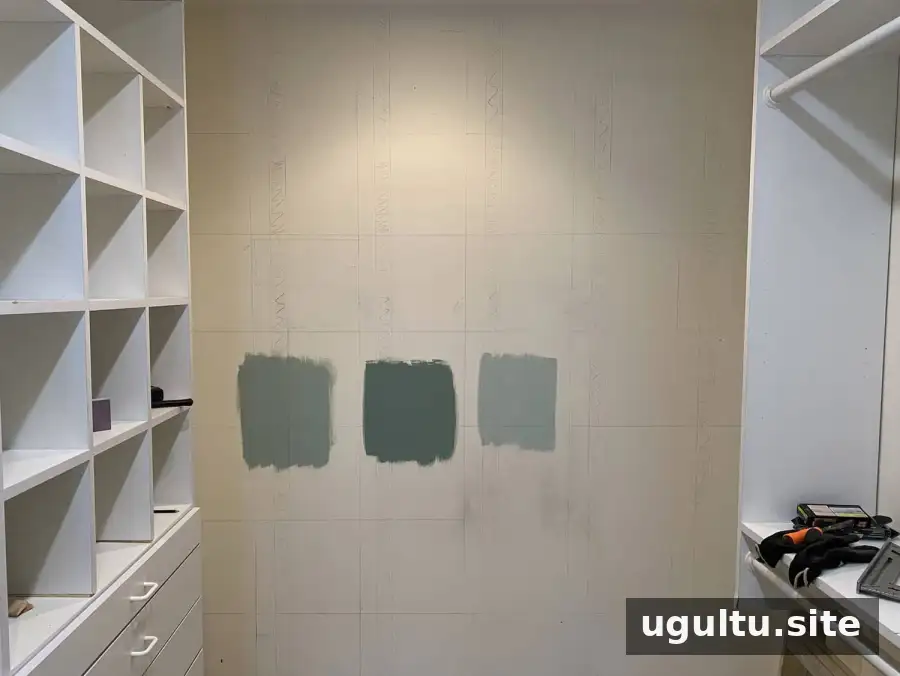
The example layout treats the wall as a perfect 8′ × 8′ square. Measure your actual wall in several places, since walls and corners may not be perfectly square. Plan the shelf divisions around the usable dimensions, including any baseboard or crown molding.
For the example’s vertical divisions, convert 8′ to 96″ and divide by six: 96″ ÷ 6 = 16″. Starting at one side, mark the layout at 16″ intervals. Use a 4′ level to draw straight vertical lines from floor to ceiling at those marks.
For the horizontal layout, the 3.5″ baseboard reduces the example’s usable height to 92.5″ (96″ − 3.5″). Divide that measurement by six: 92.5″ ÷ 6 is approximately 15 3/8″. Mark the intervals and use the level to draw horizontal lines. If adding crown molding, subtract its width from the usable measurement before dividing.
Use a stud finder to locate and mark the studs. Marking both edges of each stud, then distinguishing those marks from the shelf layout lines, makes it easier to fasten supports securely later.
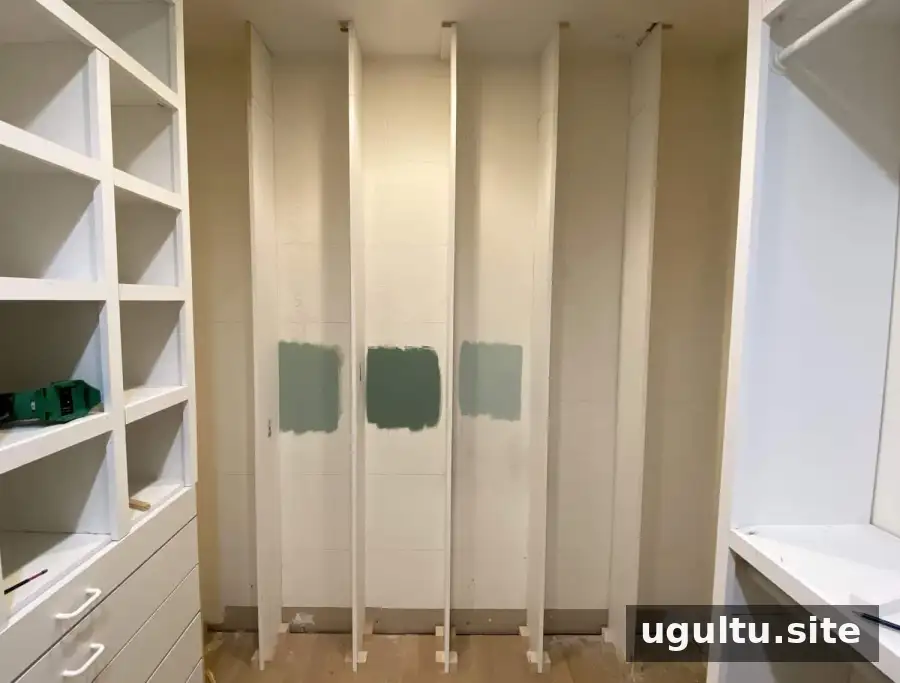
Install the vertical boards and shelf supports
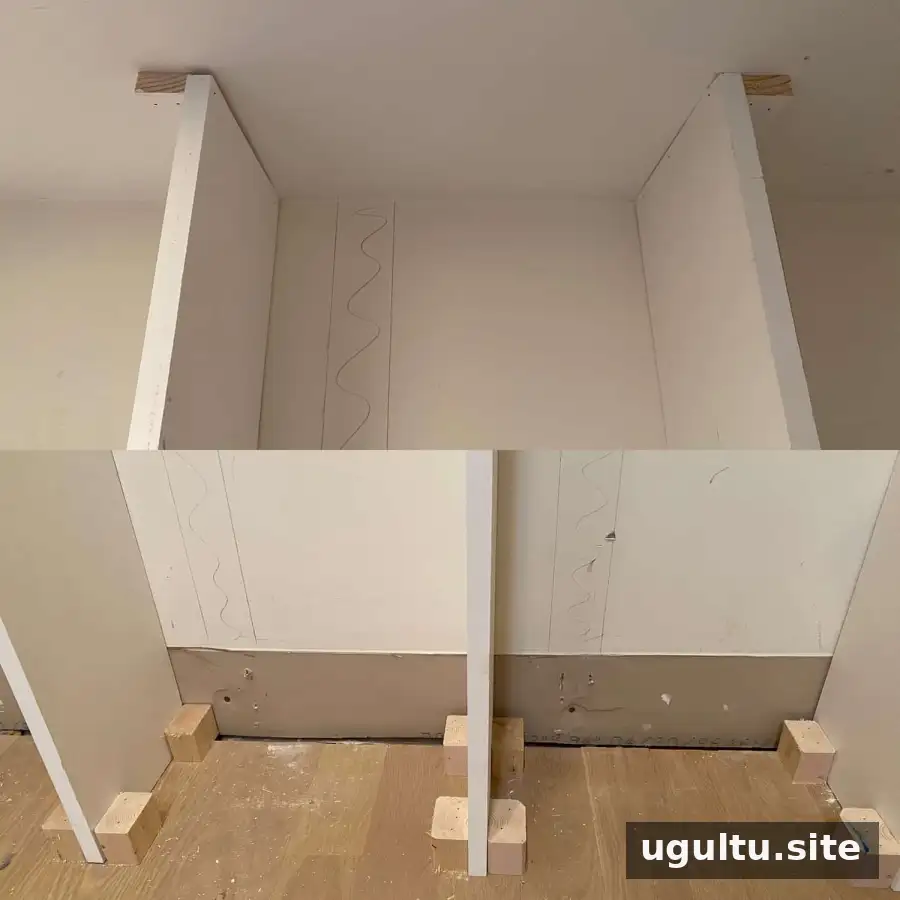
A 3.5″ baseboard means the bottom shelf needs a riser so it sits flush with the top of the baseboard. Cut pieces from the 2″ × 4″ board and fasten them to the floor with screws or a nail gun. These risers also provide a fastening point for the vertical boards.
Cut the vertical boards to the required length, align them with the marked lines, and attach them to the floor risers. At the ceiling, cut 10″ pieces from the 1″ × 2″ trim boards to use as supports. Fasten the supports to the ceiling, then secure the tops of the vertical boards to them. Check alignment and plumb as you work so the cubby openings remain consistent.
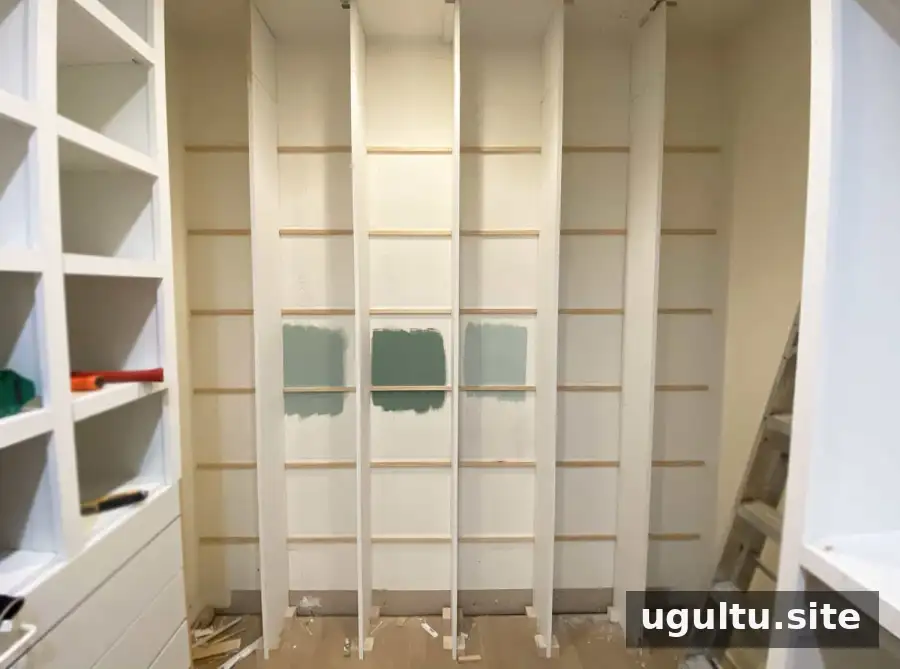
Measure the distance between each pair of vertical boards and cut the 3/4″ × 1/2″ support boards to fit. Install these supports 3/4″ below the horizontal pencil lines; this allows the 3/4″-thick shelf boards to finish flush with the intended line.
Fasten the back supports into studs where possible. If a support end does not reach a stud, use an appropriate drywall anchor and screw at that end. Do not rely on a nail driven only into drywall, as it may not hold securely under load.
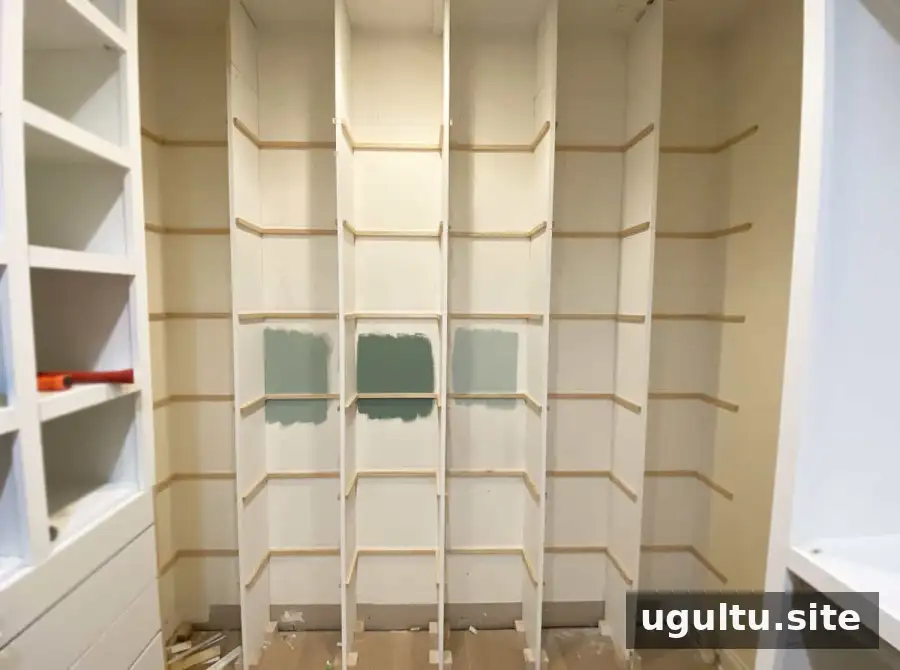
Measure and cut the side support pieces, then install them level with the back supports. Take care to keep opposing supports at the same height so each shelf sits flat.
Fit the shelves and finish the front
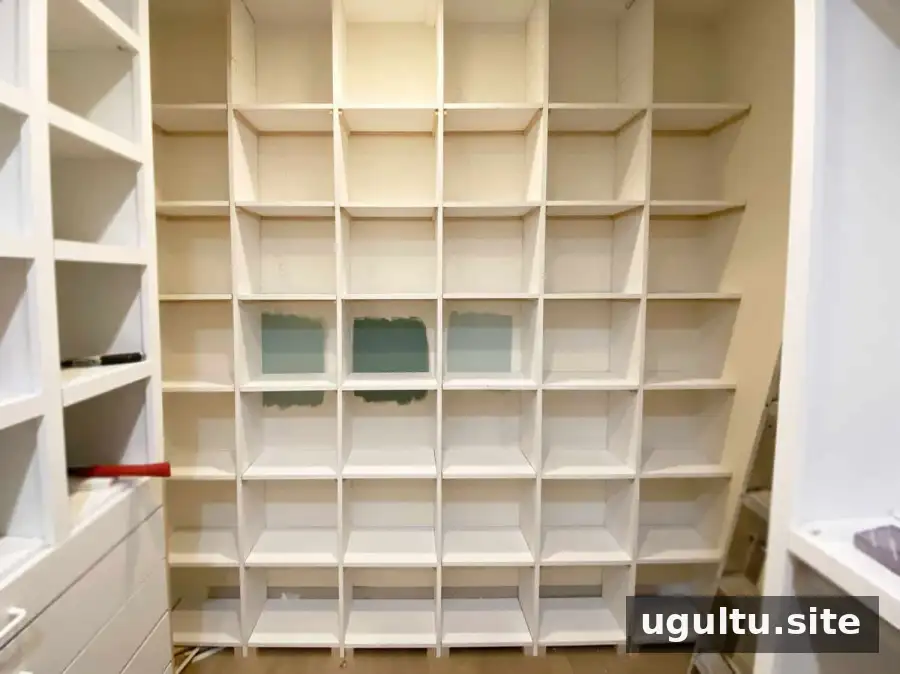
Measure each opening separately and cut the shelf boards to fit. Set the boards on their supports and secure them with a nail gun. Recheck that each shelf is level before fastening.
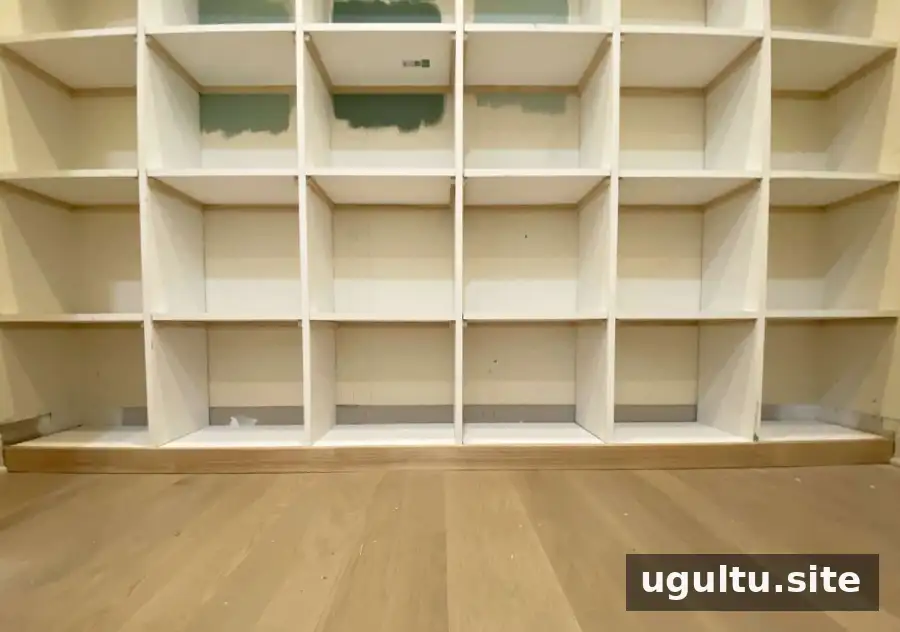
Measure, cut, and attach the 3.5″-wide baseboard along the bottom. This closes the lower opening and gives the built-in a more finished appearance.
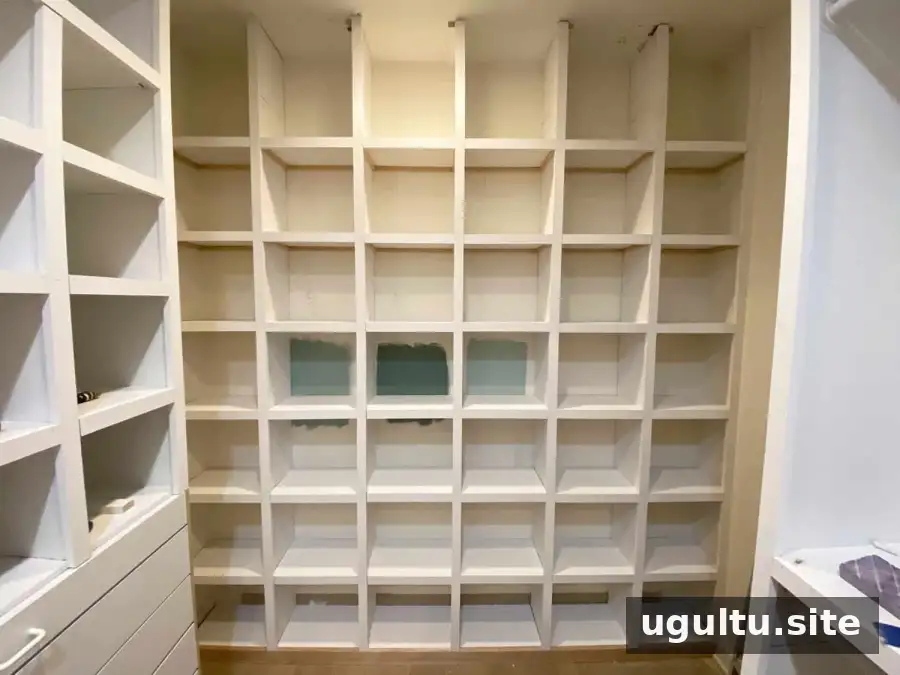
Crown molding can be added at the top to match existing room trim. Account for its width when planning the upper shelf openings; in the example, the top shelves are taller to accommodate the molding.
Finally, measure and cut trim boards to cover the front edges of the shelves. Attach the trim with a nail gun, fill small gaps with caulk, and paint once the caulk is ready for finishing. Follow product instructions for drying times and prepare the surface as needed before painting.

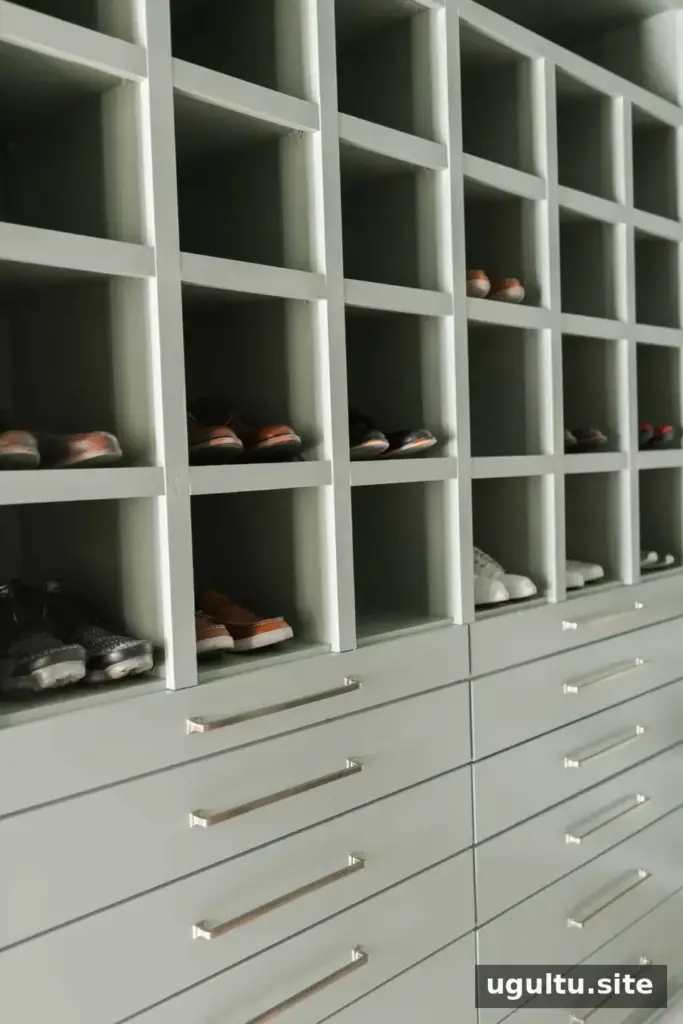
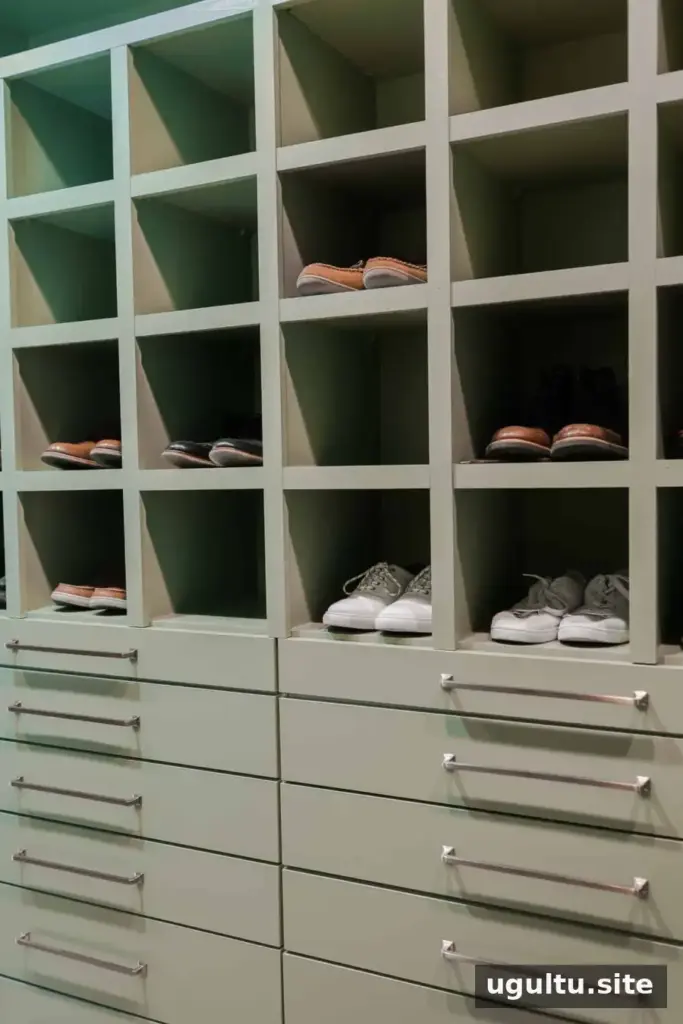
For a sturdy, neat result, base the cuts on your own wall measurements, confirm each support is level, and fasten the structure appropriately for the wall and expected storage load. These steps offer a practical starting point for how to build cubby shelves that fit a custom space.


