
 admin
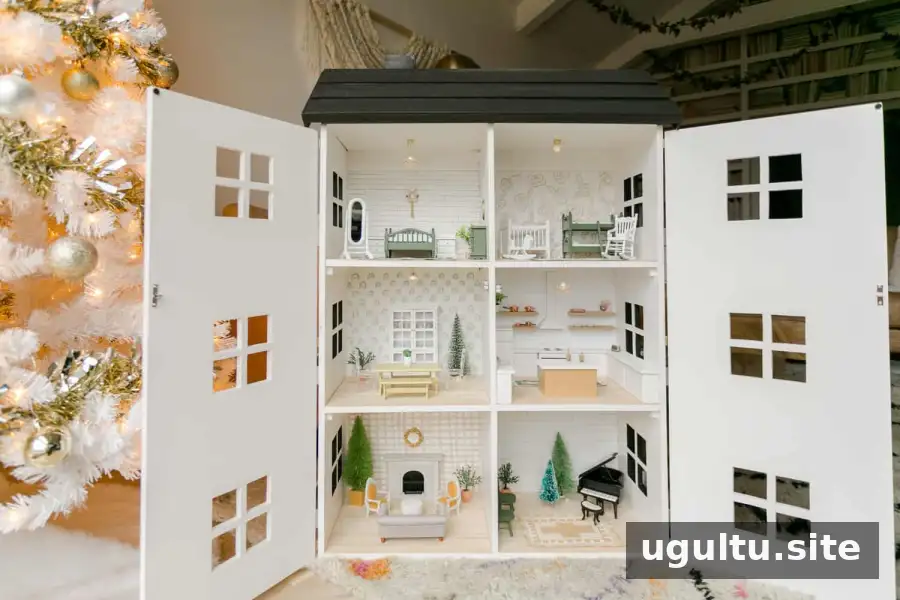
This DIY dollhouse reveal takes you through a handmade miniature home, room by room. The project was built and decorated as a shared family creation, with custom details, tiny furnishings, and a few playful surprises. Whether you are planning your own dollhouse or looking for ideas to personalize one, the rooms show how small touches can give a miniature home its own character.
The house was made for play as well as display. Its rooms combine purchased miniature pieces with hand-painted and handcrafted details, so the finished look feels personal rather than perfectly matched. The project was created by Elsie and Collin.
DIY dollhouse scale and toy choices
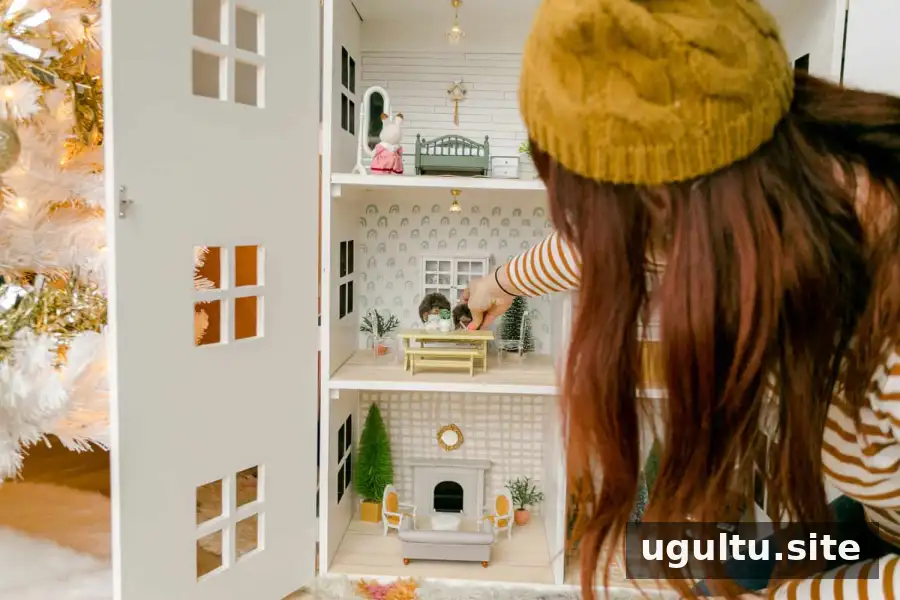
The rooms were designed at 1/12 scale, a commonly used size for dollhouses. Choosing a scale before buying furniture helps ensure that pieces fit together and look proportionate. It is also worth deciding which dolls or miniature figures will use the house, since their size can affect the room layout and furniture choices.
This home was set up for small animal figures, including rabbit, elephant, panda, and hedgehog families. The collection also includes alpaca and dog families. Selecting a few favorite figures first can make it easier to plan the rooms and avoid buying accessories that do not fit the intended play.
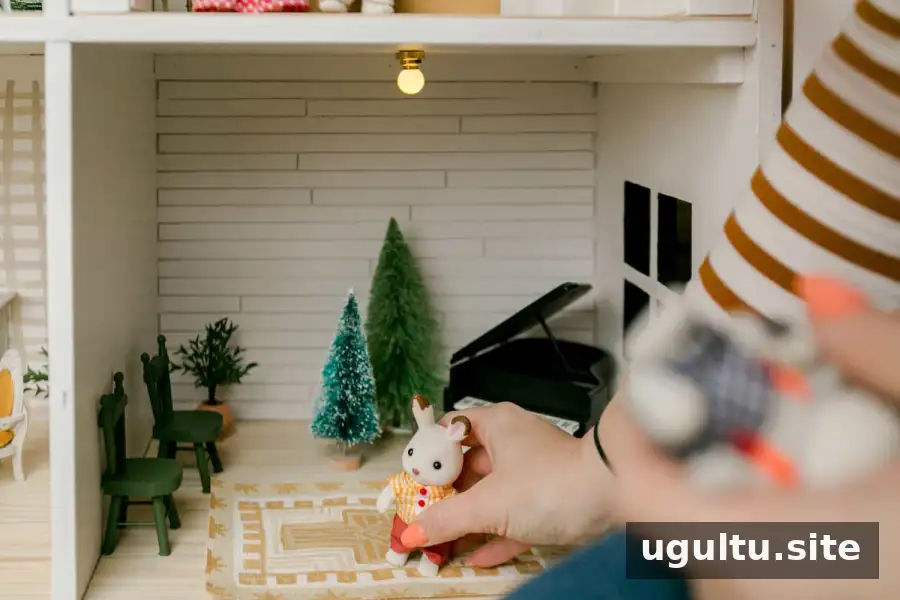
A collection of tiny details brings the rooms to life.
Bedroom details and miniature lighting
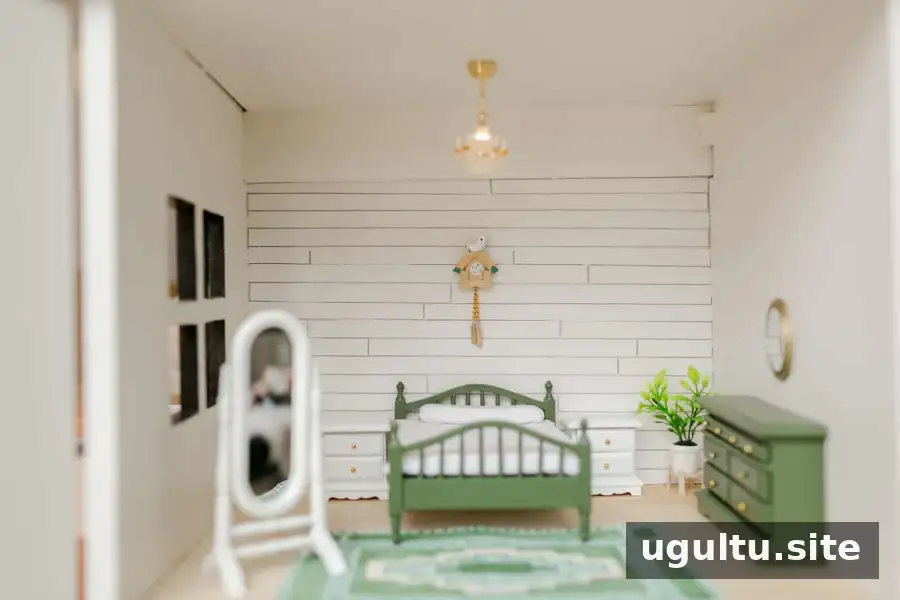
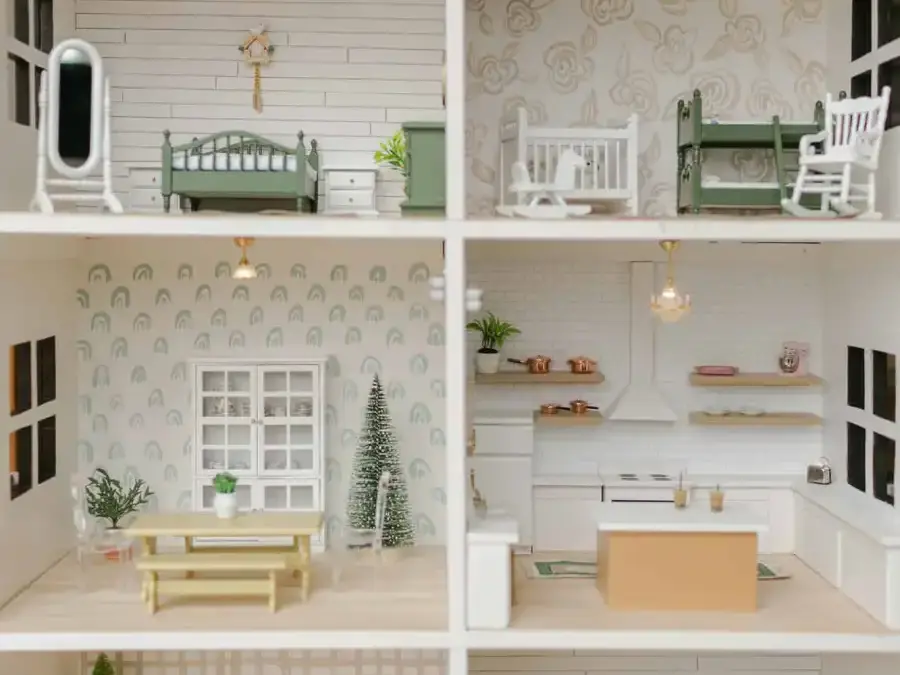
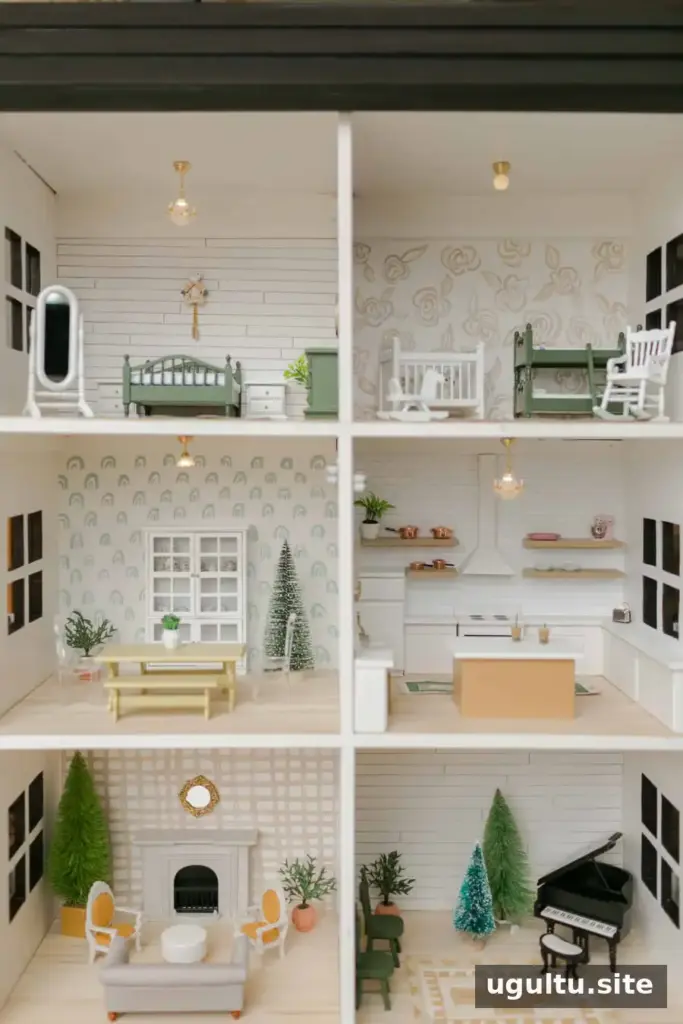
One bedroom features a bedroom set, with some pieces painted green, and a small cuckoo clock. A shiplap-style accent wall was made from balsa wood, a lightweight material that can be cut for small craft projects. When working with miniature materials, measure the wall carefully before cutting so the pieces fit neatly.
The rooms also have working lights. Small lighting kits can add atmosphere, but it is helpful to plan where the wires and power source will go before finishing the walls. The tiny chandelier is a standout detail.
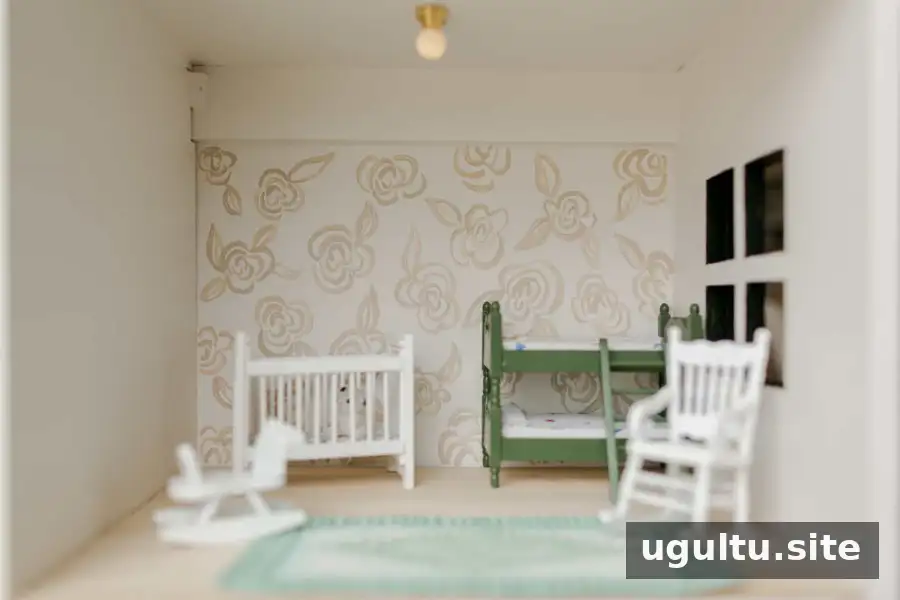
The second bedroom has a hand-painted flower mural, a bunk bed, and a painted rug. A simple mural can help define a room without taking up space, while a bunk bed makes the most of a compact layout.
A cheerful miniature dining room
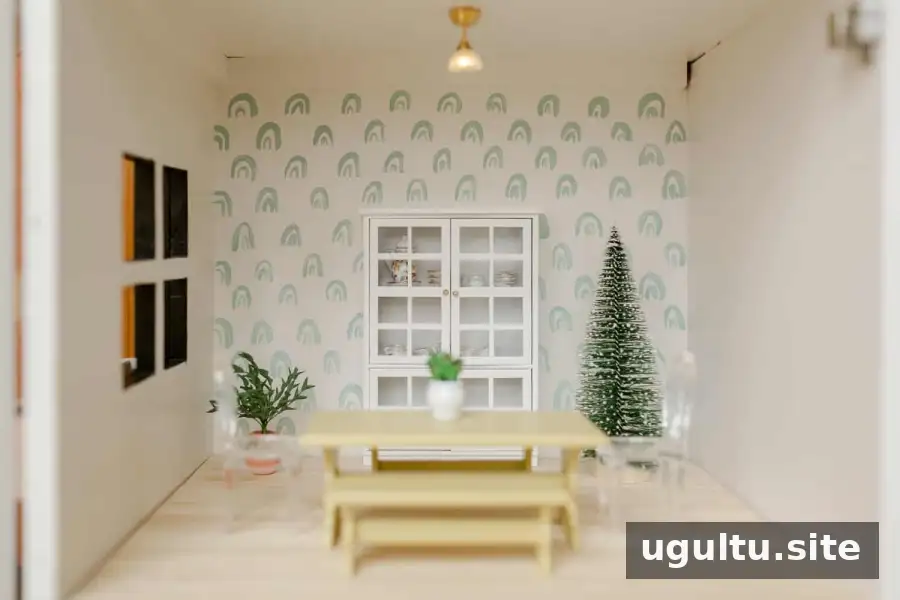
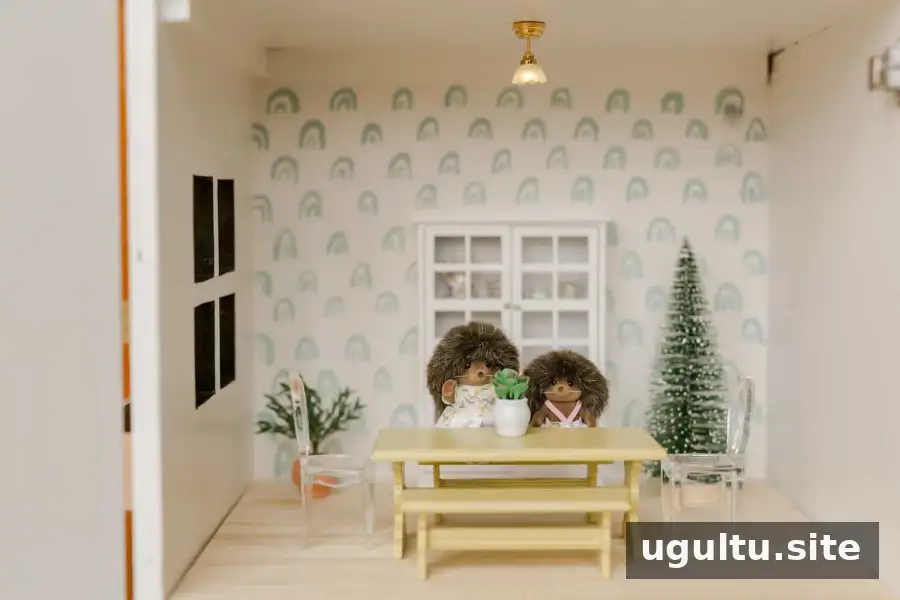
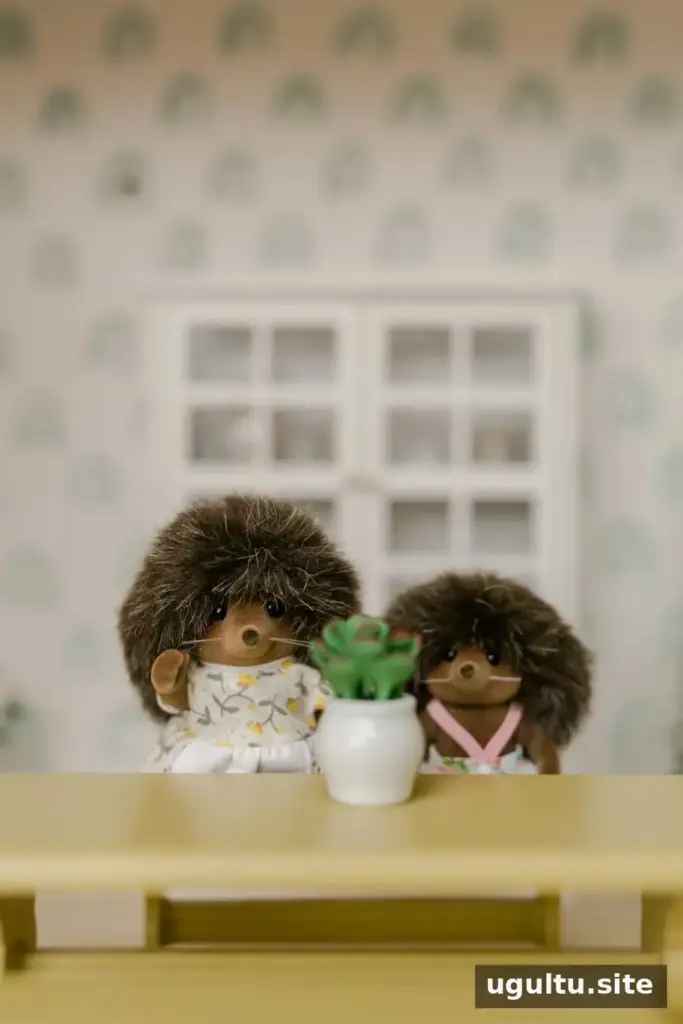
The dining room combines another hand-painted mural with a china cabinet and a table painted yellow. Small clear chairs add a light visual touch. For a coordinated miniature room, choose one or two colors to repeat across furniture and wall details.
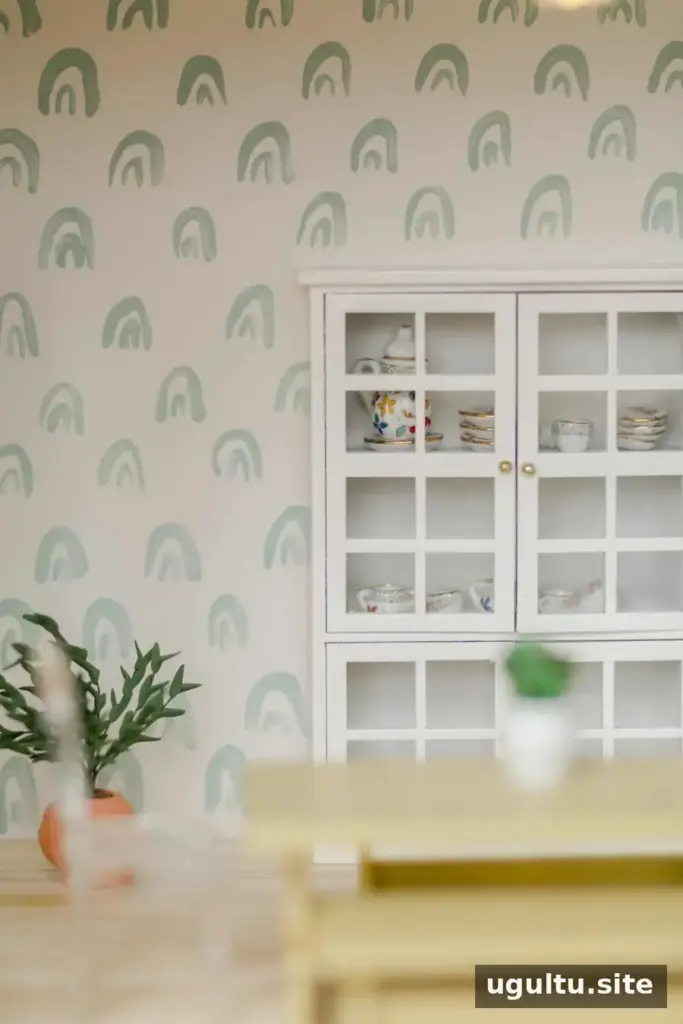
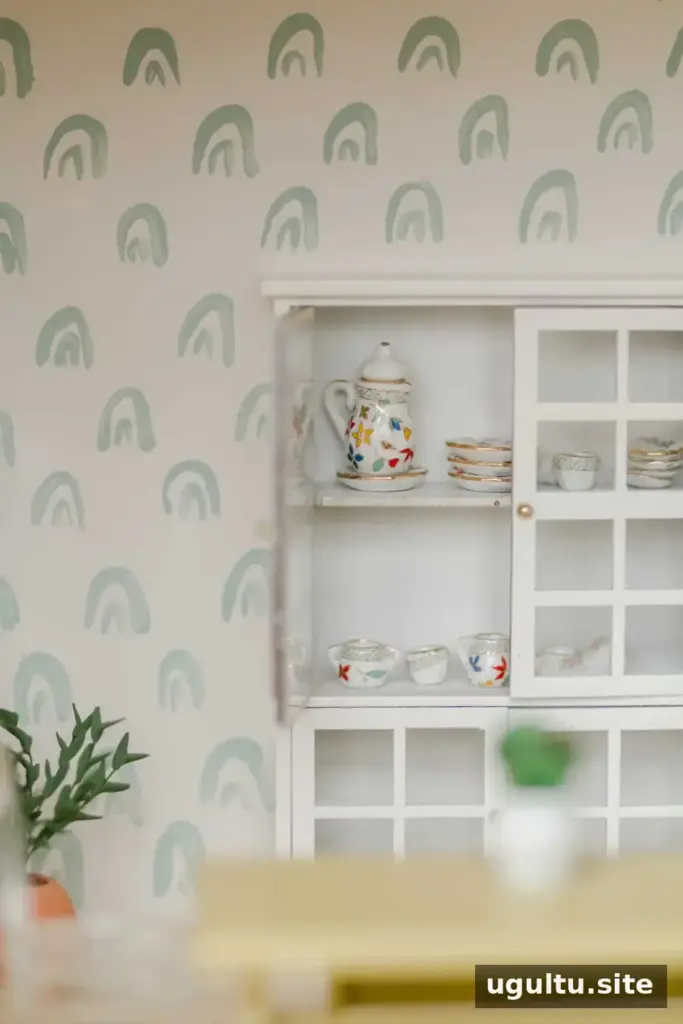
A tiny china set completes the dining area. With miniature accessories, comparing size and style before choosing a set helps keep the table setting in scale with the furniture.
Building a custom miniature kitchen
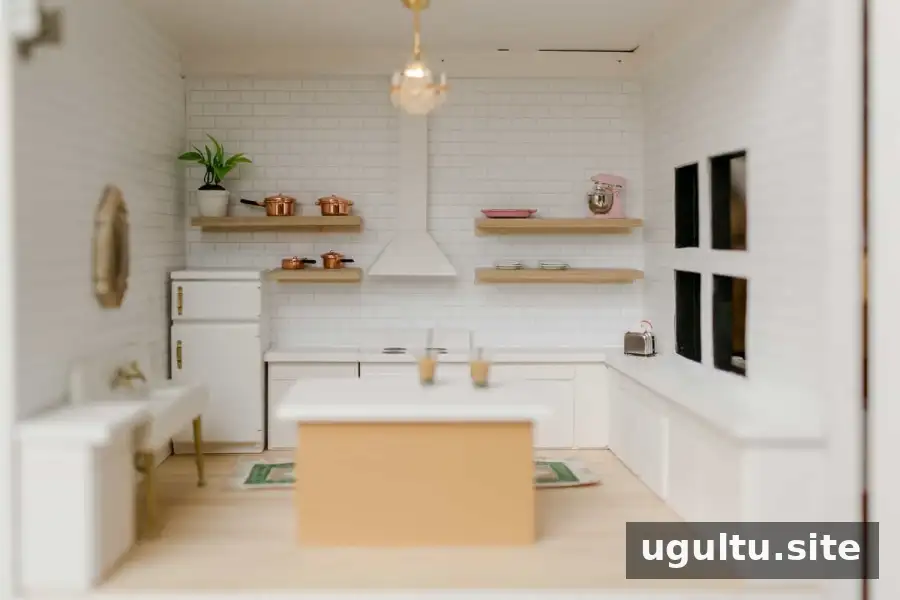
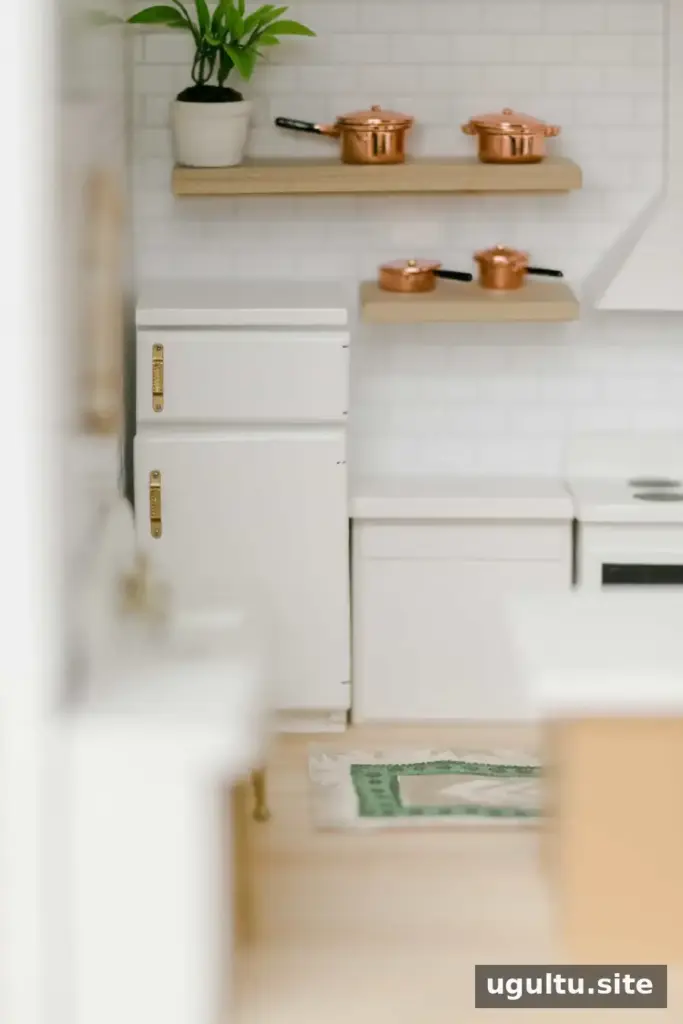
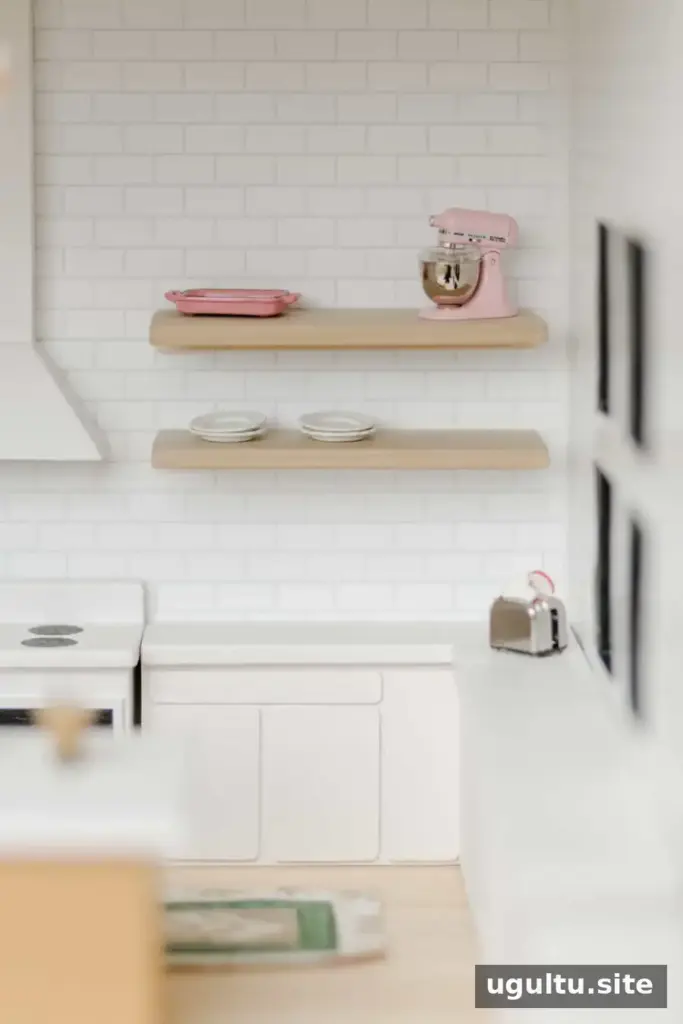
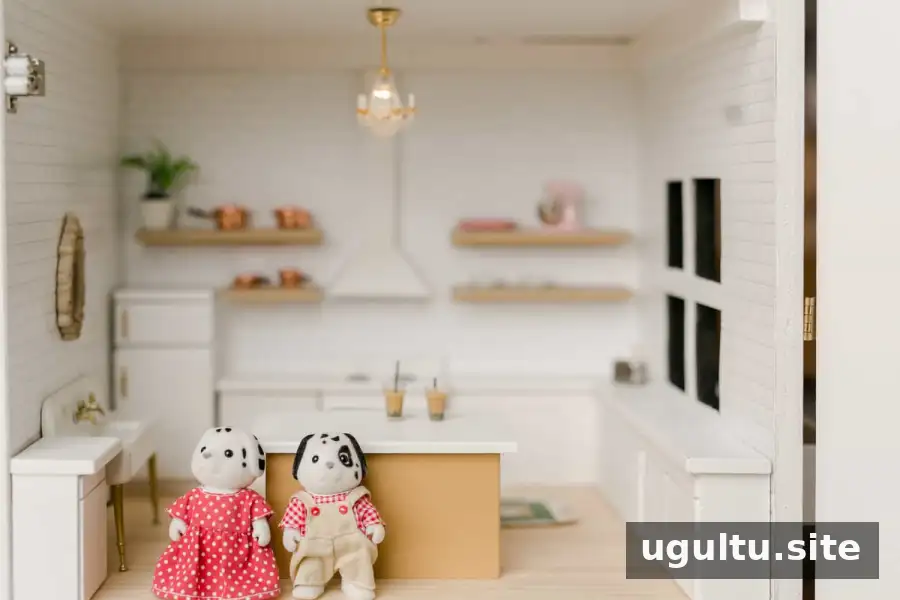
The kitchen is the project’s most detailed room. Alongside miniature appliances and accessories, Collin added custom cabinets, an island, shelves, and a small vent hood. Subway-style tiles were used on the walls, with three sheets used for the project. Planning the placement of large pieces first can make it easier to fit smaller accessories around them.
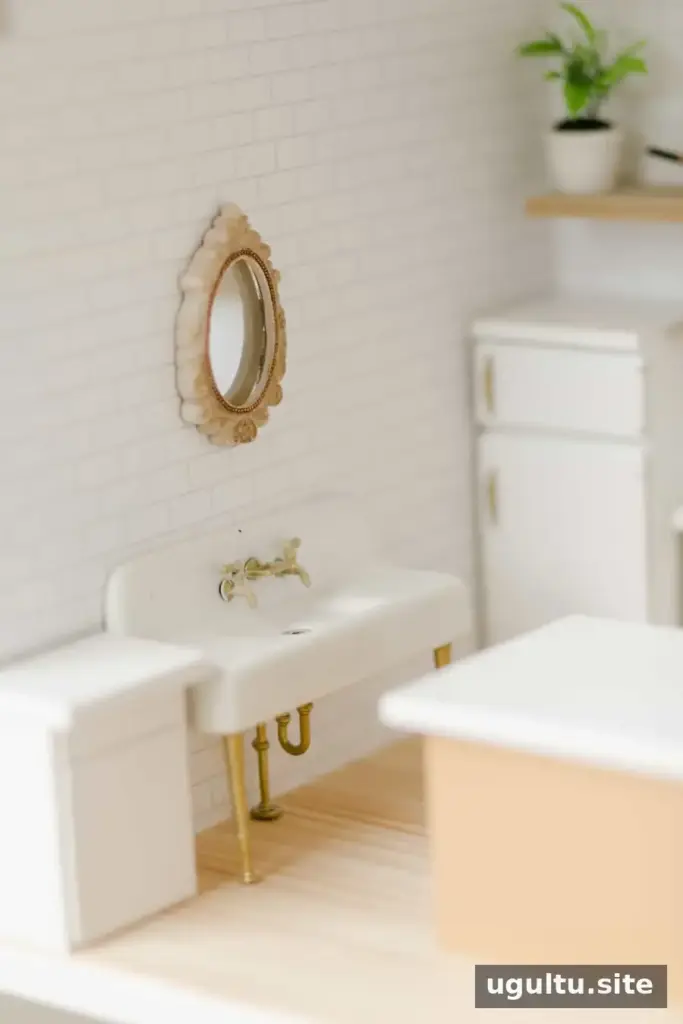
The kitchen details include a refrigerator, sink, bubble tea, copper-colored cookware, toaster, and a pink stand mixer with a tilting feature. These small pieces help make the room feel lived-in without needing a large amount of floor space.
Living room, piano, and handmade rugs
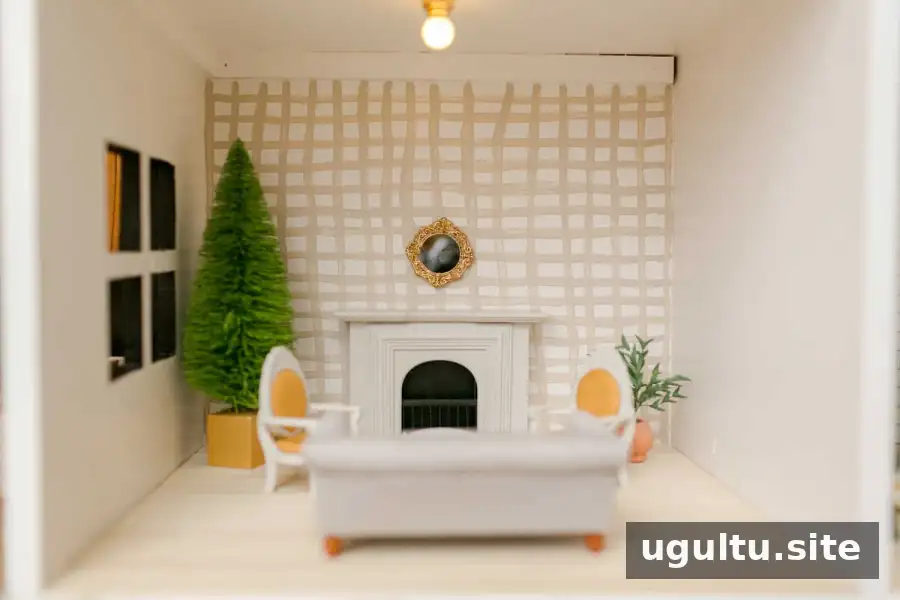
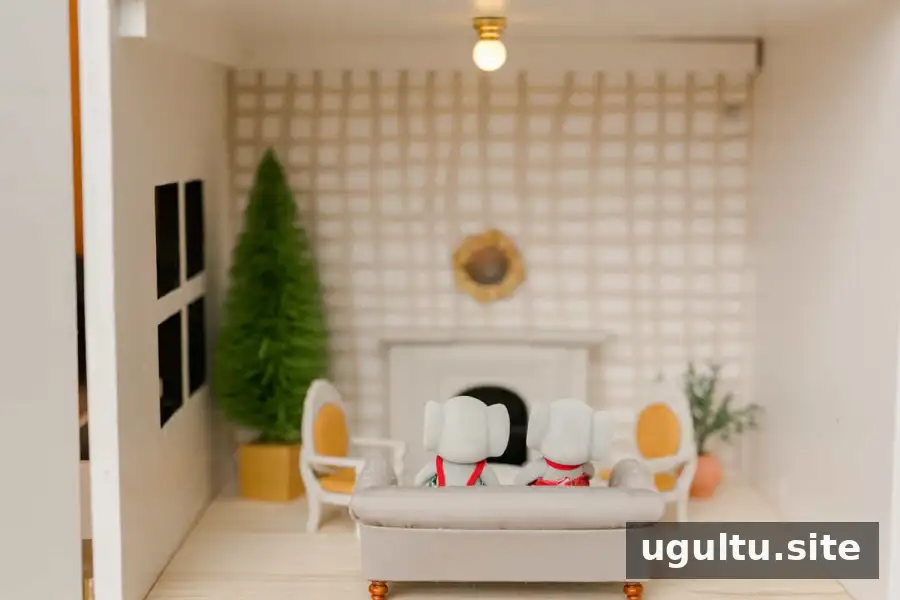
The living room features a sofa, a chair set that was painted and reupholstered, a fireplace, and a hand-painted mural. Refreshing existing miniature furniture with paint or new fabric is one way to give a set a distinct look.
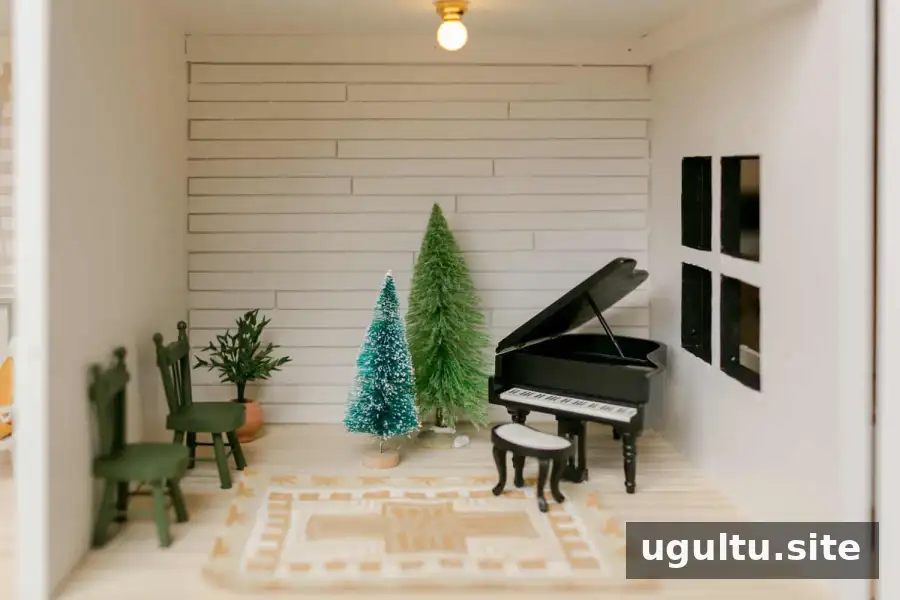
A miniature piano adds the finishing touch to the living space.
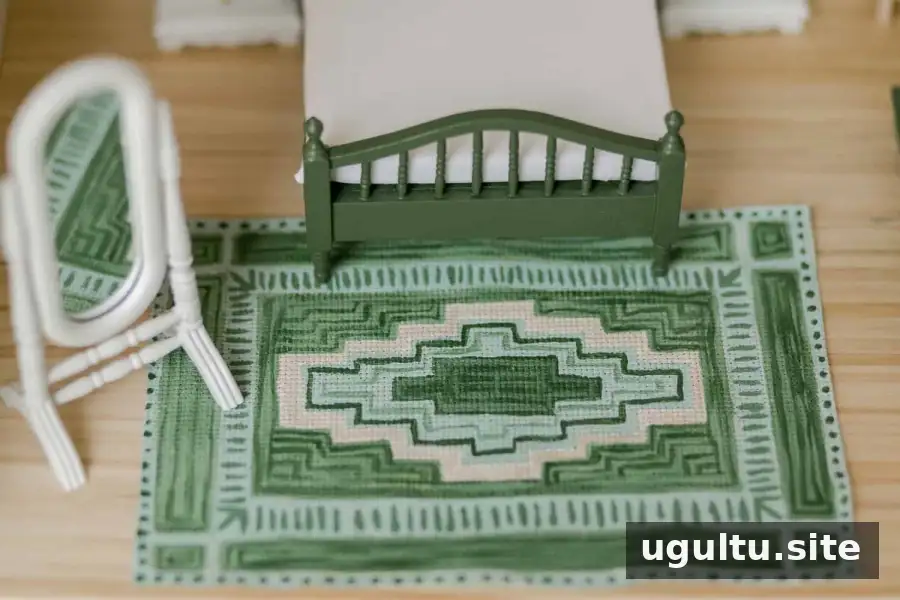
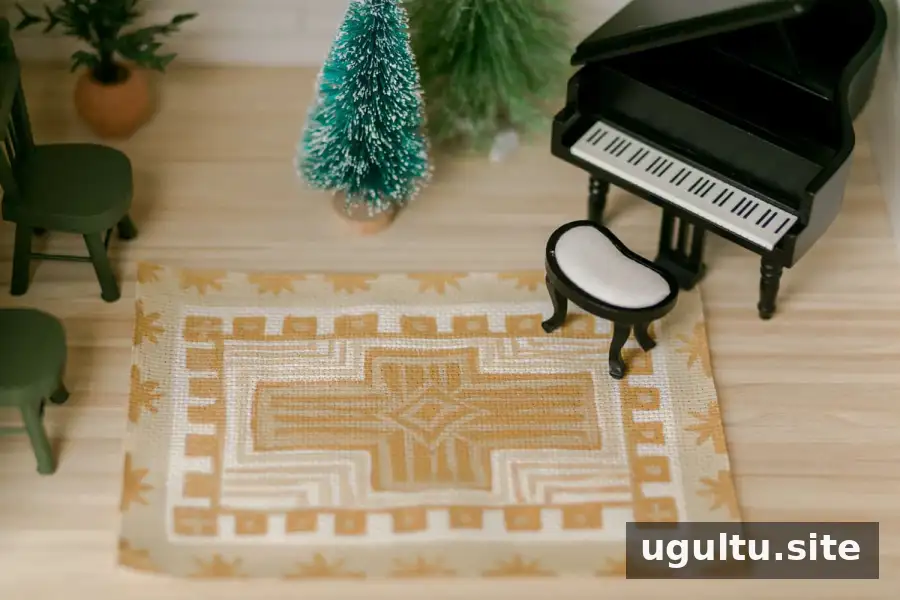
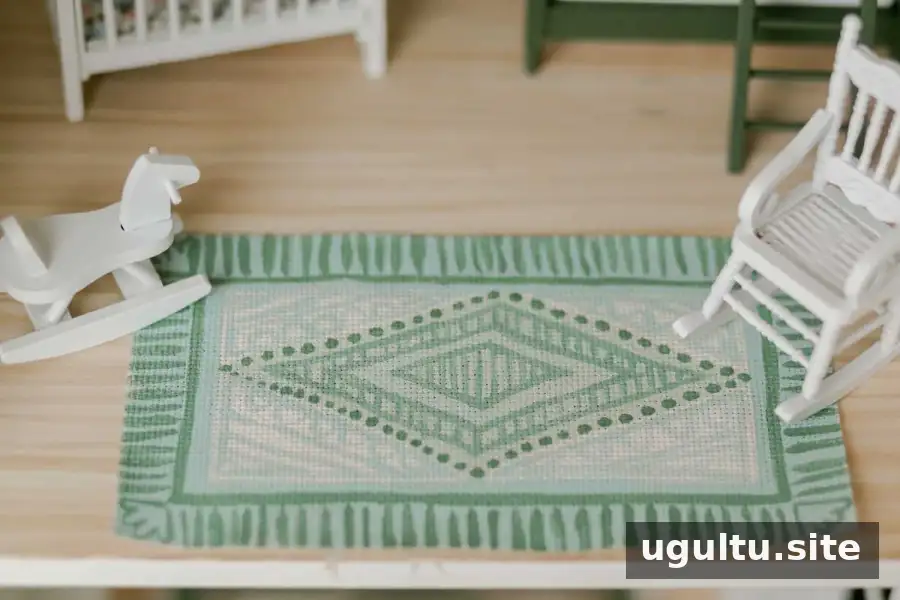
Several small rugs were made by hand, taking inspiration from vintage Turkish rugs. Making a paper template first can help you check the shape and size before creating a finished rug for a particular room.
Exterior details and a hidden bathroom
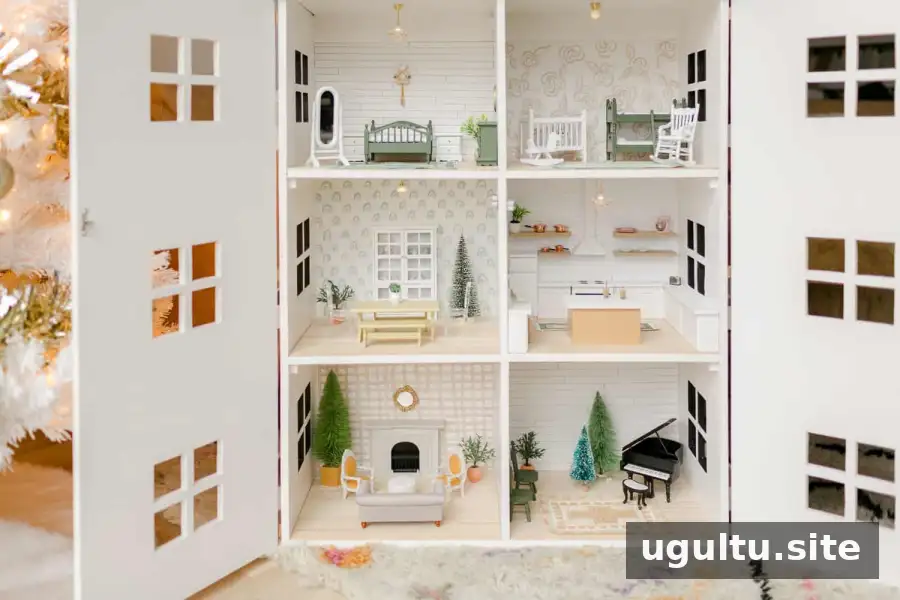
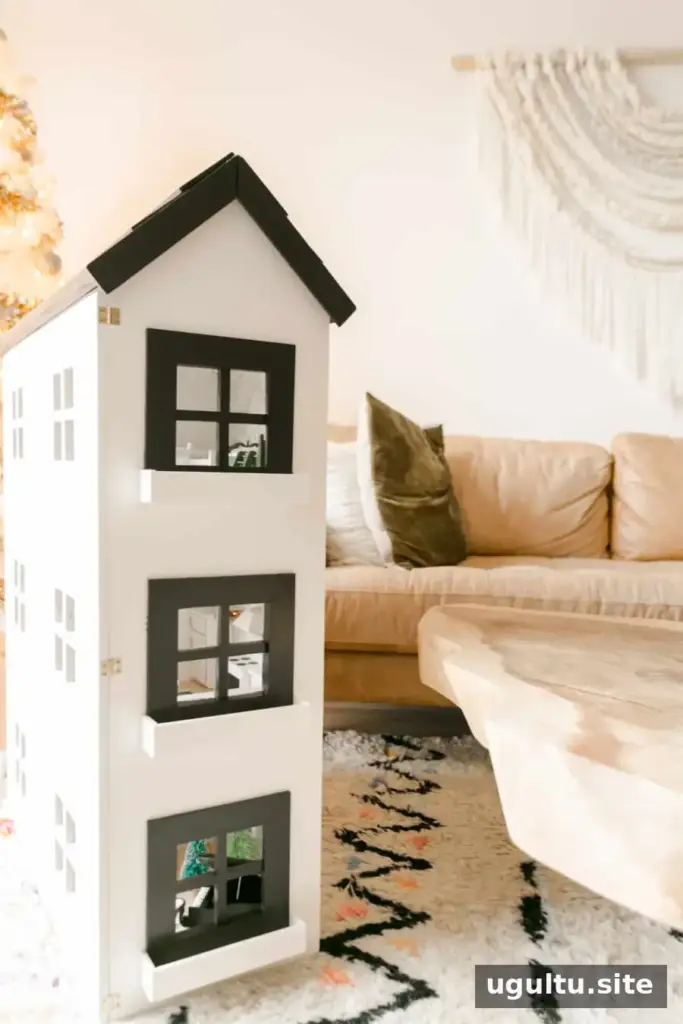
The exterior has doors that open and close, a feature inspired by storybook-style houses. Functional details like movable doors can make a dollhouse more engaging for play, so allow enough clearance for them to swing freely.
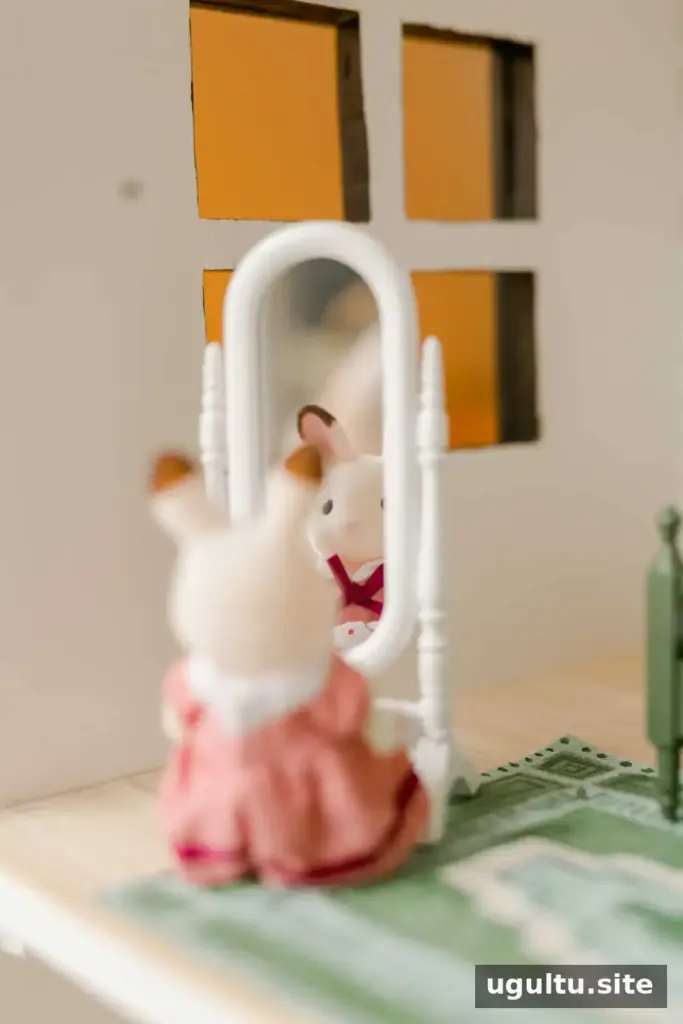
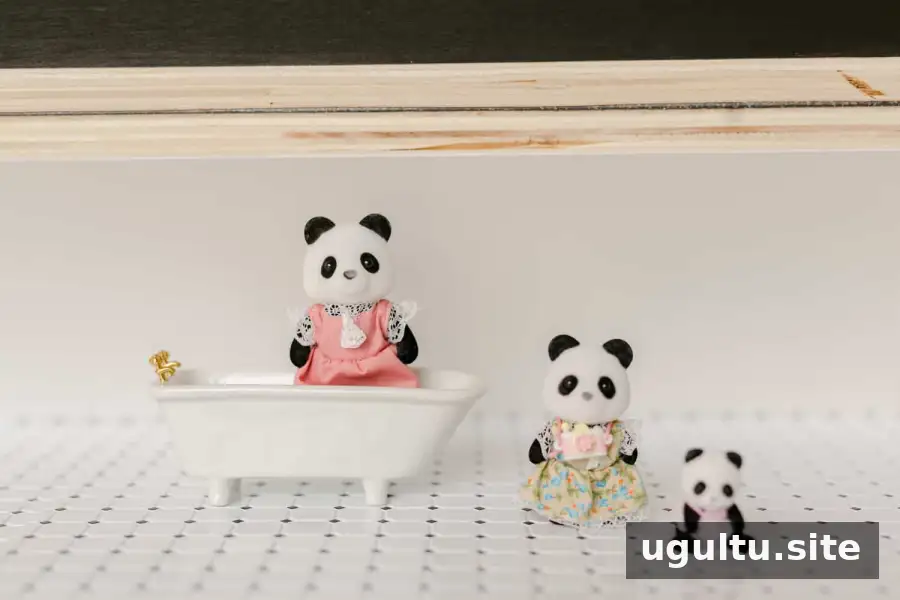
There is also a small bathroom tucked into the roof, making use of an unexpected space in the house.
This DIY dollhouse brings together practical planning and imaginative details, from its 1/12-scale rooms to its handmade murals, rugs, and working lights. If you are considering a similar project, choose a scale and intended toys early, then build the design around the space and details you enjoy most. The finished house is ready for years of shared play and new memories.
— Elsie


