
 admin
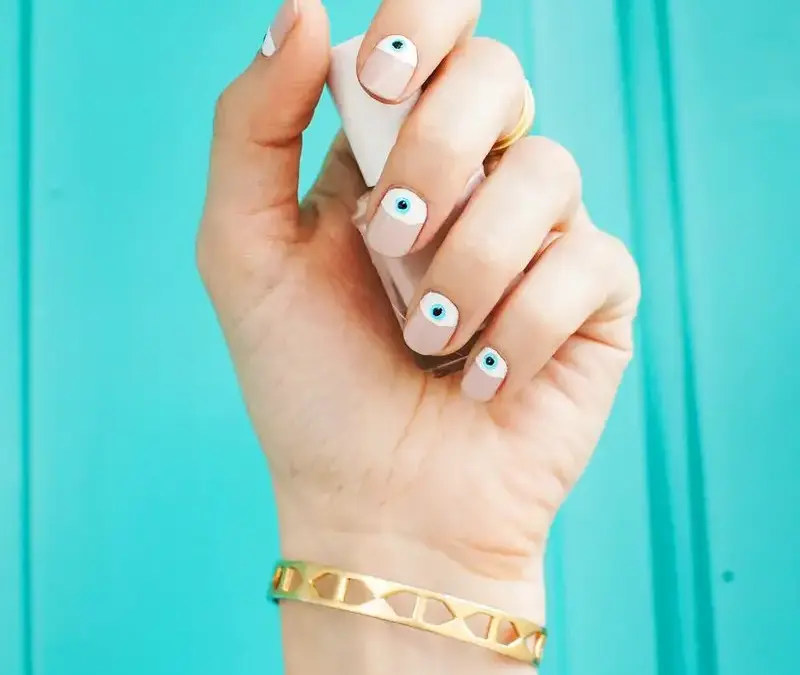
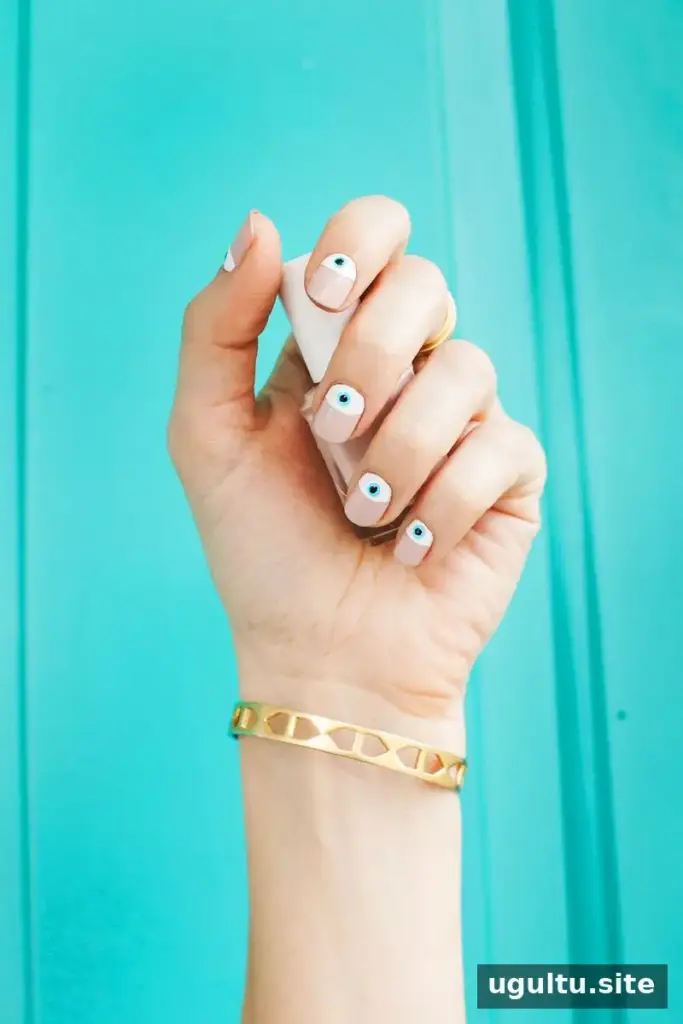
An eye manicure is a playful way to add small, expressive details to a simple nail look. This design places an eye near the cuticle of each nail, using a nude base, a white oval, a colored iris, and a black pupil. Half-moon nail guides help shape the design, so you can make the circles more evenly even if detailed nail art is new to you.
You can customize the iris with blue polish or another color you prefer. For a tidier result, work in thin layers and allow each one to dry before adding the next; wet polish can smudge when guides are removed.
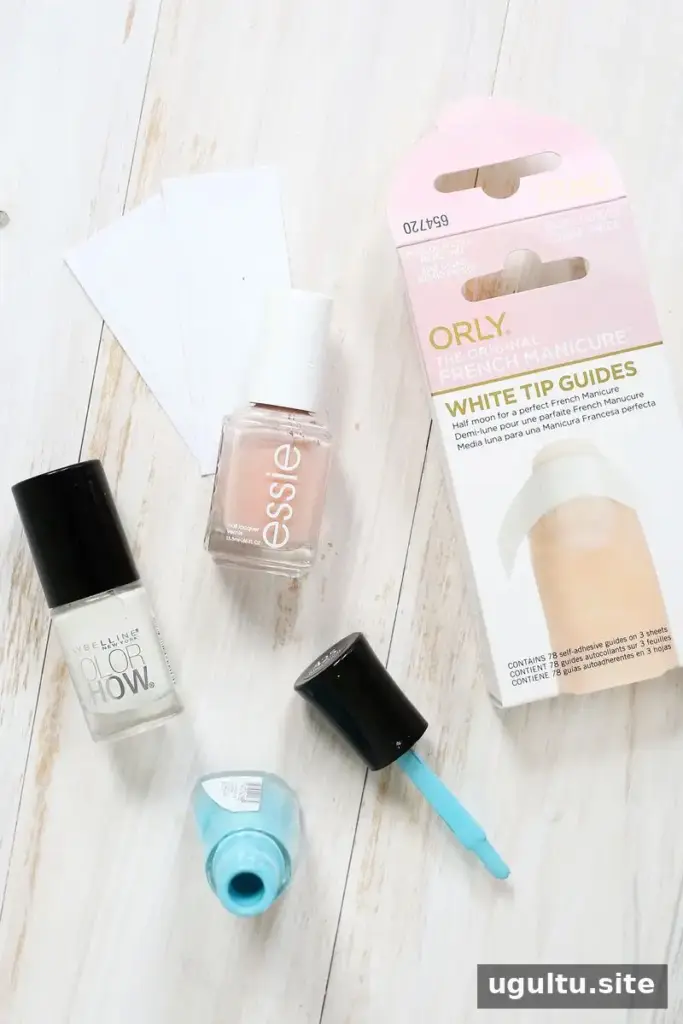
Supplies for an Eye Manicure
- Nude nail polish for the base
- White nail polish
- Blue nail polish, or another iris color
- Half-moon tip guides
- Black nail art pen
- Small hole punch
- Quick-dry top coat
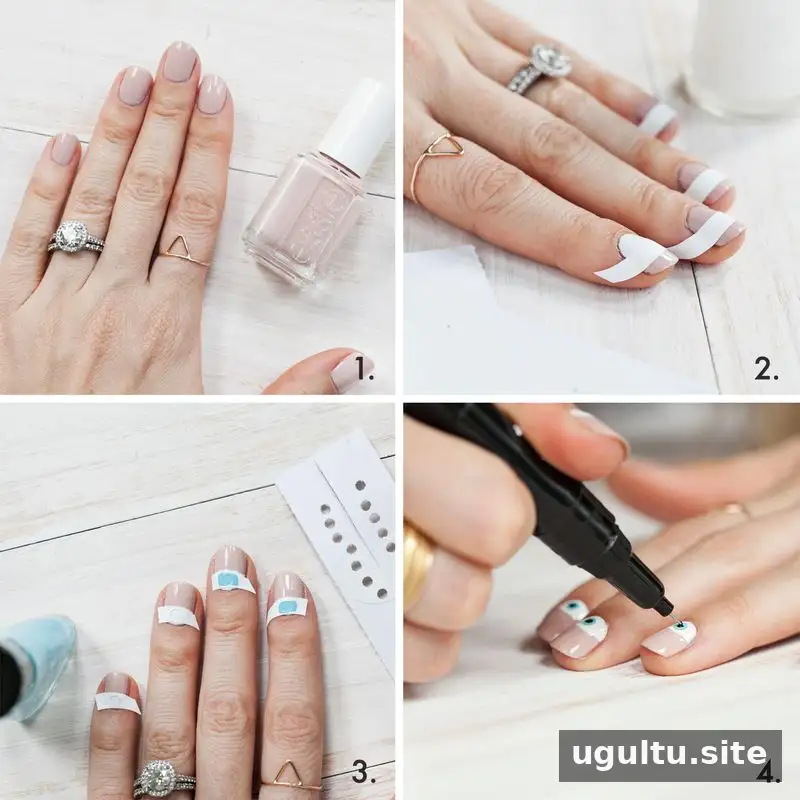
How to Create the Eye Manicure
- Apply the base color. Paint your nails with nude polish and let it dry completely. A fully dry base is less likely to lift when you remove the guides.
- Make the white eye shapes. Position a half-moon guide near the cuticle so its curve creates an oval-like area. Paint the exposed area white. Let the polish dry, then carefully peel away the guide. If needed, apply a thin layer of quick-dry top coat and wait until it is set before continuing.
- Prepare the iris guides. Cut the half-moon guides in half, then use a small hole punch to make a small opening in each piece. Place an opening in the center of each white shape. Check that the guide lies flat against the nail to help keep the iris edges clean.
- Add the iris color. Dab blue or your chosen polish through the opening. Use a small amount of polish to avoid flooding the circle. Let it dry before slowly removing the guide.
- Draw the pupils. Use the black nail art pen to add a small dot in the center of each colored circle. Keep the dots similar in size for a consistent look.
- Seal the design. Once the details are dry, finish with quick-dry top coat. Apply it gently to reduce the chance of dragging the black or colored polish.
Tips for Neater Eye Nail Art
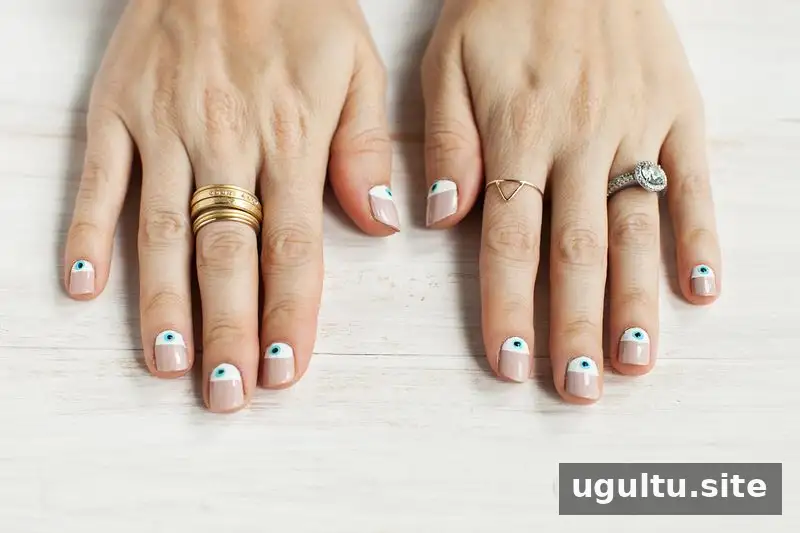
If you do not have a small hole punch, use a fine paintbrush to place a small dot of iris color on each white shape. The punched-guide method can make the circles more precise, while a brush offers more control over the size and position. If a guide starts to lift, press it down gently before applying polish.
Allowing each layer to dry is especially useful when working with several colors. Keep polish away from the skin around the nail, and remove any small mistakes with a fine brush or cotton swab dipped in nail polish remover before sealing the design.
Final Look
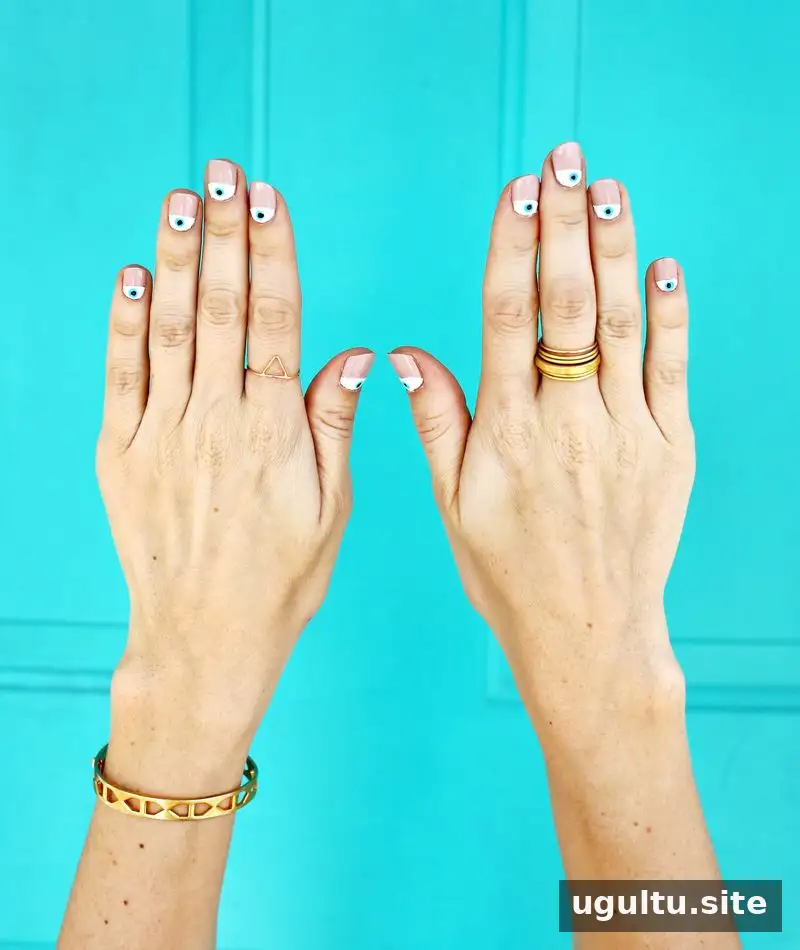
This eye manicure combines a neutral base with simple graphic details for a fun, customizable finish. Choose an iris shade that suits your polish collection, and adjust the size of the pupils or eyes to suit your nails. With careful drying time and a light top-coat application, the design can look clean and balanced.
— Laura


