
 admin

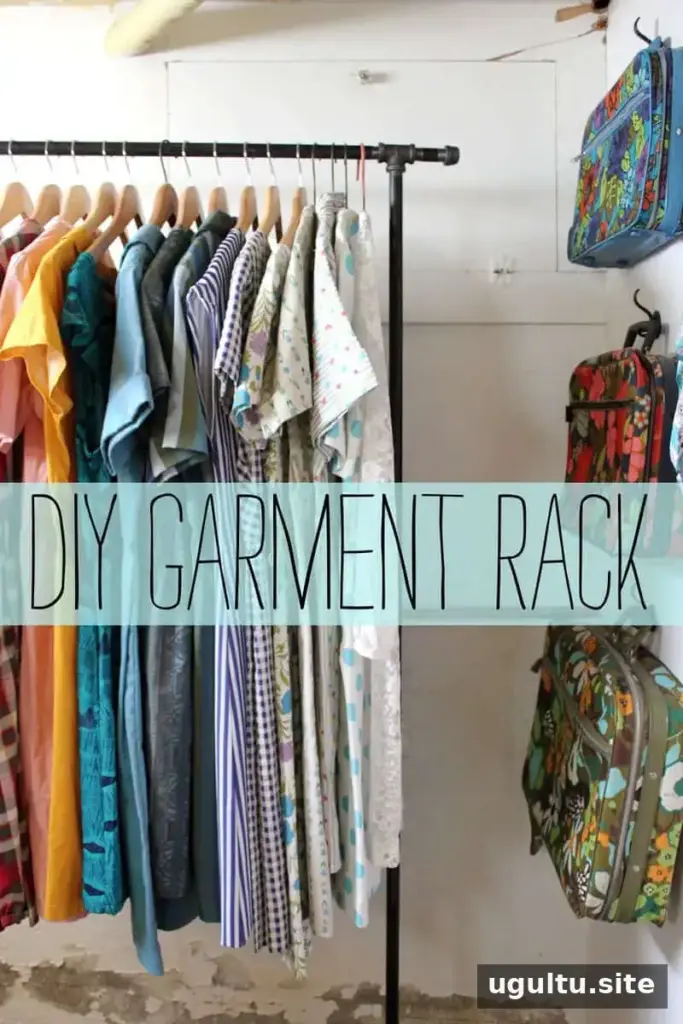
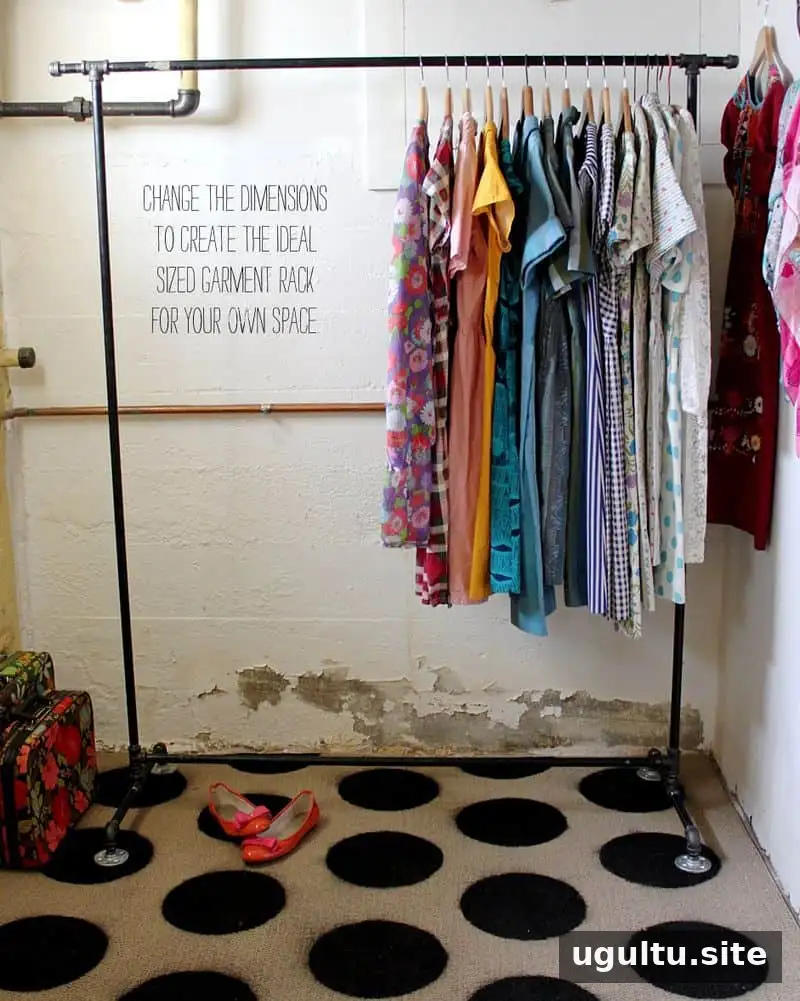
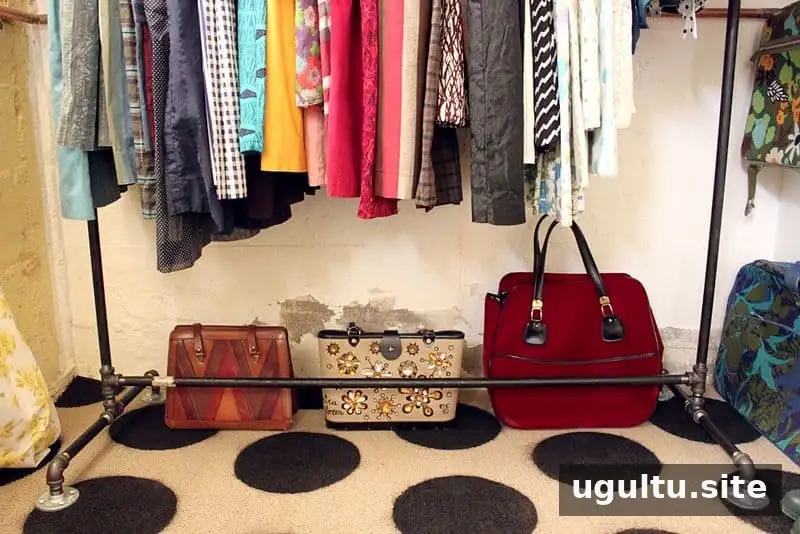
A garment rack DIY project can provide practical clothing storage without requiring a large budget or complicated woodworking. This freestanding design uses black steel pipes and fittings to create a sturdy rack that can be taken apart for moving or storage. Read through the parts list and check the pipe lengths before assembly so the finished rack suits your space.
Materials for this garment rack DIY
Gather the following parts before you begin. The original project supplies cost around $70–$80; actual prices can vary by location and over time.
- Two 1/2″ x 60″ black steel pipes
- Two 1/2″ x 48″ black steel pipes
- Four 1/2″ x 8″ black steel pipe nipples
- Two 1/2″ x 2 1/2″ black steel pipe nipples
- Six 1/2″ x 1 1/2″ black steel pipe nipples
- Six 1/2″ black tees
- Four 1/2″ black 90-degree elbows
- Four 1/2″ galvanized floor flanges
- Two 1/2″ black steel end caps
- One can of black spray paint, optional
- Work gloves
Important measurement check: The materials list gives pipe lengths of 60″ and 48″, while the assembly directions refer to 6-foot and 4-foot pipes. Confirm the intended lengths and fit of the parts before purchasing or assembling them.
Prepare the pipes and fittings
If you want a uniform black finish, spray-paint the galvanized floor flanges and any other pieces you want to match. Remove the orange plastic caps from the pipe ends first. Apply paint in a well-ventilated area, following the product instructions, and let every painted part dry fully before assembly.
How to assemble the garment rack
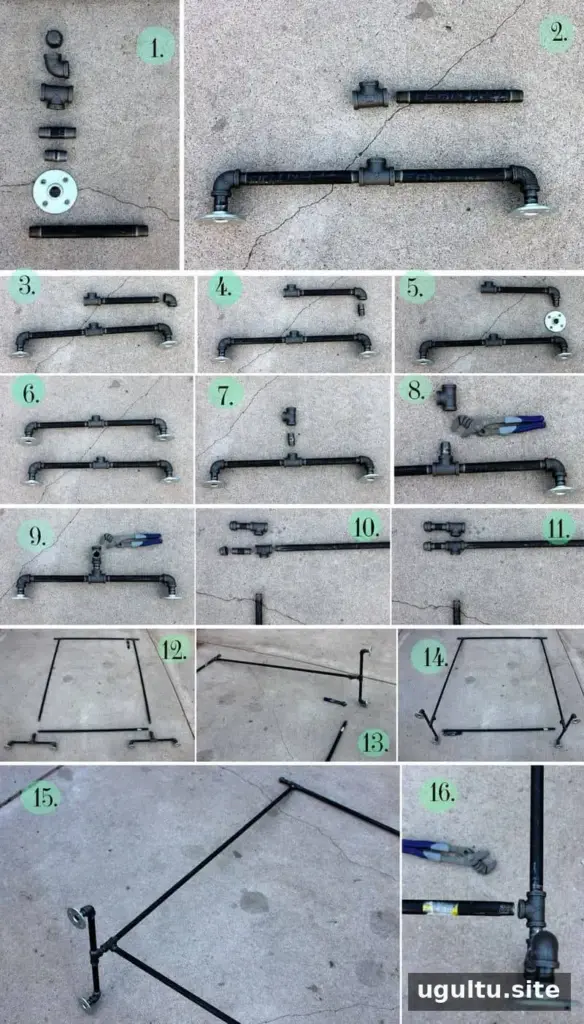
- Sort the small fittings. Arrange the end caps, elbows, tees, 2 1/2″ nipples, 1 1/2″ nipples, floor flanges, and 8″ nipples so each part is easy to find.
- Start a base. Screw one 8″ nipple into a tee.
- Add an elbow. Attach a 90-degree elbow to the open end of the 8″ nipple. When tightened, it should face in the opposite direction from the top of the tee.
- Build one foot. Connect a 1 1/2″ nipple to the open end of the elbow, then attach a floor flange to the other end.
- Complete the base. Repeat the elbow, nipple, and flange arrangement on the opposite side. Add a 1 1/2″ nipple to the open end of the tee, then attach another tee and tighten it with a wrench in the orientation shown. Repeat these steps to make the second base.
- Assemble the top. Lay out the shorter pipes across the top and bottom and the longer pipes along the sides. Screw a 2 1/2″ nipple into an end cap, then attach a tee to the other end. Fit this assembly onto one end of a 4′ pipe and repeat at the other end to complete the top.
- Join the uprights. Screw each 6′ pipe into an open tee at the top. Attach one base to the bottom of each upright, tightening so the open joints face opposite sides.
- Add the lower crossbar. Tighten one end of the remaining 4′ pipe into the left-side open tee. Fit the other end into the opposite tee and screw it in three turns. This also backs the first end out by three turns; the directions specify that neither end should come off.
Use work gloves while handling pipe threads and fittings. Tighten connections securely, then place the rack on a level surface and check that it stands steadily before hanging clothes. No load capacity is specified, so avoid overloading it.
Moving and adjusting the rack
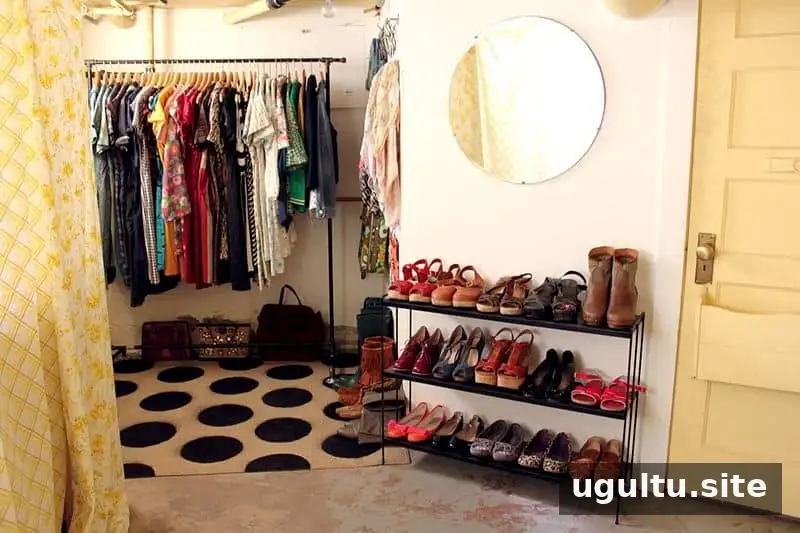
For transport or storage, unscrew the bases, the lower 4′ pipe, and the two 6′ pipes. The rack can then be reassembled when needed. You can also adapt the dimensions to fit your room, but make sure the selected pipes and fittings work together and that the finished structure remains stable.
This garment rack DIY offers a straightforward way to add flexible clothing storage using threaded steel components. Confirm the length discrepancy in the parts list before starting, assemble the rack on a level surface, and check its stability before use. –Rachel


