admin
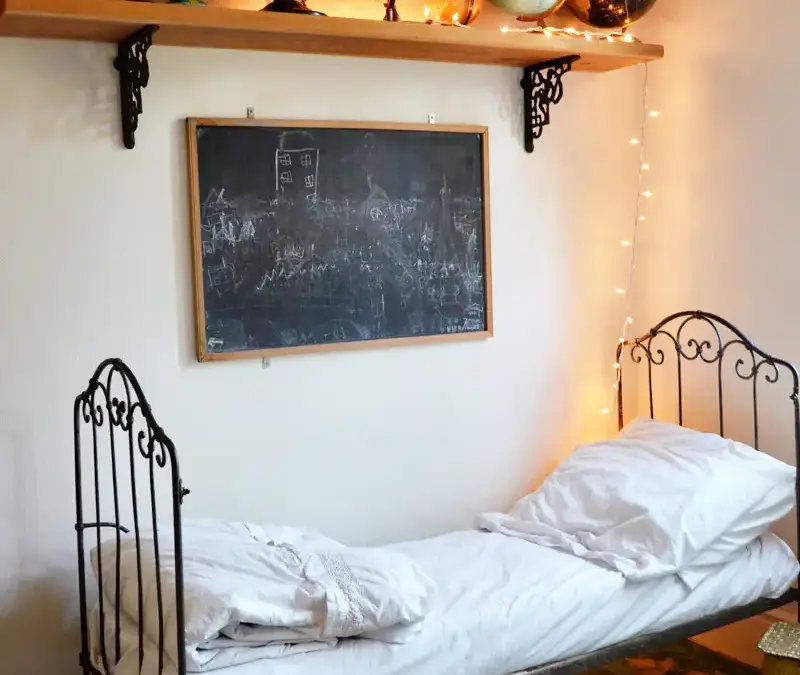
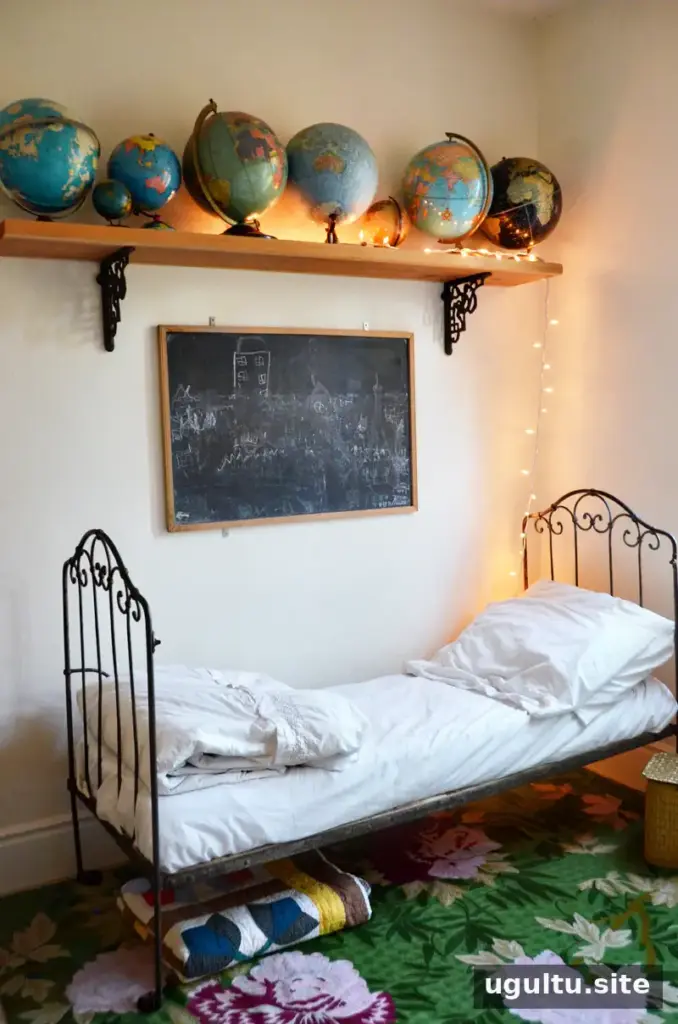
Displaying collections can help you enjoy treasured objects without letting them take over your home. Whether you collect globes, old keys, rocks, or other meaningful finds, a thoughtful arrangement can turn them into part of your decor. These three ideas offer flexible ways to show off a collection, save space, and keep the display looking intentional.
By Rubyellen
Three ideas for displaying collections
1. Group similar objects on a shelf
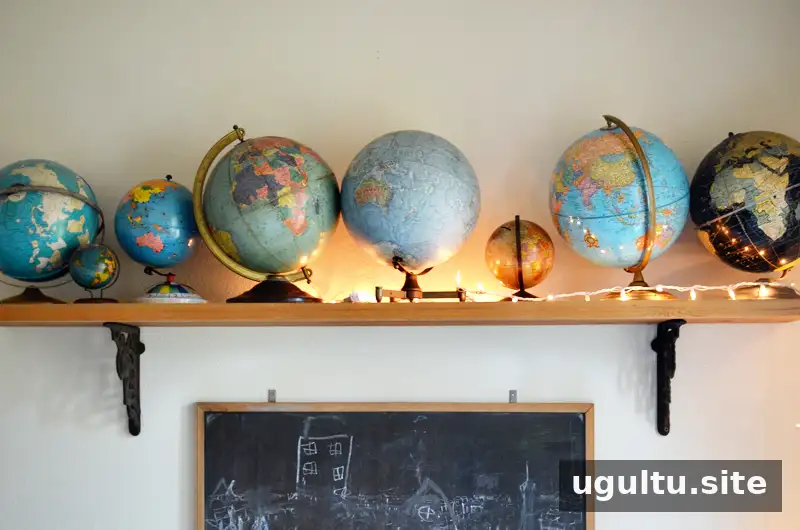
A shelf is a straightforward way to bring a collection together. Globes, for example, can look cohesive when arranged as a group, even if they vary in size or appearance. Choose a sturdy shelf that can safely support the objects, and leave enough room to see each item clearly.
For a balanced display, place larger pieces toward the ends or back and smaller ones where they remain visible. If the collection is growing, rotate a few items into the display rather than crowding every piece onto one shelf.
2. Turn small finds into wall art
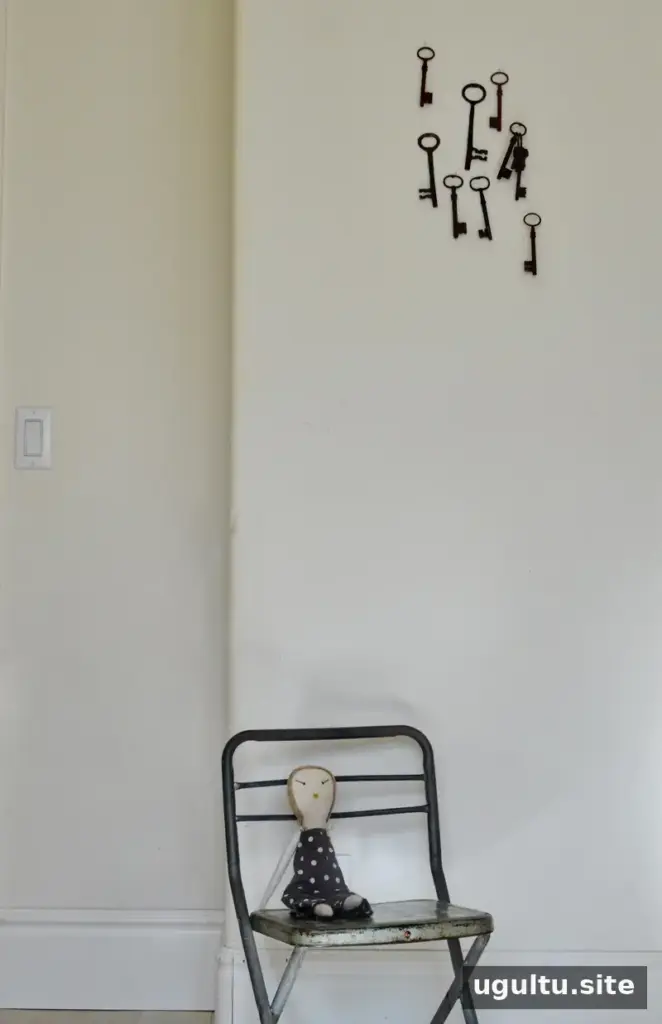
Old keys or other lightweight objects can be grouped on a wall to create a simple, personal focal point. Arrange the pieces on the floor first to test the spacing and overall shape before hanging them. Use suitable wall hooks or fasteners, and check that each object is secure.
A consistent layout can make different items feel connected. Try arranging them in a neat row or a loose grid, and leave enough space around the group so it does not feel crowded.
3. Make a collection poster
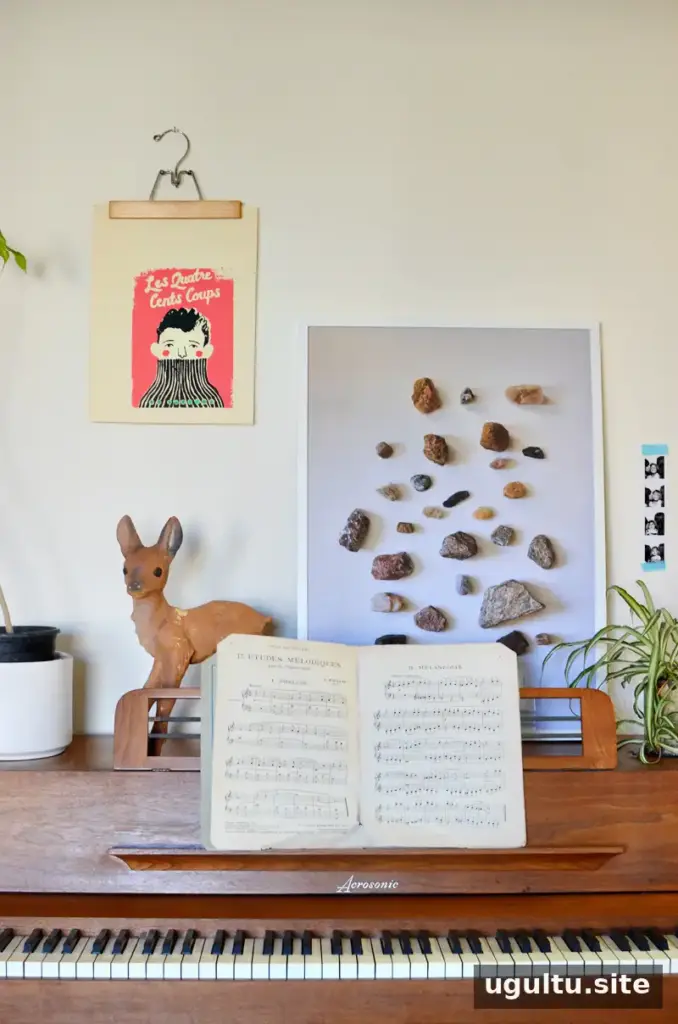
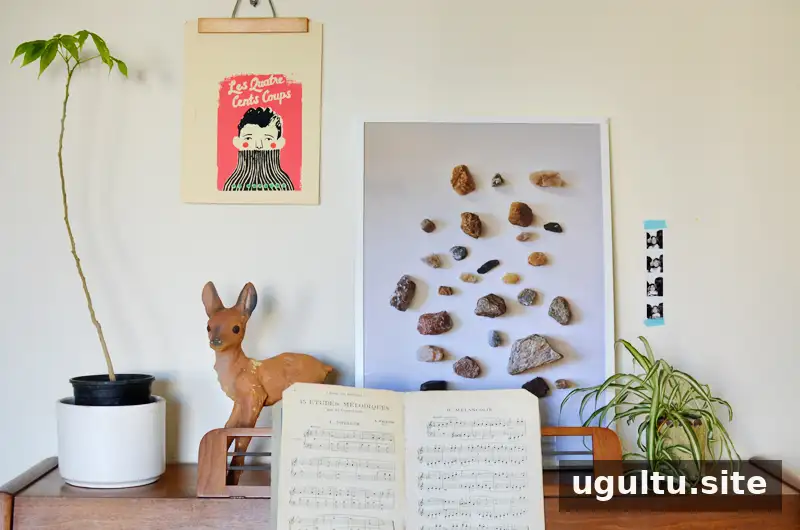
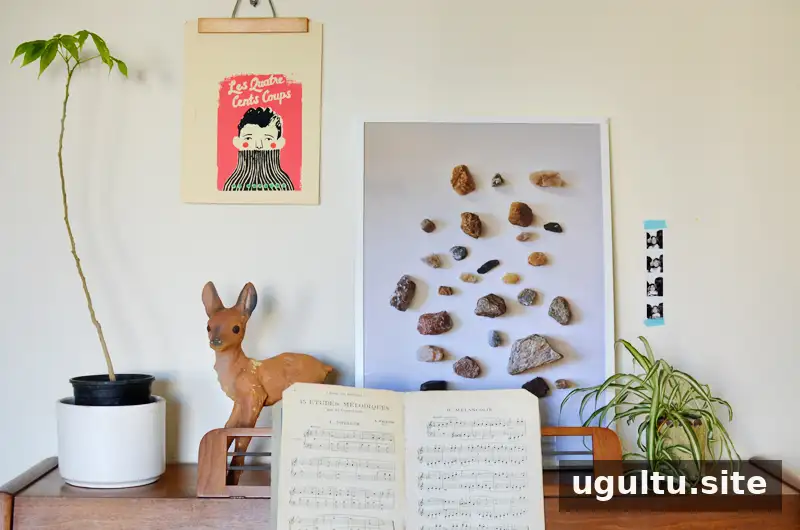
A photograph of a collection can preserve its look while freeing up shelf space. This works especially well for rocks, small keepsakes, and other objects that are easy to arrange together for a photo. The finished print can be framed and displayed as wall art.
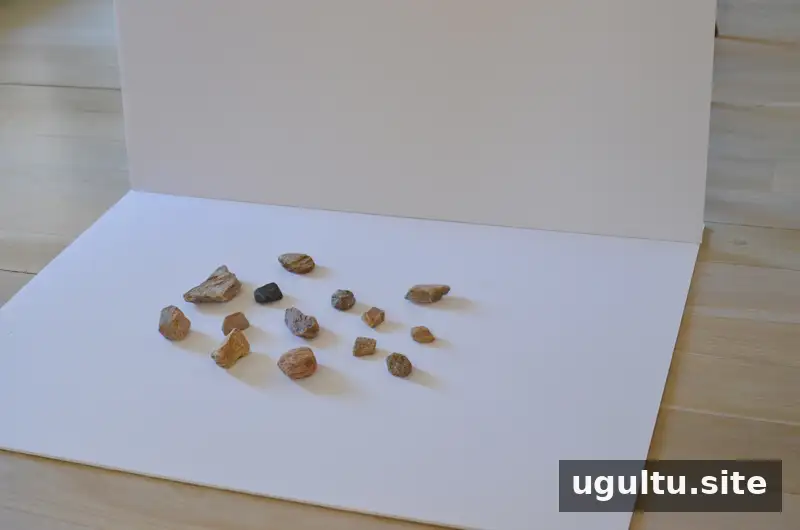
- Choose a background. Use a clean surface that contrasts with the objects. A white foam board is one option for a simple, uncluttered look.
- Arrange the items. Lay out the collection in a composition you like, making sure each object can be seen. Photograph the arrangement from above in even light.
- Prepare the image for a frame. Check the frame dimensions and crop or resize the photo to match. If you are not comfortable editing images, ask a print shop whether it can prepare the file and confirm any additional cost.
- Print and frame it. Take the image file to a print shop and request a finish that suits the room. A matte finish can reduce glare, particularly in a bright space.
A collection poster offers a way to enjoy and document objects without keeping every item on display. Keep the original objects in labeled storage if you want to preserve them, and choose a frame size that fits the wall where you plan to hang the print.
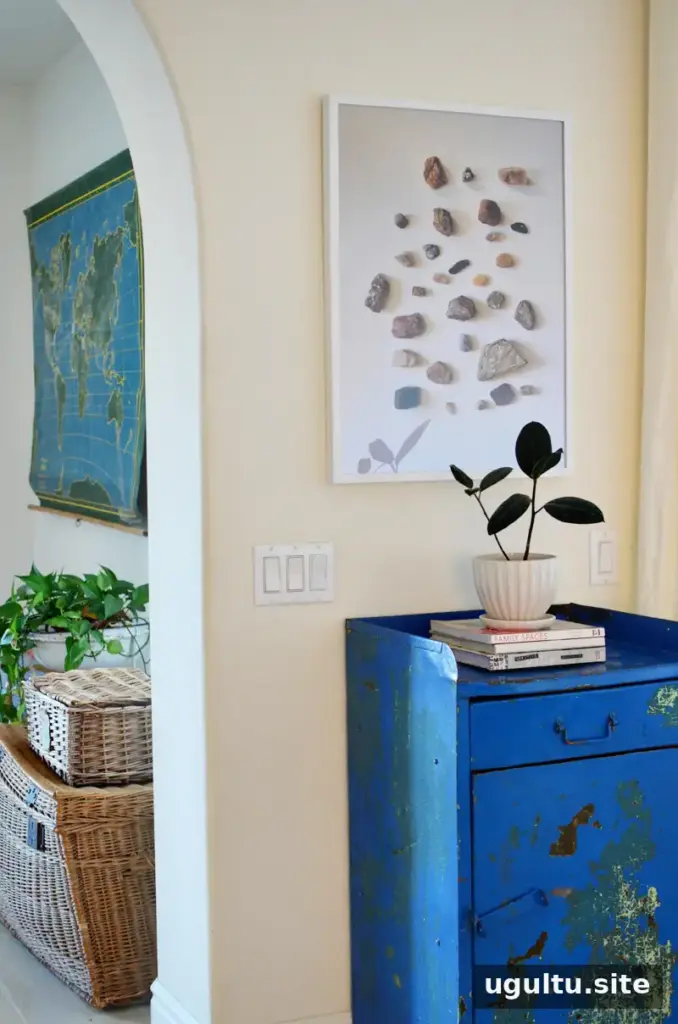
Adapting the poster idea for larger objects
The same approach can work for larger pieces, although photographing them may take more planning. Use a background large enough to create a consistent look, and photograph each object separately if arranging them together is impractical. Image-editing software can then be used to combine the photos into one composition. Keep the lighting and camera angle consistent so the finished poster looks cohesive.
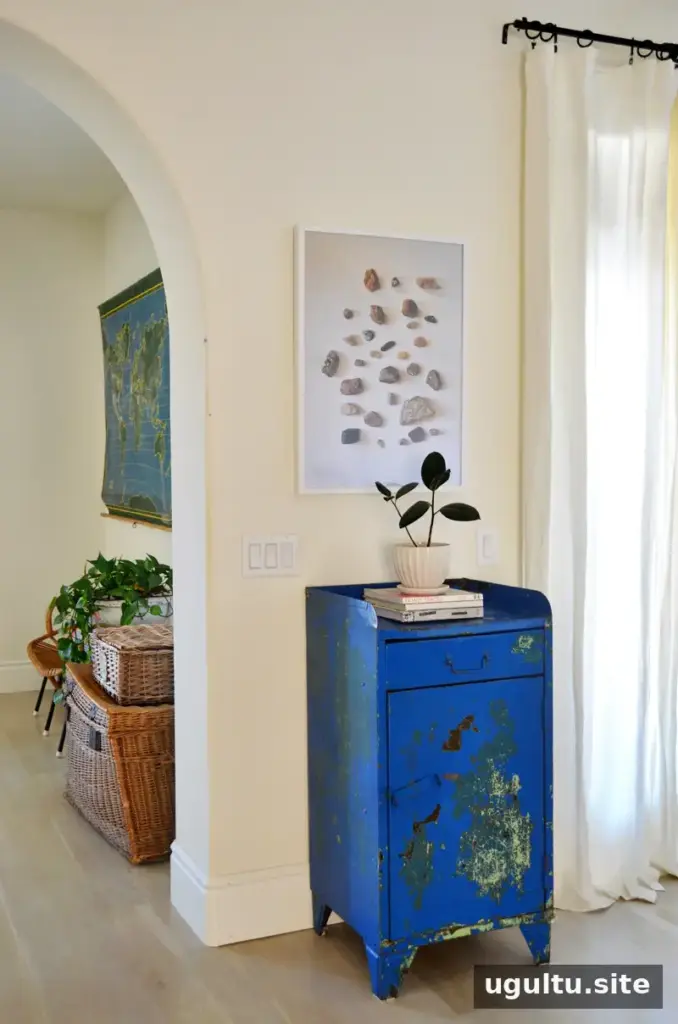
Make room for the collections you love
Displaying collections does not require putting every object on a shelf. Grouping pieces, arranging them as wall art, or creating a poster can help you enjoy a collection while making better use of your space. Choose the method that suits the size and weight of your items, and take time to plan the layout before hanging or printing anything.