
 admin
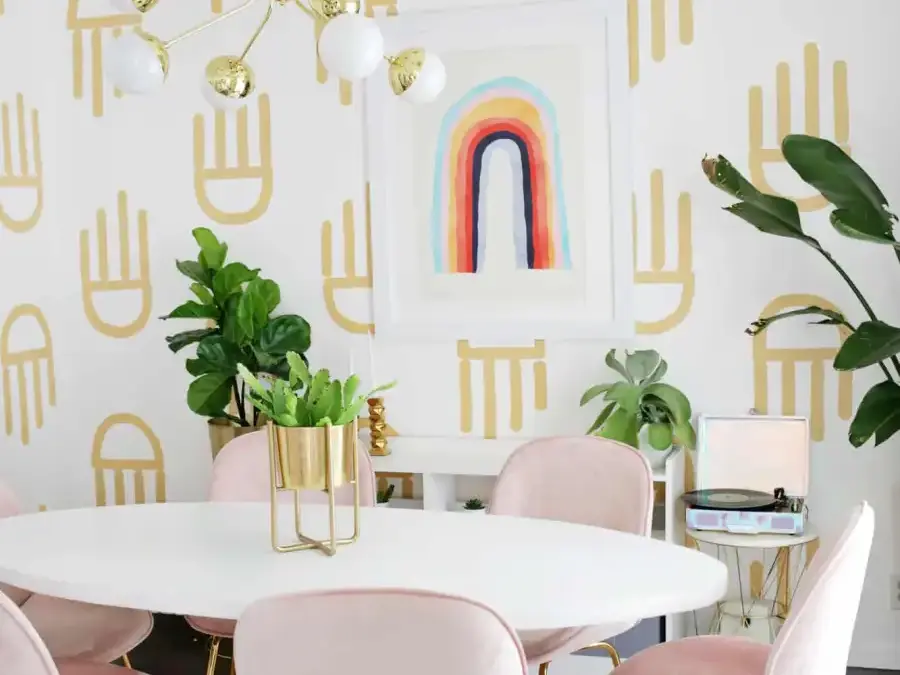
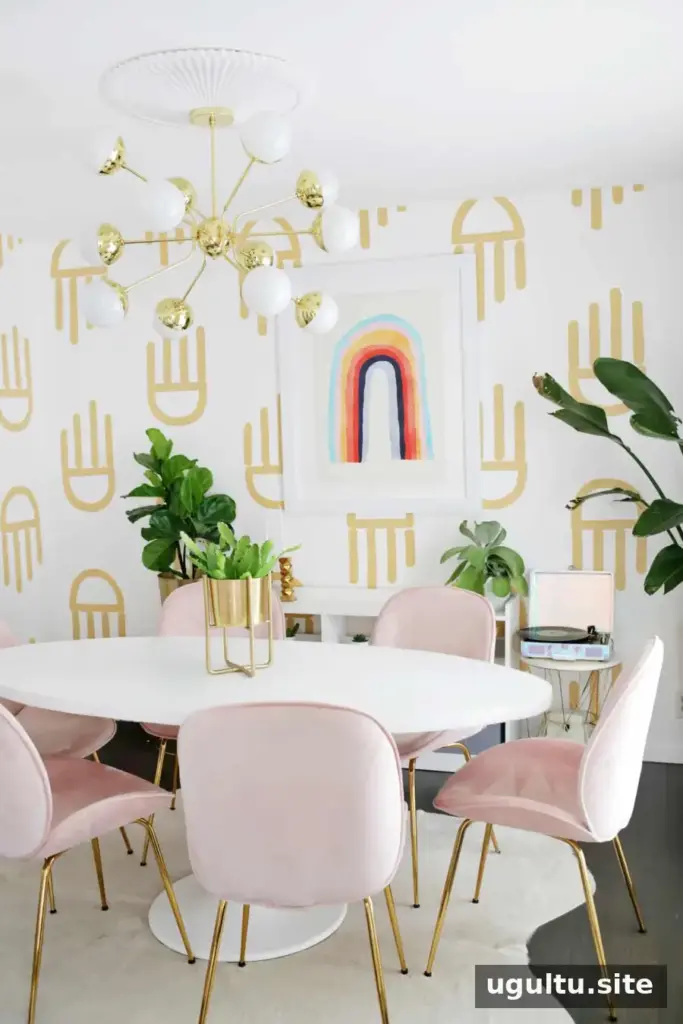
Geometric painted wallpaper is a practical way to add pattern to a room without installing conventional wallpaper. A hand-painted design can be customized to suit your wall and color scheme, and it can be painted over when you are ready for a change. This dining room project uses a repeated, hand-inspired geometric shape to bring pattern to the walls.
Plan a geometric painted wallpaper pattern
Start by sketching several shapes and deciding how large the finished pattern should look on your wall. This design combines a simple geometric outline with the look of a stylized hand, without a thumb. Make a full-size paper template so you can test the scale and placement before tracing anything onto the wall.
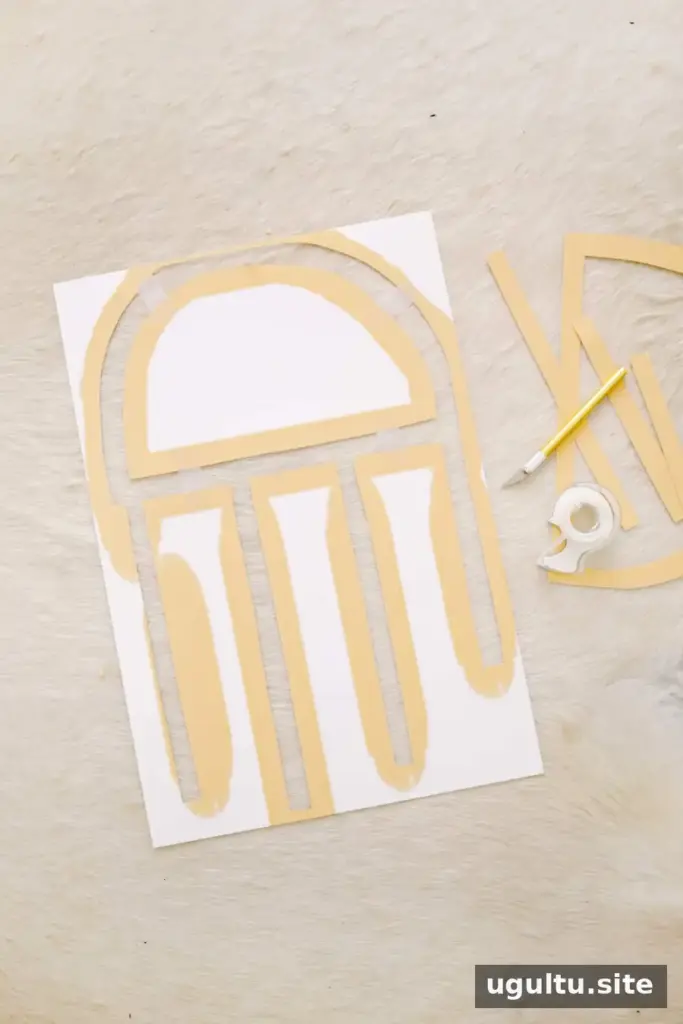
Print the template at the intended size. If your home printer cannot handle large pages, a print shop can produce a larger copy. Cut out the inner sections with a craft knife to create an outline that is easy to trace. Work on a protected cutting surface and keep the blade pointed away from your hands.
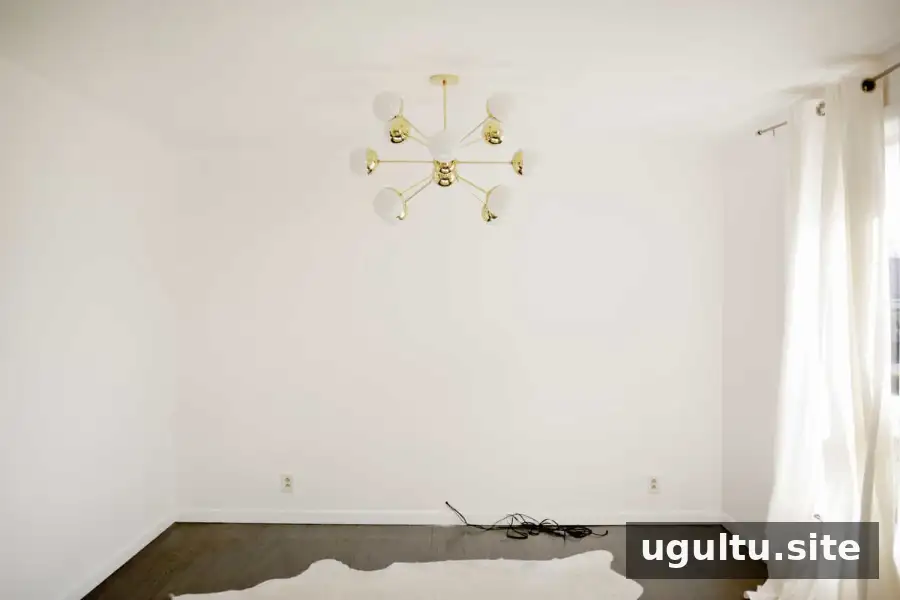
Mark the walls and position the templates
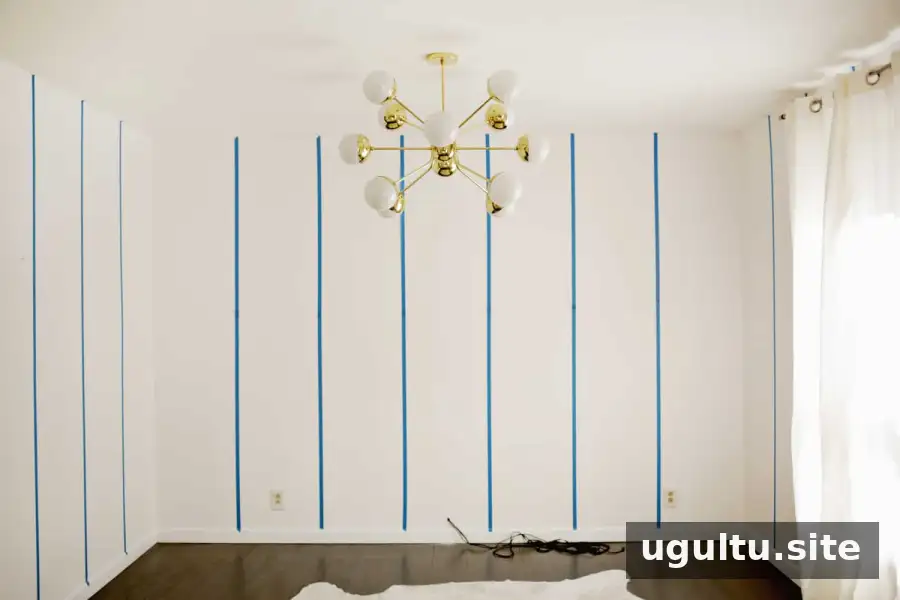
Clear the room so the walls are accessible. Use painter’s tape to divide the main wall into seven equal sections, each slightly wider than the template. Continue the same spacing across the side walls. Measure and mark carefully; a consistent grid helps the repeating pattern look intentional.
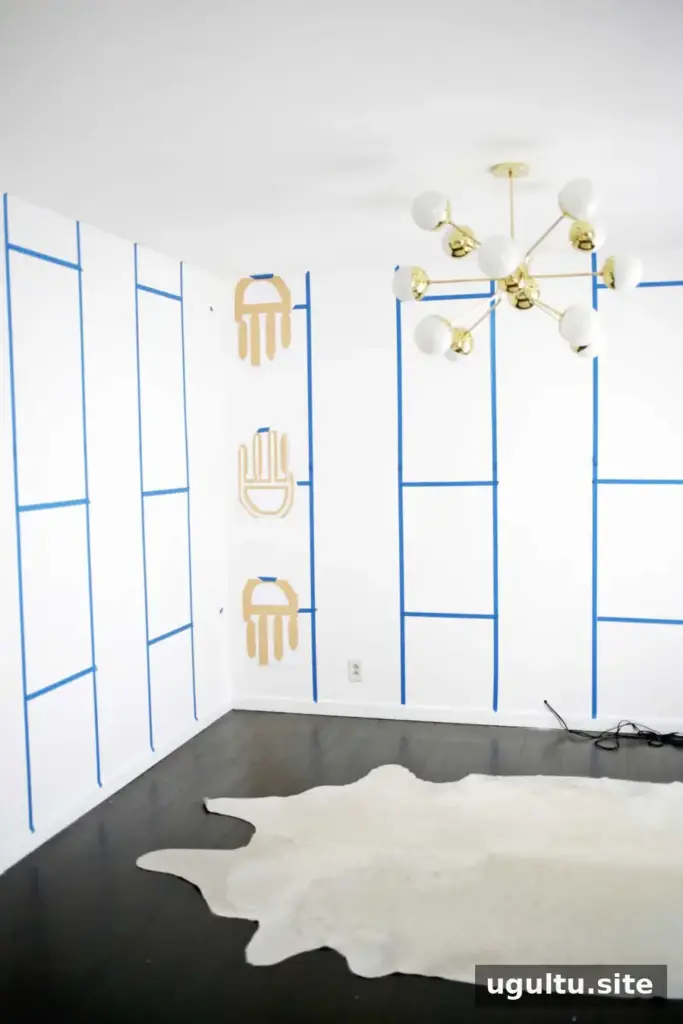
Hold several templates against the wall to test their height and orientation. Once you decide where the shapes should sit, use tape to mark the palm position in every other column. These reference marks make it easier to keep those shapes aligned.
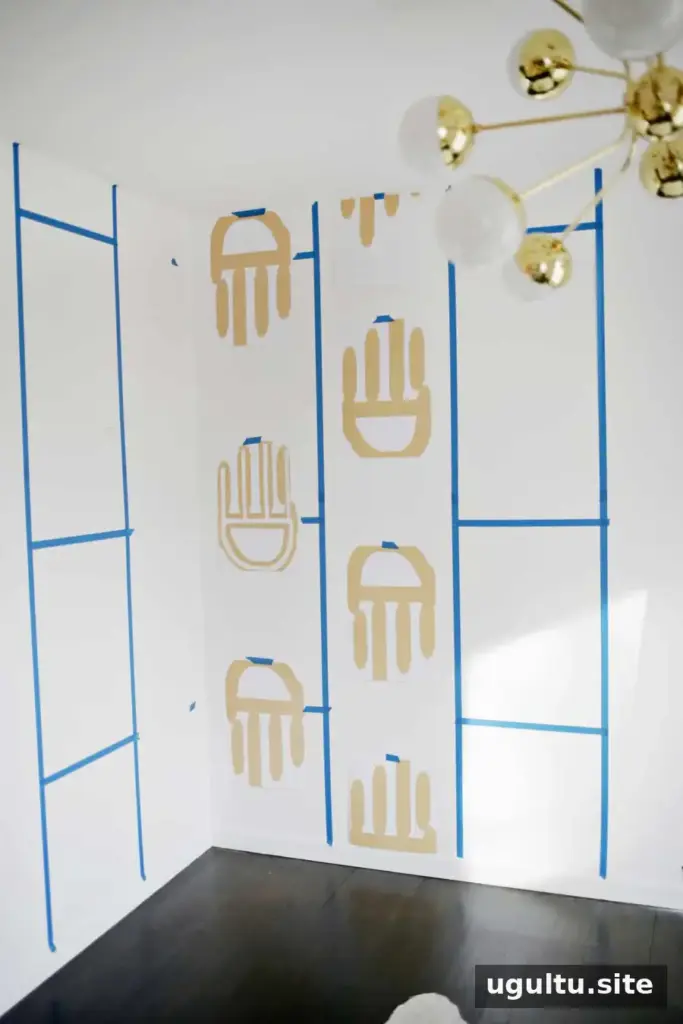
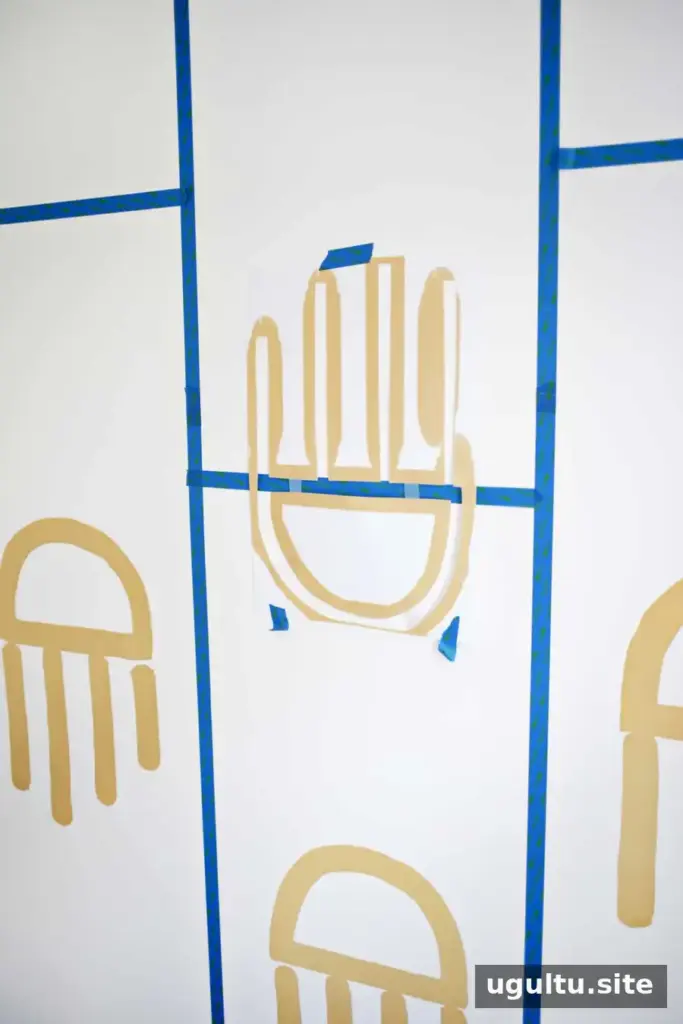
Plan the alternate columns in the same way, marking their positions with tape. At the top of the wall or near the baseboard, a full template may not fit. Fold or cut a spare template to create a cropped guide for those areas.
Trace with a colored pencil close to the paint color. A dark pencil outline may show through the finished design and require extra coats to cover, so test the pencil on a small, inconspicuous area first.
Trace and paint the pattern
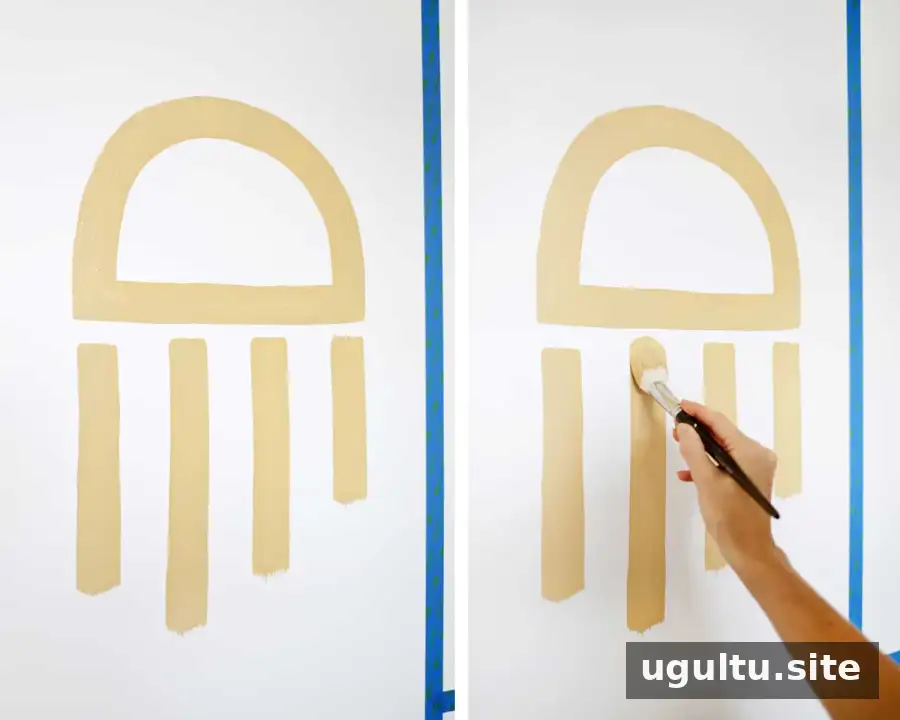
Place each template at its marked position and trace the shape. Use a 1.5-inch flat brush to paint along the lines and form the main outline. A large round-tipped brush can soften the ends of straight strokes. The project used Young At Heart paint in a golden camel color, thinned with a small amount of water to help it flow. Follow the paint label for any product-specific thinning instructions.
One coat left some visible brush texture, which suited the hand-painted look. For more even coverage, let the first coat dry and add another if needed. Test your paint and brush technique on a sample board or an inconspicuous spot before completing the walls.
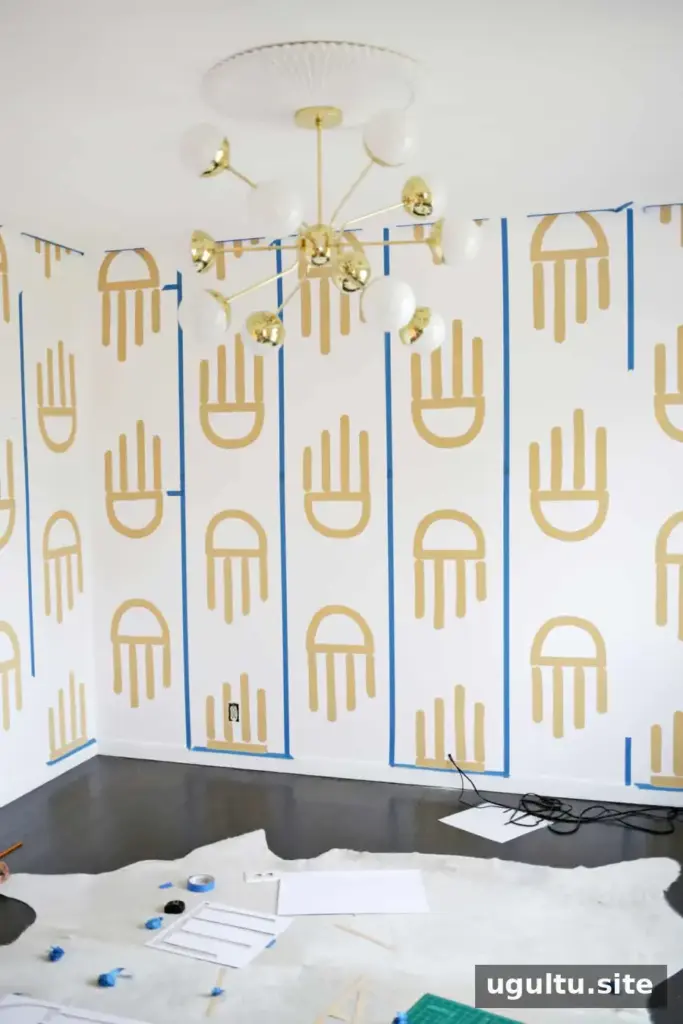
The basic process is straightforward: make a grid, position the templates, trace the design, and paint each shape. Take breaks to step back and check spacing as you work.
Finish the edges and reset the room
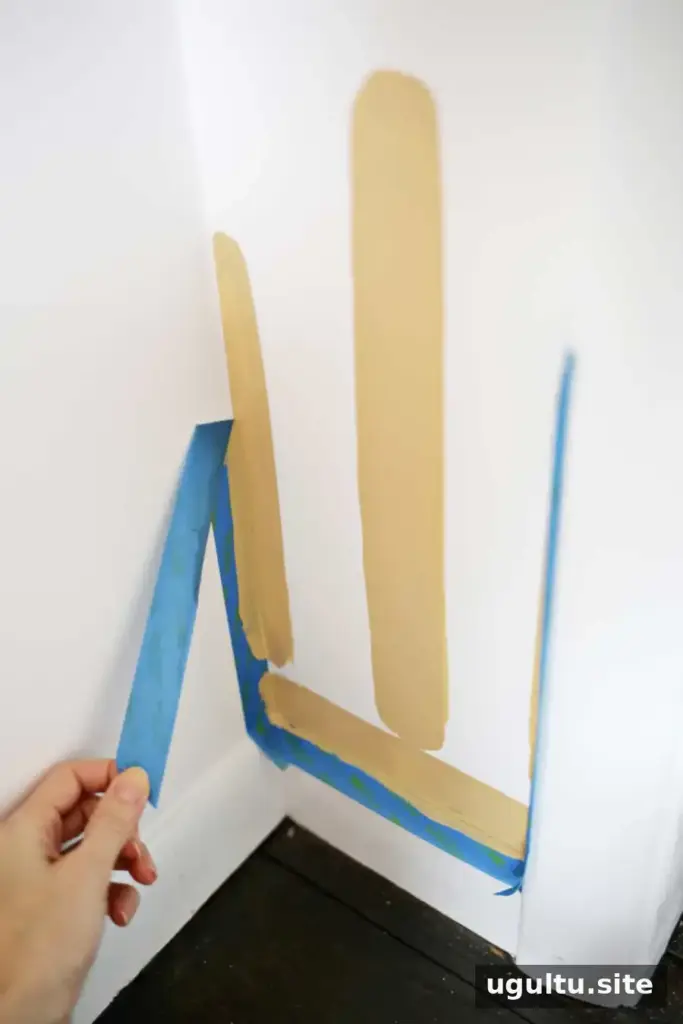
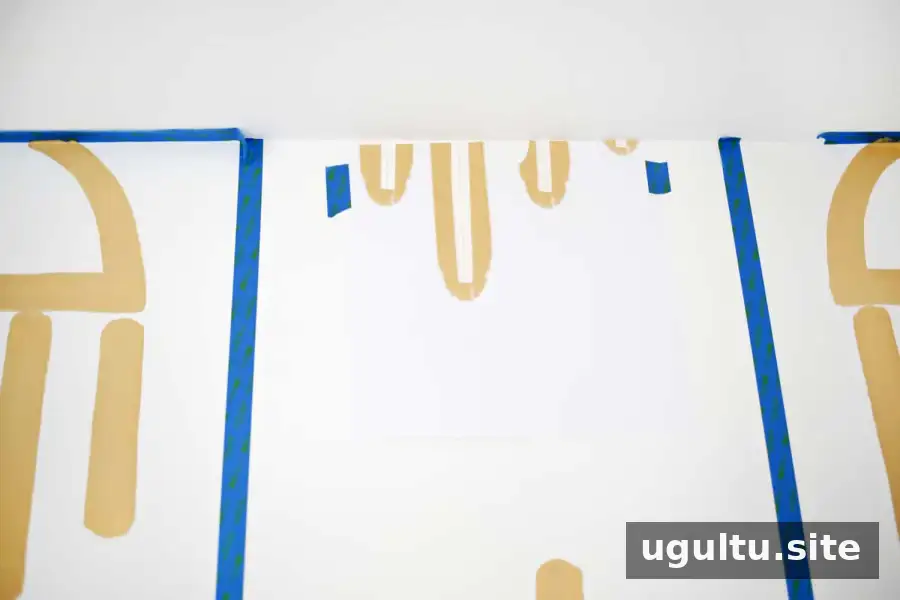
To carry the design to the wall edges, apply painter’s tape along the top, bottom, and sides. Press the tape down firmly, paint up to its edge, and remove it carefully once the paint is ready, following the paint and tape instructions for timing.
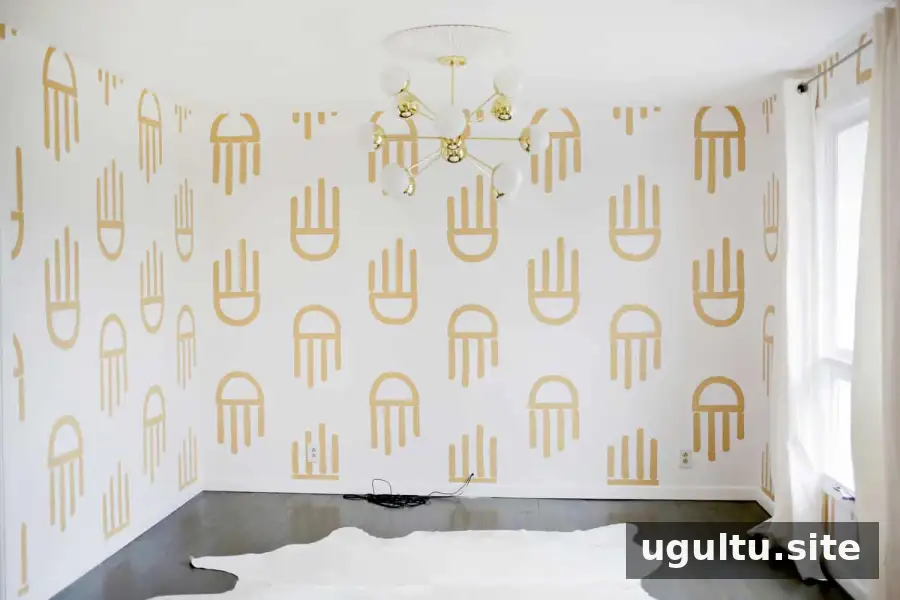
Allow the paint to dry fully before moving furniture back into the room.
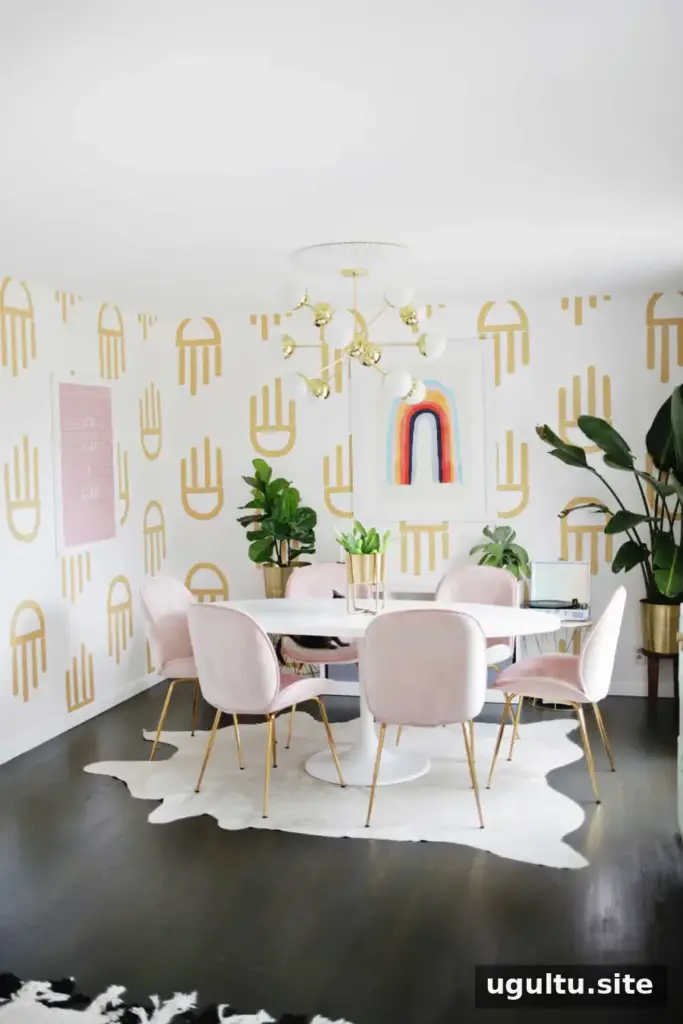
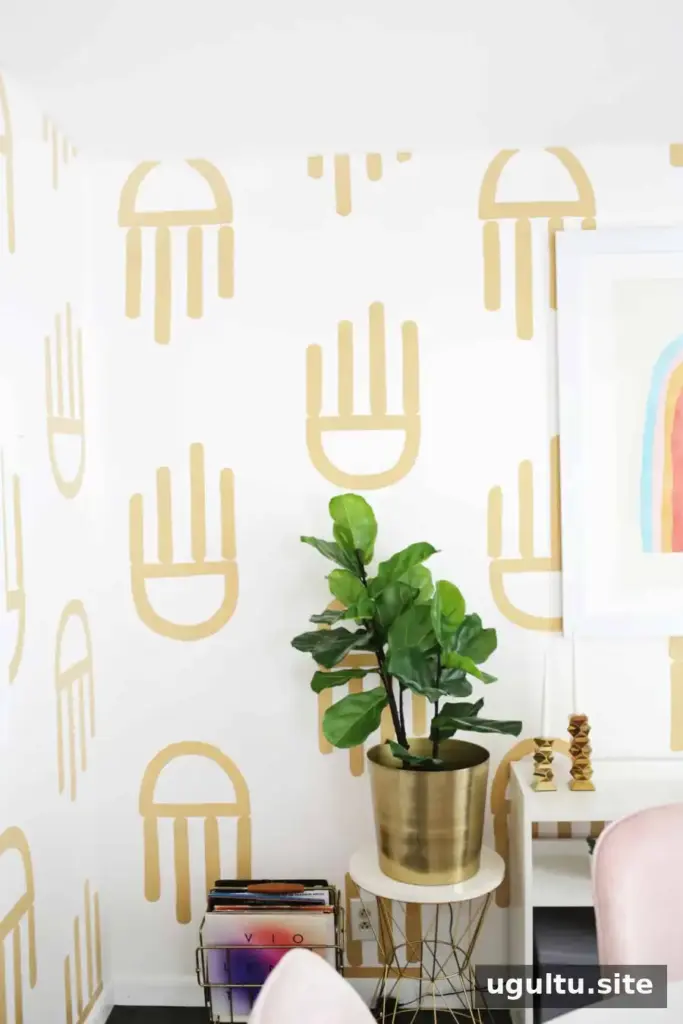
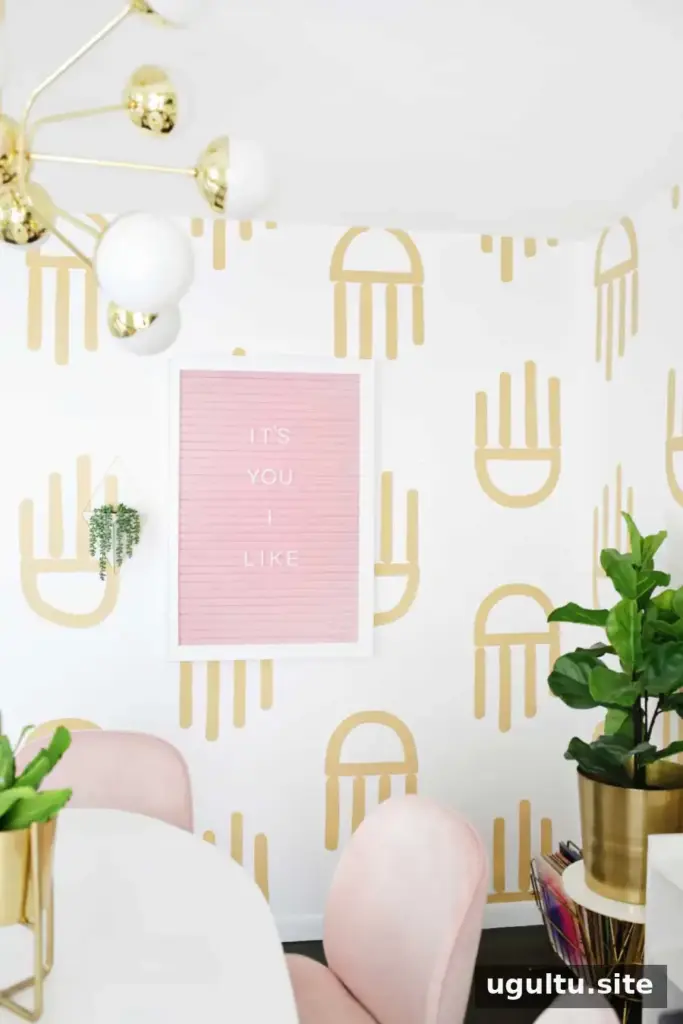
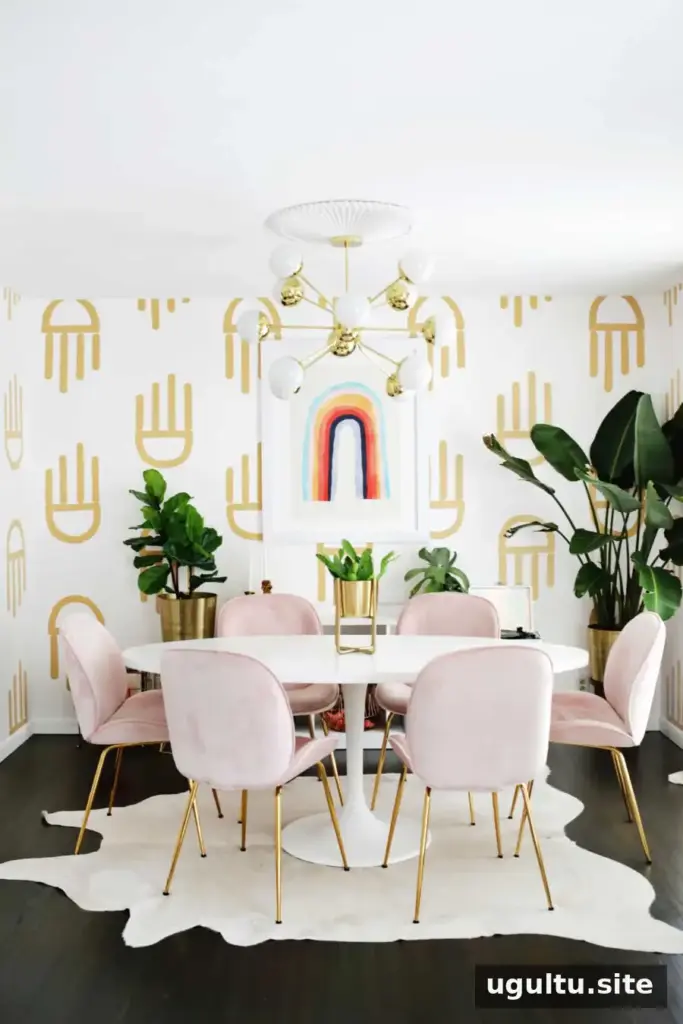
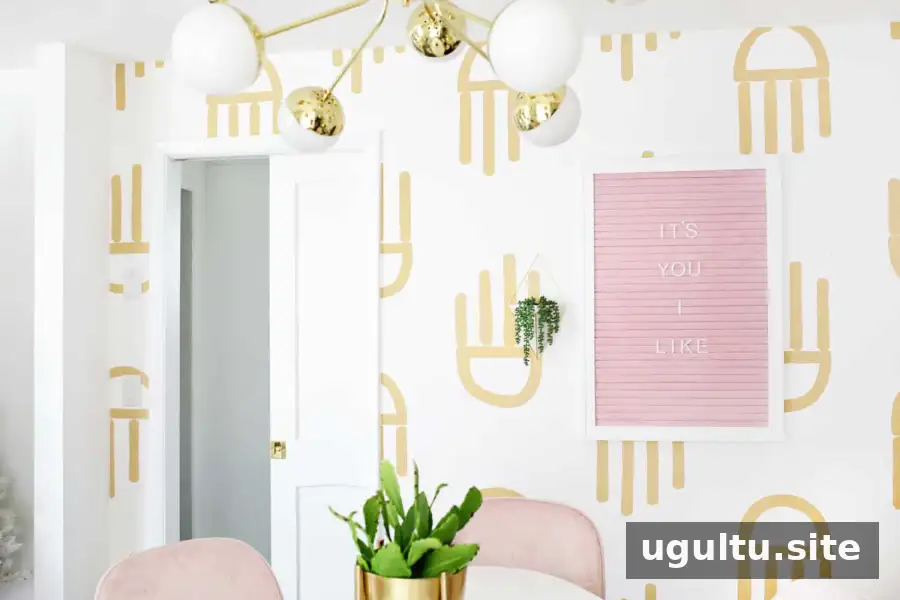
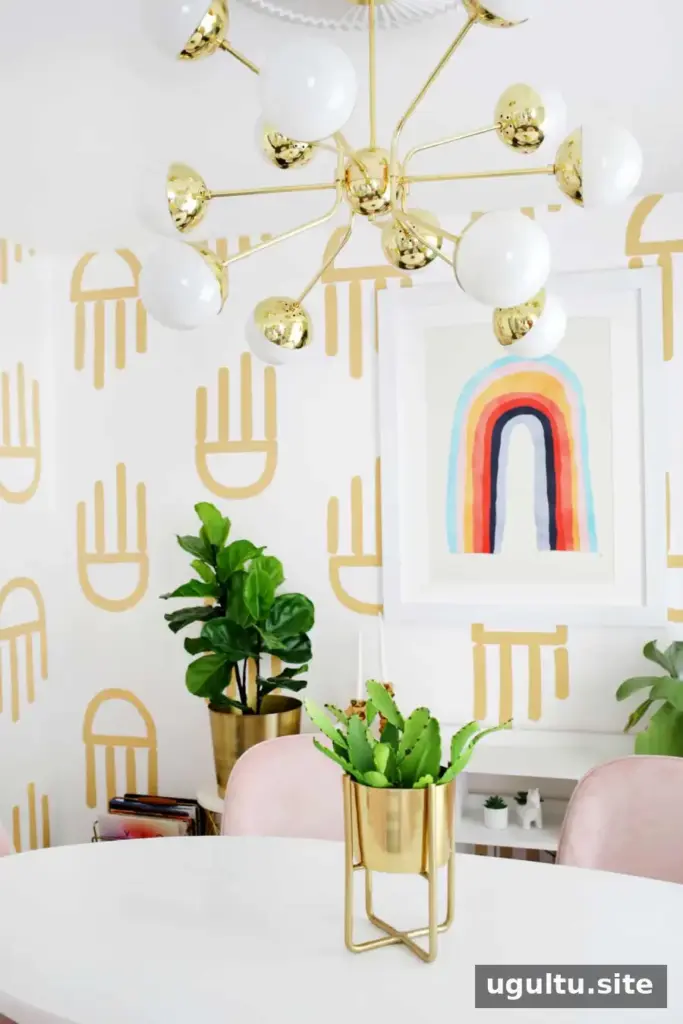
The finished pattern can complement other room details, such as a chandelier, ceiling medallion, letter board, or art print. Because a patterned wall can feel noticeably different from a solid-color room, consider living with the design for a few days before deciding whether you want to add or change anything.
Conclusion
Geometric painted wallpaper offers a customizable alternative to traditional wallpaper, using a template and careful measurements to create a repeating design. Test the layout, use a pencil that blends with the paint, and take time to align each shape for a tidy result.
Project by Laura.


