
 admin
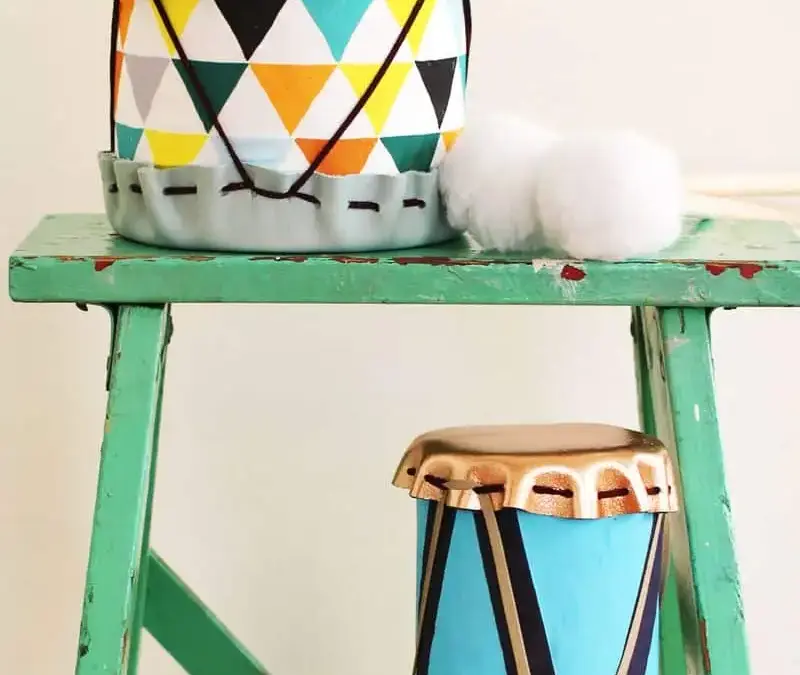
DIY drums made from tin cans can be a creative handmade gift for children and a simple craft project to prepare at home. Fabric and leather details give each drum a personalized look, while homemade drumsticks complete the set. Gather the supplies before you begin, and have an adult handle any sharp edges or hot glue.
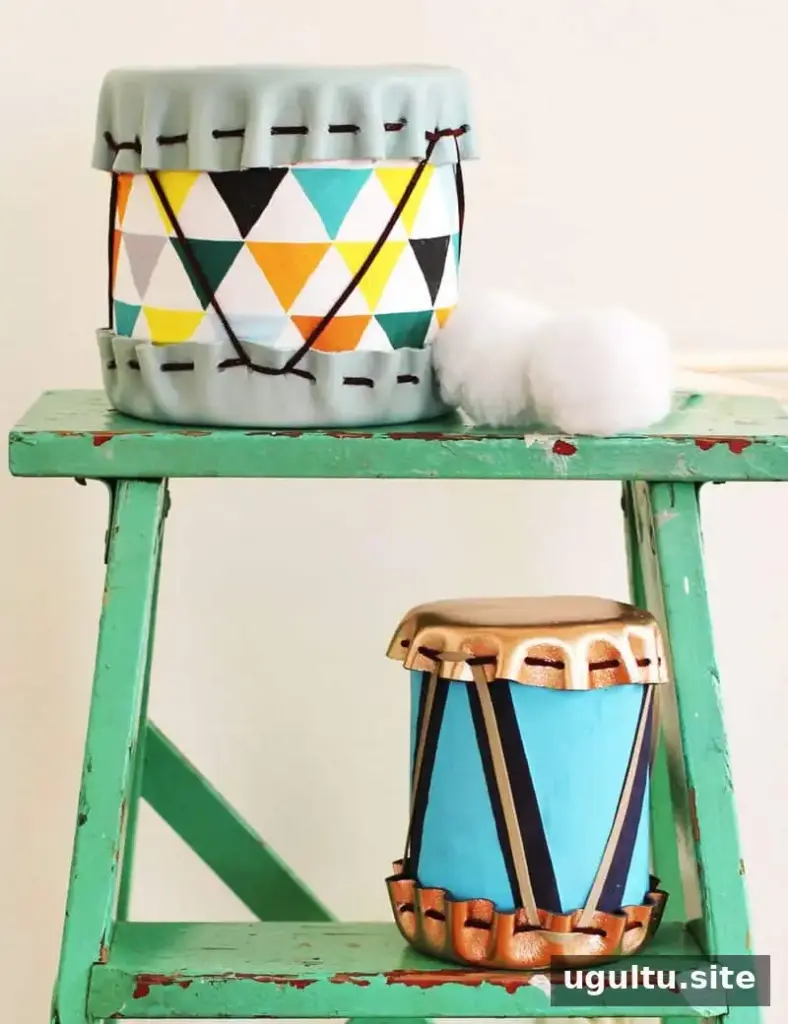
Supplies for DIY Drums
You will need the following materials:
- Clean tin cans
- Leather
- Decorative fabric
- Leather laces
- A hole-punch tool or large needle
- A wooden dowel and wooden ball
- Craft glue and a hot glue gun
- Cotton
- Scissors, a pen, and fabric paint, if desired
Before starting, check each can for sharp or rough edges. Choose cans that are clean and dry, and let an adult do any cutting or hole-punching that could be difficult for a child to manage safely.
How to Make the Tin Can Drum
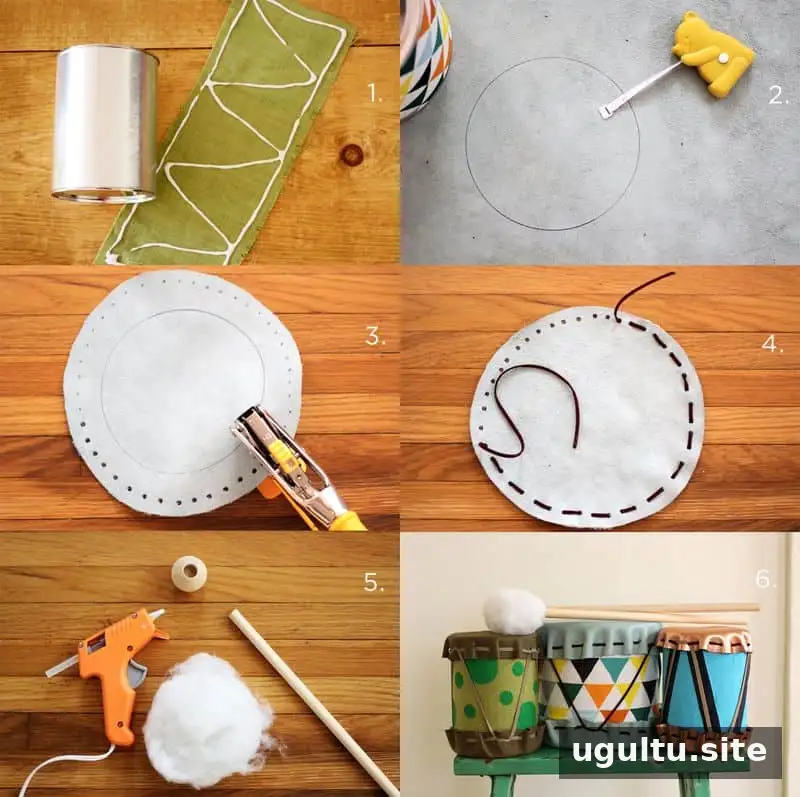
1. Cover the can with fabric
Measure the fabric around the outside of the can and cut a piece that fits. Apply craft glue to secure the fabric in place, keeping it smooth as you wrap it. Allow the glue to dry according to its directions before moving on.
2. Trace and prepare the leather
Place the can on the leather and trace around its opening. Draw a second circle about 1 inch beyond the first outline. This extra edge will provide space for the holes and lacing.
3. Make holes for the lace
Mark evenly spaced points around the leather, then use a hole-punch tool to make openings. If you do not have a punch, a large needle can be used carefully. Keep the holes far enough from the edge to help prevent the leather from tearing when it is tightened.
4. Attach the leather
Thread leather lace through the holes and pull it snug over the top of the can. Repeat the process for the bottom. Then weave another lace diagonally between the laces at the top and bottom to hold the pieces in place. Tighten the lacing evenly rather than pulling one section much harder than the others.
5. Make the drumsticks
Insert the wooden dowel into the wooden ball and secure it with hot glue. Cover the ball with cotton to form a soft striking end. An adult should use the hot glue gun and allow the glue to cool fully before the drumsticks are handled.
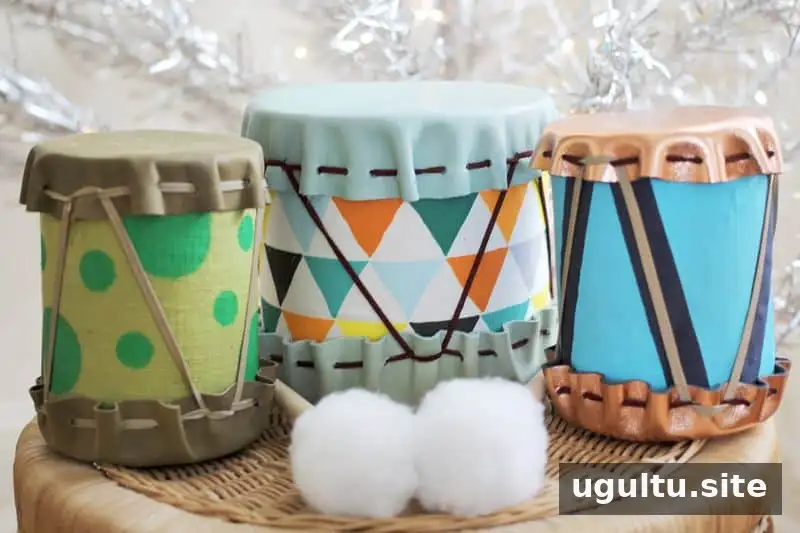
Personalize and Finish the Gift
Once the fabric is secured, add designs with fabric paint if you would like to customize the drum. Follow the paint’s instructions for drying time before wrapping or playing with the finished project. For a coordinated gift, use colors or patterns that suit the recipient.
This craft offers a practical way to reuse a tin can, but supervise young children during play and check the drum and sticks for loose parts before each use. With careful preparation and a little decoration, DIY drums become a personal, handmade gift. Project credit: Katie.


