
 admin
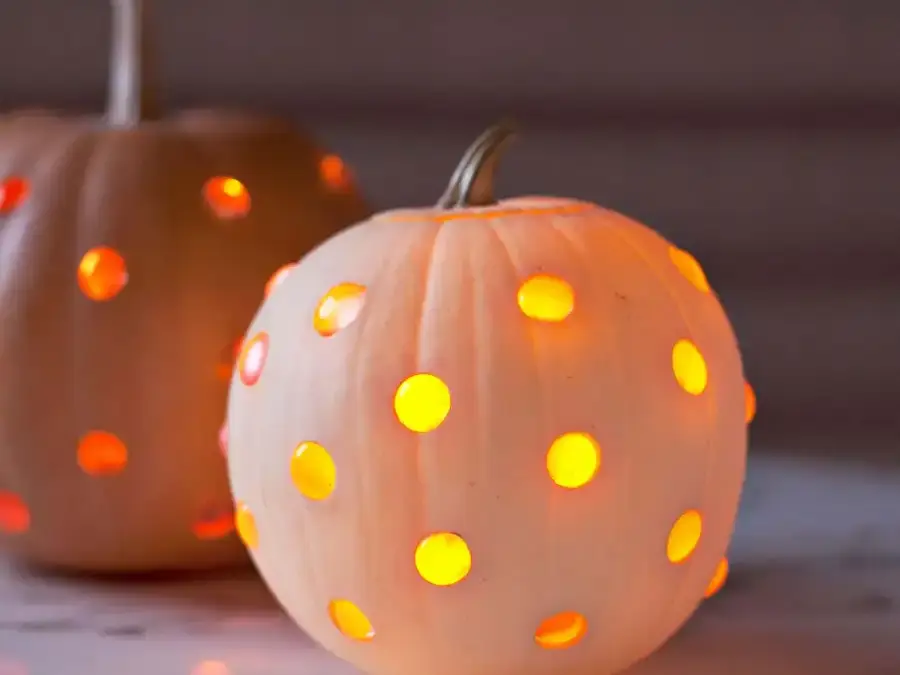
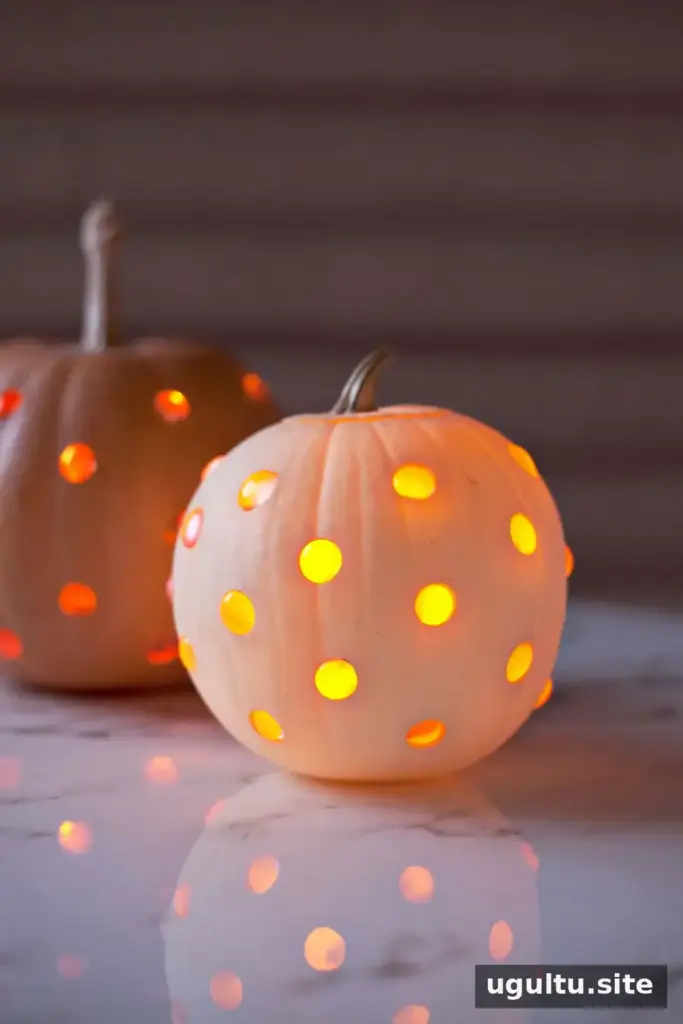
Glass Bead Jack-O-Lanterns add a bright, decorative touch to traditional Halloween pumpkins. Their dotted pattern looks appealing in daylight, while light shining through the glass gems creates a warm glow after dark. This project uses a power drill rather than detailed carving, making it a straightforward option for a seasonal display.
Choose a medium or large pumpkin so there is enough room to scoop out the inside and place a light. Before drilling, check the size of your glass gems: craft-store gems can vary, even within one package, so matching the drill holes to the gems will help them fit securely.
Supplies
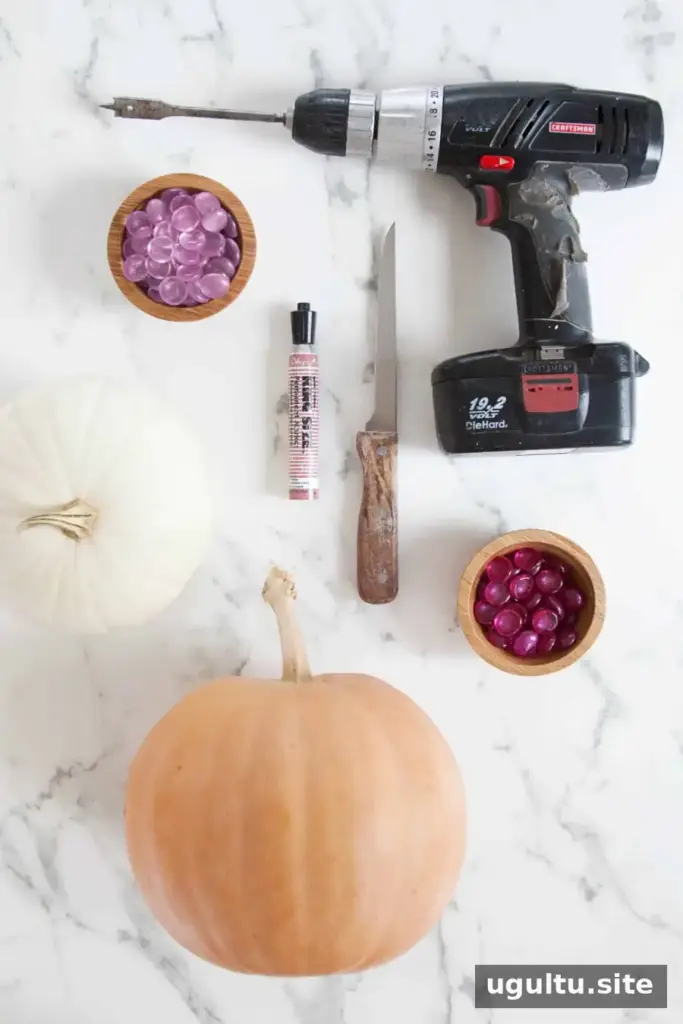
- Medium or large pumpkins
- A sharp knife
- A 5/8-inch and/or 3/4-inch spade drill bit
- A power drill
- A black marker (optional, but helpful for marking hole locations)
- Glass gems or marbles
The gem sizes determine which drill bit will work best. Buy or select the gems before choosing the bit, and test a gem against the bit size if possible. Two bit sizes can help accommodate variations in gem diameter.

Step 1: Cut the pumpkin lid. Use a sharp knife to cut around the stem and remove the top. Keep the opening large enough to reach inside and clean the pumpkin. Work slowly and keep your hands clear of the blade.
Step 2: Scoop and scrape the inside. Remove the seeds and stringy pulp. A sharp-edged ice cream scoop can help scrape the inner walls. Clearing the interior makes room for a candle or LED light and helps keep pumpkin scraps from blocking the drilled openings.
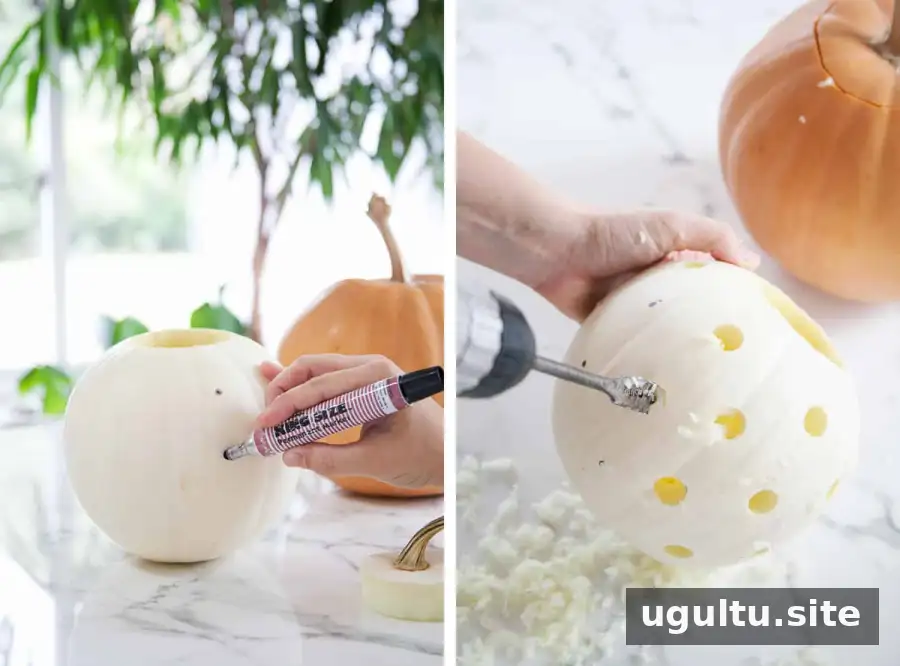
Step 3: Mark the dots. Use a marker to plan where the holes will go. Space the marks evenly and avoid placing them too close together, as narrow gaps can weaken the pumpkin wall.
Step 4: Drill the holes. Use a spade bit to make openings at the marked points. A mix of 5/8-inch and 3/4-inch holes can suit gems of different sizes. Start with the smaller option where you are unsure: enlarging a hole is easier than making an oversized opening hold a small gem. Place the pumpkin on a stable surface and handle the drill carefully.
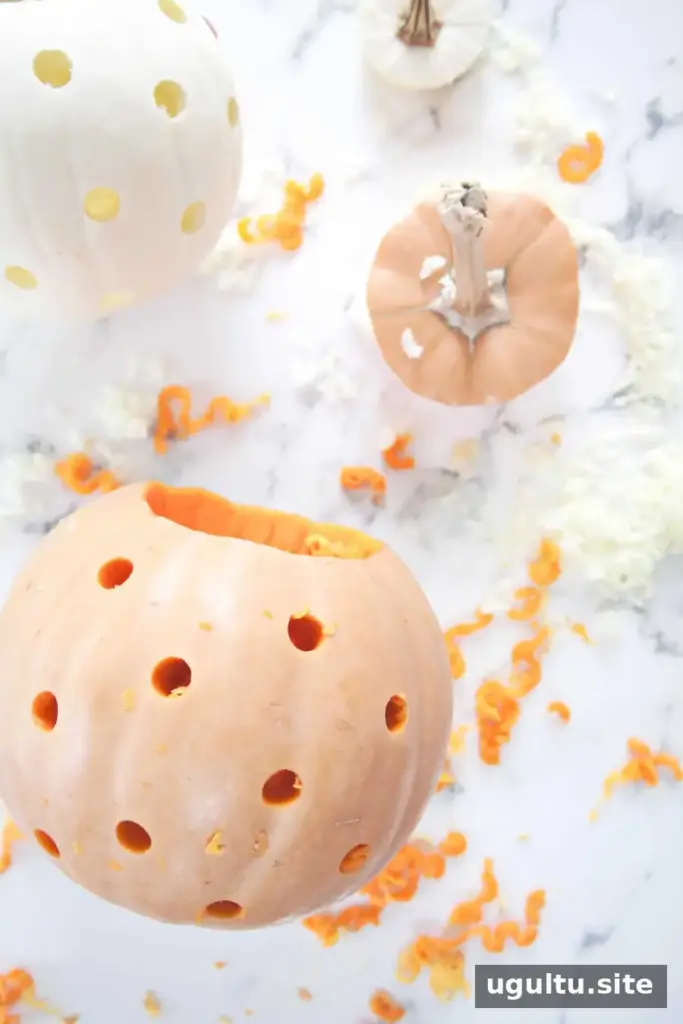
Step 5: Clear away scraps. Remove bits of pumpkin from the holes and interior. Check each opening before fitting the gems so debris does not prevent them from sitting properly.
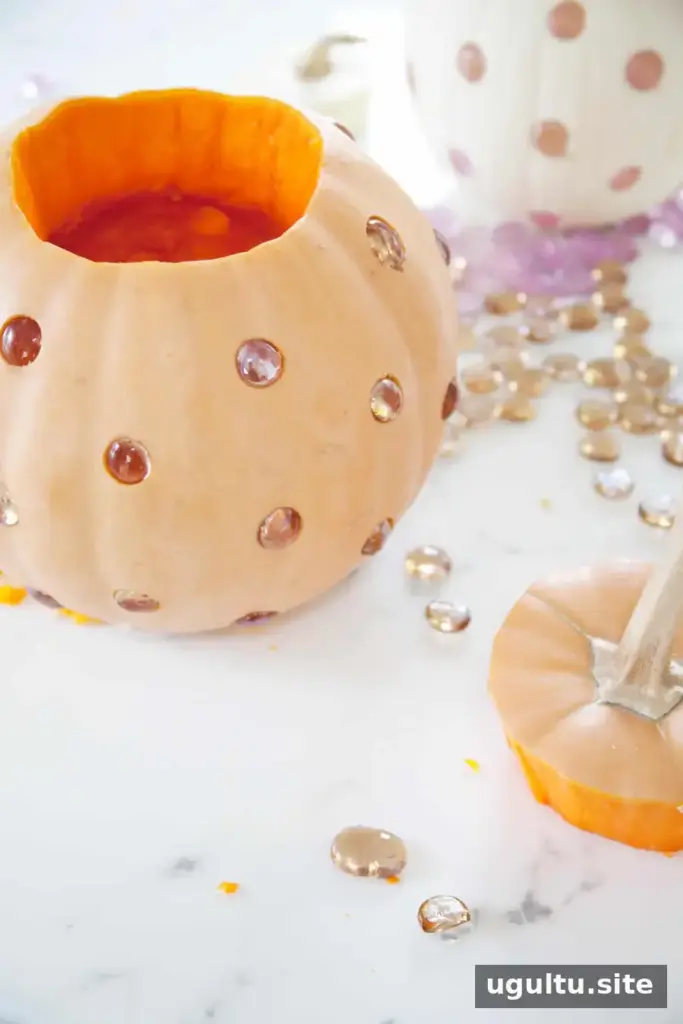
Step 6: Insert the gems. Press a glass gem into each hole. The fit should be snug enough to keep it in place. If a gem will not fit, carefully adjust the opening rather than forcing the glass or damaging the pumpkin.
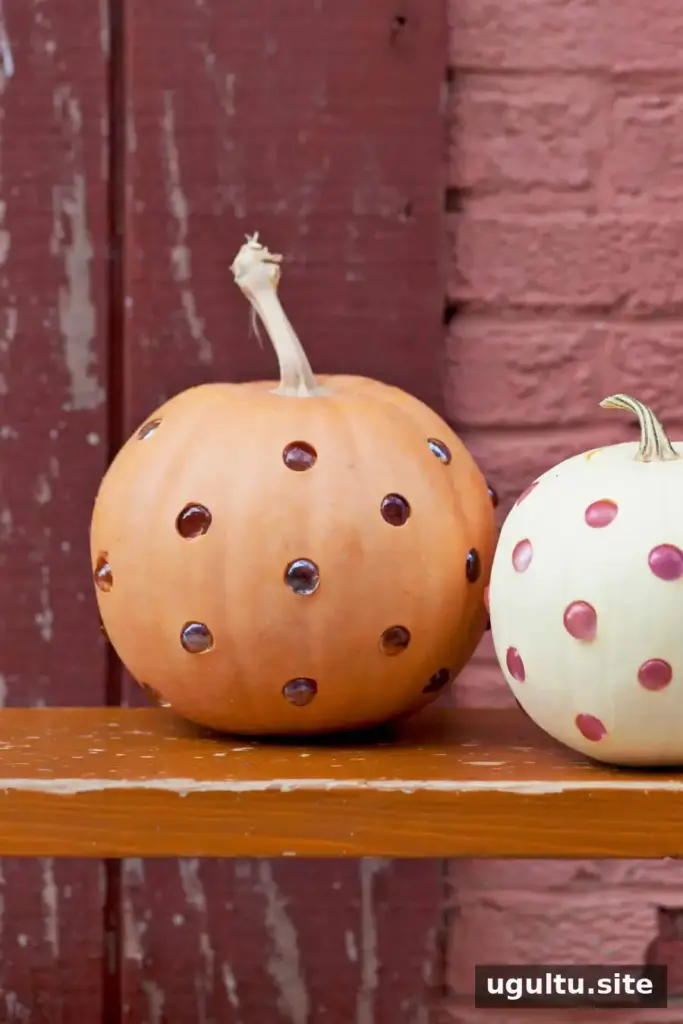
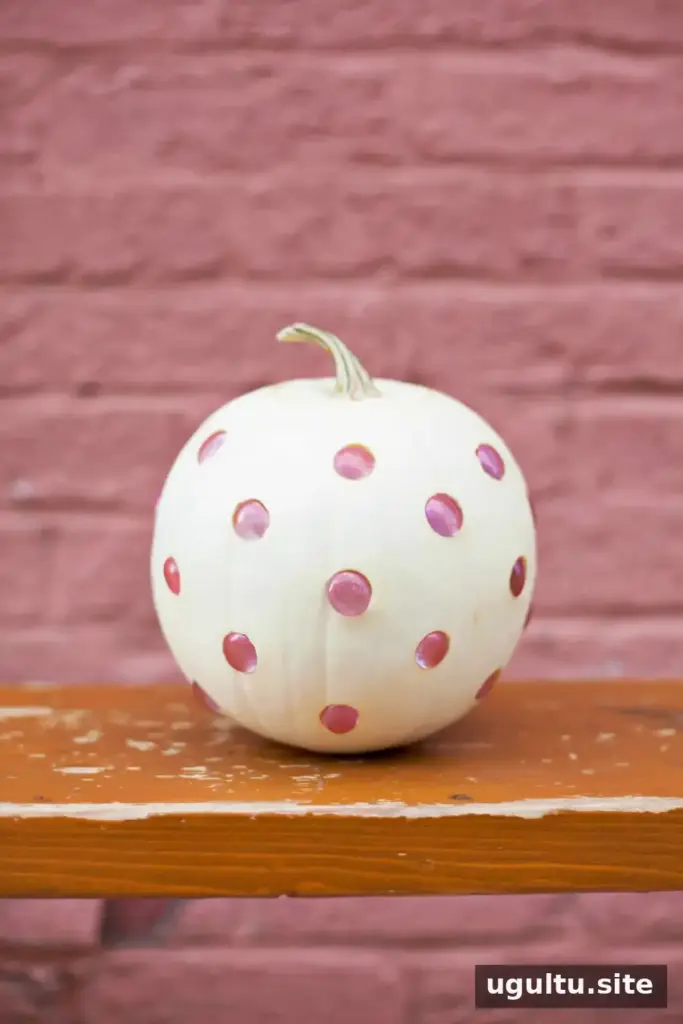
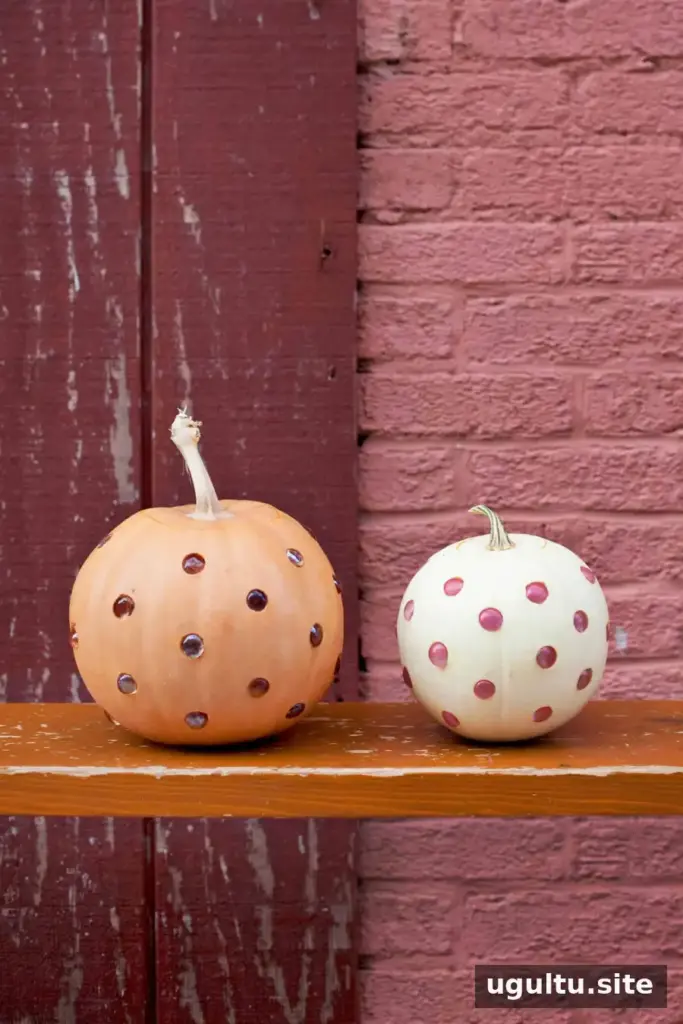
In daylight, the gems catch the light and give the pumpkin a polished, dotted appearance. For the strongest effect, position the finished jack-o-lantern where it can be seen both during the day and after sunset.
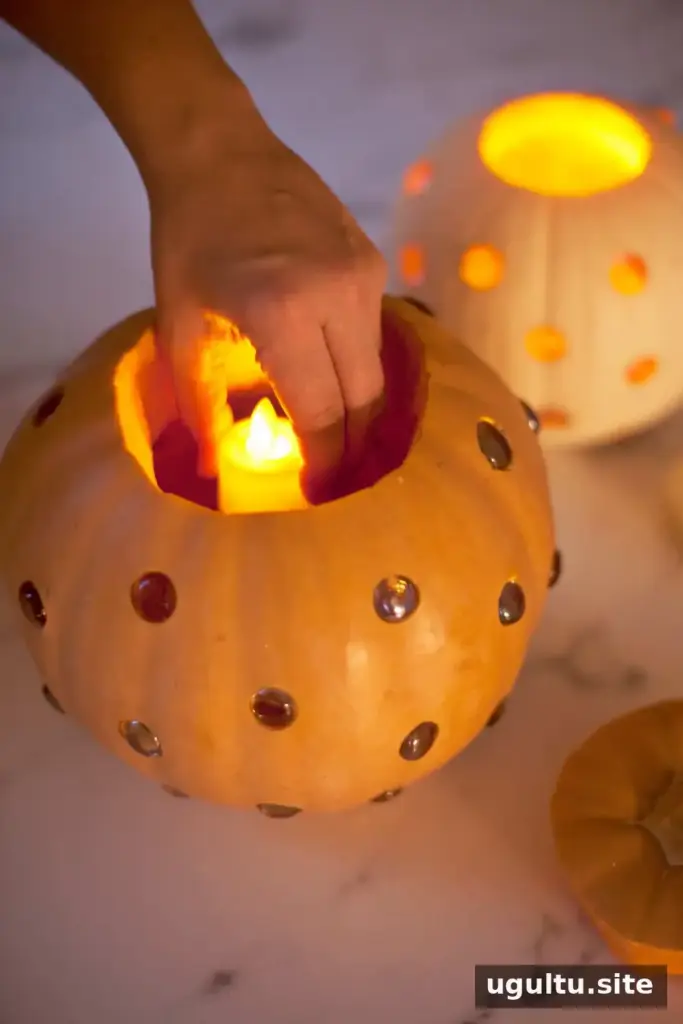
An LED candle is a practical lighting choice for these pumpkins. The lid can remain in place, allowing the light to shine through the glass gems. If using a traditional wax candle, leave the lid off and follow fire-safety precautions. Keep the pumpkin on a stable surface, away from flammable materials, and never leave a lit candle unattended. LED lights avoid an open flame.
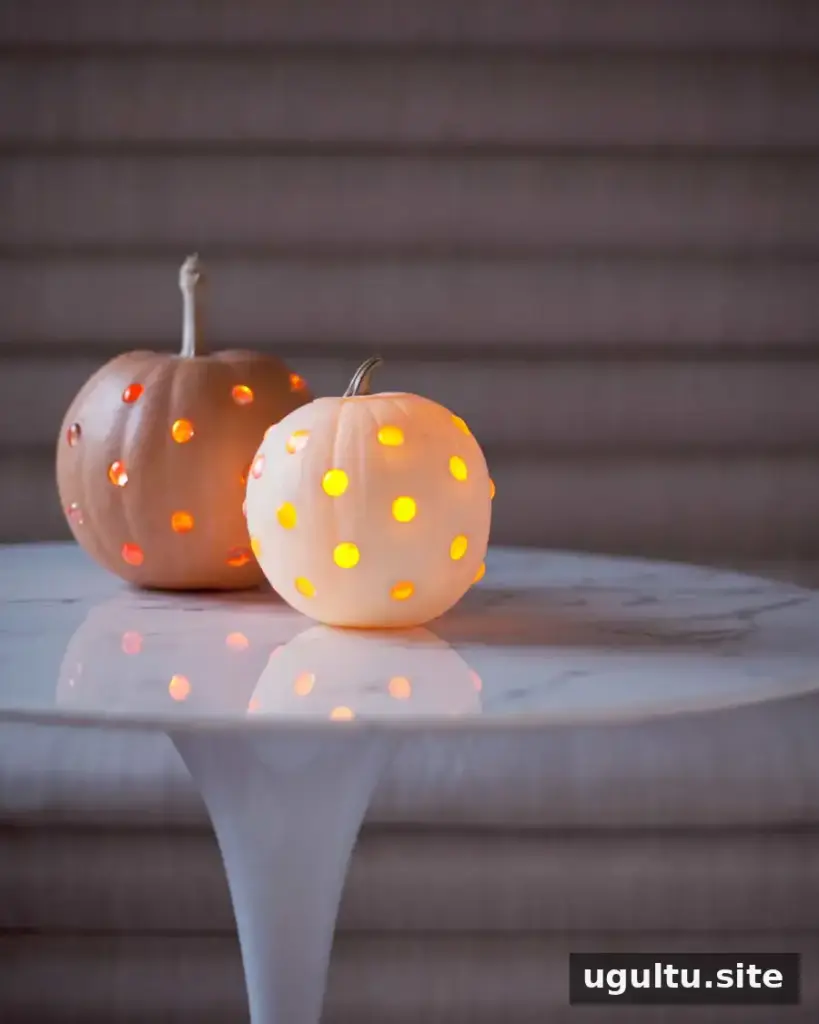
These glass bead jack-o-lanterns work well as a cozy indoor decoration or as part of a Halloween porch display. Because carved pumpkins do not stay fresh indefinitely, make them close to the time you plan to display them and check them regularly for soft spots or mold.
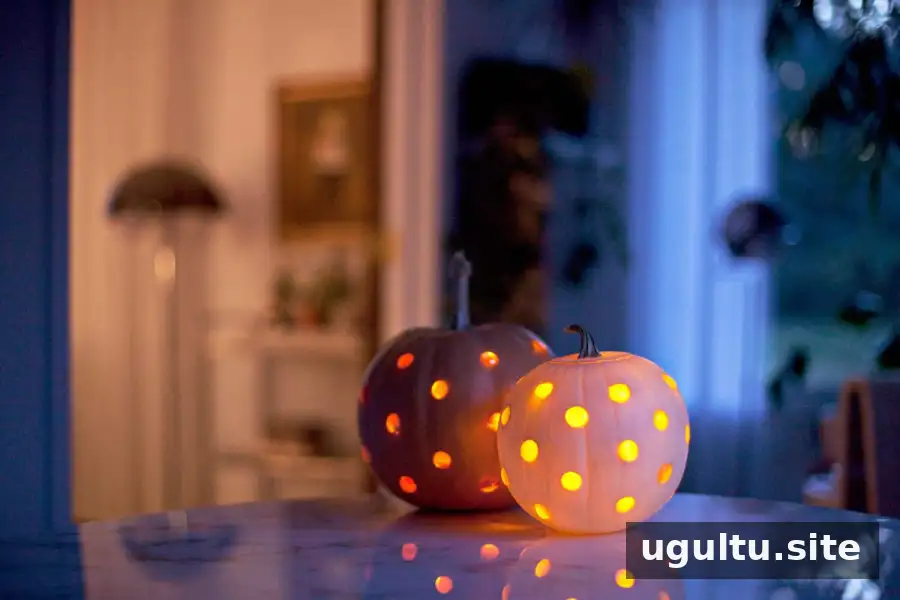
The gem details bring a gentle glow to an autumn home and offer a simple alternative to intricate pumpkin carving. With carefully sized holes and a safe light source, Glass Bead Jack-O-Lanterns can make a charming seasonal decoration. — Mandi


