admin
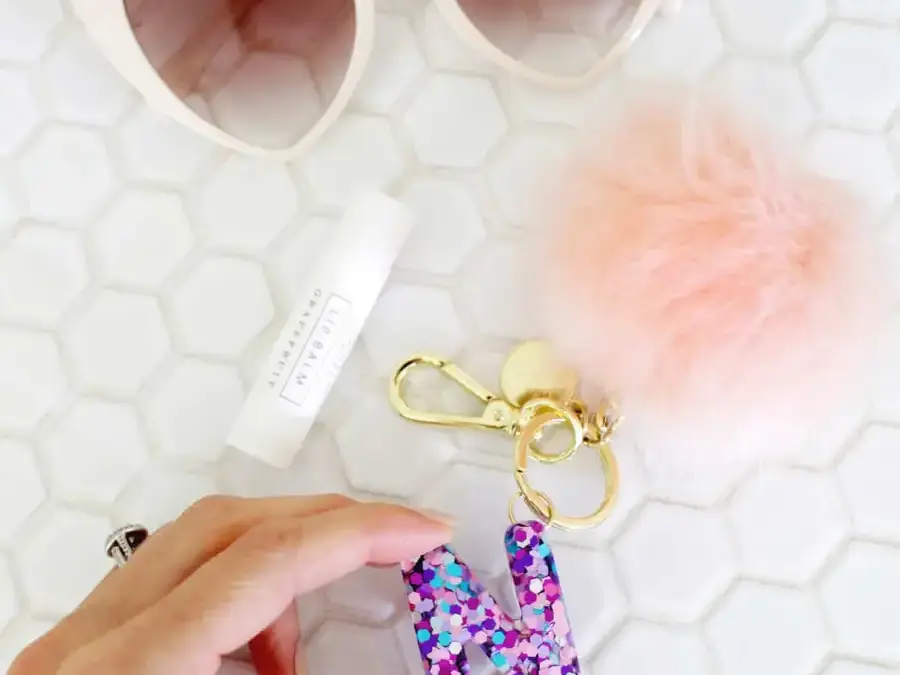
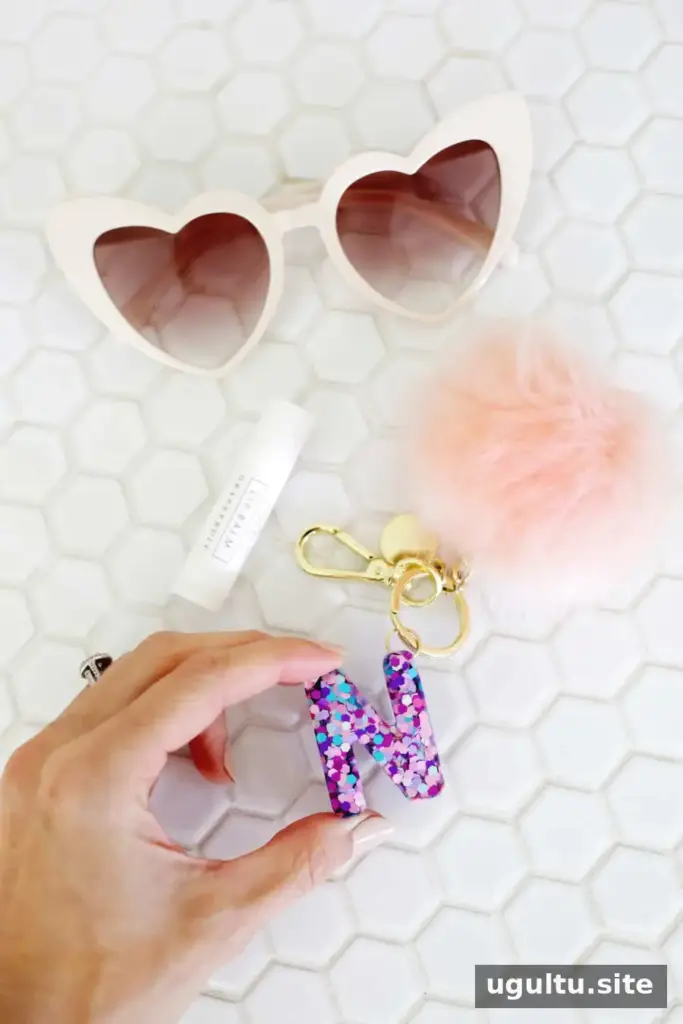
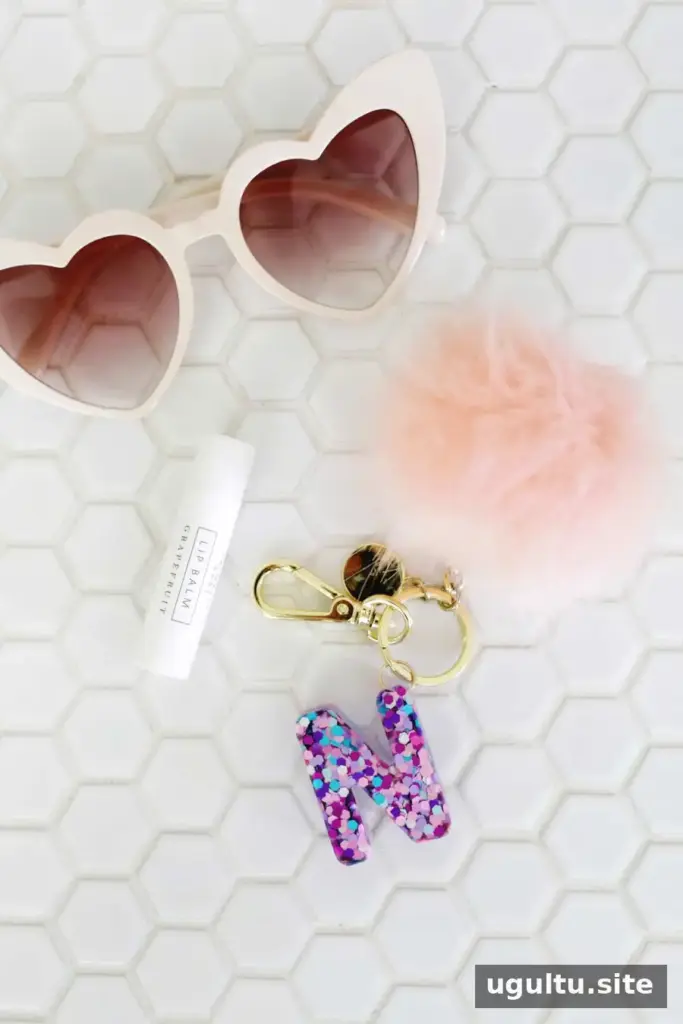
A glitter letter keychain is a colorful, personalized craft that can be made with casting resin, loose glitter, and a silicone alphabet mold. Choose an initial for yourself or create several letters as small handmade gifts. The process is straightforward, but resin needs careful measuring and enough undisturbed time to cure, so check the product instructions before you begin.
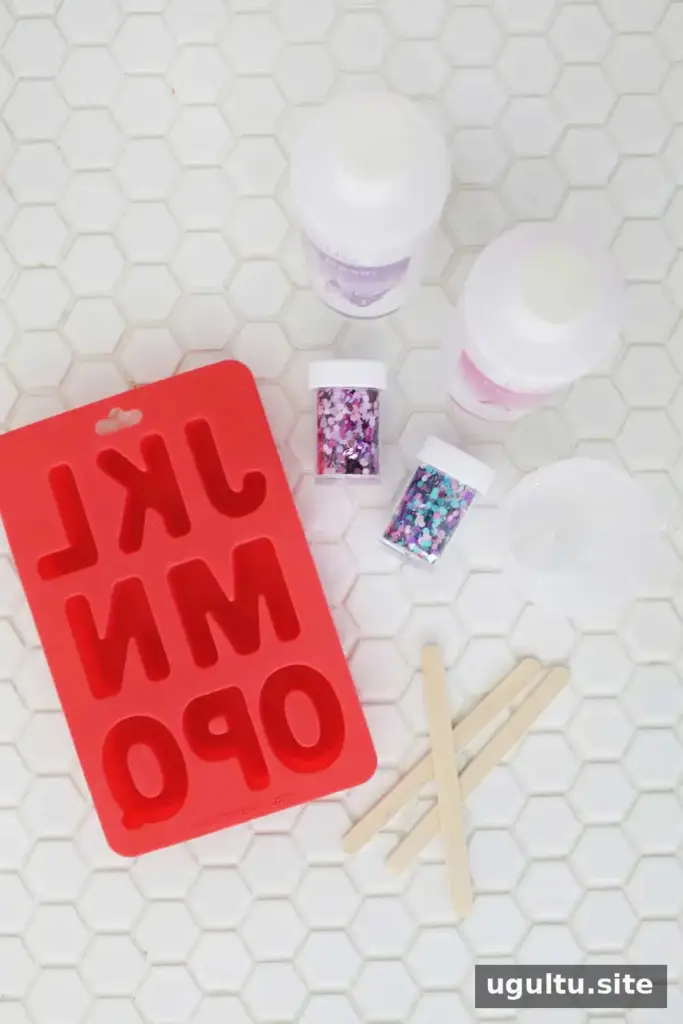
Supplies for a Glitter Letter Keychain
Gather your materials before mixing the resin. Having the key rings and drill ready makes assembly easier once the letters have cured.
- Acrylic casting resin
- Loose chunky glitter in your chosen colors
- Silicone alphabet mold
- Mixing or measuring cup
- Key ring
- Drill and small drill bit
- Large jump rings
For a neater work area, protect the surface and use the safety equipment recommended on the resin packaging. Work in a well-ventilated area and follow the manufacturer’s instructions for mixing and handling.
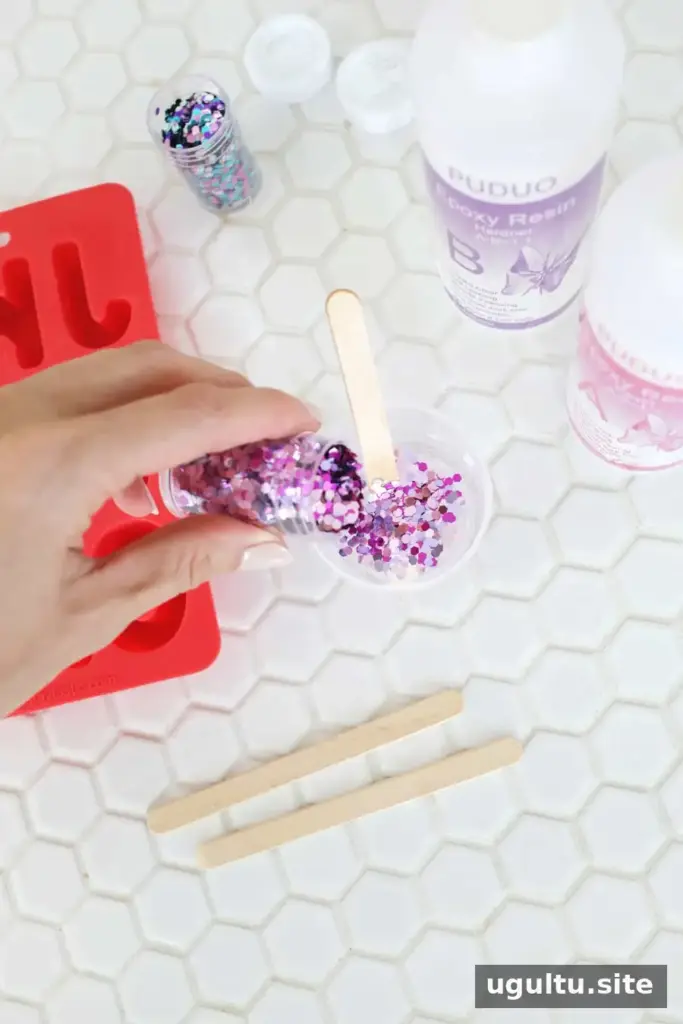
How to Make a Glitter Letter Keychain
1. Mix the resin and glitter
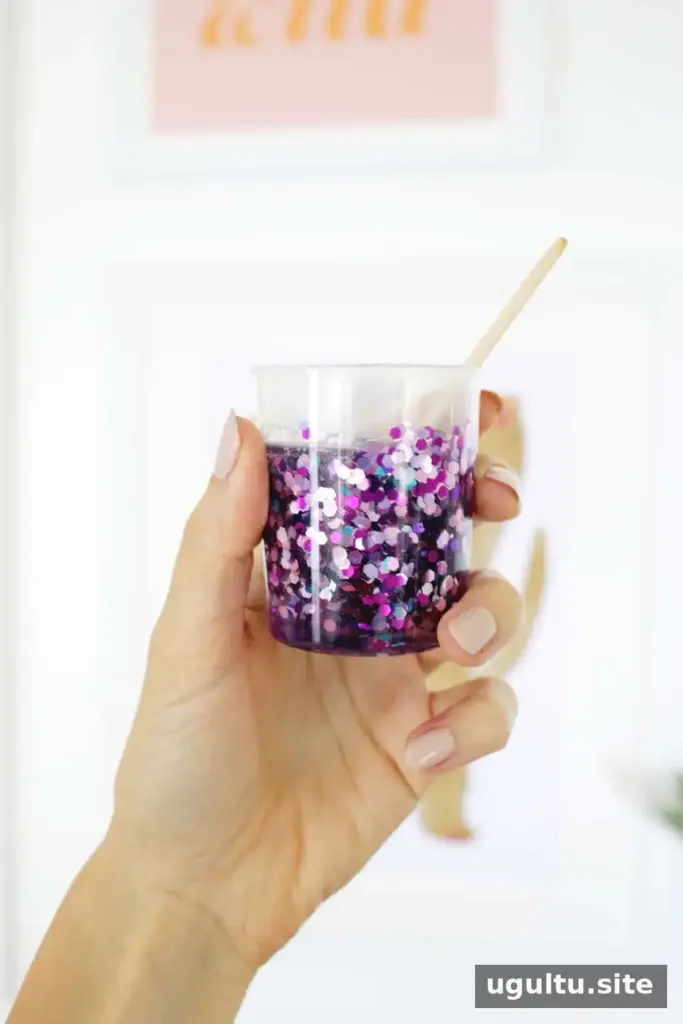
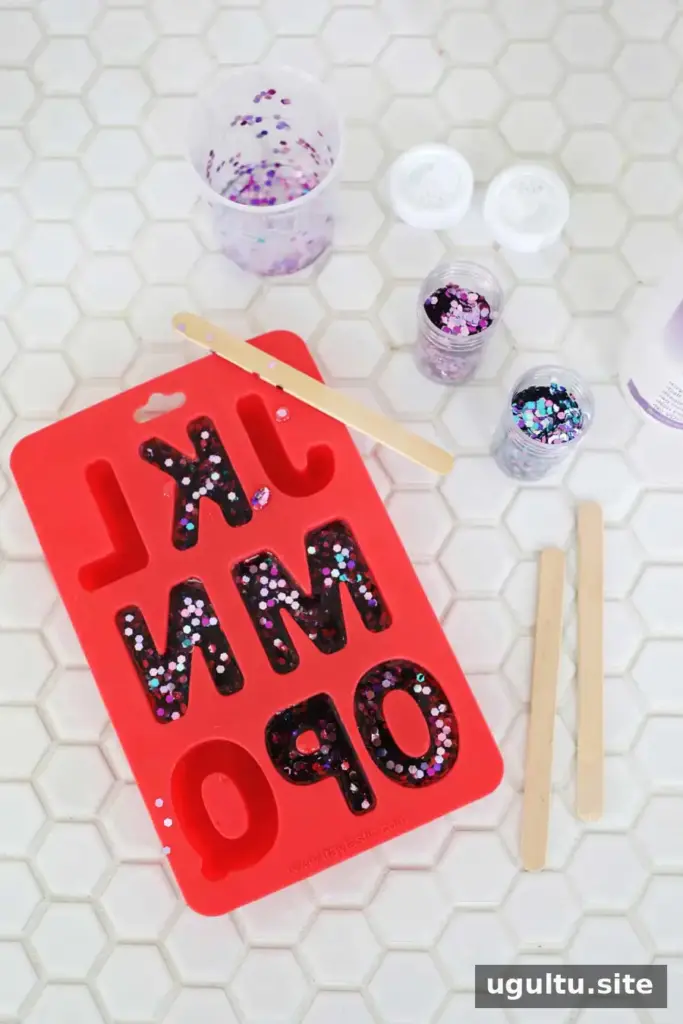
Measure and combine the casting resin exactly as directed on its package. Stir in the loose glitter until it is distributed throughout the mixture and the color looks suitably dense. Avoid adding more resin or hardener than the product specifies; accurate proportions help the resin cure as intended.
2. Fill the alphabet mold
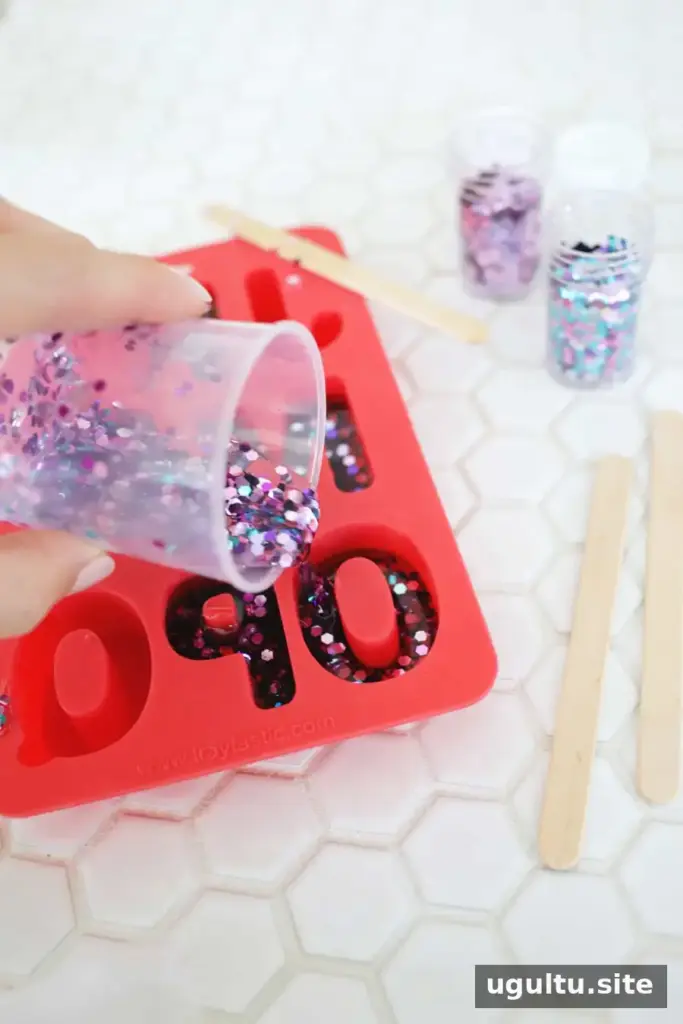
Pour the glitter mixture into the letter cavities. The silicone mold does not need to be greased beforehand. Choose the letter thickness based on how you plan to attach the hardware:
- For a hole drilled diagonally through a corner: Pour the letter about 1/2 inch thick.
- For a jump ring passing straight down through the letter: Make it thinner, about 1/4 inch thick, so the ring can fit through the material.
Pour carefully to keep the mixture within the mold’s edges. Match the thickness to your planned attachment method before the resin begins to set.
3. Let the letters cure
Leave the filled mold undisturbed for about 24 hours, or for the curing time specified by the resin manufacturer. Keep it on a stable, level surface while it sets. Once the letters are ready, gently push them out of the silicone mold.
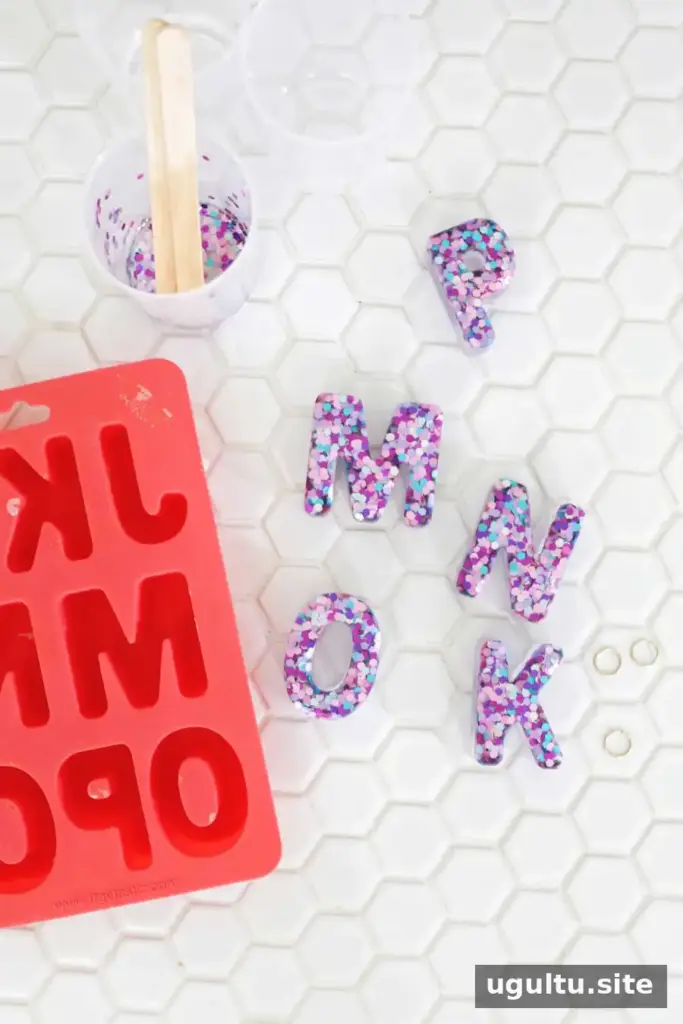
4. Attach the jump ring and key ring
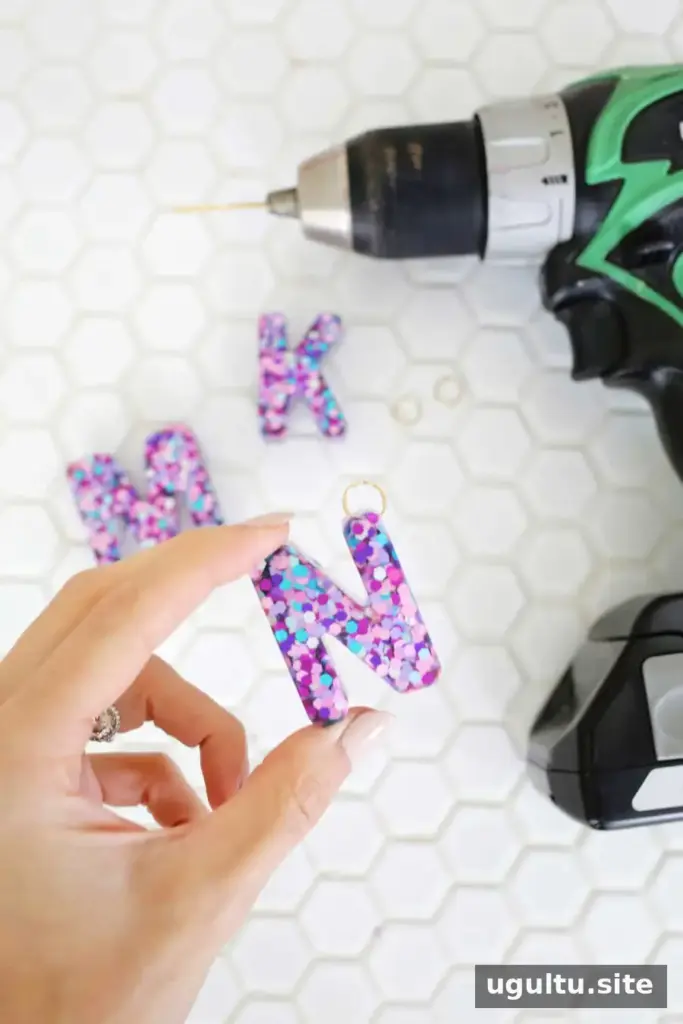
If the letter is thick, drill a small hole diagonally through one corner. Take care to position the hole far enough from the edge to leave material around it. Open a large jump ring, guide it through the hole, and close it again. If needed, bend the ring nearly straight to insert it, then reshape the exposed section into a loop.
Attach the jump ring to your chosen key ring. Check that the ring is securely closed before using the finished accessory.
Personalize the Finished Craft
Make a matching set of initials, experiment with different glitter colors, or use the resin letters in a sign or another decorative project. Preparing several letters in one session can also make it easier to create a small batch of gifts. Keep in mind that the mold size and the hardware you choose will affect the finished piece.
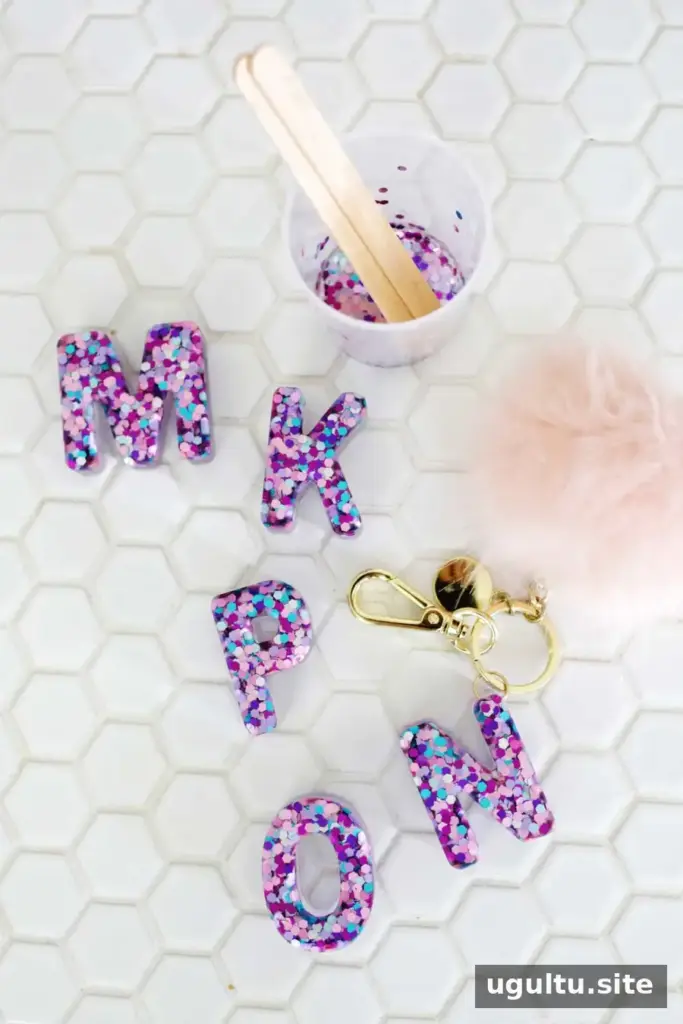
With a little planning, this glitter letter keychain project turns simple materials into a bright, personalized accessory. Follow the resin’s mixing and curing directions, choose the letter thickness for your attachment method, and allow the finished piece to cure fully before putting it to use.
Project by Laura.