
 admin

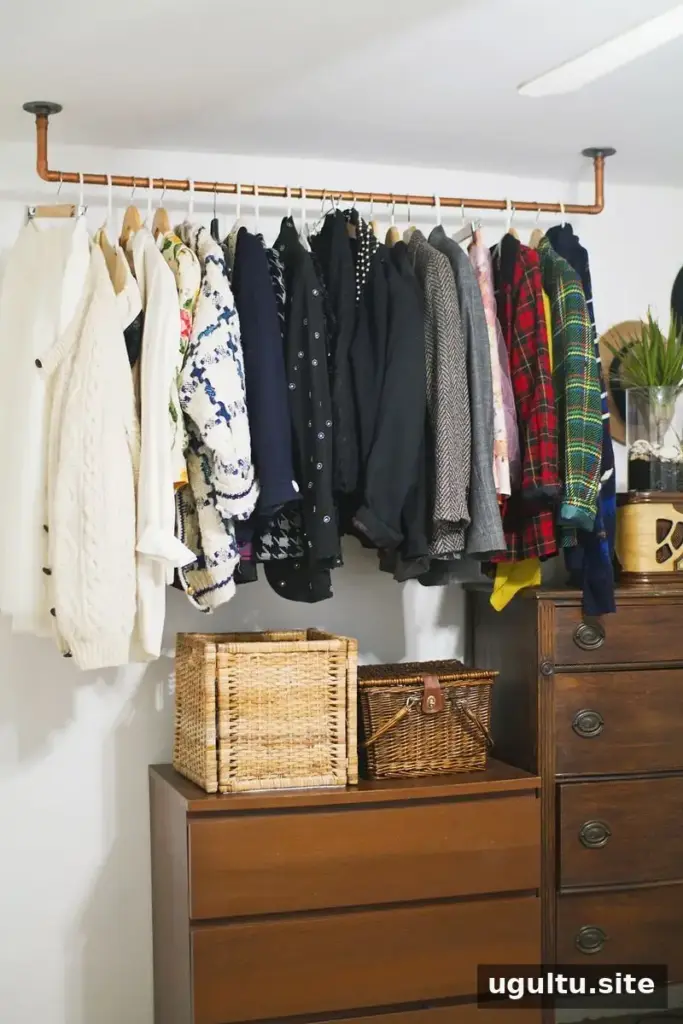
A hanging copper pipe clothing rack can add useful storage without taking up valuable floor space. This simple DIY project uses copper pipe and standard plumbing fittings to create a suspended rail for clothing, plants, or artwork. It can suit a small bedroom or another area where closet space is limited. Before starting, choose a location with enough clearance and plan how the rack will be secured to a suitable structural surface.
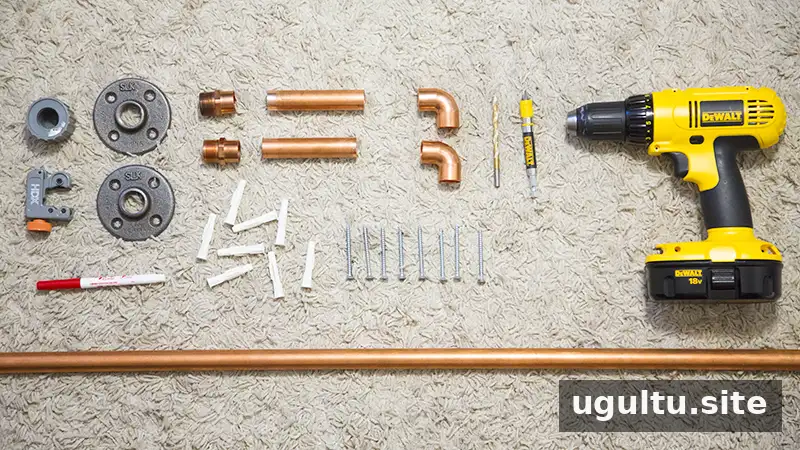
Materials and tools for a hanging copper pipe clothing rack
- Large-diameter mini tube cutter
- 3/4-inch pipe brush
- Two 3/4-inch galvanized malleable iron floor flanges
- Marker
- Two 3/4-inch x 3/4-inch copper C x MPT male adapters
- Eight anchors and eight medium-size screws suitable for the mounting surface
- Two 3/4-inch 90-degree elbows
- Drill
- One 3/4-inch x 5-foot Type L rigid copper pipe
- Super glue (optional)
The example uses an 8-inch section of pipe for the hanging portion. You can cut a different length to adjust how low the rack sits. Measure the space before cutting, and check that the finished rail will not obstruct doors or walkways.
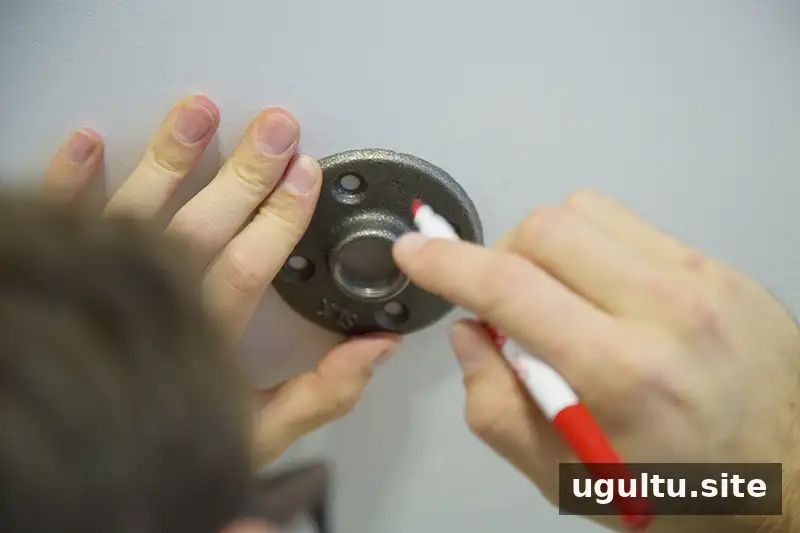
How to make the hanging copper pipe clothing rack
1. Choose the location and mark the flanges
Pick a corner or low-traffic area where the rack will have enough clearance. Hold the two floor flanges in position and mark the locations for their screw holes. For an overhead installation, identify a suitable structural support and use fasteners appropriate for the surface. Do not rely on drywall alone to support a loaded rack.
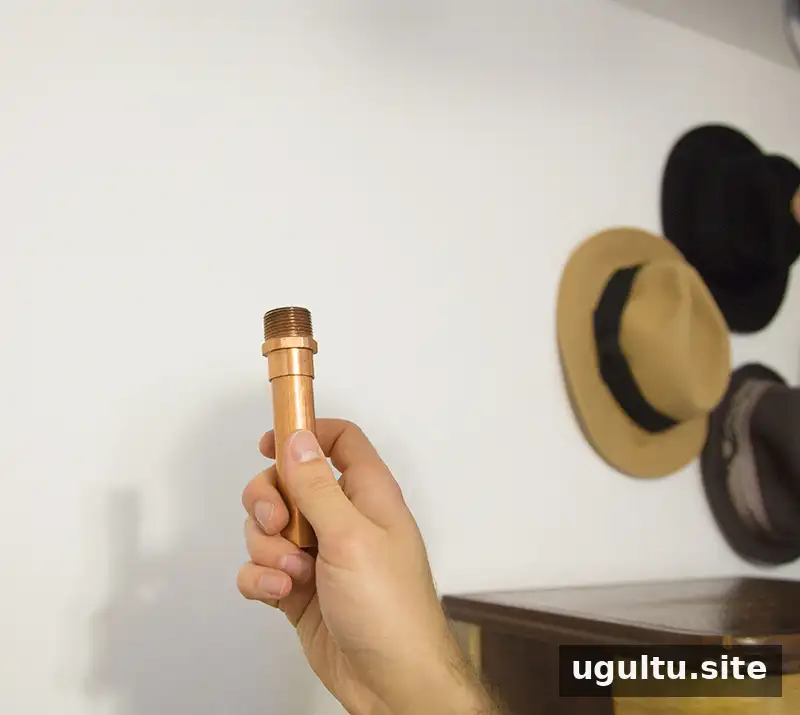
2. Cut the pipe and prepare the short section
Use the mini tube cutter to remove an 8-inch piece from the 5-foot copper pipe, or choose another length based on the desired hanging height. The original pipe can be kept at its full length if you use a separate piece for the short section. Thread the cut piece through a male adapter.
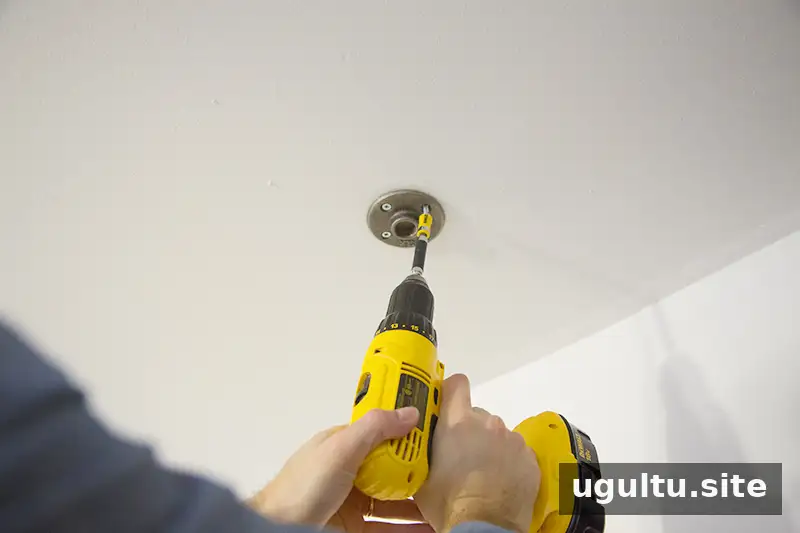
3. Drill the mounting holes
Drill at the marked points, taking care to use the correct bit for the mounting surface. Secure the floor flanges with screws and suitable anchors where needed. Check that both flanges are firmly attached before adding the pipes.
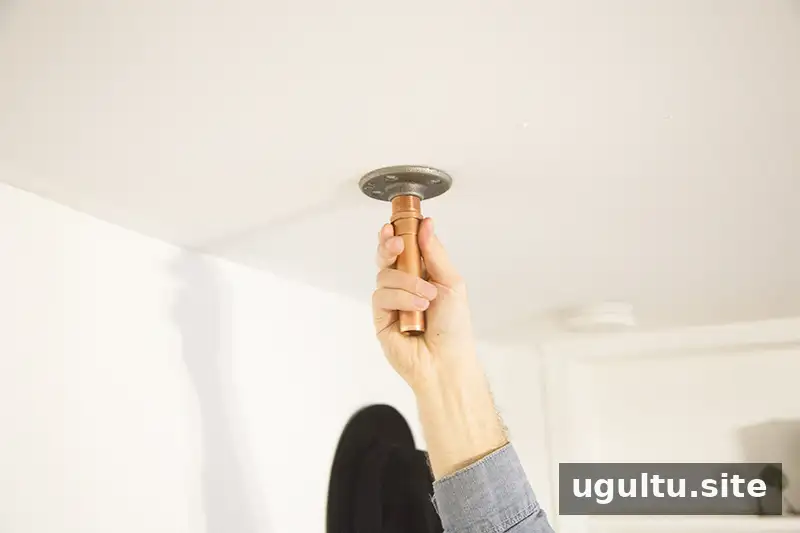
4. Attach the short pipe sections
Screw the short pipe sections, with their male adapters attached, into the floor flanges. Make sure the fittings are aligned so the long rail will sit straight once installed.
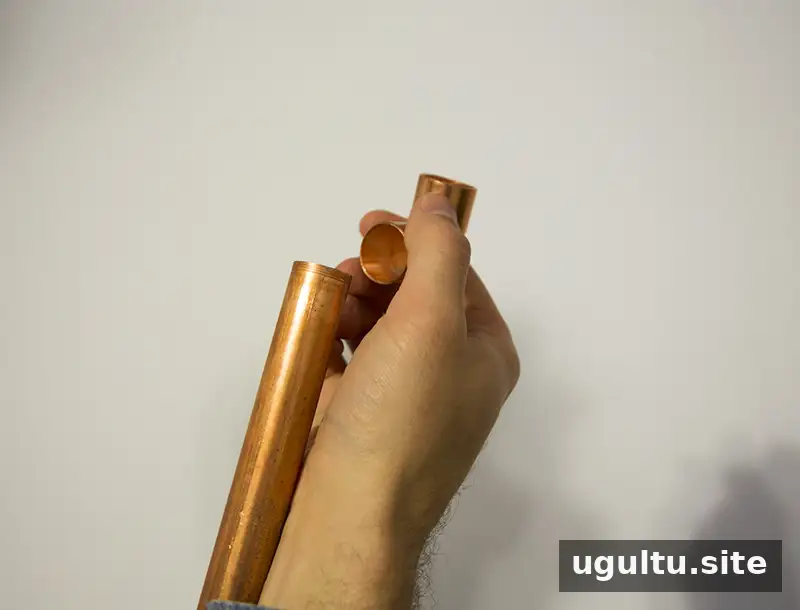
5. Add the elbows to the long pipe
Twist a 3/4-inch 90-degree elbow onto the 5-foot pipe. The project instructions suggest optional super glue if extra security is desired. Glue can make later disassembly more difficult, so consider whether you may want to move or adjust the rack.
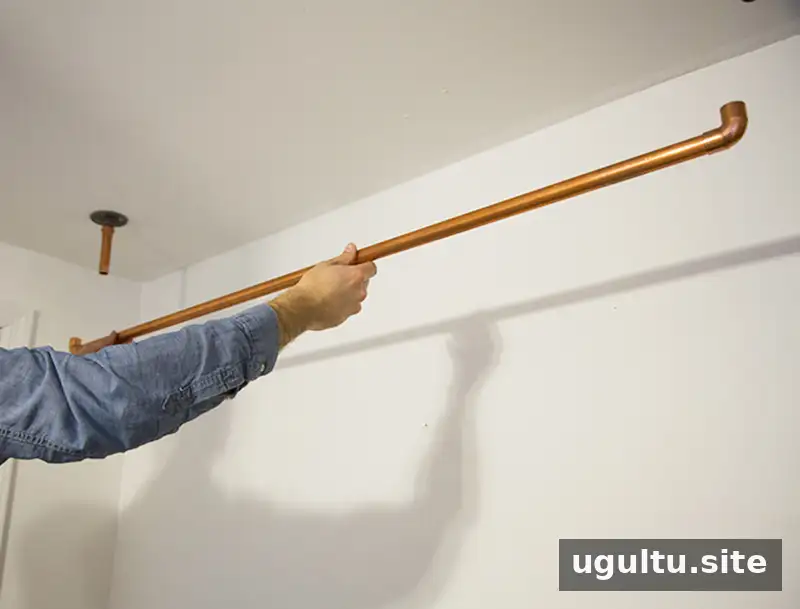
6. Fit the rail and check its stability
Place the 5-foot pipe into the short pipe assembly. Super glue is optional here as well; the original project was assembled without it so the rack could be moved more easily. Before hanging clothes, gently test the installation and confirm that the fittings and mounting points remain secure. Keep the load modest, particularly when the rack is suspended overhead.
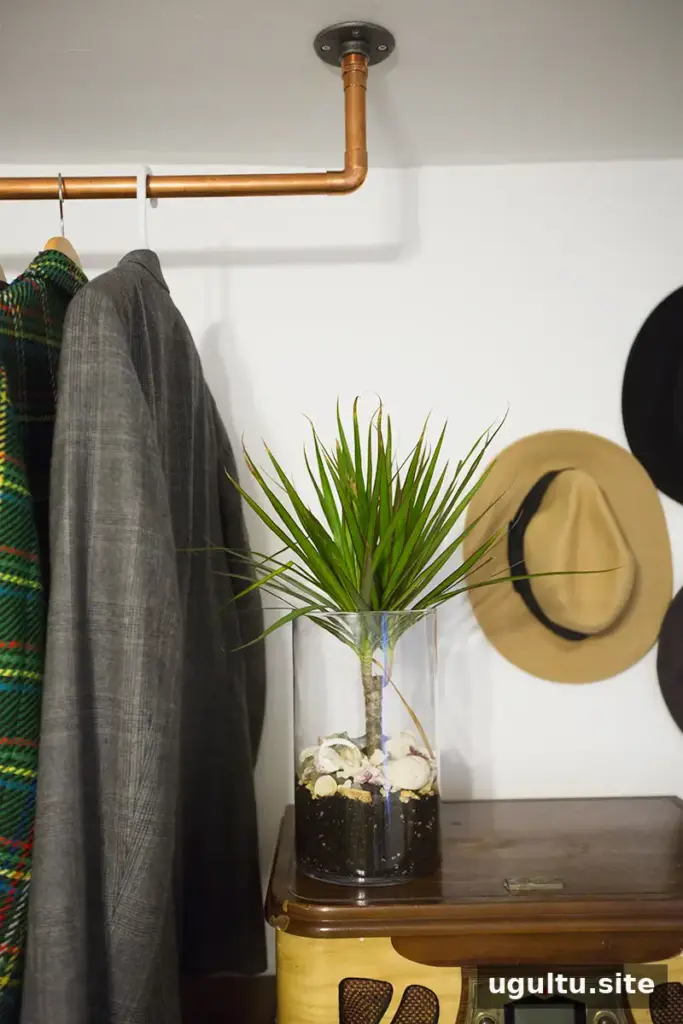
Ways to use the finished rack
The copper finish can complement wood and light-colored walls, but other pipe finishes may be available at hardware stores. Besides clothing, the rail can hold plants or artwork. It can also be installed as a wall-projecting rail to create an organized display area for children’s art; baskets and S-hooks can help keep small items together.
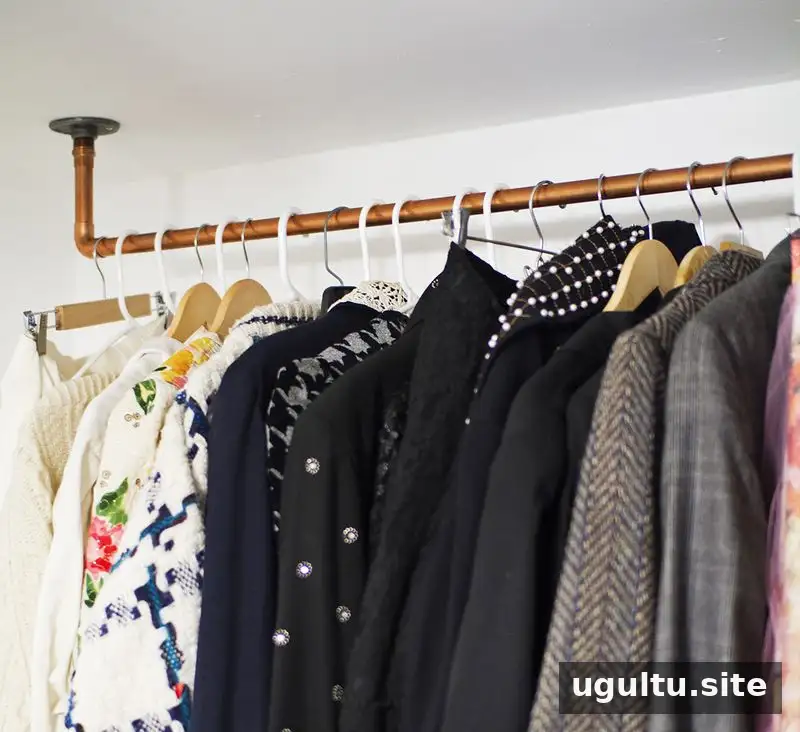
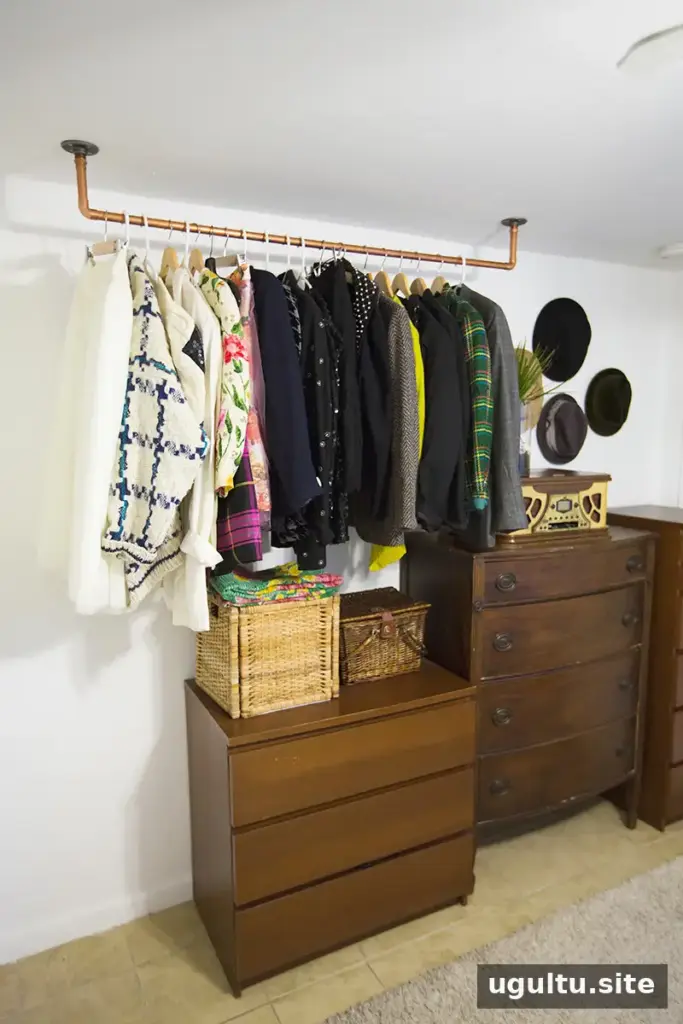
This hanging copper pipe clothing rack offers a practical way to add storage while keeping the floor clear. Measure carefully, use mounting hardware suited to the structure, and inspect the supports before putting items on the rail. —LaTonya


