
 admin
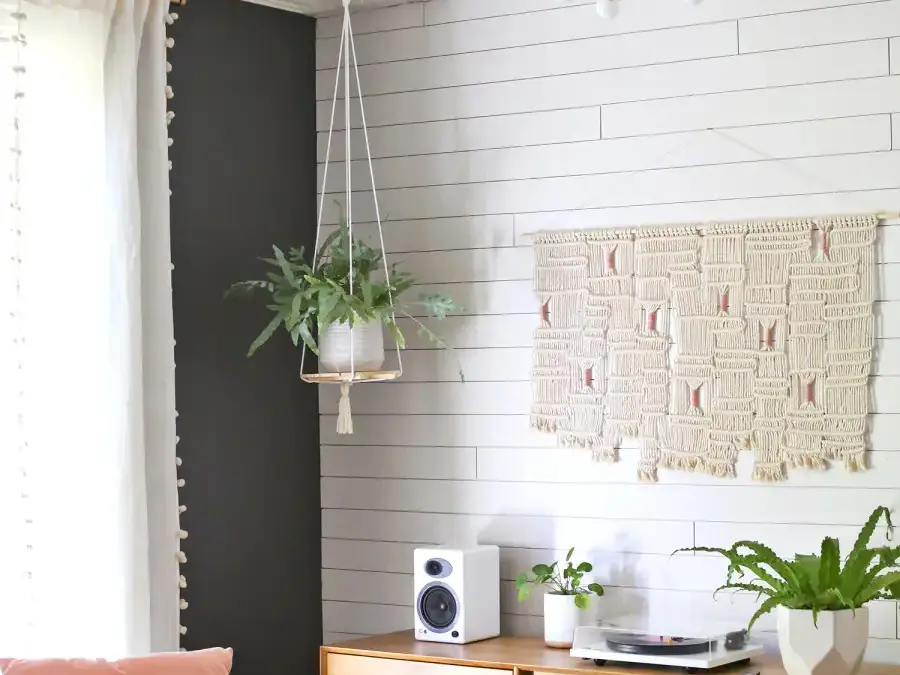
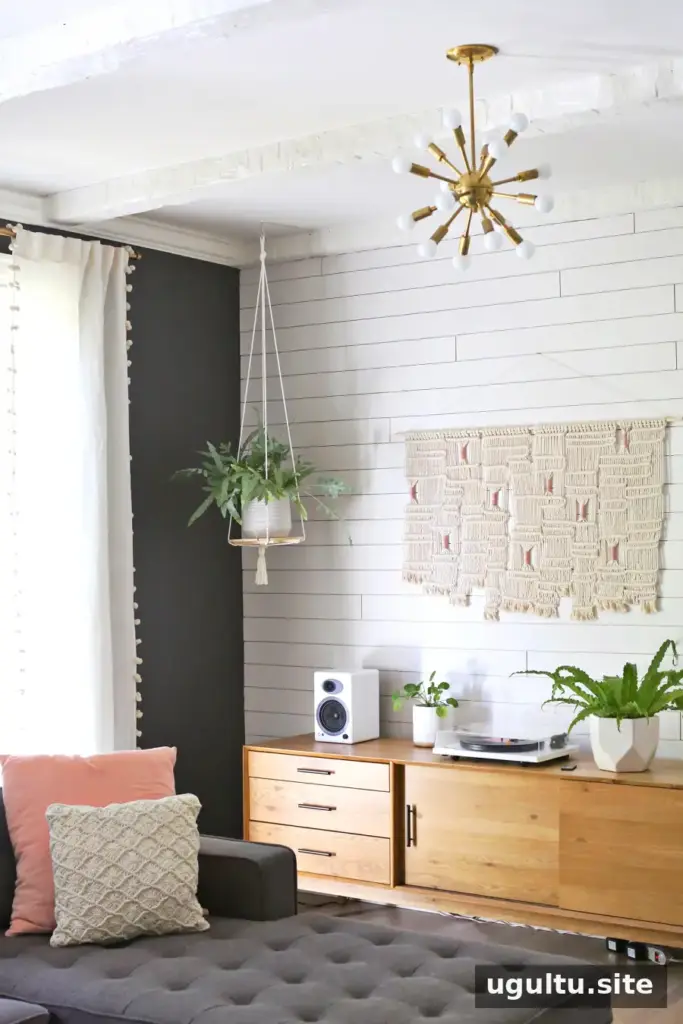
A hanging plant shelf DIY project is a simple way to add greenery and a cozy touch to a room without installing a wall planter. This design uses a round wooden plate or saucer suspended with rope, so it can work above a console, near a window, or in another spot with a suitable hanging hook. You can adjust the rope length and decorate the shelf to suit your space.
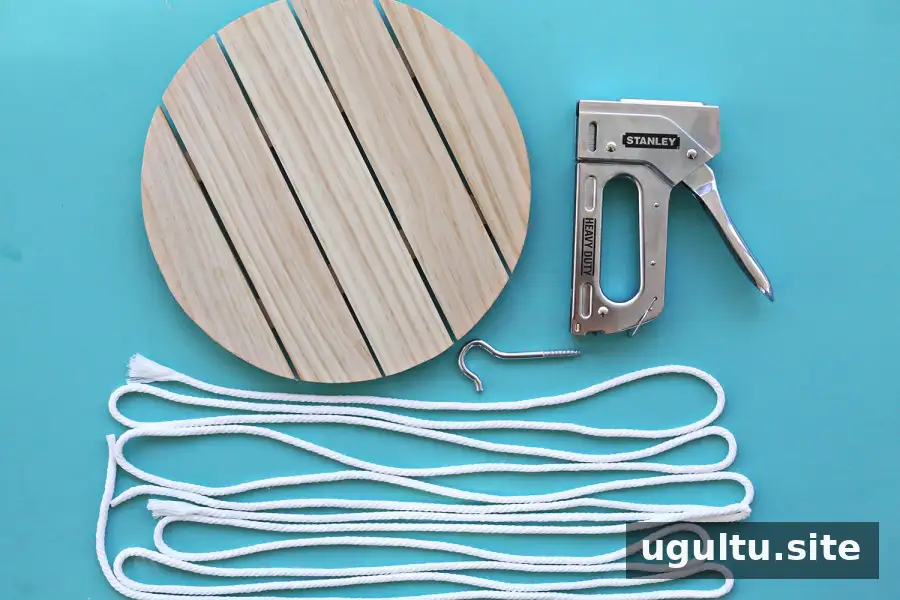
Supplies for a Hanging Plant Shelf DIY
Gather these basic materials before you begin:
- One round wooden plate or saucer
- Two pieces of thin rope, each 5 feet long; adjust the length to suit your space
- A staple gun
- Optional yarn for a tassel or other simple decoration
A wooden plate or saucer with a flat underside is easiest to work with. Before starting, check that the wood is in good condition and that the rope is long enough to reach your intended hanging height.
How to Make the Hanging Plant Shelf
1. Prepare and arrange the rope
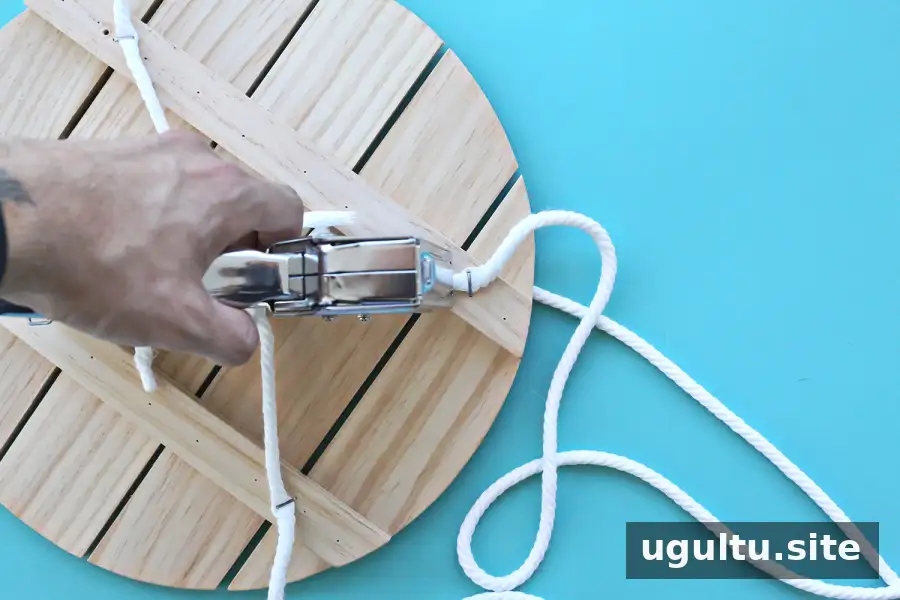
Cut two equal lengths of rope. Bring the cut ends together in a knot, arranging the strands so the knot sits at the center of the rope layout. Turn the wooden plate upside down and place the rope across its underside in an X shape, with the knot positioned in the middle.
2. Staple the rope to the wood
Use the staple gun to attach all four rope strands to the underside of the wooden plate. Space the strands across the base so the shelf can hang evenly. Make sure each strand is securely fastened before turning the plate right side up.
For a safer display, keep the shelf light and avoid placing a heavy pot on it. Check that the staples hold firmly and that the hook used for hanging is appropriate for the shelf and its contents.
3. Tie the hanging loop
Gather the four rope strands above the plate and tie them together in a knot, leaving a small loop at the top for hanging. Before finalizing the rope length, test the shelf in its intended position and adjust it while the strands are still easy to reposition. This is simpler than changing the length after stapling.
A yarn tassel can be added beneath the shelf for a finished look, but it is optional. Keep decorations clear of the plant and make sure they do not interfere with the shelf hanging evenly.
Choosing a Plant and Styling the Shelf
Pick a lightweight plant and pot that fit comfortably on the wooden surface. Check that the pot sits flat and does not extend too far beyond the edge. If watering the plant in place could leave moisture on the wood, move it elsewhere to water and let excess water drain before returning it to the shelf.
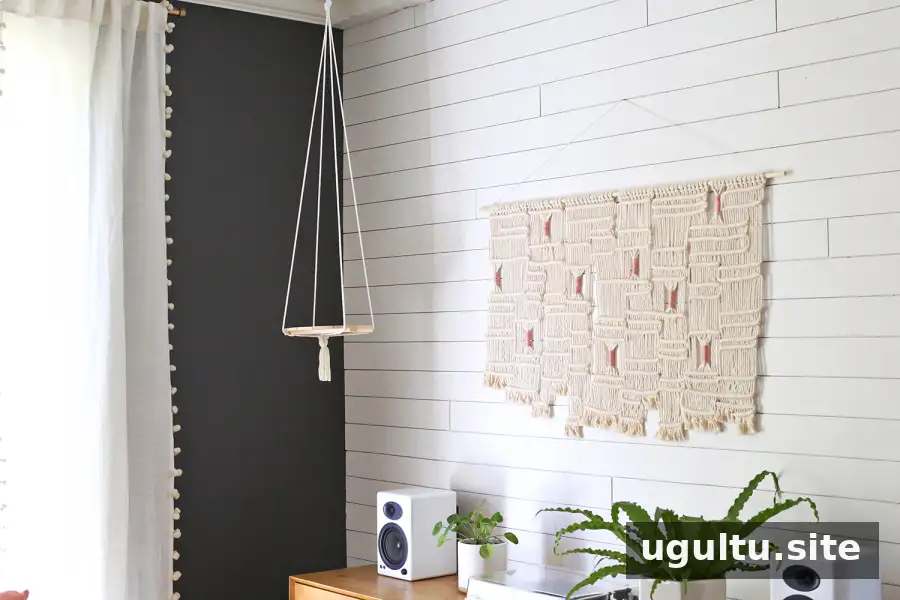
The rope and wood create a simple, natural look, but the design is easy to customize. Try a different rope color, add a small decorative detail, or leave the materials plain for a pared-back style. Keep any paint or finish suitable for the wooden surface and allow it to dry fully before assembling the shelf.
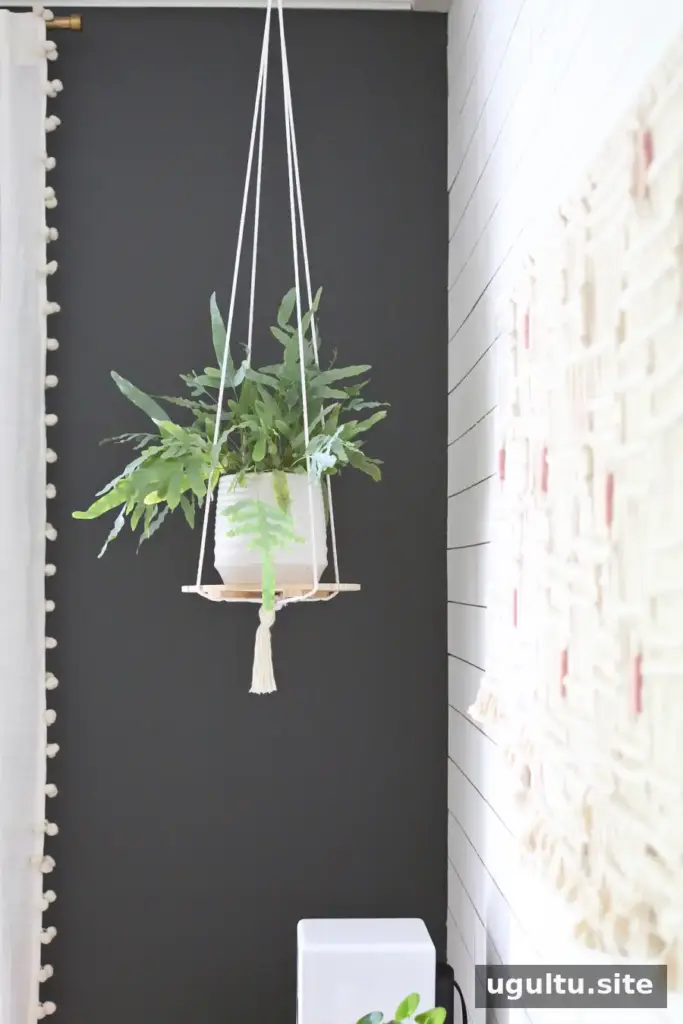
Final Tips for Your Hanging Plant Shelf DIY
Test the finished shelf carefully before adding a plant. Check that the plate stays level, the rope knots are secure, and the hanging point is stable. Recheck the shelf occasionally, especially if you move it or change the pot. A little planning helps this quick project become a practical accent that suits your room.
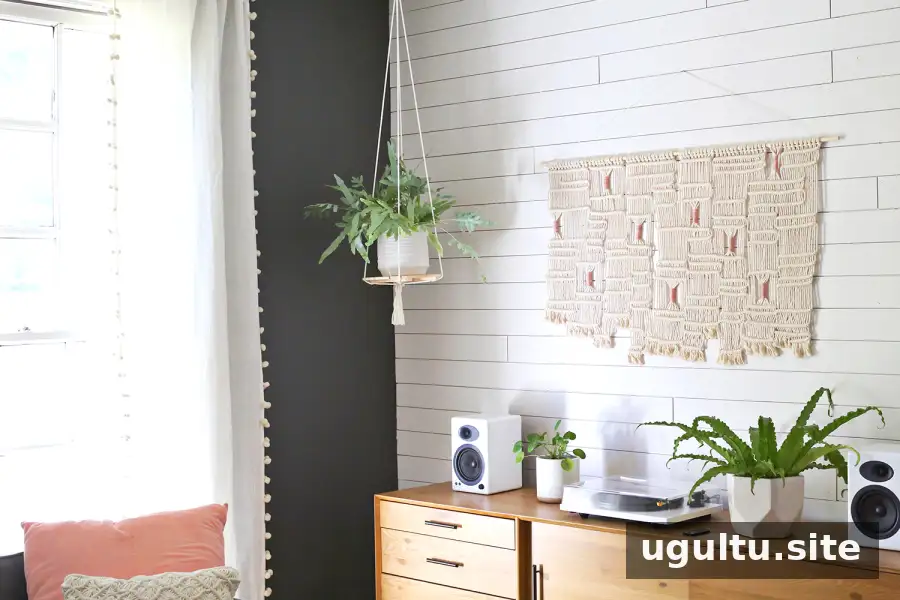
A hanging plant shelf DIY project offers a straightforward way to display greenery while making use of vertical space. With a round wooden plate, two 5-foot rope pieces, and a staple gun, you can create a simple shelf and adjust its finish to match your home.
—Elsie


