
 admin
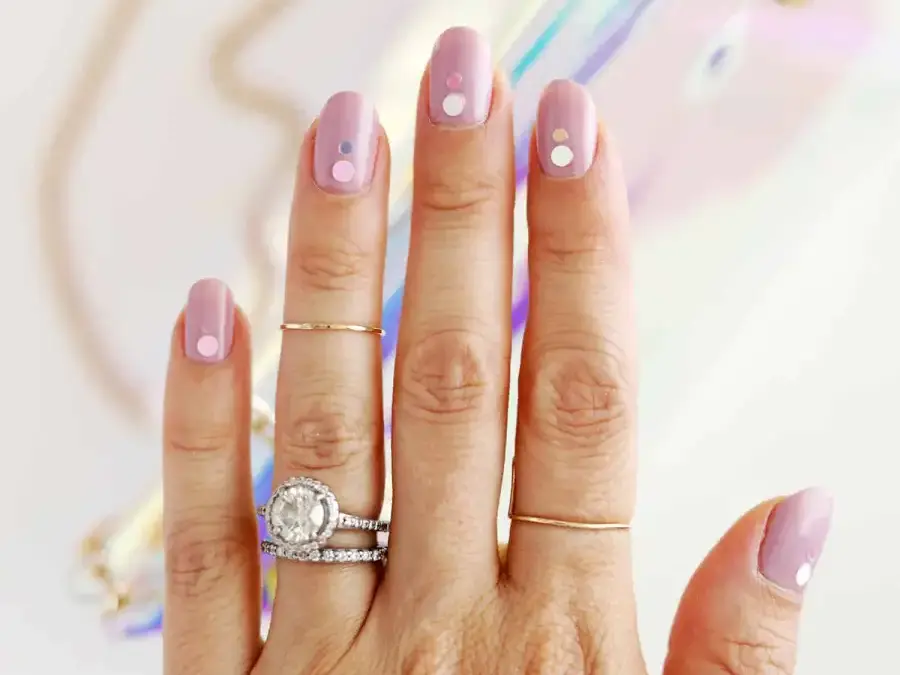
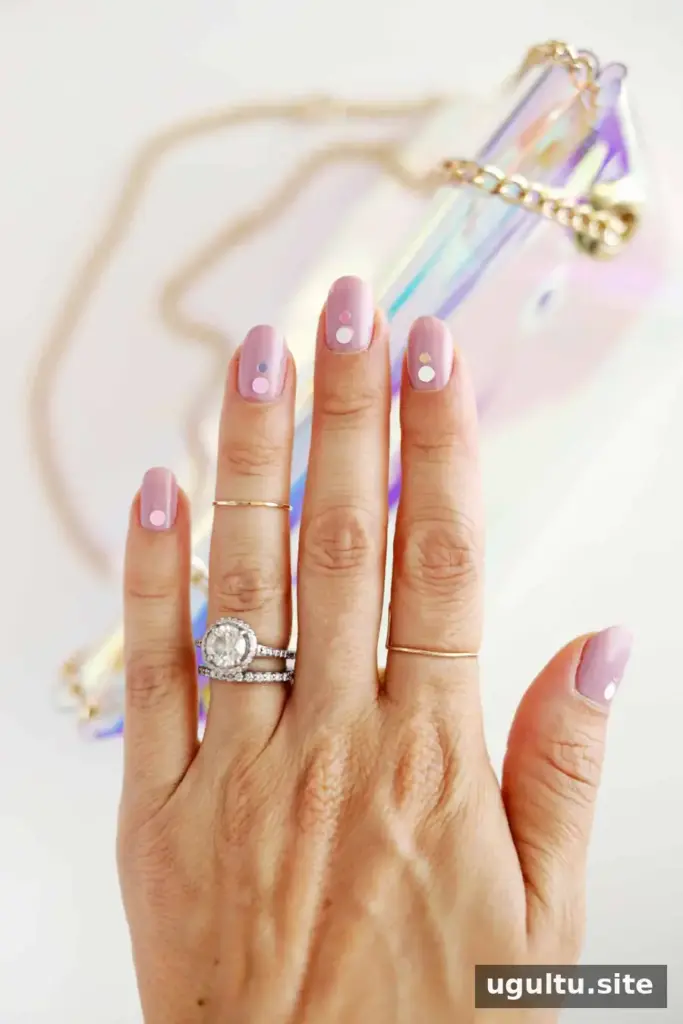
A hologram dot manicure is a simple way to add light-catching detail to a plain nail color. Small circular holographic confetti creates a subtle accent near the base of each nail, and you can adjust the size and number of dots to suit your style. A pale mauve polish pairs well with the pastel tones often reflected by holographic pieces.
Supplies for a Hologram Dot Manicure
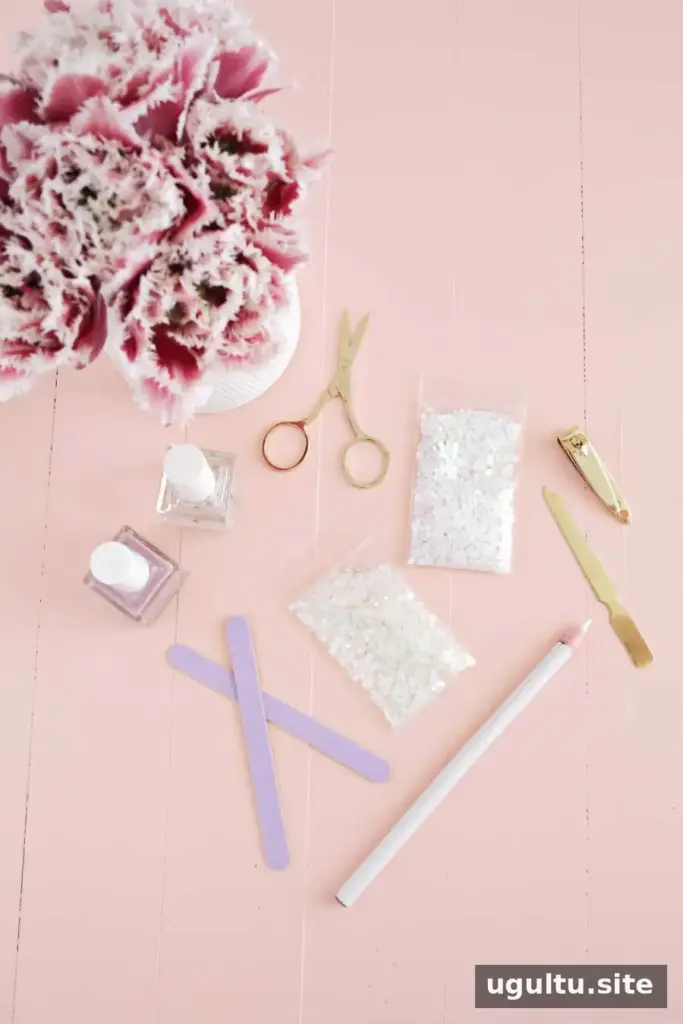
Gather everything before you begin so you can place the dots while the glue is easy to work with. You will need:
- Base coat
- A base color, such as light mauve
- Nail glue
- Small and medium hologram dots
- Top coat
- Wax pencil
- Toothpick
How to Apply Holographic Nail Dots
1. Prepare and paint your nails
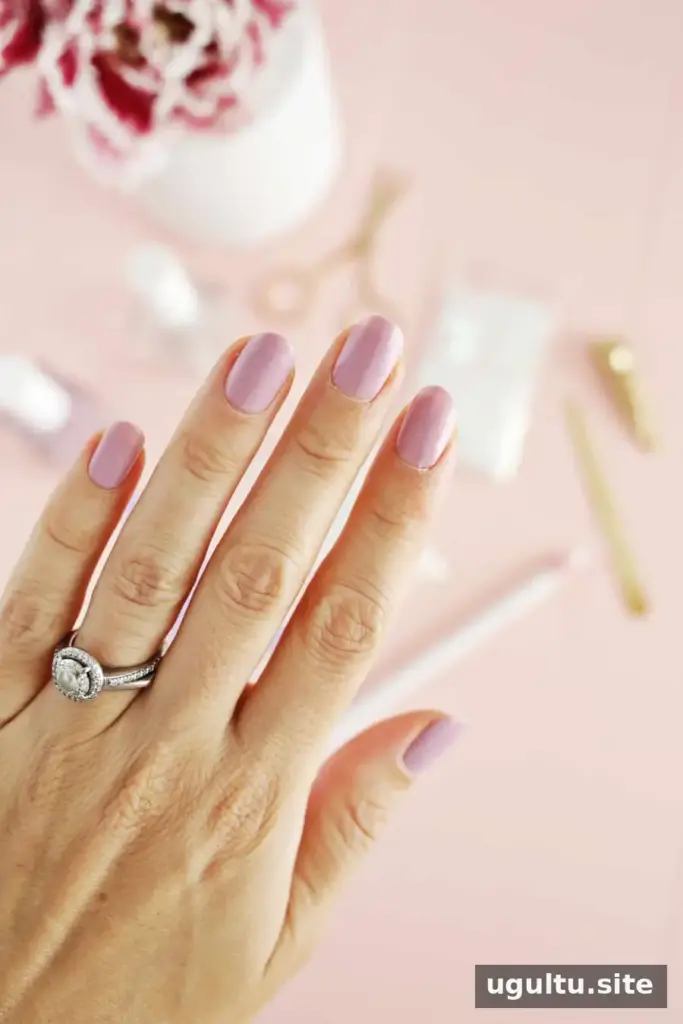
Apply a base coat and let it dry. Follow with your chosen base color, allowing the polish to dry before adding the decorations. A light shade can help the changing pastel reflections of the hologram dots stand out, but you can choose another color if you prefer.
2. Set up the dots and glue
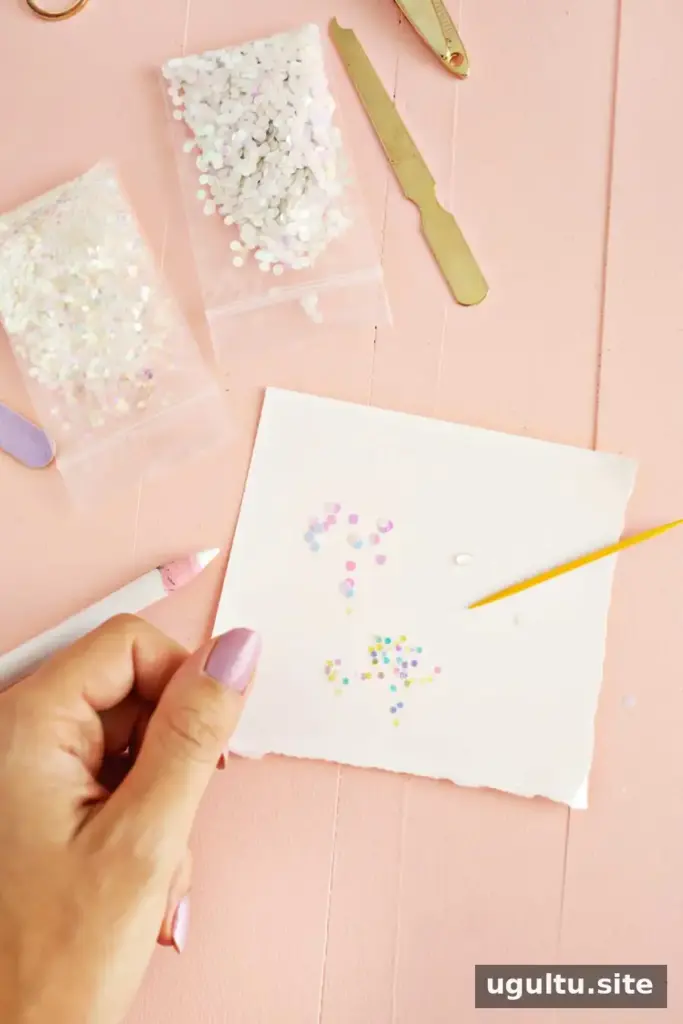
Place a few small and medium dots on a piece of paper. Add a small amount of nail glue to the paper as well. Keeping the pieces and glue close by makes them easier to pick up and helps avoid handling the dots with wet polish.
3. Position the dots
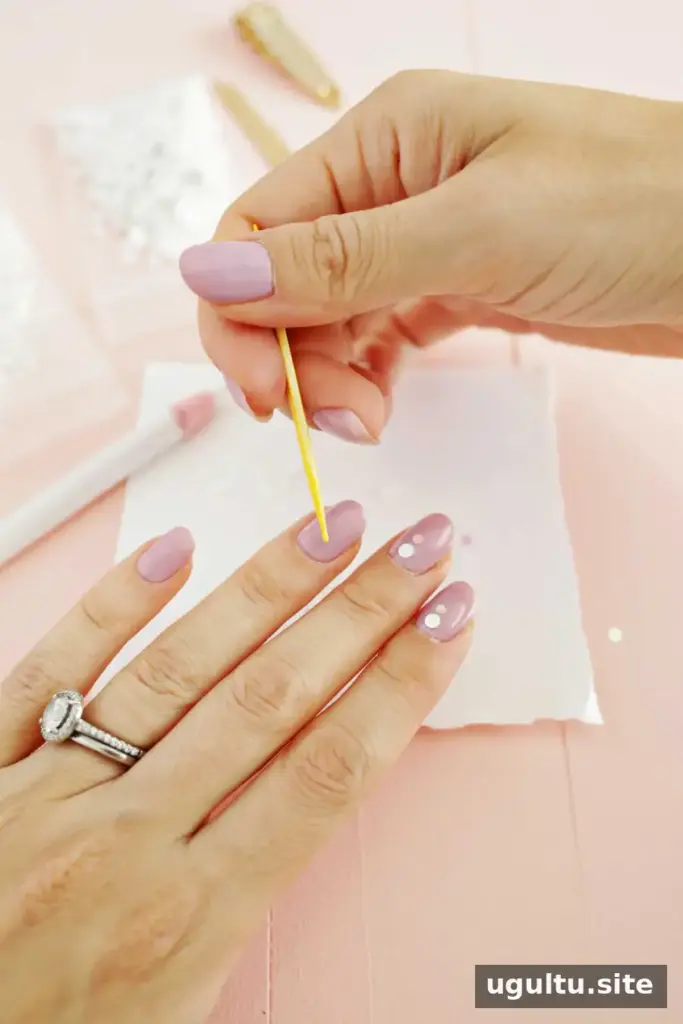
Lightly dip the tip of a toothpick into the glue. Dab a little glue just above the base of a nail, then add another dab about 1/4 inch higher. Use a wax pencil to pick up a medium dot and place it on the lower spot. Add a small dot to the upper spot, then repeat the arrangement on the other nails.
Use enough glue to hold each piece in place, but avoid applying so much that it spreads beyond the edges of the dot. Keep the glue and decorations on the nail rather than the surrounding skin, and follow the glue product’s instructions.
4. Seal the design
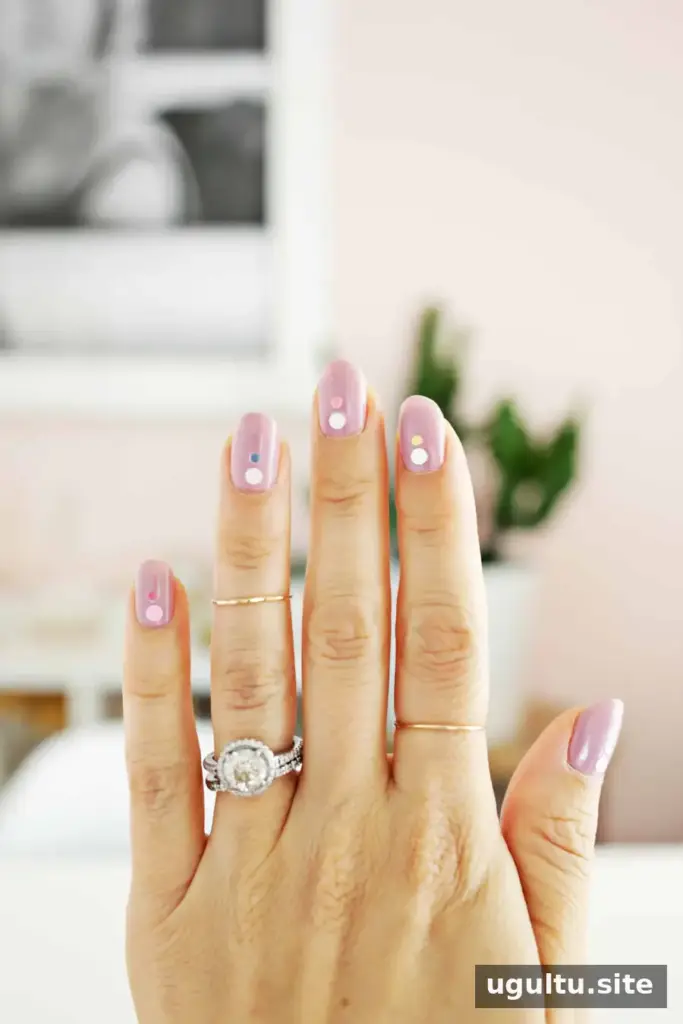
Let the glue dry, then apply two layers of top coat. Allow the first layer to dry before applying the second. This helps cover the raised decorations and finish the manicure smoothly. Take care not to rush the drying time, since moving the dots before they are secured can disrupt the design.
Make the Design Your Own
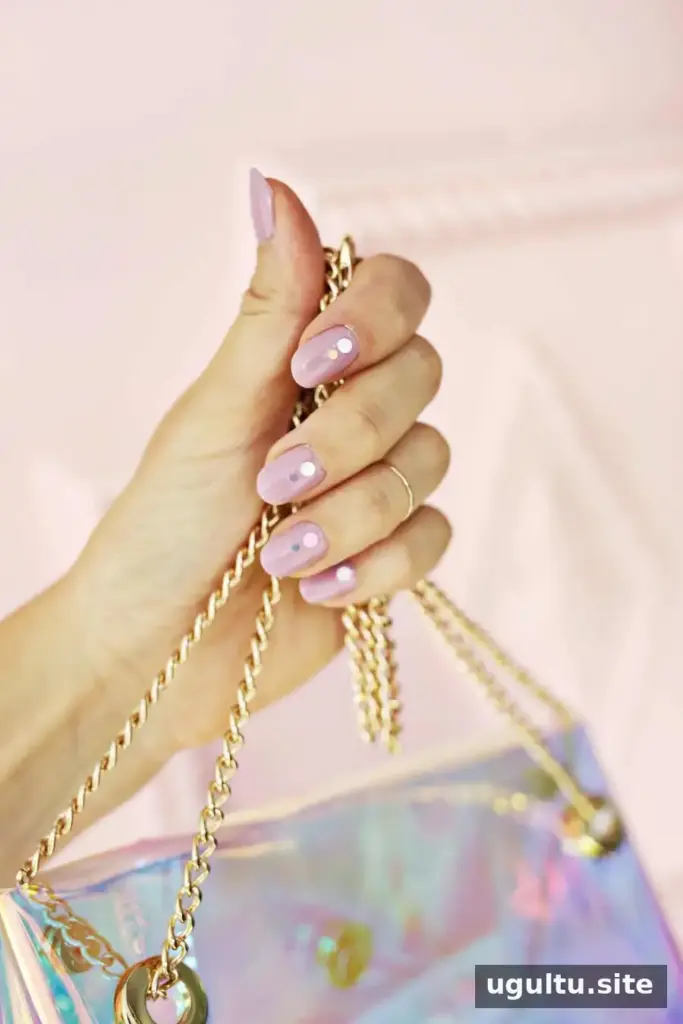
For a more minimal look, use one medium dot on each nail. You can also arrange three small dots in a row or keep the two-dot pattern described above. Whichever layout you choose, place the dots consistently for a coordinated finish. The holographic surfaces reflect different colors as the light changes, so the design may look different indoors and outside.
A hologram dot manicure is an easy DIY option when you want a small detail rather than a full nail-art pattern. Laura


