admin
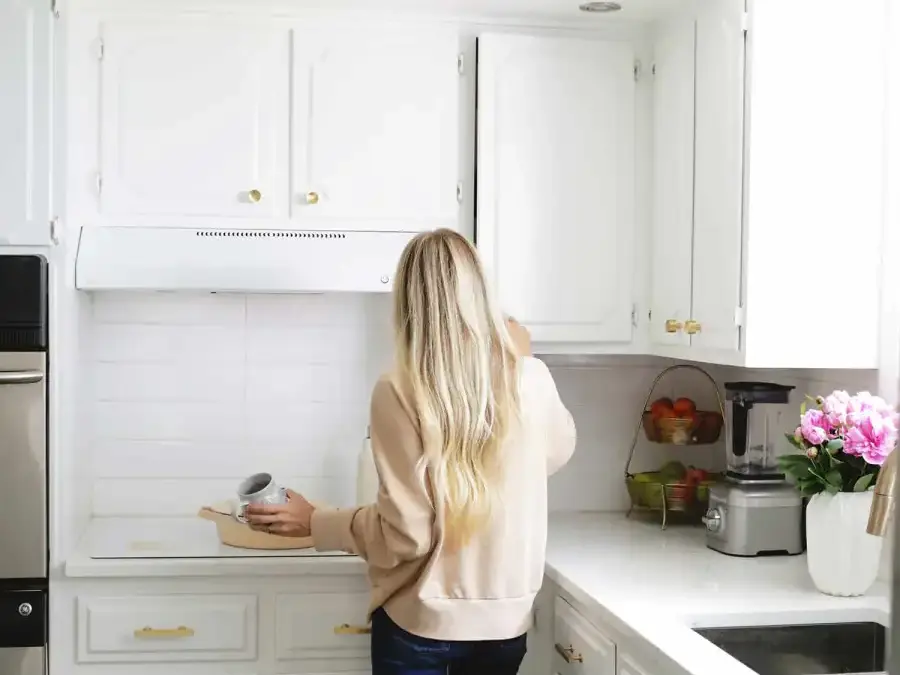
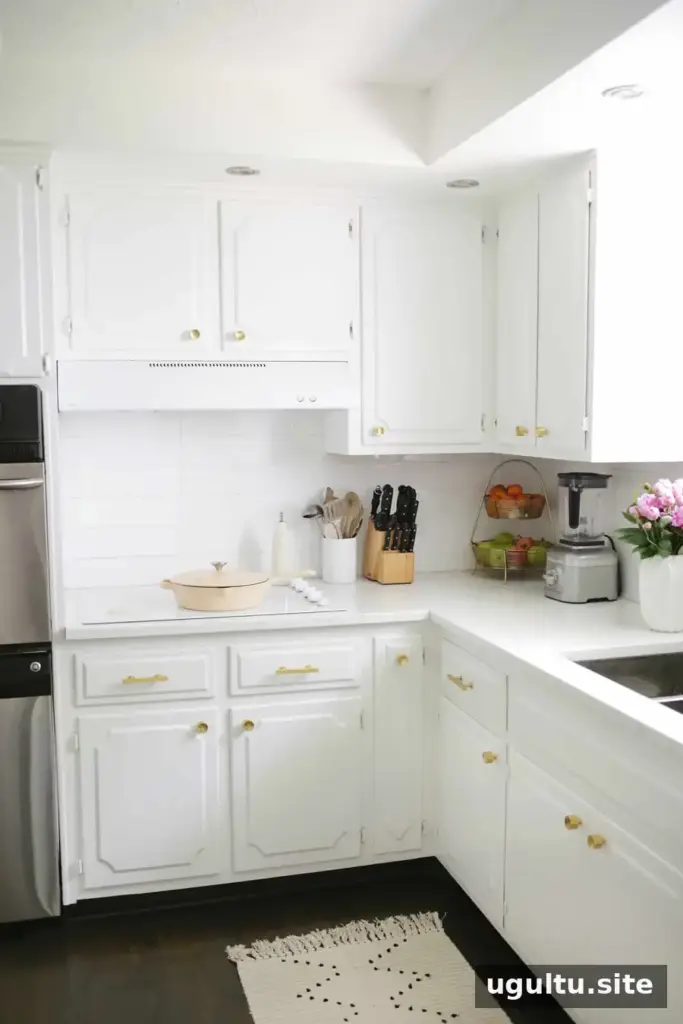
A kitchen cabinet refresh can make a well-used kitchen feel cleaner and brighter without the time and effort of repainting every cabinet from scratch. With a thorough clean, light sanding, targeted paint touch-ups, and a little attention to the hardware, this update can be completed in an afternoon, depending on the size and condition of the cabinets.
After years of daily use, painted cabinet doors can become marked, chipped, or dull, particularly around handles and lower panels. The steps below focus on refreshing the existing finish rather than starting a full painting project.
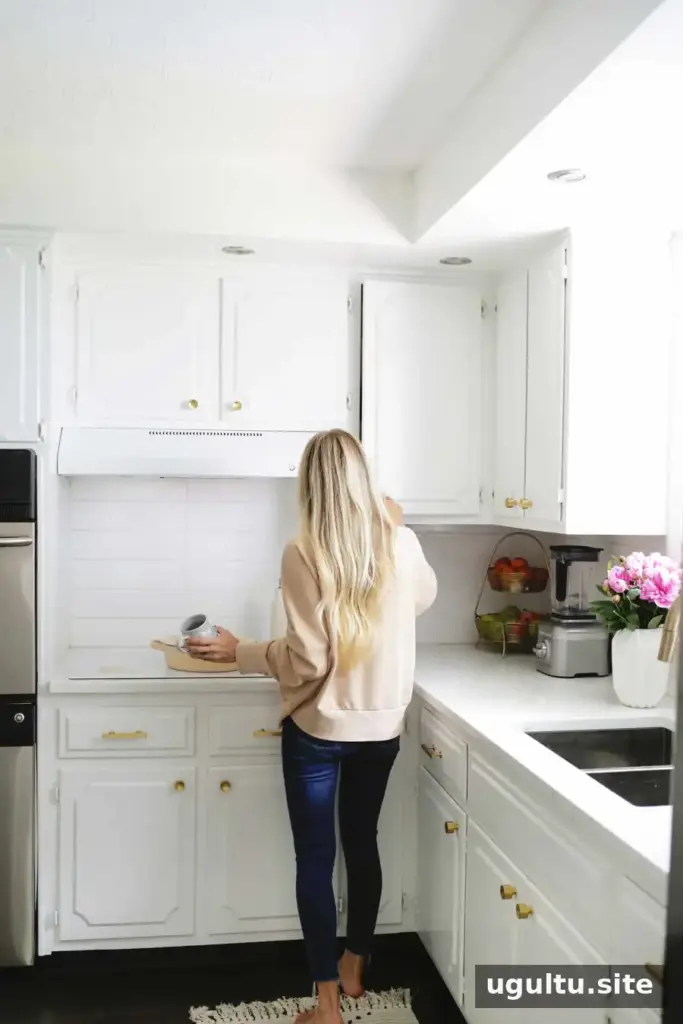
Before beginning, check that you have the original paint color or can find a close match. Set aside cleaning supplies, fine-grit sandpaper, a sanding sponge, a small brush, and a foam roller for flat surfaces. Removing knobs and pulls before painting helps create a neater finish.
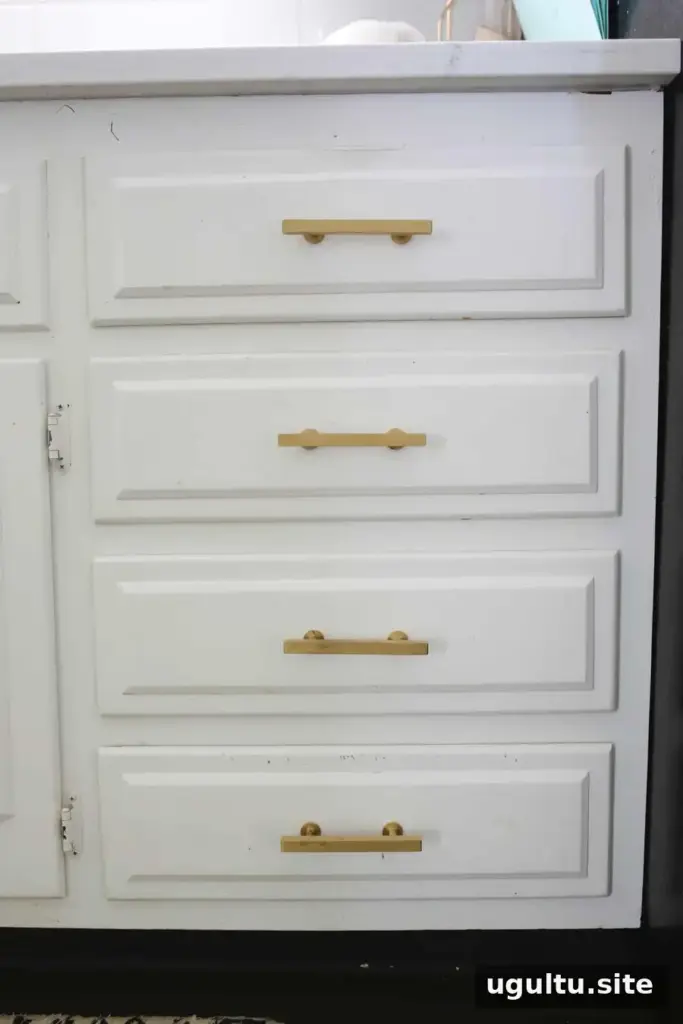
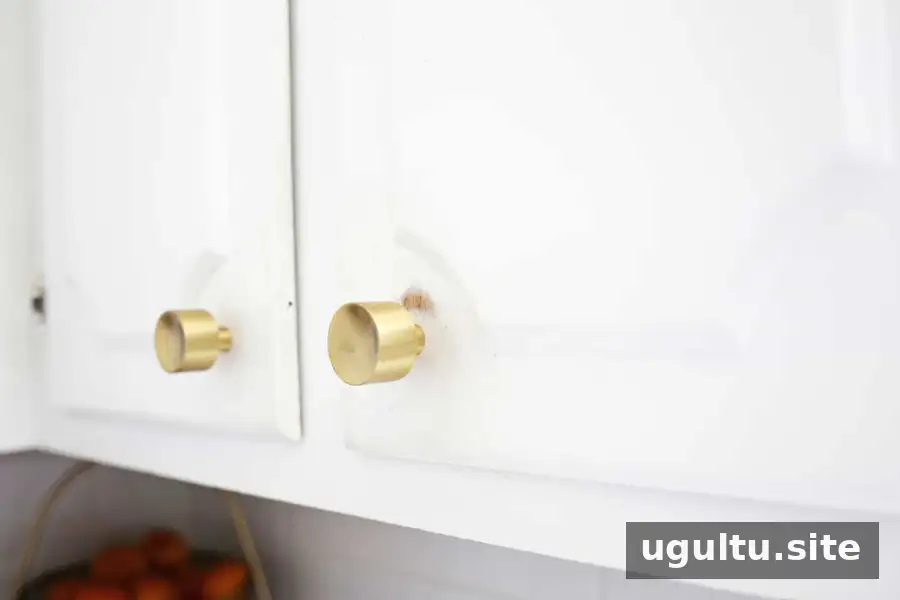
Cabinets can look worn after years of everyday use, but a closer inspection often shows that much of the existing paint is still in good condition. Cleaning first makes it easier to see which areas truly need a touch-up.
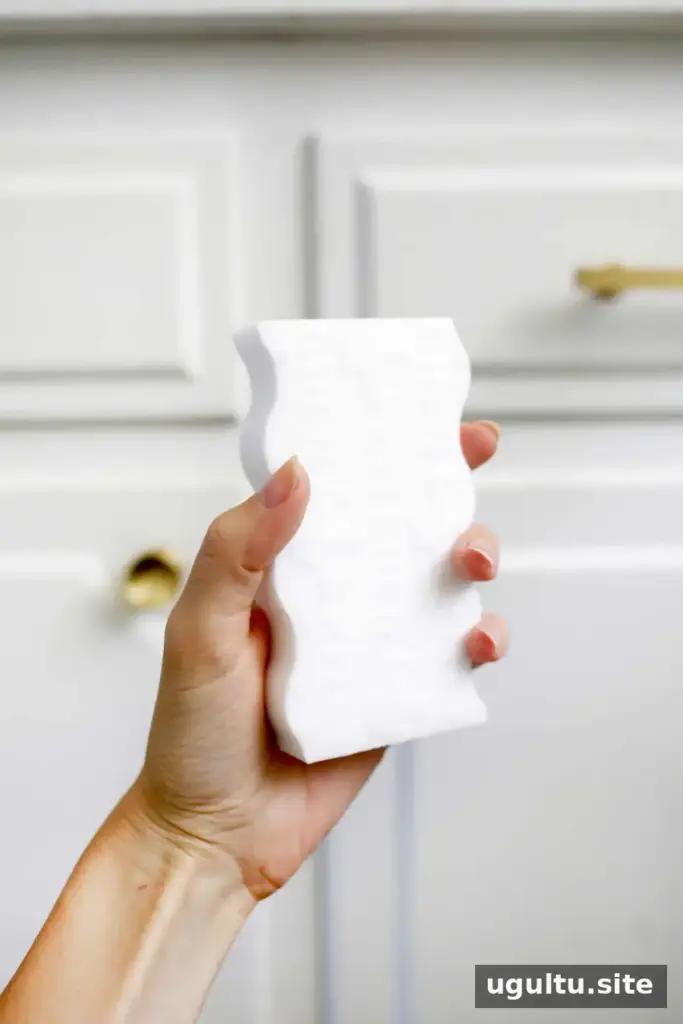
Kitchen Cabinet Refresh: Clean and Degrease
Start by wiping the cabinet surfaces with a melamine sponge or a cloth and mild dish soap diluted in water. In a kitchen, cooking grease can build up on doors and around handles. If grease remains, fresh paint may not adhere well, so clean those areas thoroughly before moving on.
Use a degreasing cleaner when needed, following its label directions. Avoid soaking the cabinets, and wipe away any residue with a clean, damp cloth. Let the surfaces dry completely before sanding or painting.
A thorough clean may improve the appearance even before any paint is applied. It also helps reveal chipped or bare spots while showing where the existing finish is still sound. For a quick comparison, clean one section first and check it against an untreated area.
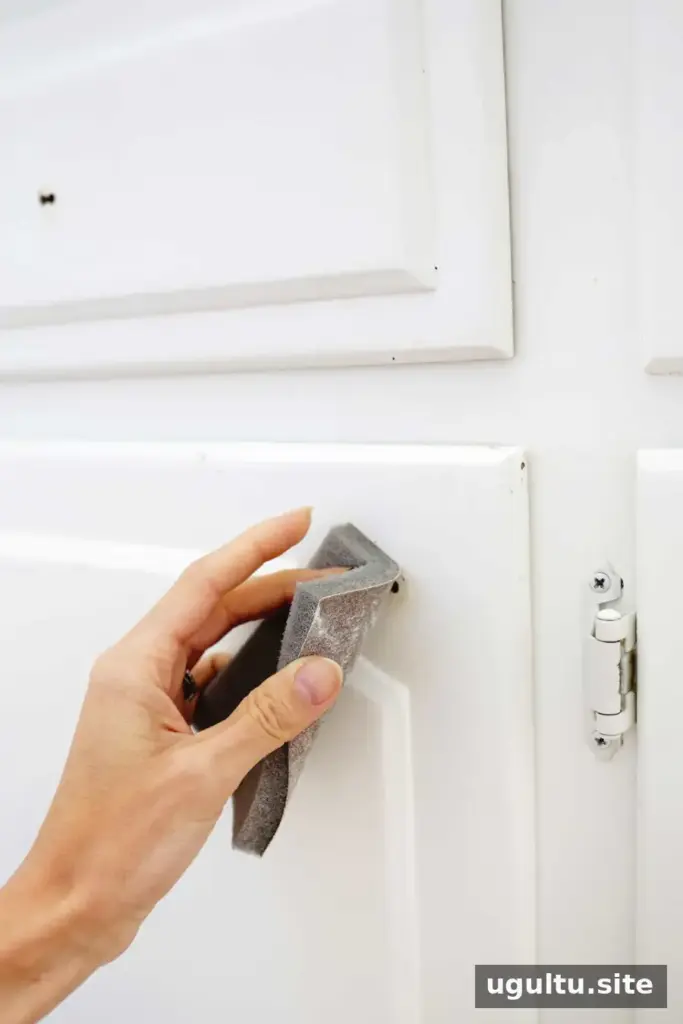
Lightly Sand Areas That Need Paint
Once the cabinets are clean and dry, use fine-grit sandpaper to gently scuff the areas that will receive touch-up paint. The aim is to make the surface slightly rough so the new paint can adhere—not to remove the finish or sand down to the wood.
A sanding sponge can make it easier to work around edges and profiles. After sanding, remove the dust with a soft, clean cloth or the foam side of the sponge. Keep dust out of the paint, and check that the surface is clean before continuing.
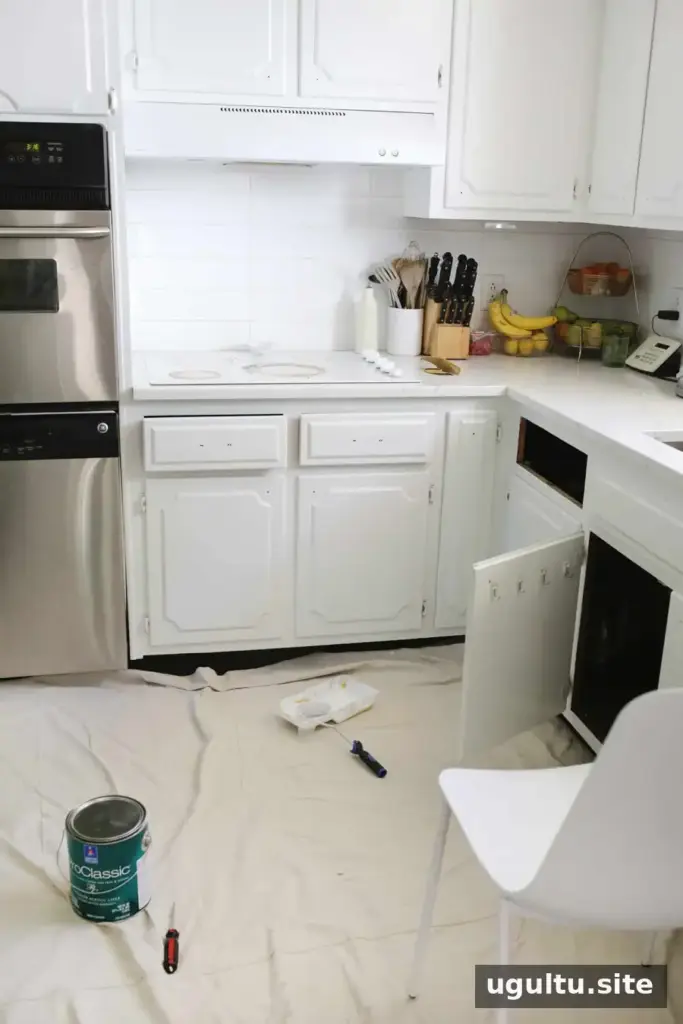
Touch Up the Cabinet Paint
Use a small brush for corners and other hard-to-reach areas. On broad, flat surfaces, a foam roller can help create a more even appearance. Remove knobs and pulls before painting, and take drawers out if doing so makes them easier to handle.
It may seem sufficient to paint only the most damaged spots, but applying a thin touch-up coat to the full door or drawer front can help the finish look more consistent. If the paint color is not an exact match, painting the entire front is generally less noticeable than covering just a small patch.
When possible, use the original paint color and keep a written record of paint colors used in your home for future repairs. If the exact color is unknown, compare samples carefully and test the match in an inconspicuous area before painting larger surfaces. Follow the paint label for application and drying instructions, and allow the finish to dry before reinstalling hardware or using the cabinets normally.
Remember to check the kick plate near the floor as well. This lower section is often scuffed by shoes and can be touched up while the rest of the cabinet paint is out.
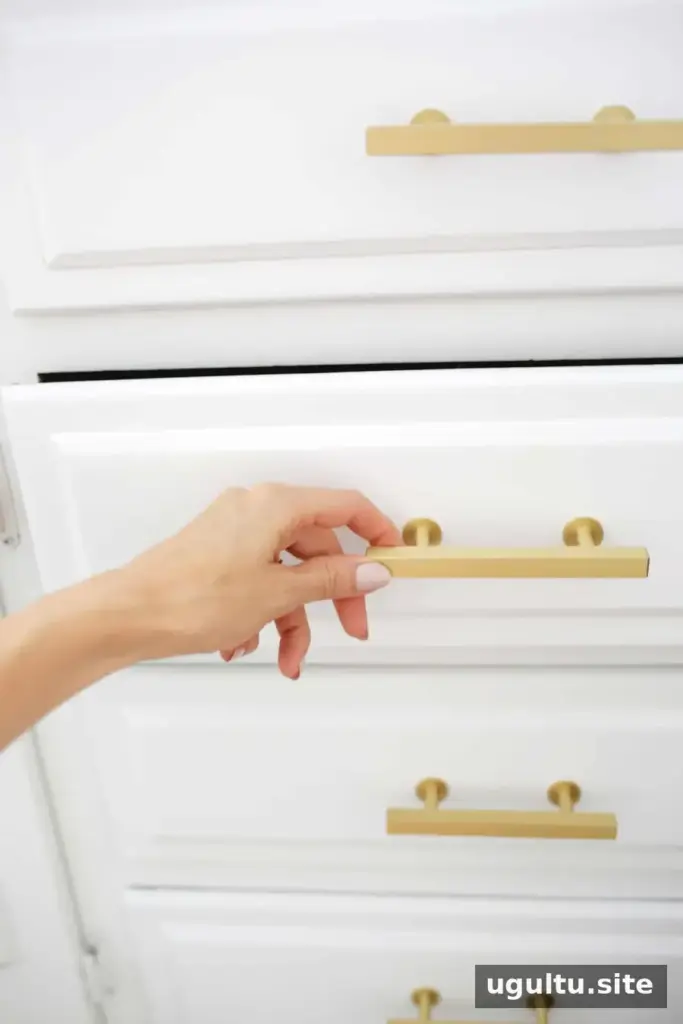
Clean or Replace Worn Cabinet Hardware
Tarnished or dirty knobs and pulls can make freshly cleaned cabinets still look tired. Clean or polish existing hardware while the paint dries, using a method that is suitable for its material and finish. If the hardware is damaged or no longer suits the kitchen, replacing it is another option.
Before buying new knobs or pulls, check their size and the distance between screw holes. Matching the existing holes can make installation simpler and help avoid filling, sanding, and repainting old holes.
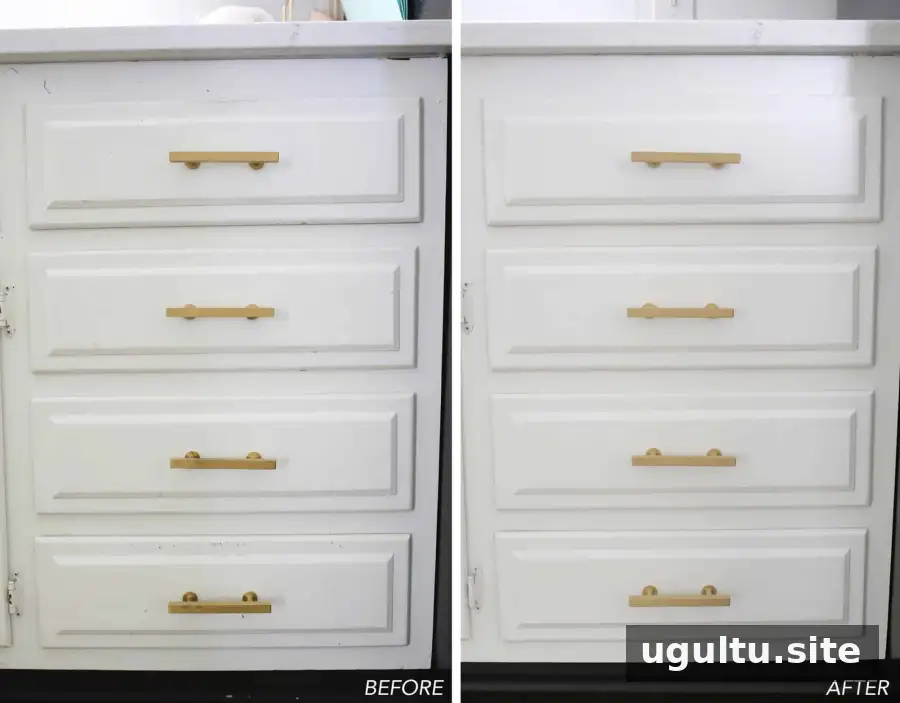
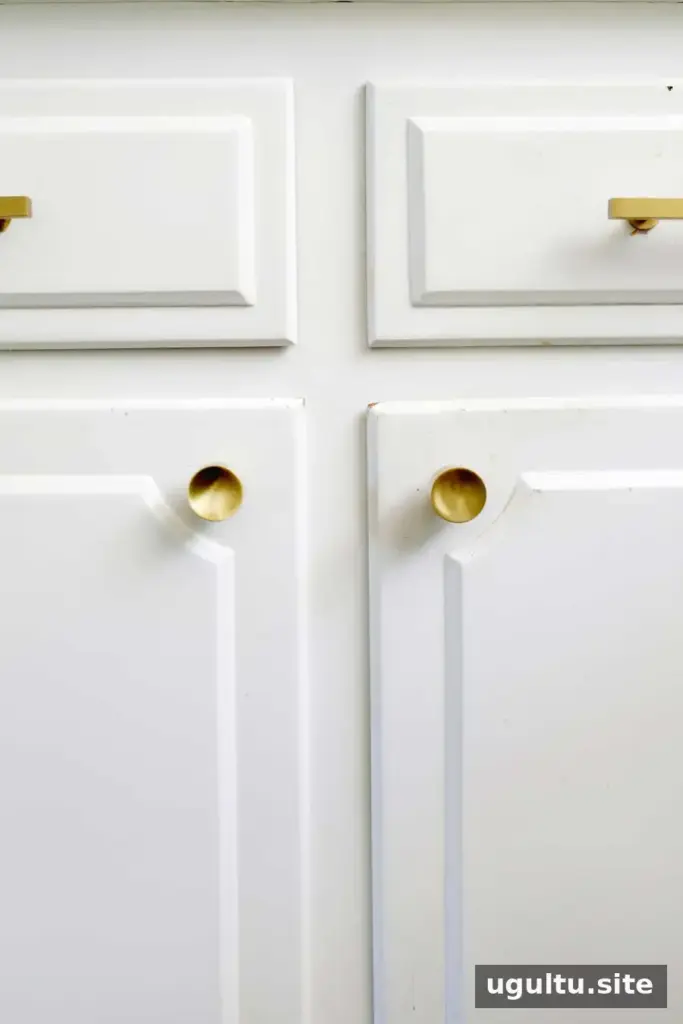
Even a few hours of cleaning and touch-ups can noticeably improve the overall appearance of a kitchen. The photos below show the refreshed cabinets.
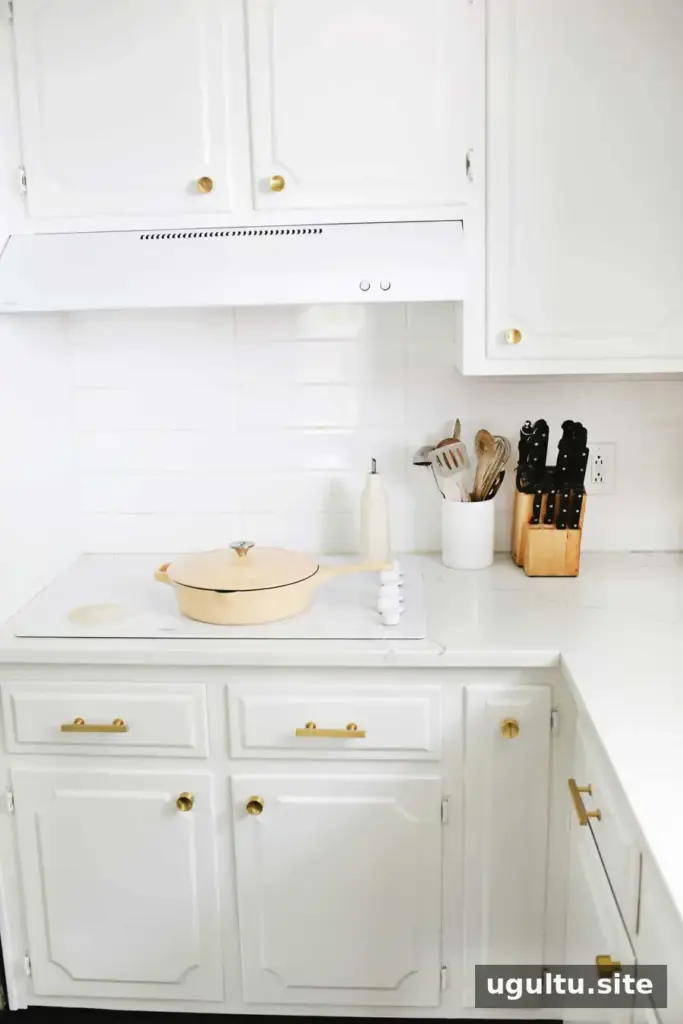
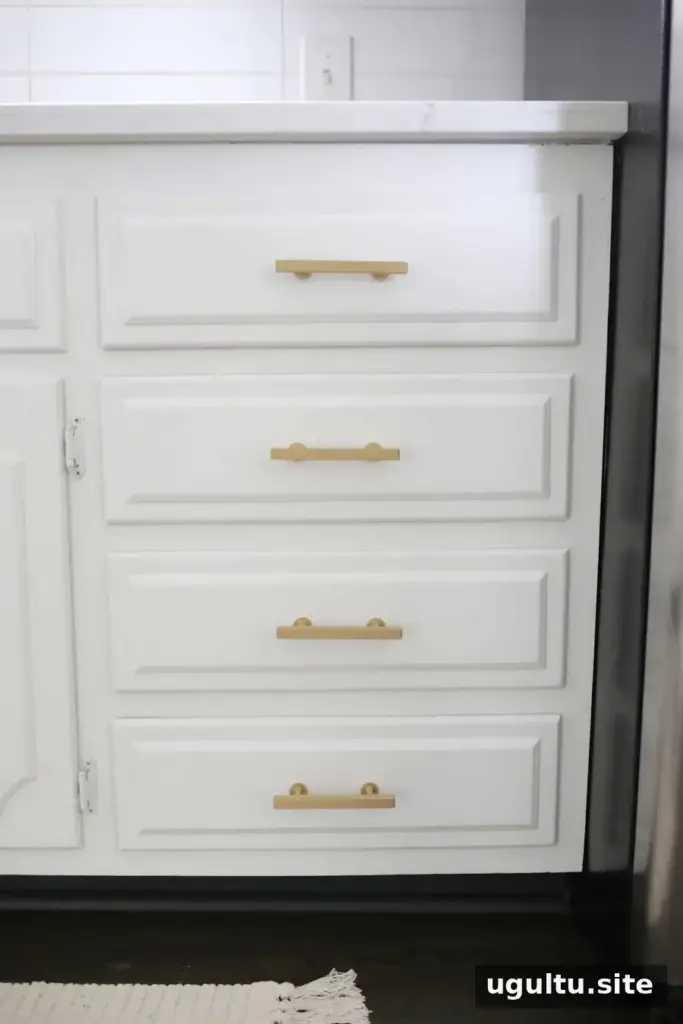
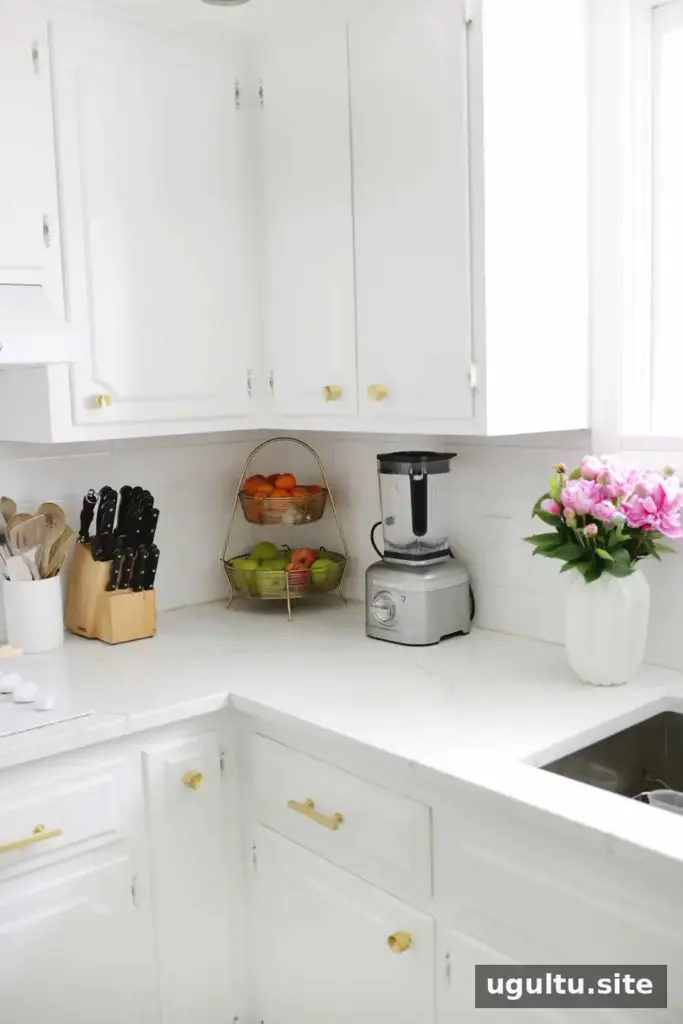
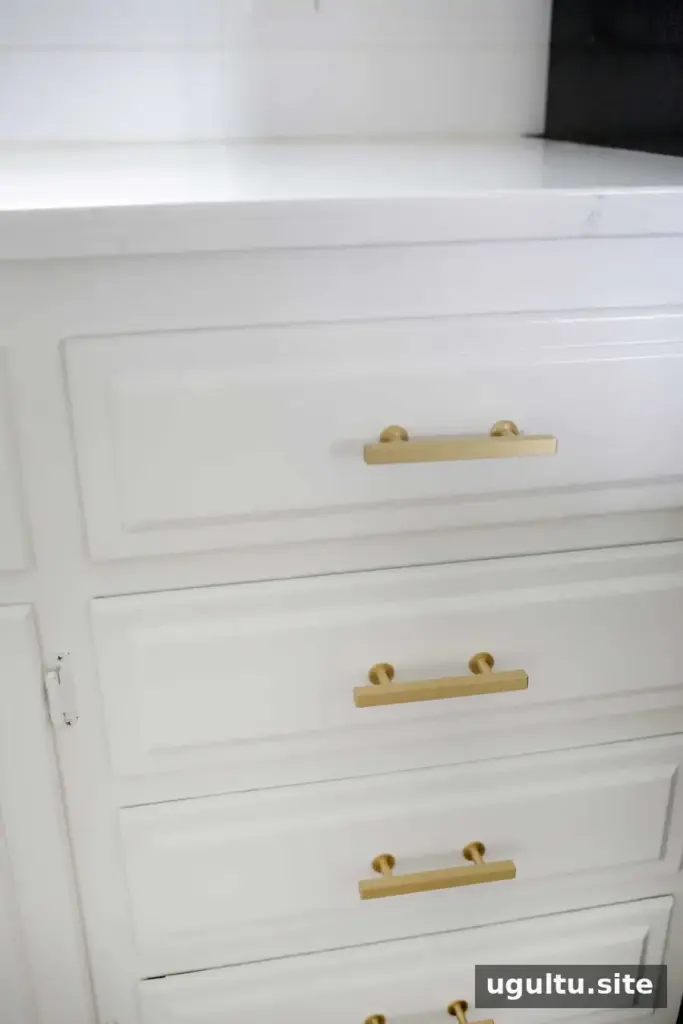
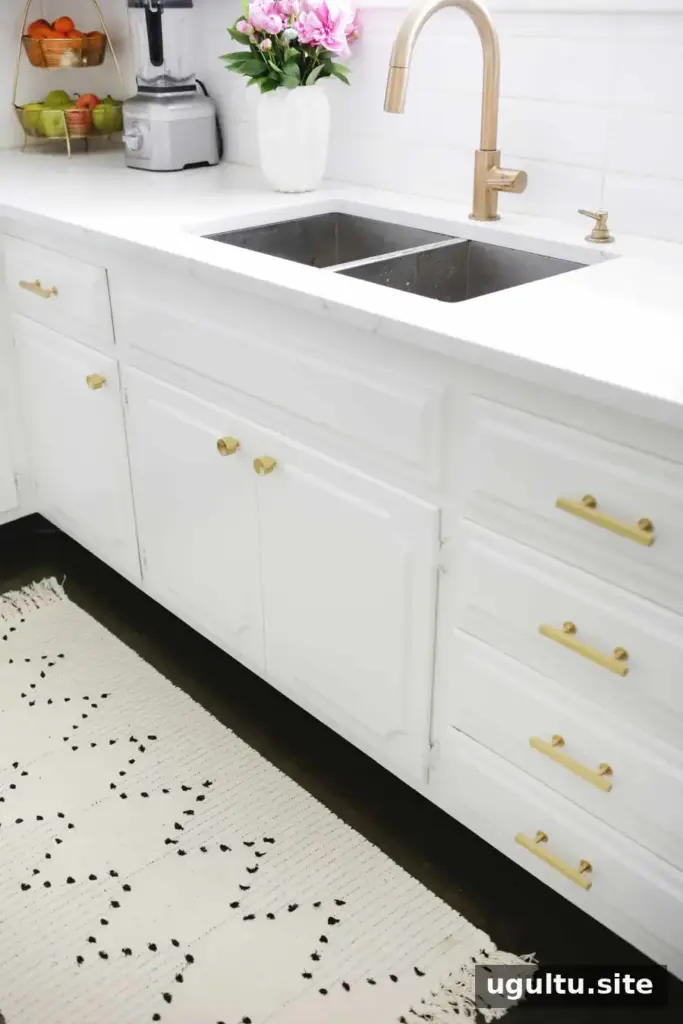
If time allows, replacing worn hinges can also make cabinet doors look and work better. This can take longer when many doors need attention. Replacing hinges with a different hole pattern may require filling and repairing the old holes, then sanding and repainting the area. Using hinges with matching hole locations can simplify the job.
For a manageable approach, update one or two doors at a time and use a power drill carefully. Check that each door is aligned and opens smoothly before moving on to the next one.
A kitchen cabinet refresh is a practical way to make a frequently used room feel more cared for without committing to a complete repaint. Once the paint has dried according to its instructions, small additions such as a kitchen rug or a pan displayed on the counter can help complete the refreshed look.
— Laura