
 admin
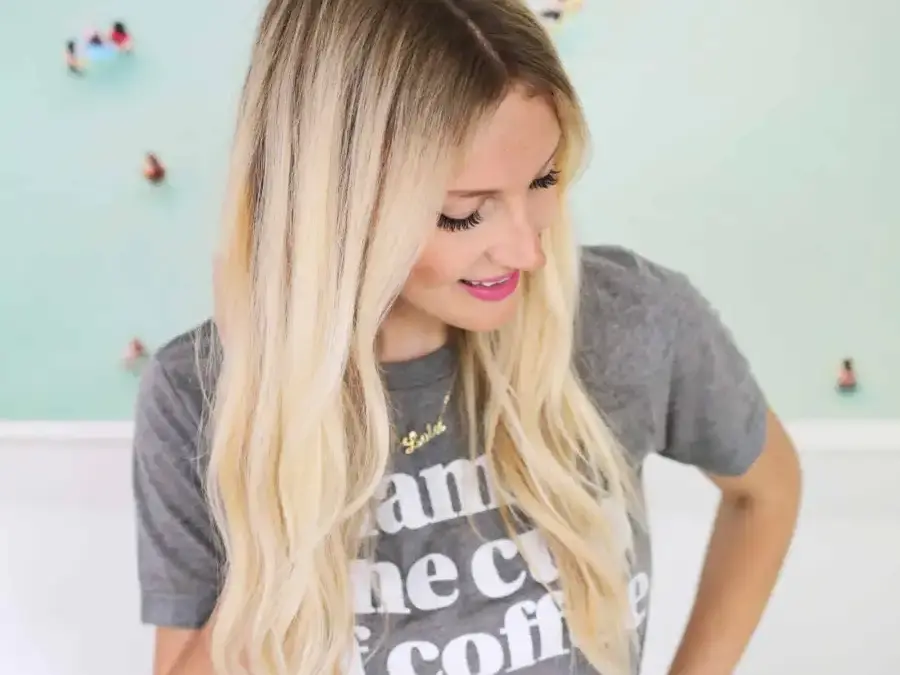
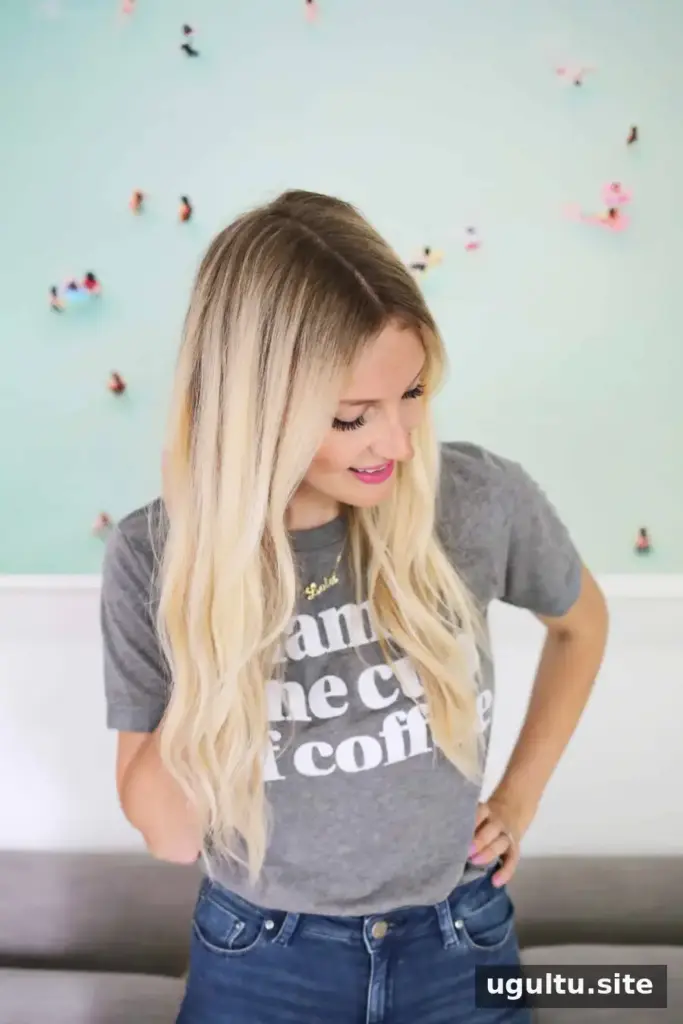
You can curl hair without a curling iron using a round brush and a hair dryer. This technique creates soft, loose waves by shaping slightly damp hair as you dry it. It takes a little practice, but it can be a useful option when you want to style your hair without using a curling iron.
The method works best when your hair is nearly dry before you begin. You’ll twist small sections around the brush, let them cool, and then separate the waves with your fingers. Keeping the sections manageable and allowing the twists to cool helps the style take shape.
What You Need to Curl Hair Without a Curling Iron
- A round brush with boar bristles and nylon bristles
- A hair dryer with a concentrator nozzle
- A smoothing leave-in conditioner
Choose a brush that can hold your hair securely between its bristles as you rotate it. If your hair slips out easily, try a brush with denser or coarser bristles. A concentrator nozzle helps direct airflow along the hair rather than dispersing it widely.
Prepare Your Hair
If your hair is freshly washed, apply a smoothing leave-in conditioner and dry it until the roots are completely dry and the lengths are about 90% dry. The remaining slight dampness in the lengths makes them easier to shape. Avoid twisting hair that is very wet, since it will take longer to dry.
For dry hair, lightly mist the lengths with water from a spray bottle, avoiding the roots. Aim for slightly damp hair, not wet hair. Use a leave-in product according to its directions, and keep the dryer moving while styling.
How to Create Waves with a Brush and Dryer
- Clip up the top two-thirds of your hair, leaving the bottom section free. Start with sections about 2 inches wide; adjust the size if your hair is especially thick or the brush cannot hold the section.
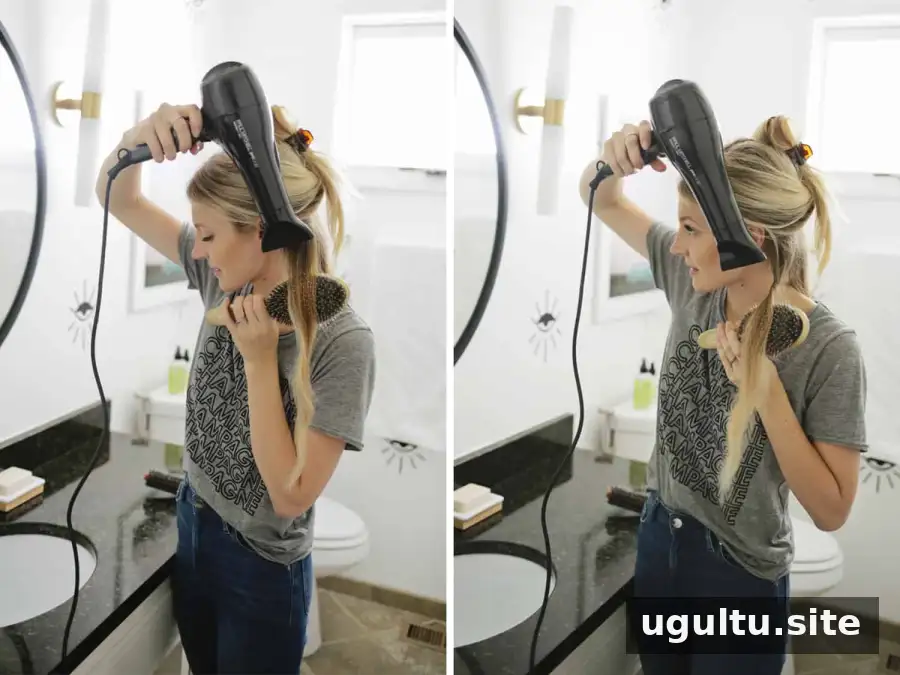
- Place the brush underneath a section, with the hair resting over it. Hold the brush in the hand on the same side of your body and the dryer in your other hand. Switch hands when working on the opposite side.
- Pull the brush slowly downward a few inches, keeping the dryer close behind it so the airflow follows the hair. After about 3 inches, rotate the brush one full turn, twisting the section toward the back of your head.
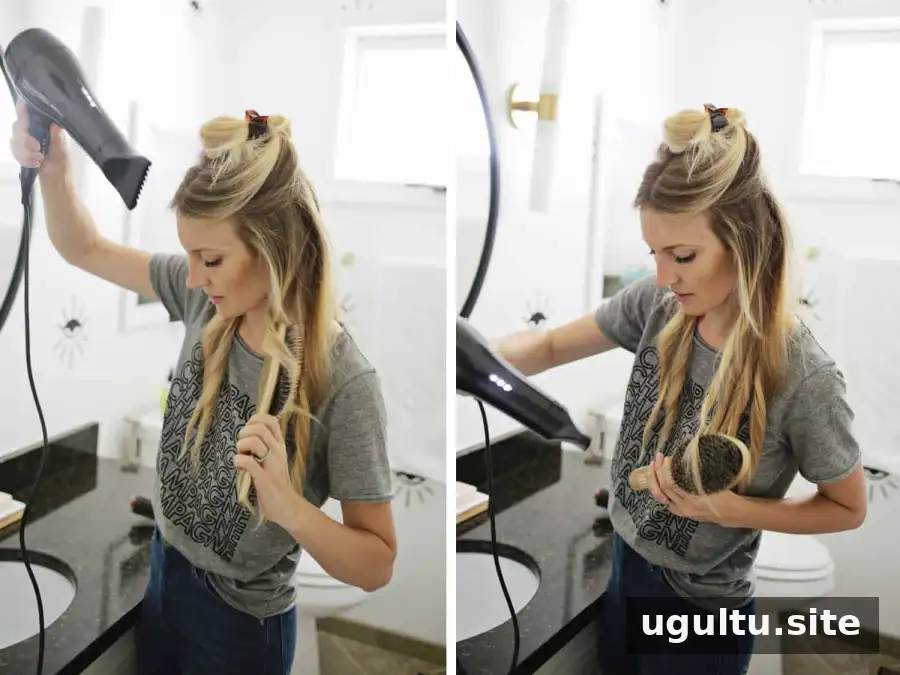
- Continue pulling and rotating the brush every few inches until the section is twisted several times. The hair should form a loose twist around the brush.
- Set the tools aside on a heat-safe surface, then gently fluff the twist with your fingers. Roll it between your fingers or lightly separate small parts of it. Fluffing while the hair is still warm creates a looser, fuller wave. Don’t brush it out yet.
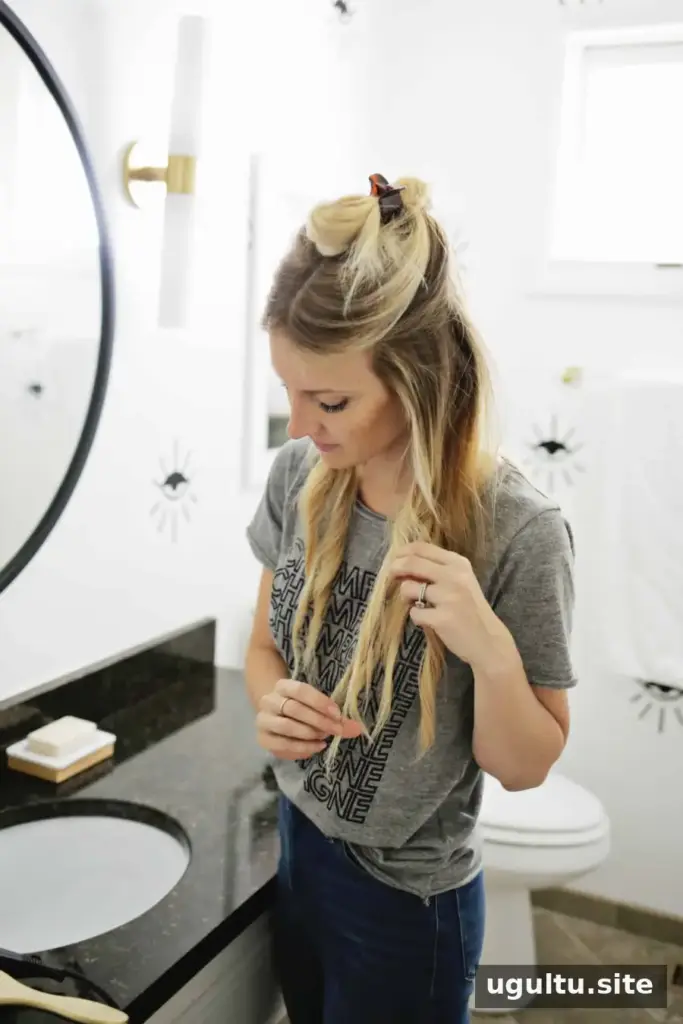
Work Through the Remaining Sections
Release the next third of your hair and repeat the steps, then finish with the top section. For a smoother result, try drying and twisting a section twice before fluffing it. Use smaller sections if the brush struggles to grip your hair or if the finished waves look uneven.
Once every section is twisted, let the hair cool completely. Cooling gives the shape time to set, so avoid pulling apart the twists too soon.
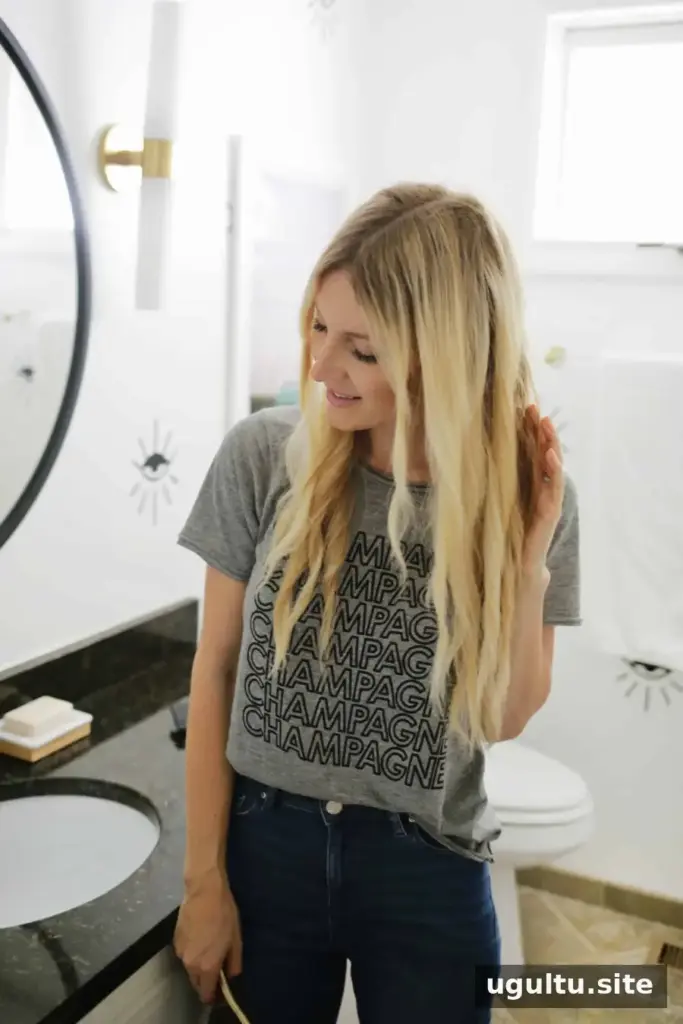
Finish and Maintain the Waves
When the twists have cooled, use your fingers to gently comb them apart. If one area needs more definition, mist that section lightly and repeat the drying and twisting process. A small amount of smoothing product on your fingertips can help tame frizz at the ends; follow the product’s instructions and use only what your hair needs.
How long waves last varies by hair type and routine. If they soften after sleeping, refresh a few sections rather than restyling your whole head. Avoid brushing through the finished waves if you want to keep their shape.
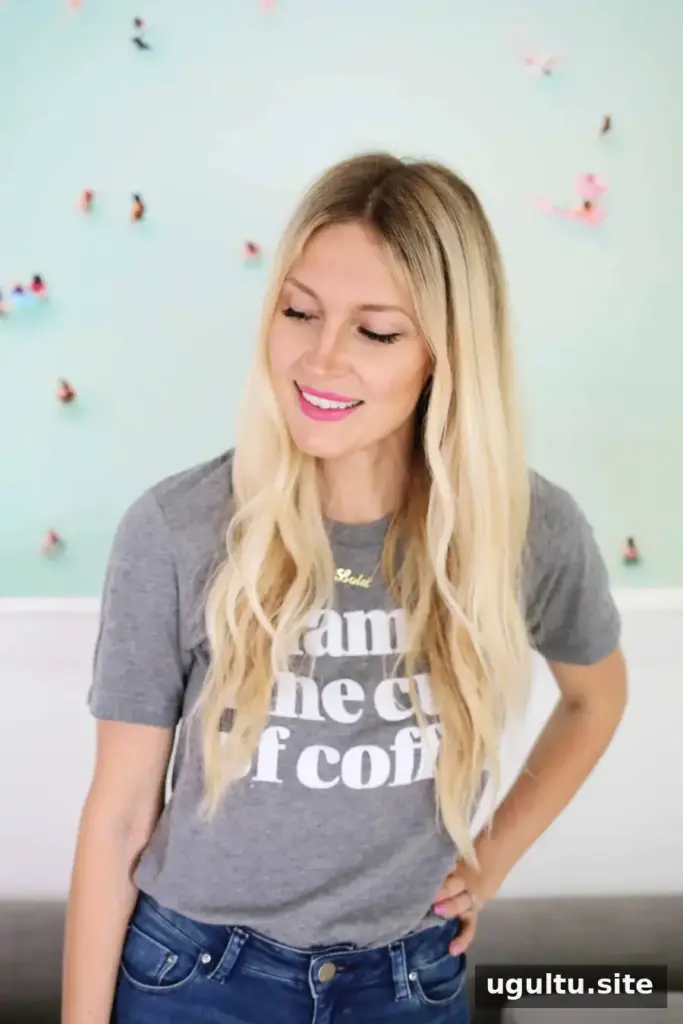
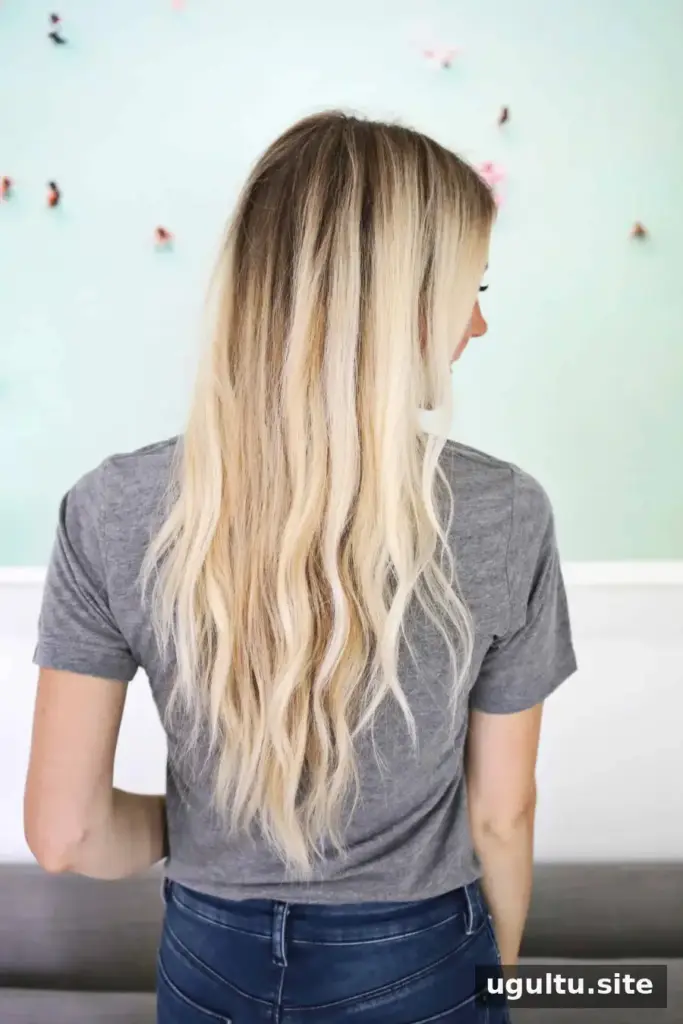
Practice Makes the Technique Easier
Coordinating the brush and dryer can feel awkward at first, especially on the side where you use your less-dominant hand. Give yourself a few attempts to get comfortable with the motion. Start with smaller sections and keep the dryer at a comfortable distance while moving it steadily.
Learning to curl hair without a curling iron takes patience, but a brush and dryer can create soft waves with a simple, repeatable routine. — Laura


