
 admin
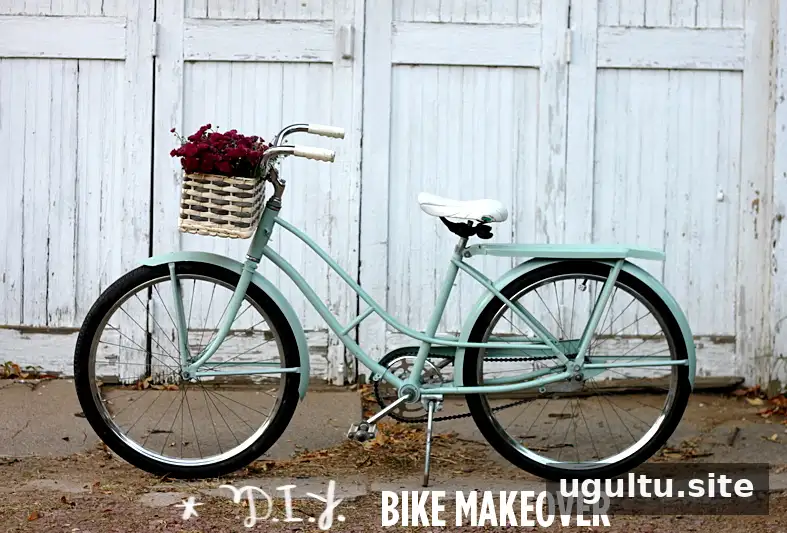
A fresh coat of paint can give an older bicycle a new look while keeping its original character. This guide explains how to paint a bike at home, from taking it apart and preparing the surfaces to applying paint and putting the parts back together. Set aside enough time for the finish to dry fully, and follow the instructions printed on each paint product.
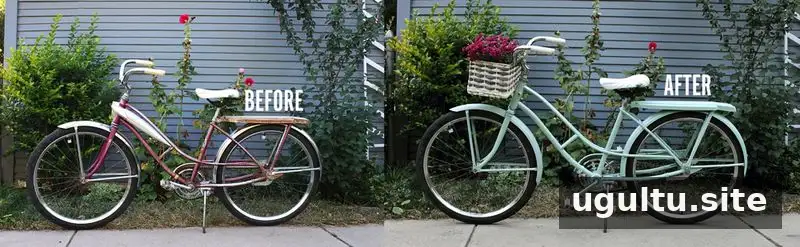
A vintage 1960s Hiawatha bicycle in purple and white, with decorative headlights and original stickers, provided inspiration for this makeover. The bike was working but needed some attention. Its fenders were selected for painting, while the handlebars and pedals were left as they were.
Painting a bicycle takes patience more than specialized equipment. A little planning before disassembly can make reassembly easier and help prevent paint from getting onto parts that need to move or function properly.
How to Paint a Bike: Supplies and Preparation
Gather the following before starting:
- A bicycle and a medium-light grade sanding block
- Painter’s tape, a wrench, and one or more screwdrivers suited to the bike’s fasteners
- Scissors, if needed, and a flattened cardboard box to protect the work surface
- Primer spray paint, spray paint in your chosen color, and polyurethane spray paint
- A clean washcloth, a painter’s mask, and eye protection
Work in a well-ventilated area and use protective equipment as directed on the product labels. Keep paint away from tires, brake surfaces, cables, chains, and other moving or safety-critical parts.
1. Photograph and label the parts
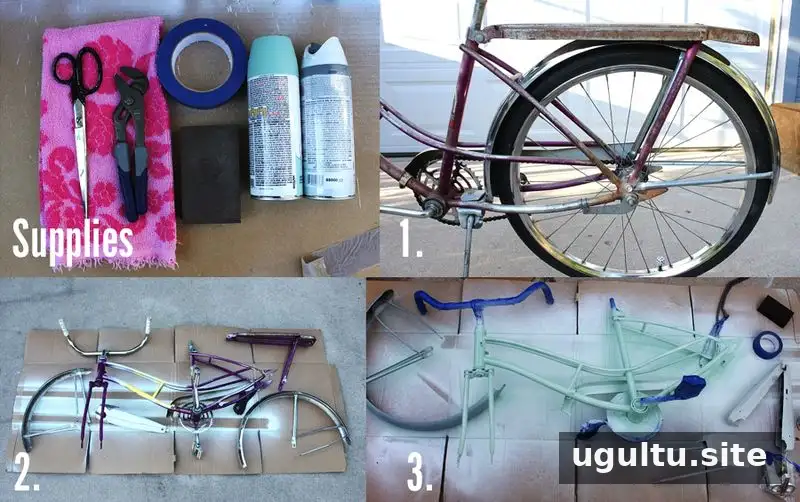
Before removing anything, take clear photos from several angles. Close-ups can show how racks, fenders, and other fittings attach. You can also sketch the bicycle, place removed screws beside the parts they belong to, and number the disassembly steps. These simple records are useful when it is time to reassemble the bike.
2. Remove or protect the parts
Remove the components you do not plan to paint. Set the seat aside, and use painter’s tape to cover pieces that cannot be removed, such as the handlebars, chain, or stuck-on gear and pedals. Take care not to paint working surfaces or mechanisms.
3. Clean, prime, and paint
Lightly sand the parts being painted, then wipe away dust and loose paint with a damp cloth. Allow the surfaces to dry. Apply three thin coats of primer, allowing 10 minutes between coats as directed on the product. Leave the primed parts to dry overnight.
Apply three thin coats of your chosen spray paint, letting one side dry before turning the part to paint another side. Follow the can’s instructions and avoid applying too much paint at once, since heavy coats can create drips. After painting, let the finish set for 24 hours, then apply two coats of polyurethane spray paint to seal it, following the label directions.
Reassemble and Customize Your Bike
Use your photos and numbered steps to put the bicycle back together in reverse order. If the frame or parts have substantial rust, use a power sander or rust remover before painting, following the product’s safety instructions. Do not ride until the paint is fully dry and the bike’s components have been checked for secure attachment and normal operation.
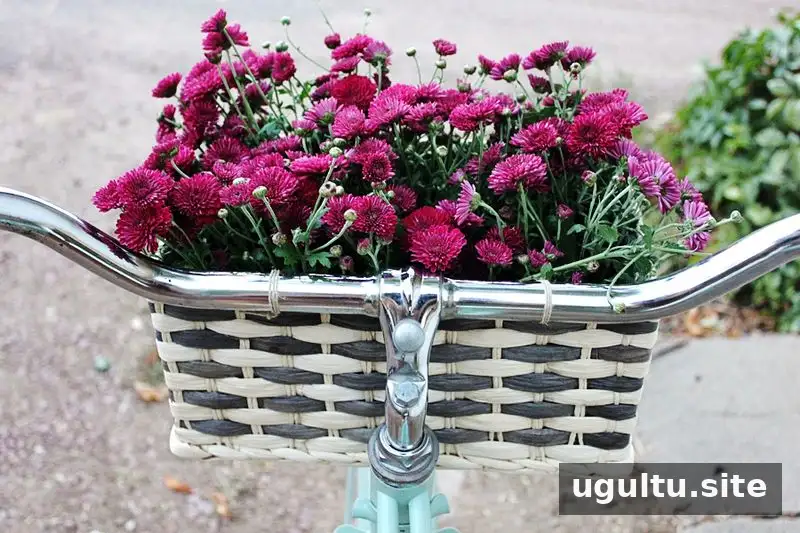
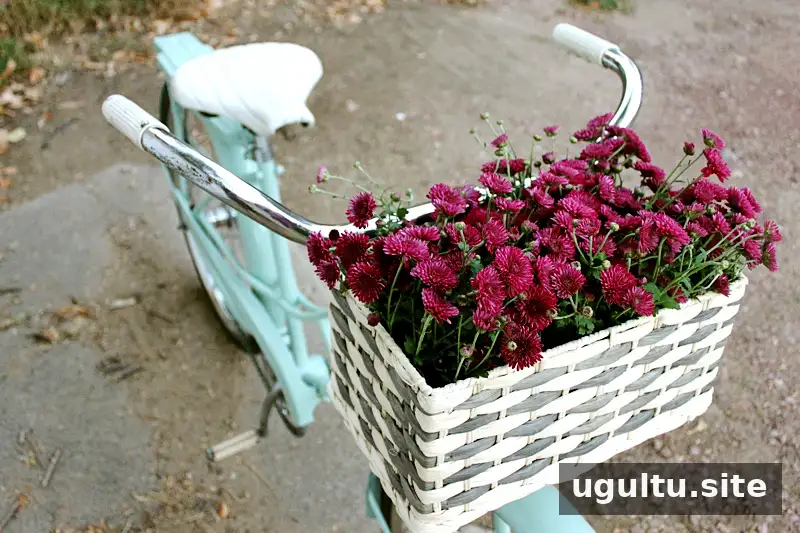
A heavily rusted headlight assembly may not take new paint well or attach securely. In this makeover, the headlight was left off and saved for possible future use. A basket was added to the handlebars and tied on with twine for a decorative finish. Clear zip ties are another option; for regular outdoor storage, choose a basket material such as wicker or wire that can better withstand the elements.
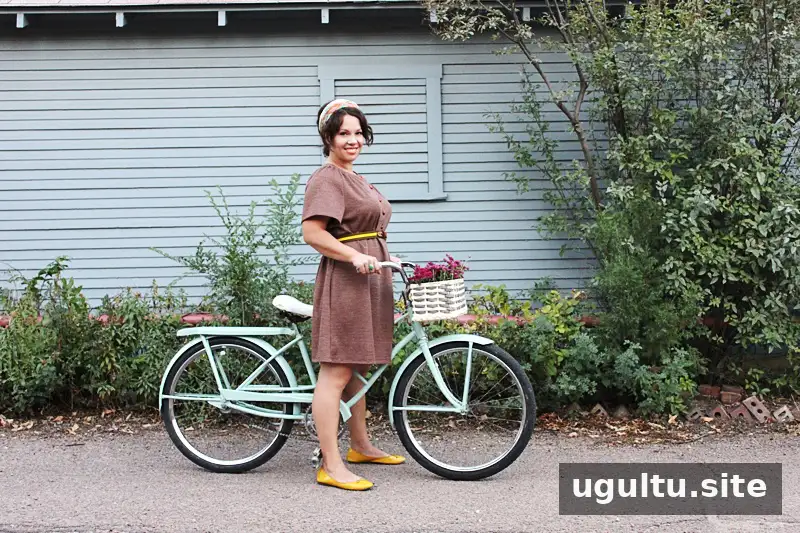
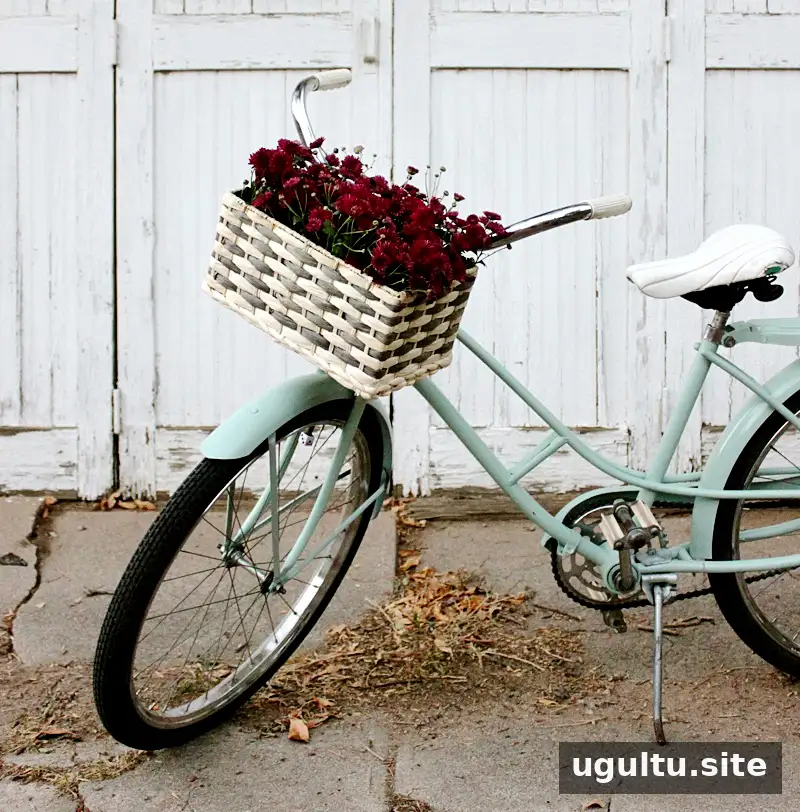
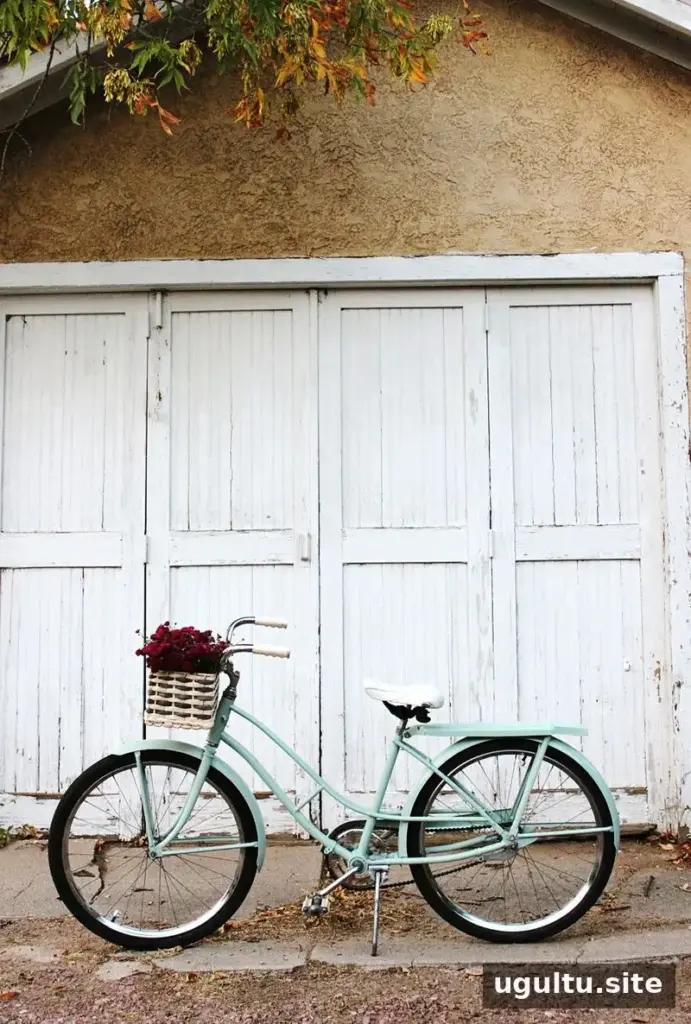
Reflectors, a brown leather seat cover, and new handlebar covers are possible finishing touches. Reflectors are especially useful if the bicycle will be ridden at night; make sure they are fitted securely and remain visible.
Final Tips for Painting a Bike
For a durable, tidy result, keep coats thin, allow the stated drying times, and protect any parts that should not be painted. With careful preparation and patient reassembly, how to paint a bike becomes a manageable home project that can refresh an older bicycle without changing its basic design.
— Rachel


