admin
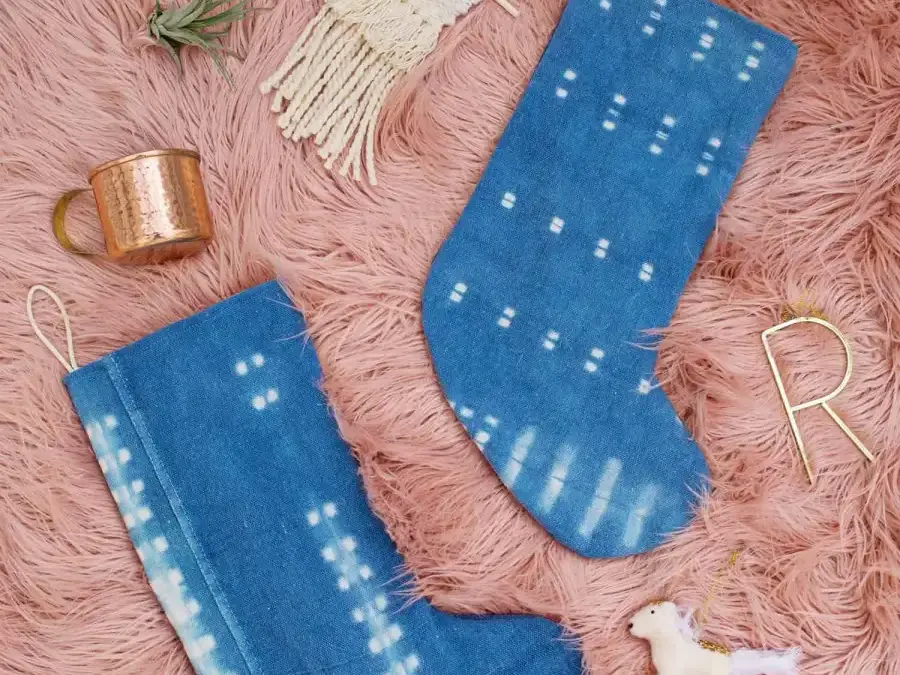
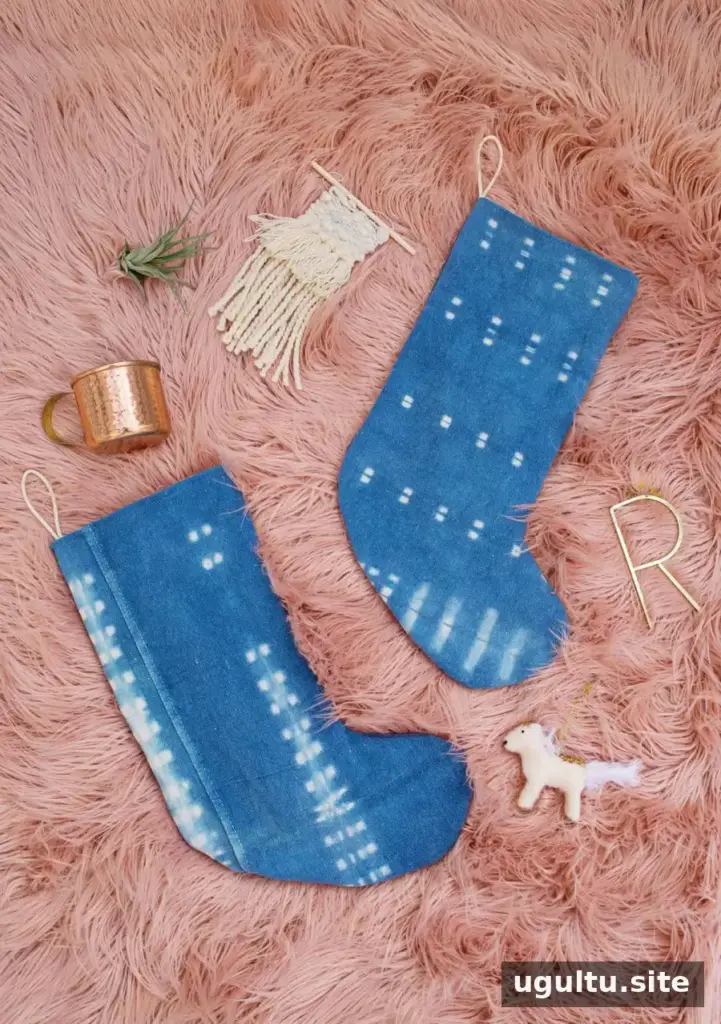
An Indigo Christmas Stocking DIY project is a simple way to bring handmade color and texture into holiday decor. Indigo-dyed fabric pairs well with both neutral interiors and more colorful rooms, and a stocking can be customized to suit your space. This sewing project uses an existing stocking as a pattern, with an outer fabric shell, a cotton lining, and a small rope loop for hanging.
Use indigo-dyed canvas or linen for the outside, or repurpose vintage indigo fabric or worn denim. Prepare and dye fabric using an appropriate dyeing method, then rinse and dry it fully before sewing. You can finish the stocking with optional decorations such as tassels, pom-poms, or an initial ornament.
Supplies for an Indigo Christmas Stocking DIY
Gather these materials for each stocking before you begin. Pre-washing the fabric helps prepare it for dyeing and sewing.
- ½ yard of indigo-dyed canvas or linen for the outer shell
- ½ yard of cotton fabric for the inner shell; it may be indigo-dyed or plain
- 8″ × ¼″ cotton rope for the hanging loop
- A standard stocking to use as a template
- Scissors, a sewing machine, straight pins, and thread
- Fabric dyeing instructions if you plan to dye the fabric yourself
A canvas drop cloth or standard cotton canvas can work as the outer fabric, as can linen. Choose a fabric that is sturdy enough to hold its shape, and make sure the dyed material is completely dry before cutting.
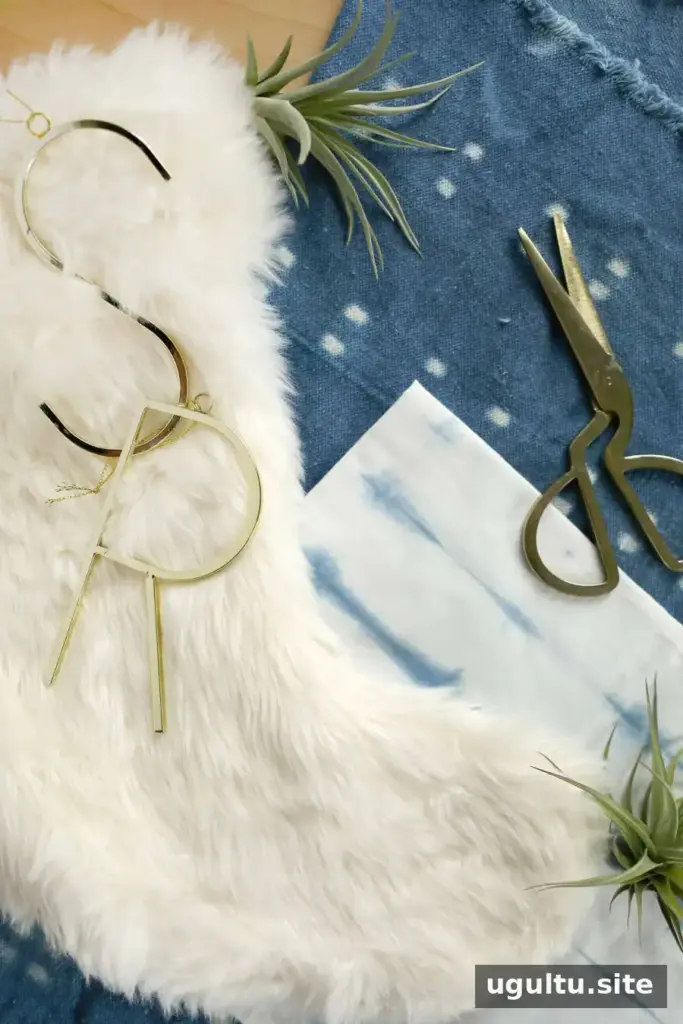
How to Sew the Stocking
Cut the outer and lining pieces
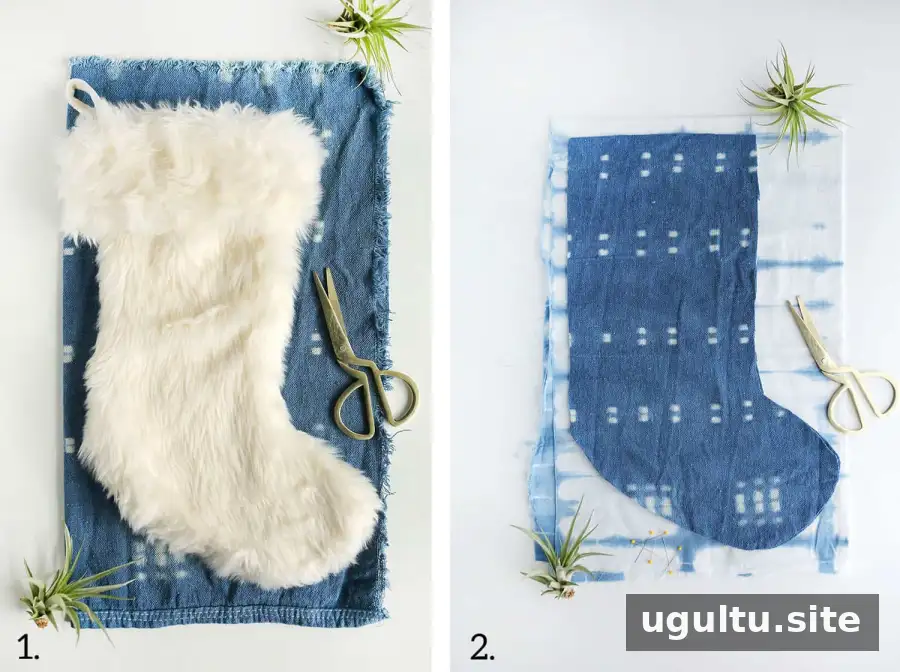
Step One: Fold the dyed canvas in half and place the template on top. Check that the stocking fits within the fabric. Cut around the template with about ½″ of extra fabric, cutting through both layers so you have two matching outer pieces.
Step Two: Fold the cotton lining fabric in half. Use one outer piece as a guide and cut around it without adding extra allowance. You should now have two outer pieces and two lining pieces. Keep the toes of the pieces oriented consistently so the finished stocking faces the direction you want.
Sew the two shells

Step Three: Place the two lining pieces together and pin around the edges about every 4″. Starting at one top corner, sew around the stocking shape to the other top corner, leaving the top open. Keep the seam about ½″ from the fabric edge.
Step Four: Repeat with the outer pieces. If the fabric has a distinct front and back, place the right sides together before pinning and sewing. Trim loose thread ends when finished.
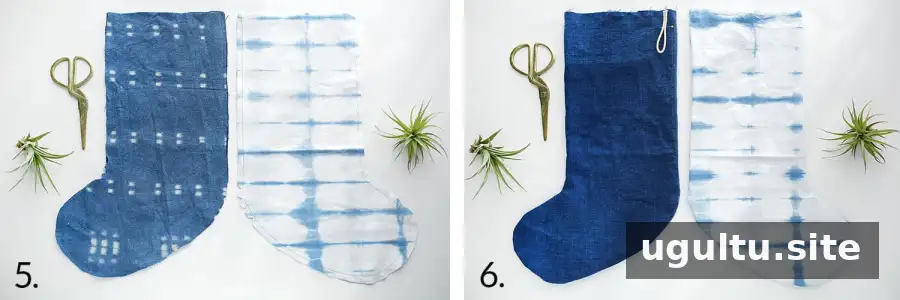
Step Five: Make small V-shaped clips in the extra fabric around the heel and the inner curve. These clips help the fabric lie smoothly when turned. Stop short of the stitching so you do not cut through the seam.
Step Six: Turn both shells right side out. Check the placement of any indigo resist pattern or print before joining the layers. Fold the cotton rope in half and pin its ends near the top edge on the back of the outer shell. The loop should point down toward the body of the stocking at this stage.
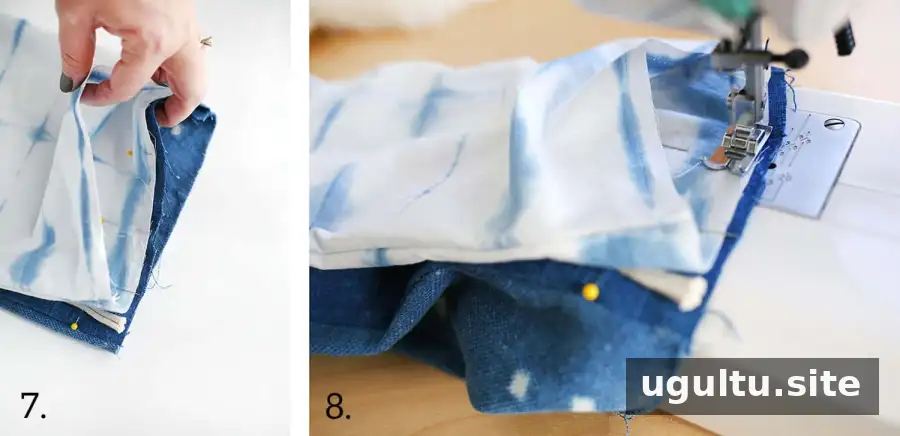
Step Seven: Place the lining over the outer shell with the toes facing the same direction. Match the seams as closely as possible, pin the top edges together, and check that the right sides of the fabric face one another.
Step Eight: Sew the shells together about ½″ from the edge. Work slowly around the top, removing pins as you go, and leave a 4–5″ opening so you can turn the stocking right side out.
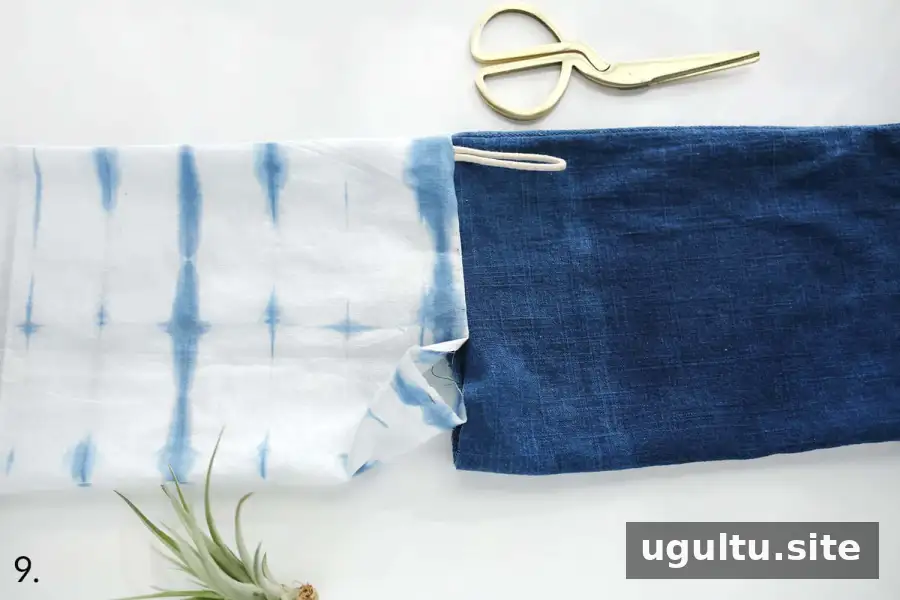

Step Nine: Pull the lining up and out of the outer shell through the opening. Check that the hanging loop is secured at the seam and that the opening remains large enough to turn the stocking comfortably.
Step Ten: Push the lining down inside the outer shell. Arrange the seam where the two layers meet and press it flat with an iron if the fabrics allow. Fold the raw edges at the opening inward and pin them together.
Step Eleven: Sew around the top perimeter to close the opening and help keep the lining in place. Remove any remaining loose threads and check the seam before hanging the stocking.



Press the finished stocking and hang it by its loop. For extra texture, consider adding white cotton tassels or chunky wool pom-poms; check that any embellishments are securely attached. Make a matching set or combine different indigo patterns for a varied look. With careful cutting and aligned seams, this Indigo Christmas Stocking DIY can be adapted to suit different fabrics and holiday styles. — Rachel