
 admin
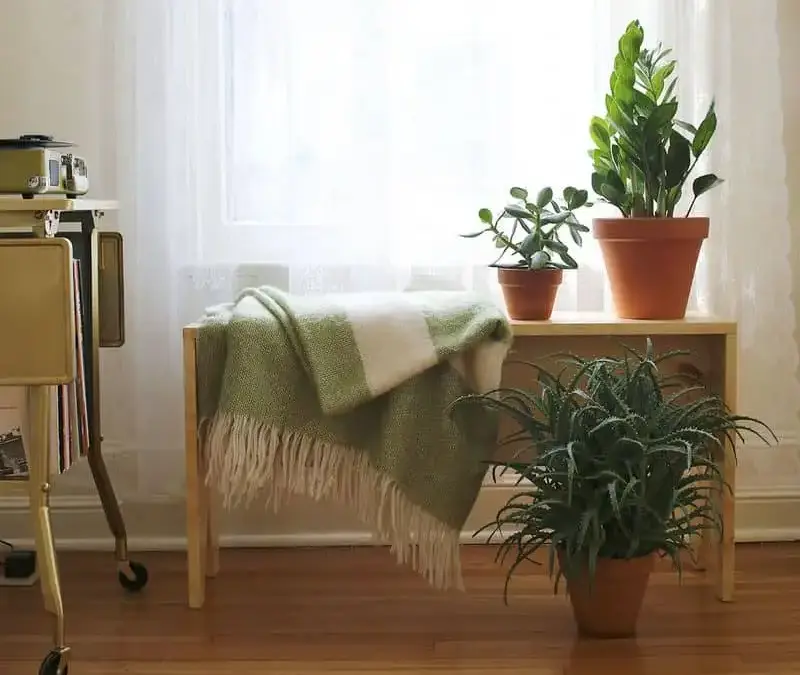
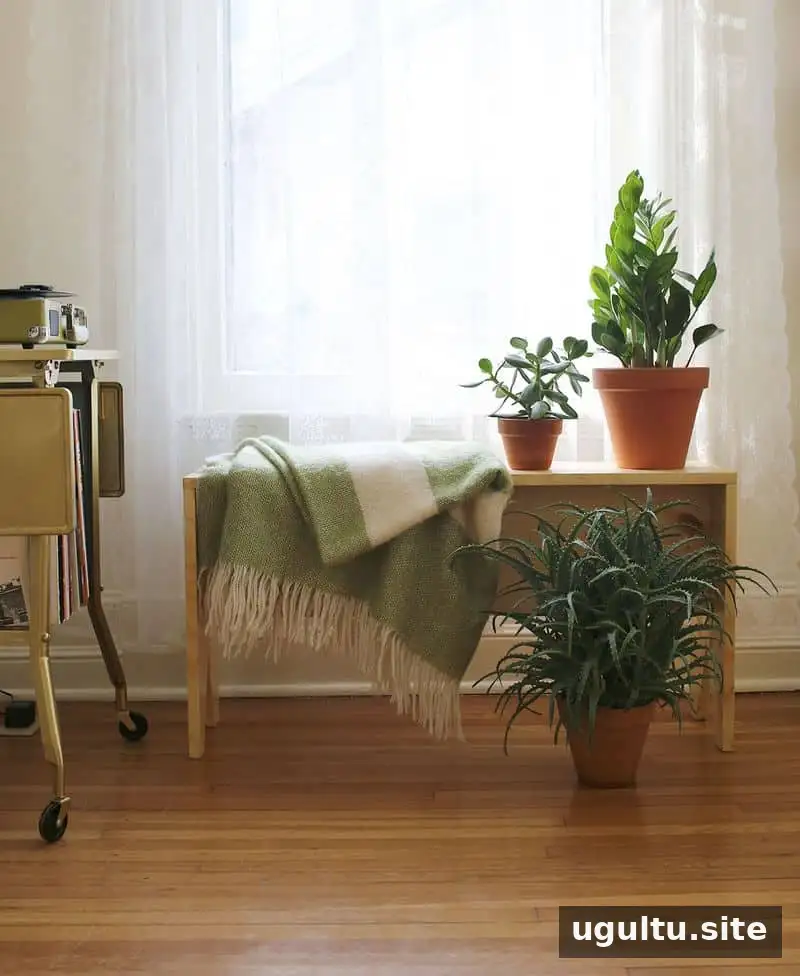
A DIY wooden bench is a practical project for adding simple, flexible seating to a living room or other space. This design uses pine boards, a small set of tools, and a straightforward assembly process. The finished bench can be left natural or given a stain and protective polyurethane coating.
Materials and tools for a DIY wooden bench
Gather the supplies before cutting or assembling the pieces. The original plan calls for two pine planks, each 3/4 inch thick, 10 feet long, and at least 12 inches wide.
- 2 pine planks, 3/4 inch thick, 10 feet long, and at least 12 inches wide
- Drill
- Kreg wood screws
- Sandpaper in 50- and 220-grit
- Wood glue
- Paint, stain, and polyurethane, if desired
Before starting, check that the boards are straight and free of major damage. Plan your cuts carefully, and use a stable work surface when measuring and cutting.

Cut the bench pieces
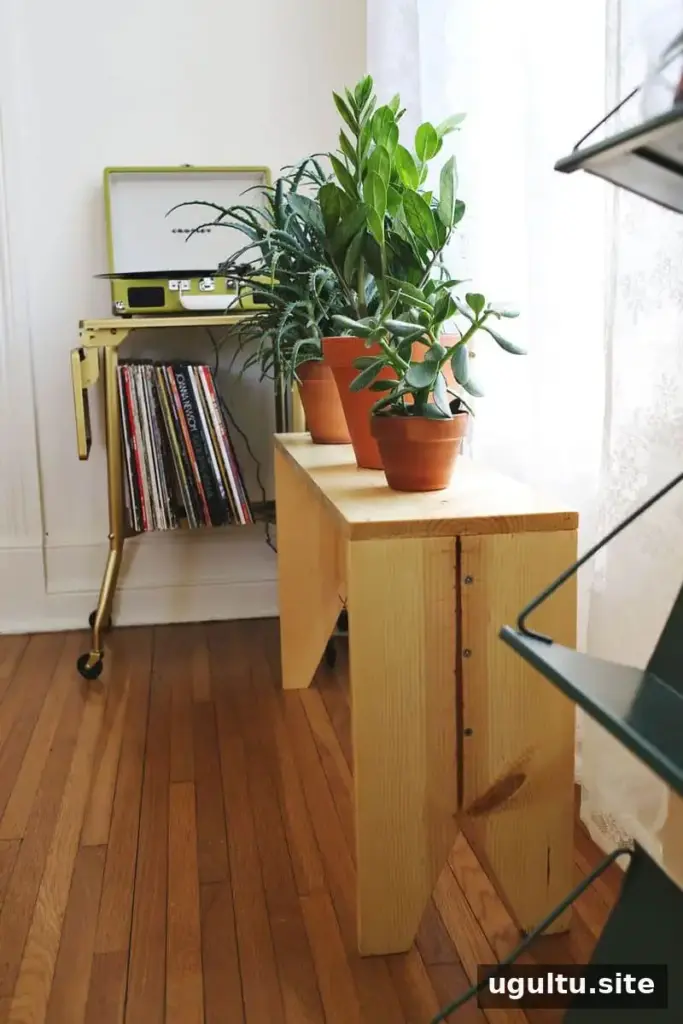
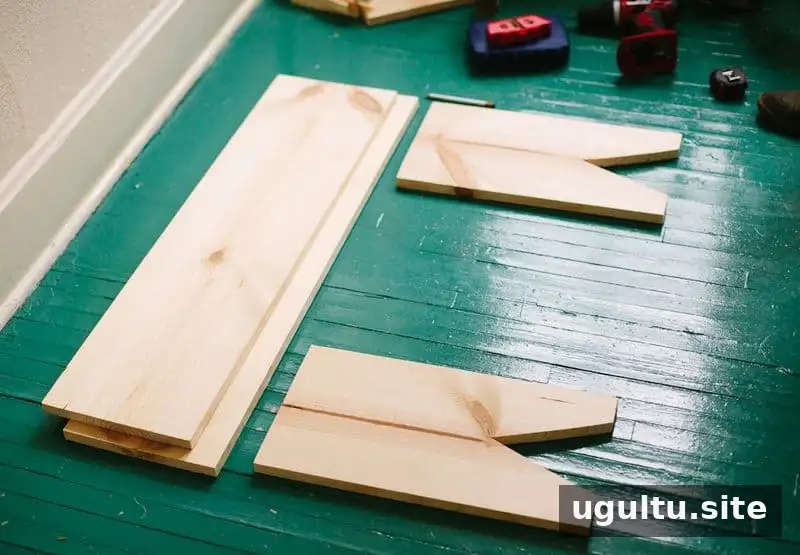
Measure and cut the boards into the following parts:
- Seat: One piece, 5 feet long.
- Legs: Two pieces, each 2 feet long. Triangle notches are optional; they add a decorative detail but are not required.
- Support: One piece, 4 feet 10.5 inches long.
Measure each piece before cutting and label it so the seat, legs, and support are easy to identify during assembly.
Assemble the bench frame
Attach the legs to the support
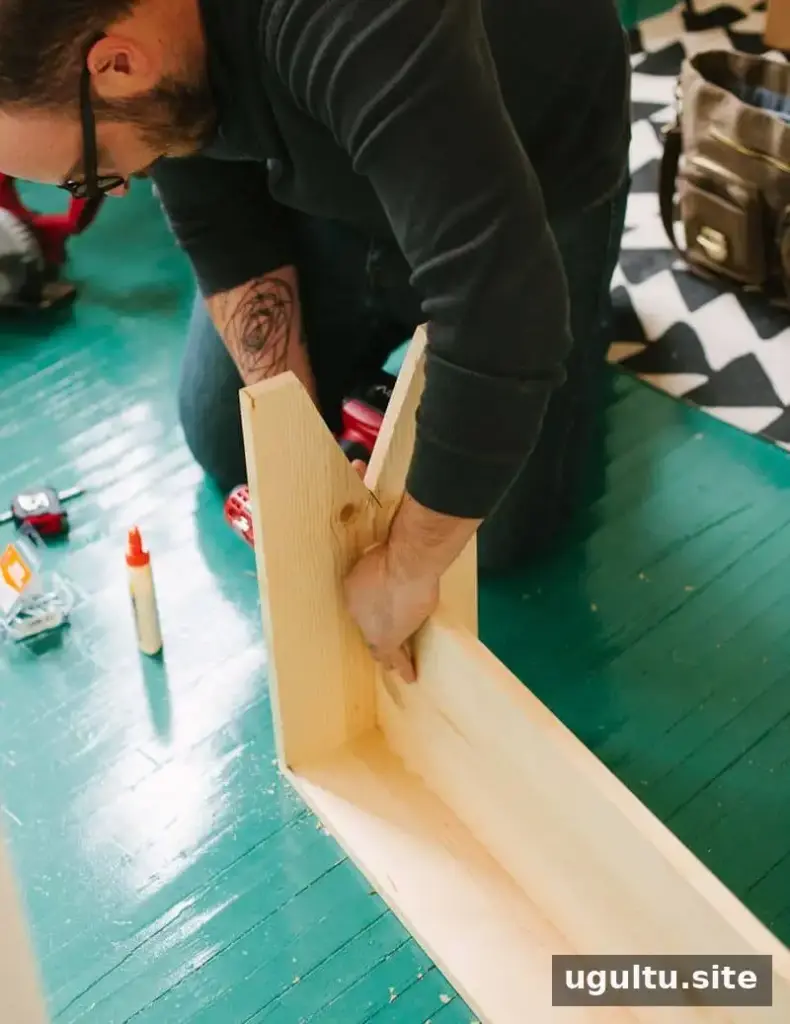
Apply wood glue and fasten one leg at each end of the support piece using the Kreg wood screws. Marking the center of both sides of the boards with a pencil can help align the pieces before drilling and screwing them together.
Secure the seat
Turn the frame over, then center the seat piece across the middle and attach it with glue and screws. Check that the seat is positioned evenly before fastening it. Keep screw placement consistent and make sure the screw tips do not protrude through the wood.
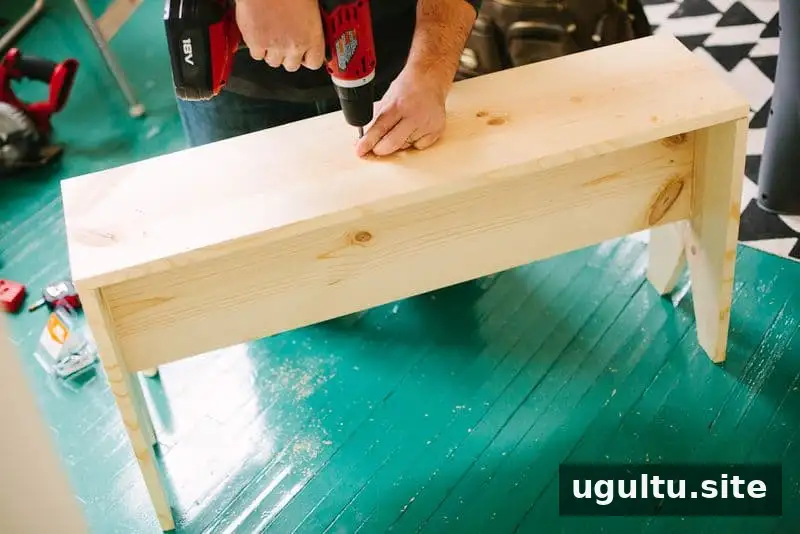
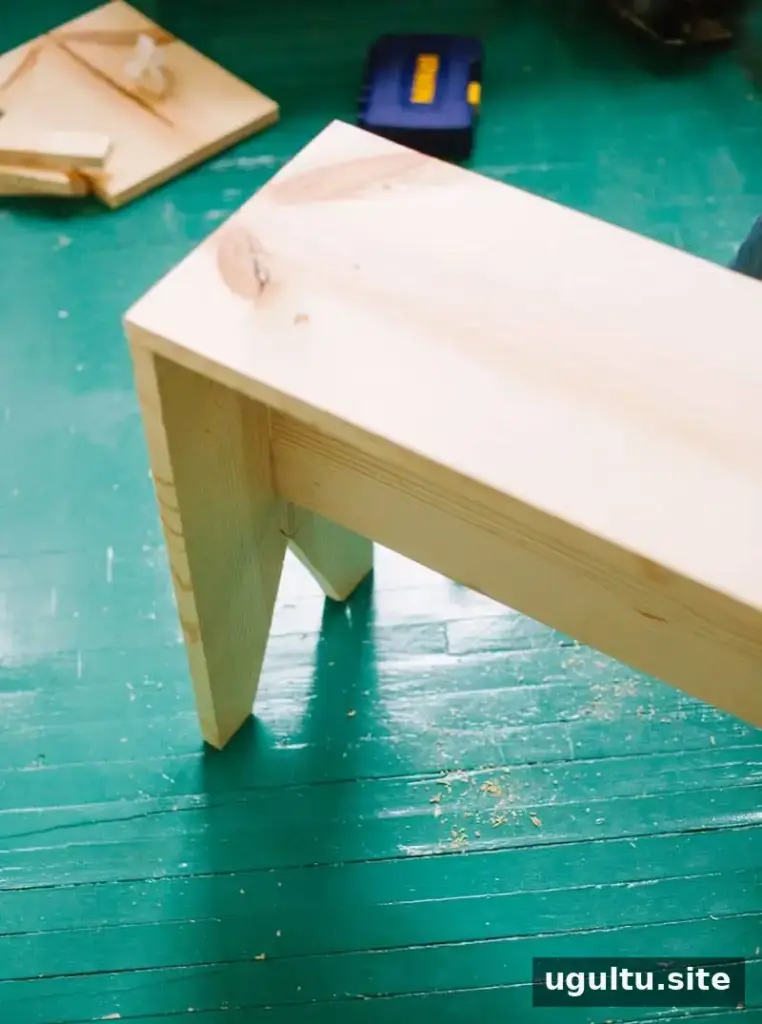
Allow the glue to dry before moving on to sanding or applying a finish. Follow the glue maker’s drying instructions for the product you use.
Sand and finish the DIY wooden bench
Use 50-grit sandpaper to smooth particularly rough areas, then switch to 220-grit sandpaper for a finer finish. Remove sanding dust before applying stain or another coating so it does not become trapped on the surface.
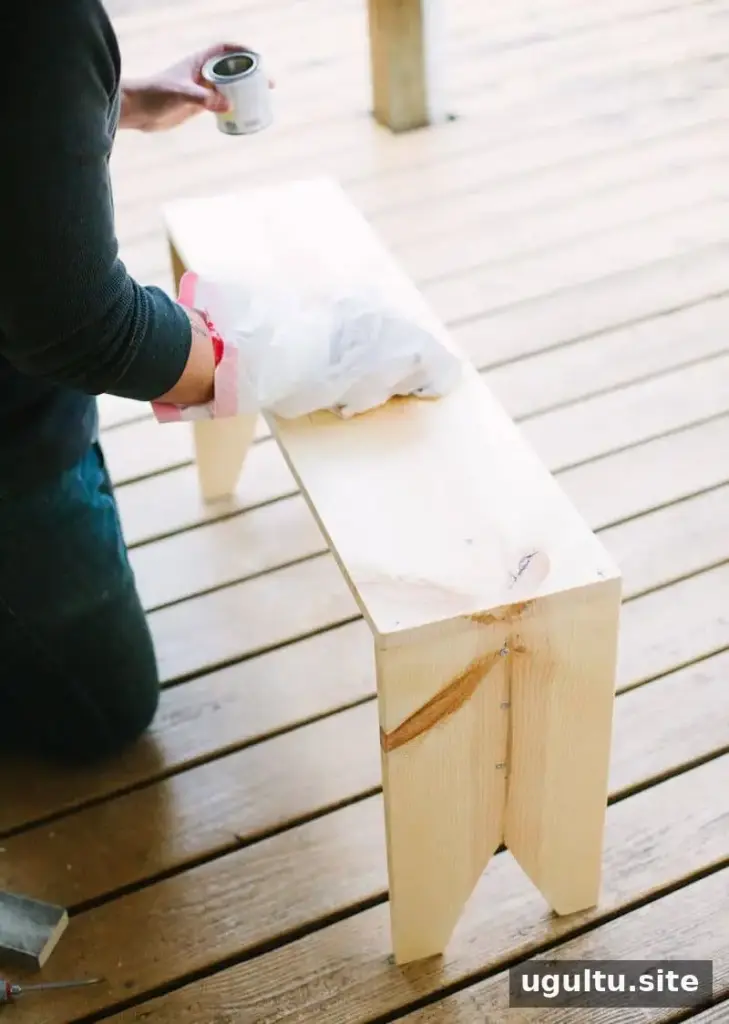
If you want a stained finish, apply the stain and let it dry overnight. Then add a couple of coats of glossy, semi-gloss, or satin polyurethane, depending on the look you prefer. Sand lightly with 220-grit sandpaper between coats, and let each coat dry as directed on its product label.

Final checks
Once the finish is dry, place the bench on a level surface and check that it feels stable before using it. This simple DIY wooden bench can be customized with a different paint or stain while keeping the same basic cut list and assembly steps.
Bench built by Josh. Thanks to Josh for making it, with appreciation from Emma.


